1. Glazed Teacup-to-Mug Pour-Over Wrap (No-Fuss Paint Under Clear Coat)
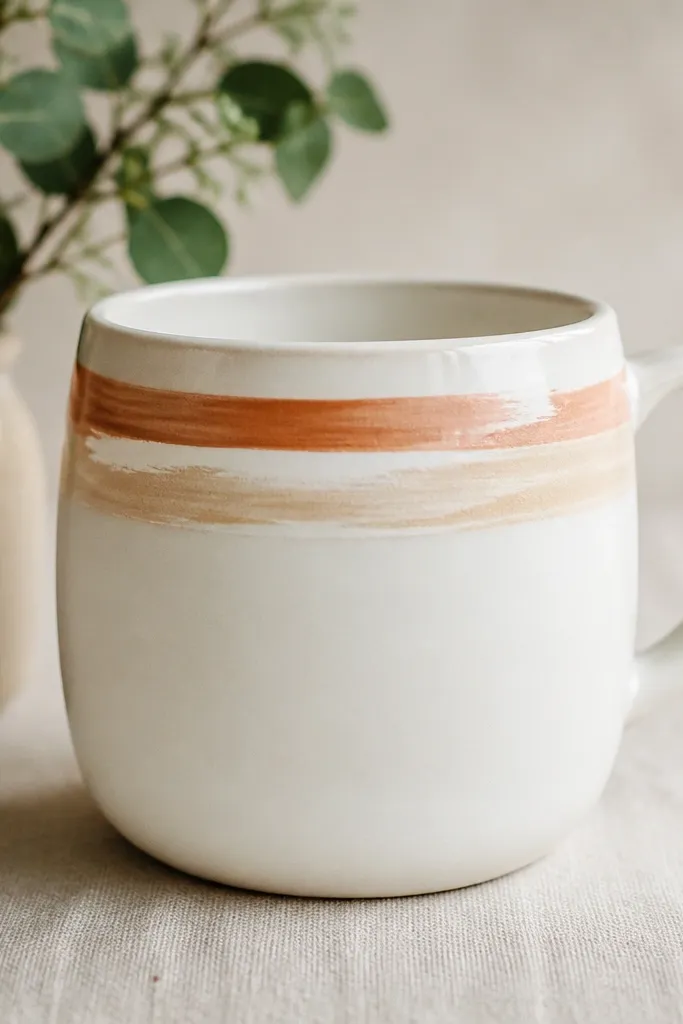
Start with a thrifted mug or chipped teacup you’re repurposing as a mug. Paint only the band (not the whole surface) using ceramic paint, then seal with a food-safe clear glaze topcoat. The band placement prevents heavy scrubbing zones from taking the hit from daily cleaning.
Good to knowPaint a thin band and let it cure fully before sealing — rushing cure time is the #1 reason handmade mugs get cloudy or feel tacky.
2. Scrapbook Map-Edge Decal Mug (Sealed Like a Photo Frame)
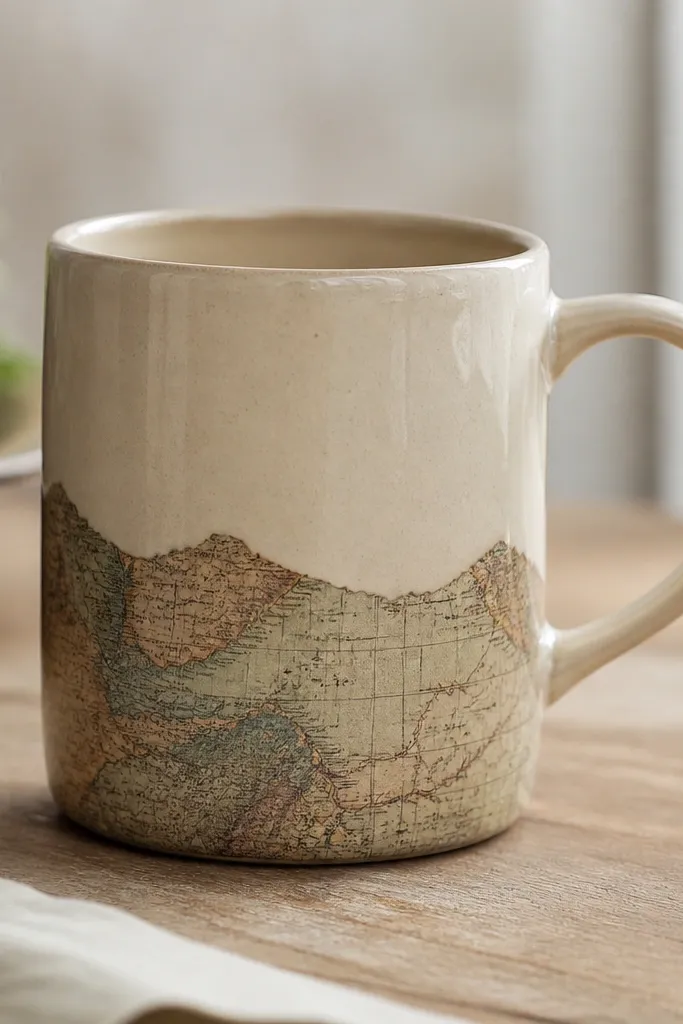
Use scrapbook paper or a vintage map print for a bottom “scene” effect. Cut the paper slightly smaller than the mug’s circumference, adhere with a decoupage medium, then cover with 2-3 coats of clear topcoat. Sealing over torn edges prevents lifting during washing.
Seal the rim area carefully — mask the inside lip so the topcoat stays where it’s needed and not where it meets hot liquid.
3. Coffee-Sleeve Upcycle Mug: Fabric Band + Heat-Safe Sealer
Grab a used coffee sleeve or sturdy fabric scrap and wrap it around the mug for an instant “designed” look. Adhere the fabric with a flexible craft glue or heat-rated fabric adhesive, then seal over the fabric with a clear protective coating so it wipes clean instead of soaking stains.
Choose tightly woven fabric (cotton canvas or faux leather) — loose weaves trap coffee oils and take longer to clean.
4. Epoxy-Set Tile Coaster Mug Accent (Stain-Resistant Texture)
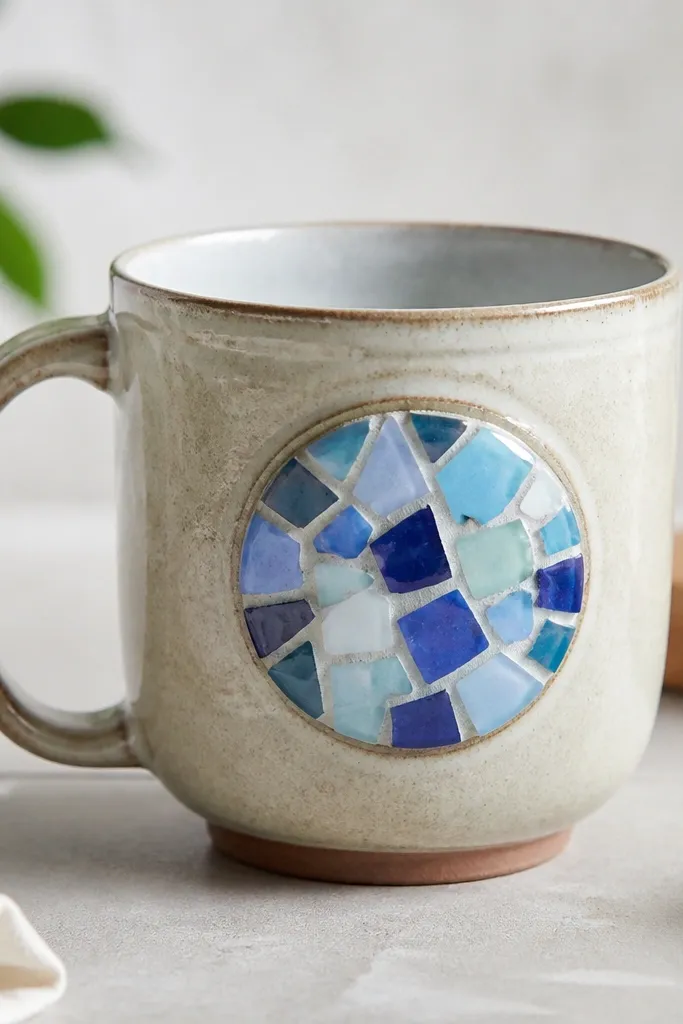
Use small ceramic tile offcuts or broken craft tiles for a side accent. Roughen the mug lightly, adhere the tile with a strong ceramic-safe adhesive, then cover with clear epoxy to create a smooth, wipeable surface over texture. This is great for people who love the look of texture but hate scrubbing grunge.
Good to knowWrap the rest of the mug with painter’s tape before mixing epoxy so you don’t end up with accidental drips on the handle.
5. Stamped Citrus Peel Pattern (One Color + Gloss Topcoat)
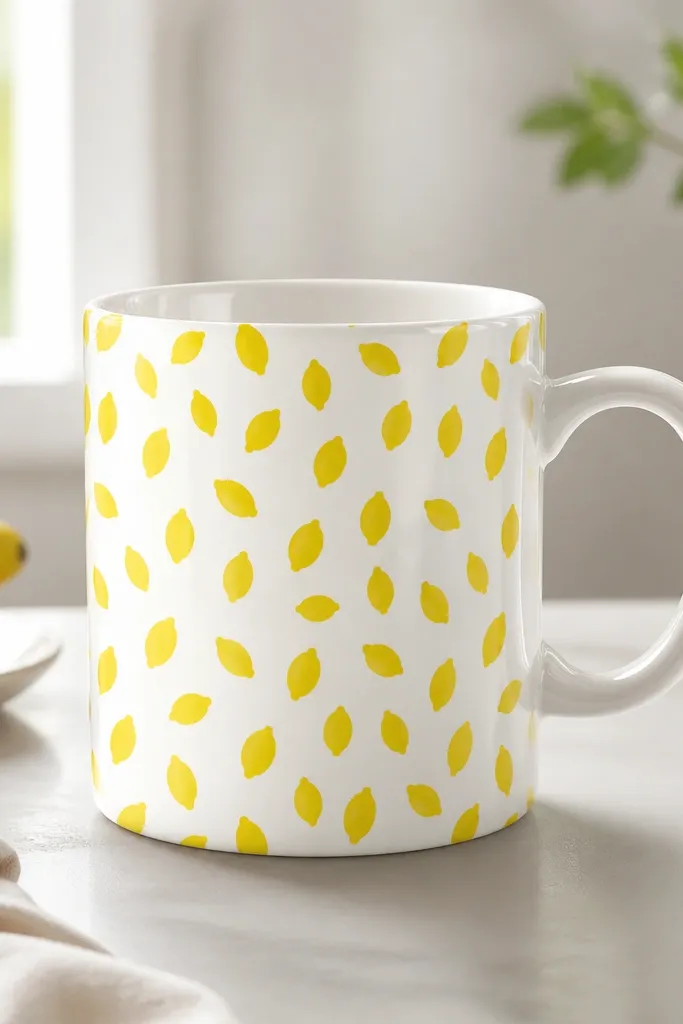
Make a simple stamp using foam or a carved craft stamp, then apply one food-safe ceramic paint color in a repeating pattern. Let it cure, then apply a gloss clear glaze topcoat to lock the pigment down. One-color patterns hide minor wear better than multi-color art.
Test your stamp on a spare ceramic tile first — the right pressure gives crisp edges without flooding the paint.
6. Washed Denim Pocket Mug (Pocket Keeps the Mess Out)
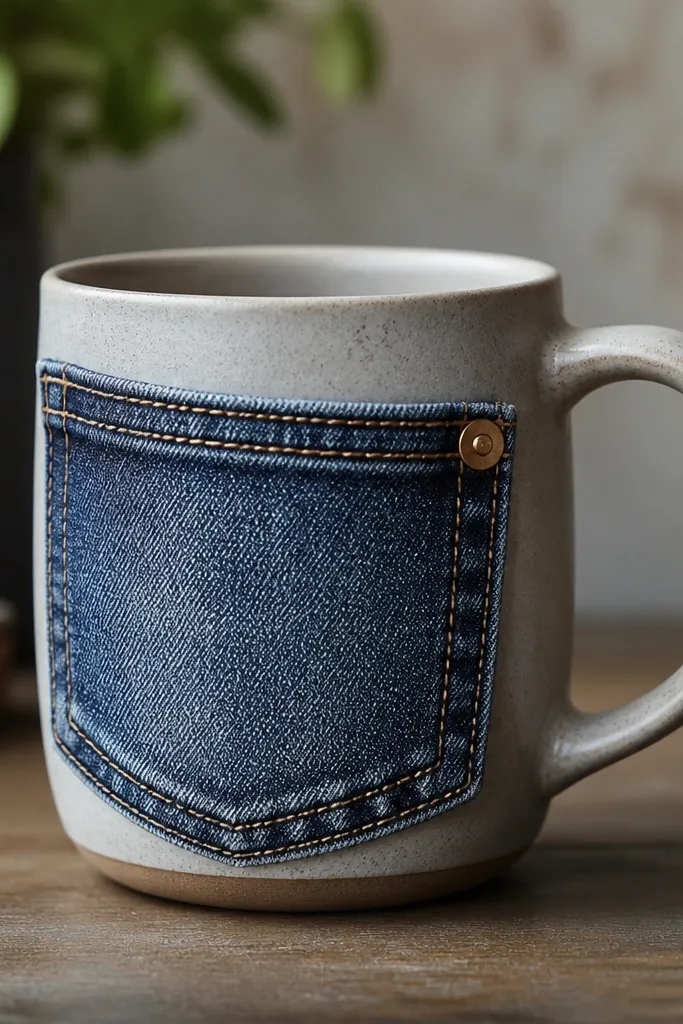
Sew or glue a small denim pocket onto the front of the mug — it’s perfect for holding a tea bag or a spare stir stick while you drink. Because the pocket is fabric, you’ll want a protective coating so it wipes clean instead of absorbing drips. The pocket also keeps stains off your main mug surface.
Good to knowAvoid placing fabric inside the rim zone; keep the pocket on the outer wall so hot liquid doesn’t touch sealed fabric.
7. Chalkboard Label Mug (Reusable, Wipe-Only Surface)
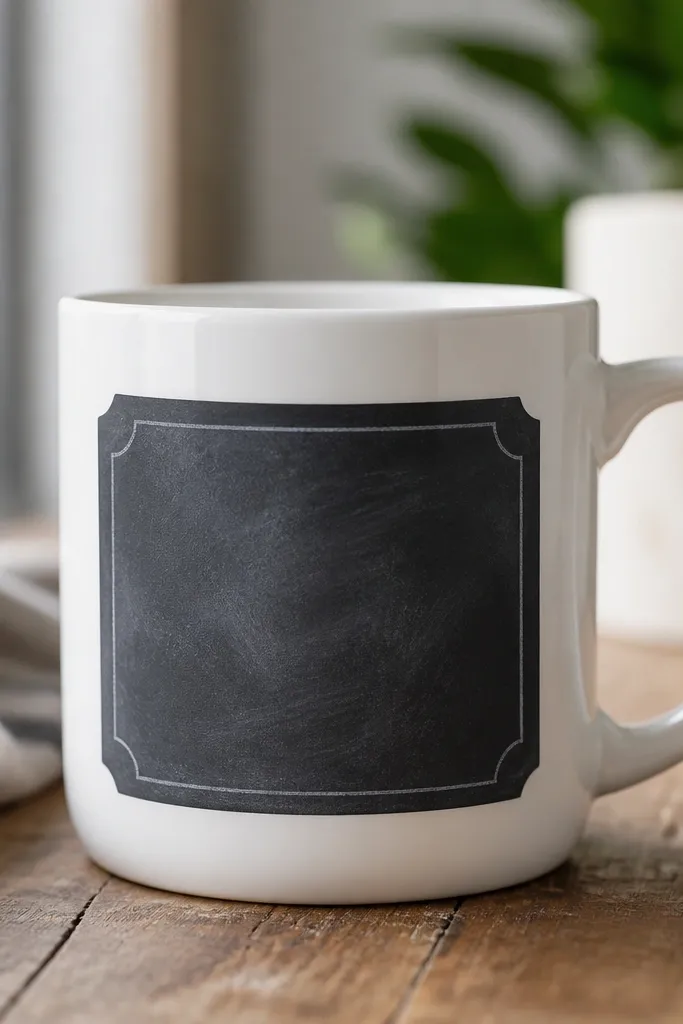
Paint a small label area with chalkboard paint designed for ceramics, then seal lightly around the edges with clear coat to prevent peeling. For low maintenance, stick to writing with chalk markers or regular chalk and wipe with a dry cloth. This setup is ideal if you love rotating flavors or names without repainting.
Good to knowSeason the chalkboard area first (rub chalk over it, then wipe) so it doesn’t get patchy after the first few uses.
8. Deco Tape Resist Ombre (No-Blend, Clean Lines)
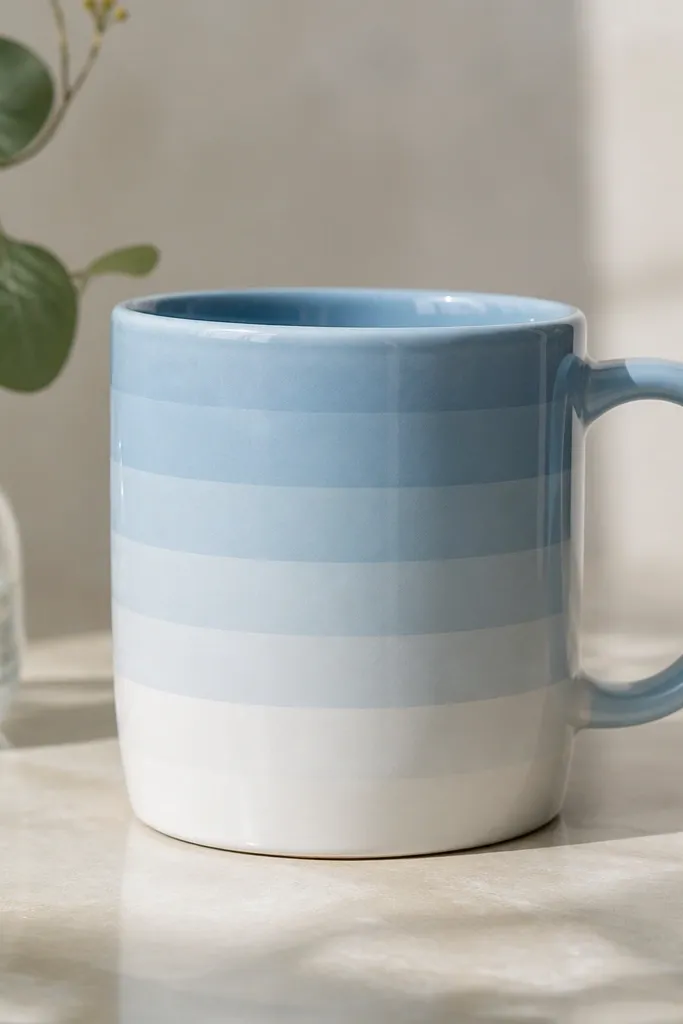
Use deco tape as a resist to create ombre bands without trying to blend perfectly. Paint in layers from bottom to mid, remove tape while the paint is slightly tacky, then seal with a clear glossy topcoat. Tape-resist ombre looks fancy but is actually low effort because you’re guiding the pattern.
Good to knowRemove tape at a consistent angle so the edges don’t tear or leave jagged paint ridges.
9. Yarn-Wrapped Handle Grip + Clear Finish (Comfort Without Extra Cleaning)
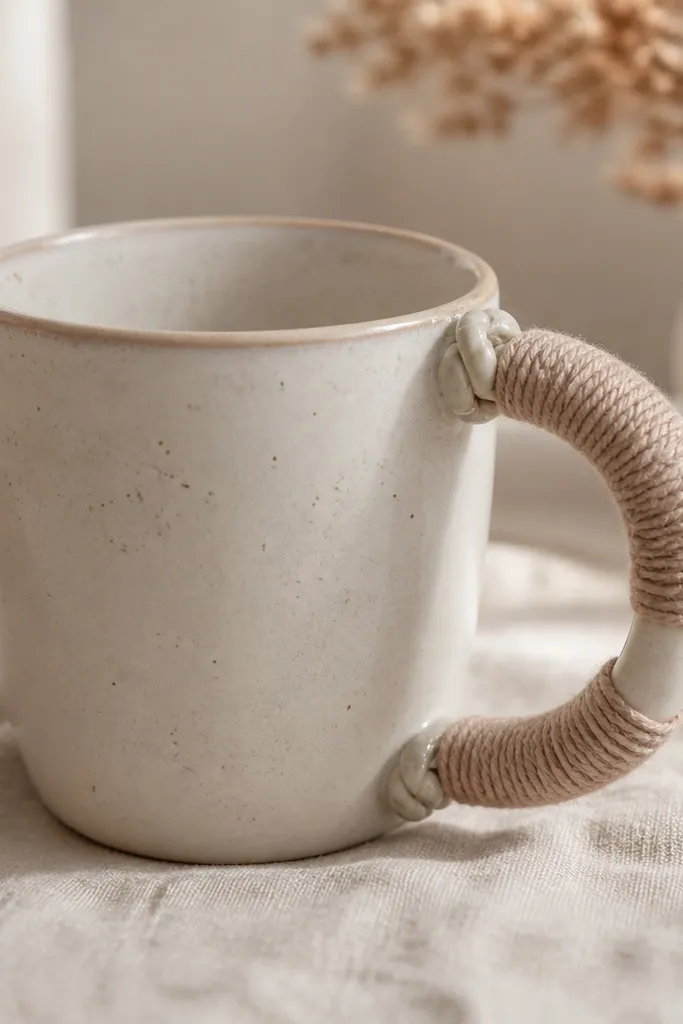
Wrap yarn around the handle where your hand grips, not across the drinking surface. Secure with hot glue or fabric glue, then seal the yarn with a clear protective coating so it doesn’t snag or absorb spills. This is a low-maintenance upgrade because you’re protecting comfort, not decorating the part that gets scrubbed.
Use a washable yarn blend and keep the seal thin — thick coatings can feel sticky over time.
10. Vinyl-Resist Stencil Dots (Wipeable, Crisp, Fast)
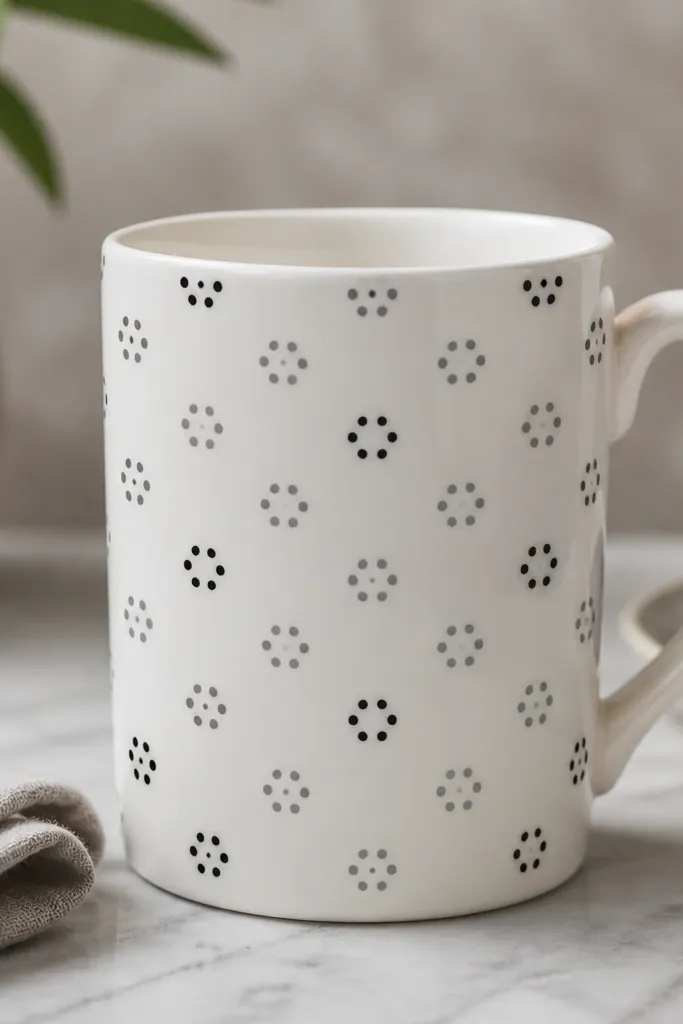
Apply vinyl stencil dots to a clean mug, paint over the stencil, then peel to reveal crisp shapes. Vinyl resist is faster than freehand and reduces paint mess. Finish with a clear food-safe topcoat so the dots don’t stain or roughen from regular washing.
Press stencils firmly with a credit card so paint doesn’t seep under the edges.