1. Broken-Tile Mosaic Mug (Beach Sand Colors)
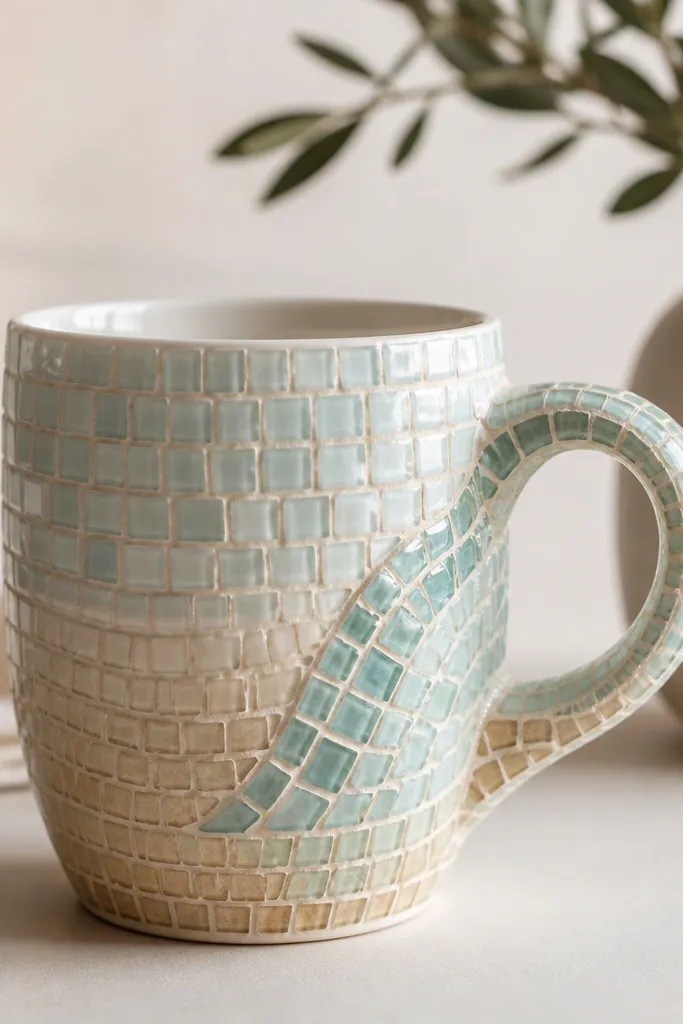
Use small ceramic tile scraps (seafoam, aqua, off-white) and a waterproof tile adhesive to build a wave-like mosaic around the lower half of the mug. The grout look gives texture that feels intentionally handmade, not random. Seal with a food-safe clear glaze or a pottery sealer made for ceramics so it’s comfortable to hold and easy to wash.
Dry-fit your tile layout first and leave tiny gaps for grout-style adhesive so it won’t look bulky.
2. Vintage Book-Page Decoupage Mug (Library Date Night)
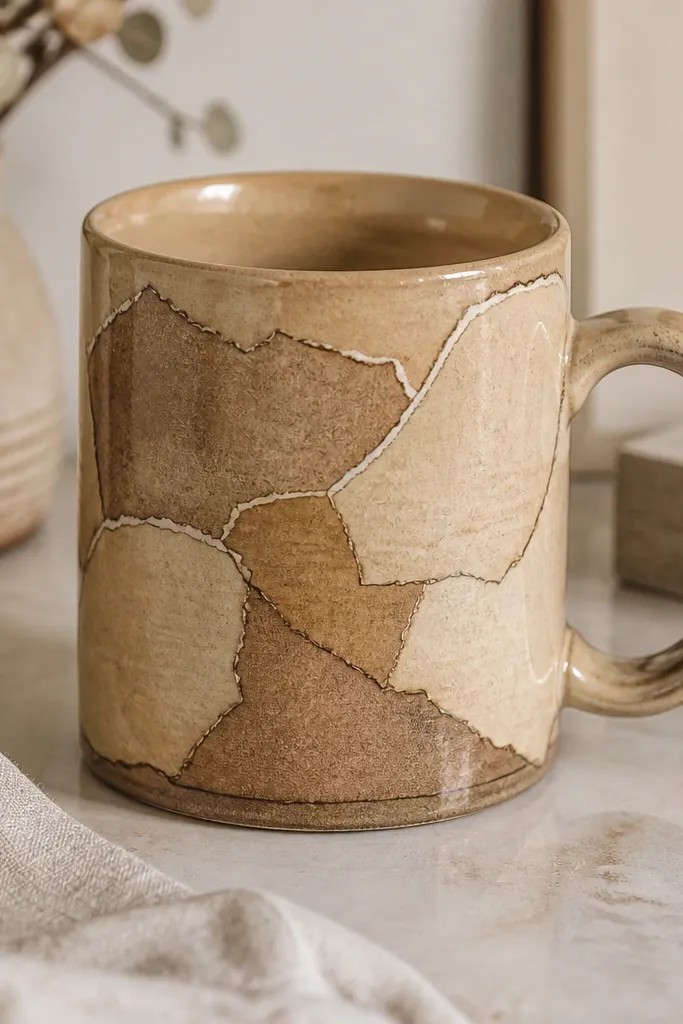
Tear book pages into strips and decoupage them around the mug using matte-to-satin decoupage medium. Choose a single palette (sepia, cream, faint script) for a cohesive look. Finish with a clear seal so the paper won’t fray from washing.
Good to knowKeep the paper away from where lips touch — aim the design on the outer sides only.
3. Coffee Sleeve Lettering Mug (Instant Patchwork Aesthetic)
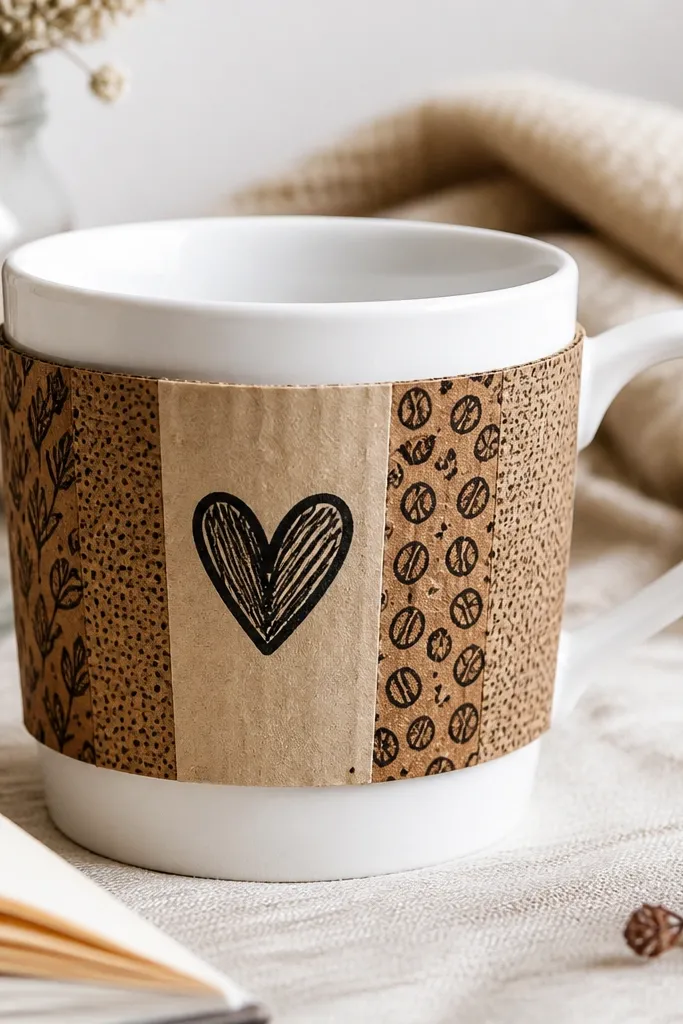
Cut clean shapes from used coffee sleeves (brown kraft and printed parts) and adhere them with a thin layer of decoupage medium. Add lettering with a permanent paint marker for a personalized message. This is a fast upcycle that looks graphic and modern.
Good to knowSeal with at least two thin coats so the sleeve paper doesn’t bubble or lift.
4. Pressed-Leaf Botanical Mug (Greenery That Lasts)
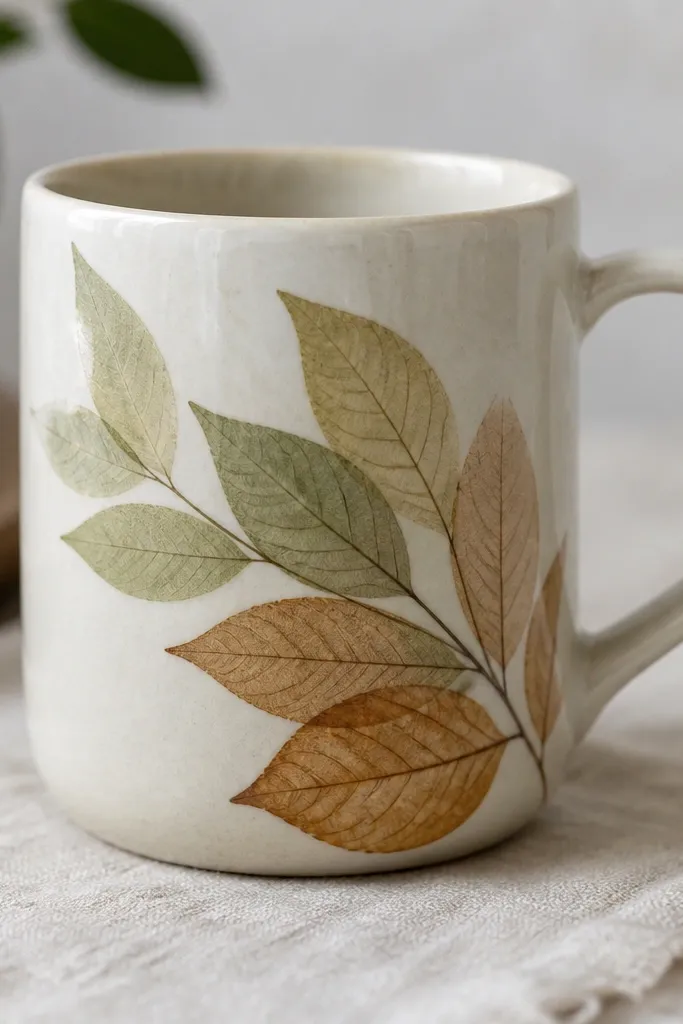
Press leaves flat for several days, then position them on the mug and cover with a clear, ceramic-safe resin or a layered clear glaze medium. The leaf veins show up beautifully through a glossy coat. Keep the design on the outside only for comfortable, safe sipping.
Seal the edges of each leaf so water can’t seep under the botanical pieces.
5. Scrap Fabric + Mod Podge Wrap Mug (Cozy Patchwork)
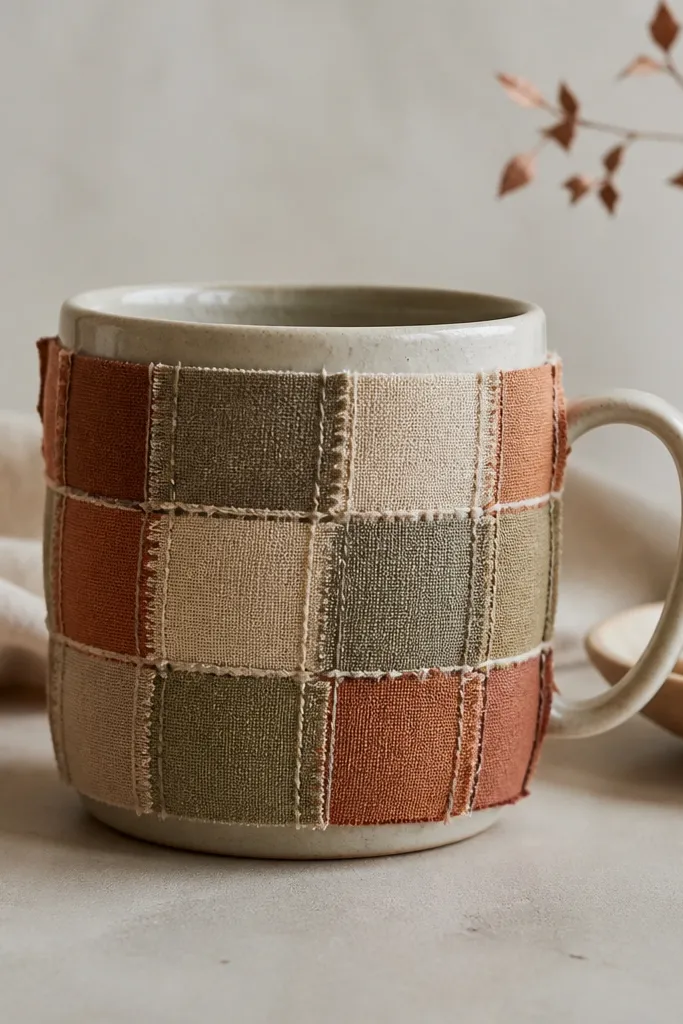
Use cotton scraps, linen, or old napkins cut into squares. Adhere with decoupage medium, smoothing each piece flat to avoid wrinkles. After drying, add a clear top coat to protect the fabric texture and make it wipeable.
Good to knowTrim fabric edges cleanly and overlap slightly so no raw frays peek out.
6. Thrift Mug to Hand-Painted Ombre (Color Fade Gift)
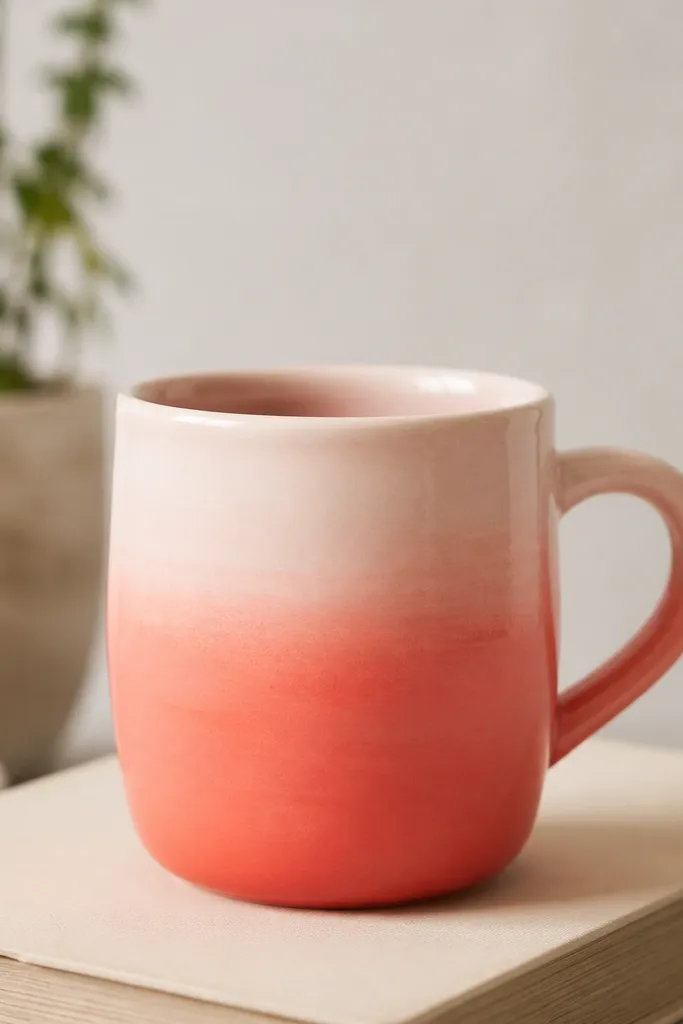
Start with a plain thrift mug (white or light cream) and paint an ombre using acrylic craft paint thinned slightly for smooth blending. Layer in small strokes, letting each pass dry. Finish with a heat-set glaze or ceramic sealer compatible with painted ceramics.
Good to knowUse painter’s tape to mask a crisp stopping line so the ombre doesn’t creep upward.
7. Washed-Out Denim Rim Mug (Upcycled Jeans Edge)
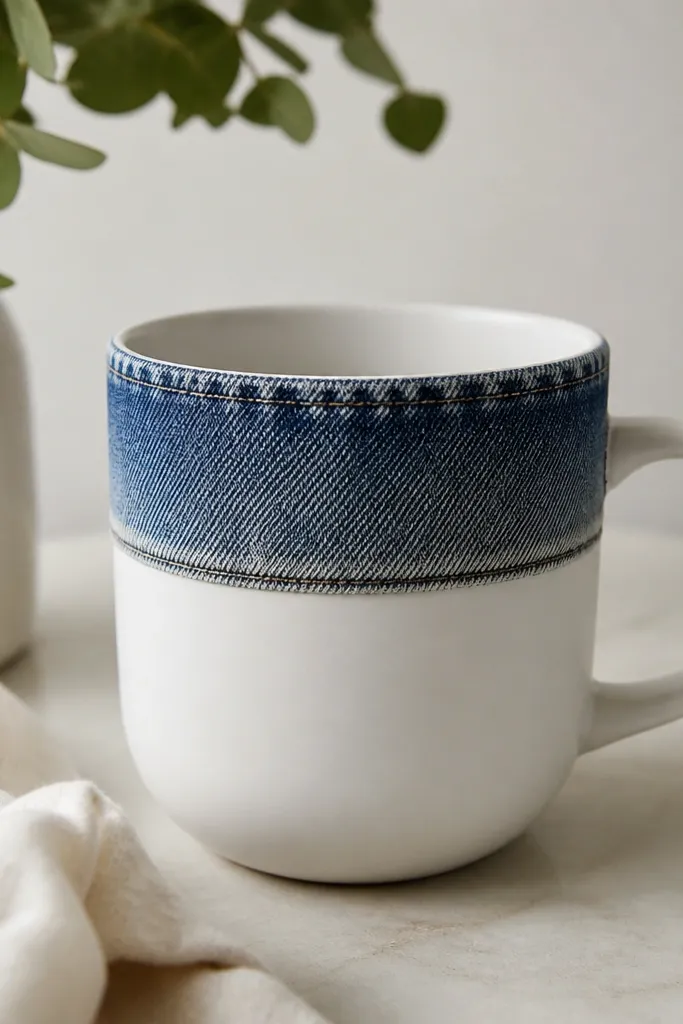
Cut a denim strip from an old jeans leg, including a seam for charm. Wrap it around the outer rim and secure with fabric glue or decoupage medium, then seal over the fabric so it wipes clean. This looks casual and giftable for students and new apartment owners.
Choose a strip that’s sturdy and not too stretchy so it stays flat when sealed.
8. Marbled Nail Polish Mug (Swirl Without Pottery Skills)
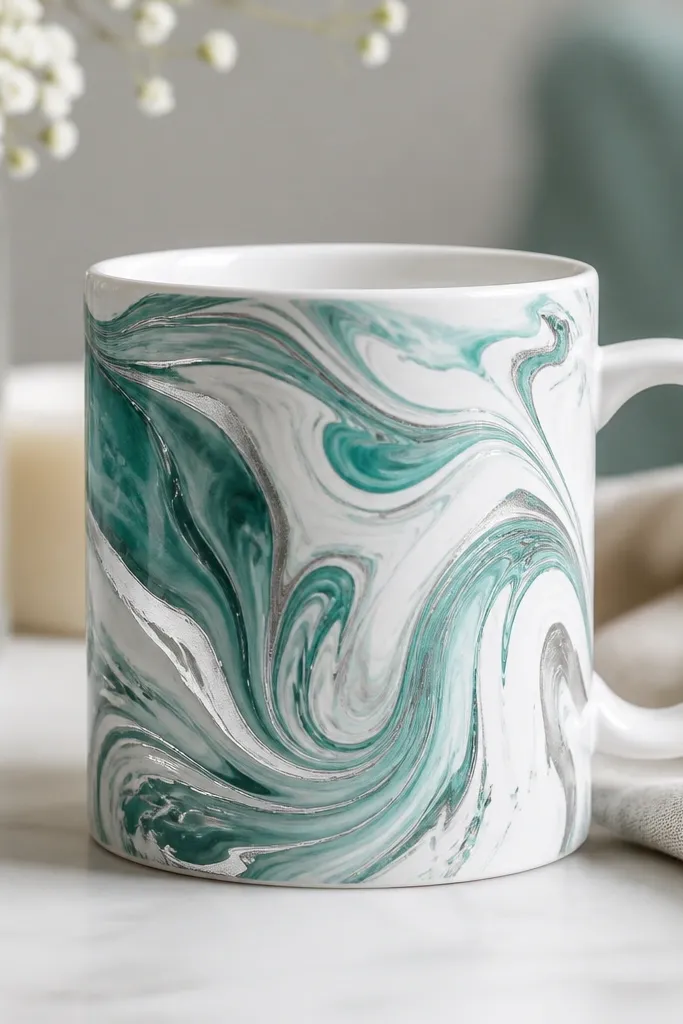
Mix nail polish colors with a marbling technique on the surface: dip a foam brush or toothpick to drag swirls into a thin layer (work on a test mug first). Seal with a clear ceramic-friendly top coat to lock in the pattern. It’s a fun aesthetic for birthdays and holiday sets.
Good to knowWear gloves and protect your counter — marbling is messy, but the result is worth it.
9. Tile Coaster-Style Mug (Grid Pattern Farmhouse)
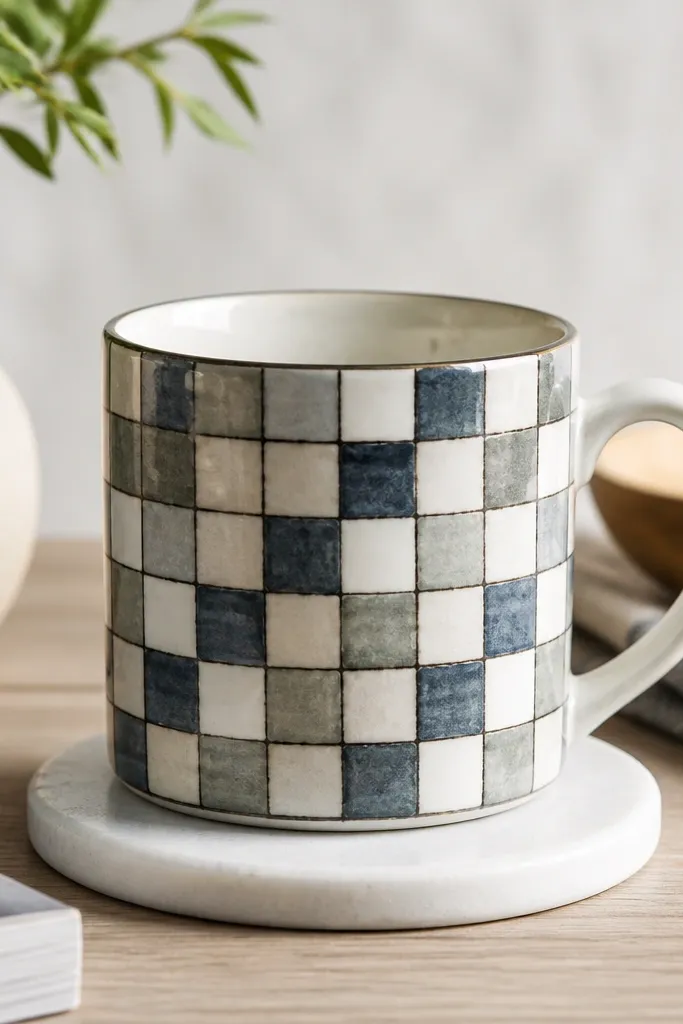
Paint a grid with craft paint, then outline the squares with a fine black paint pen for a coaster vibe. Use a ruler and tape for straight lines. The grid makes the mug look intentionally designed even if your brushwork isn’t perfect.
Good to knowLet the base color fully dry before outlining so the pen lines don’t bleed.
10. Upcycled Sheet Music Accent Mug (Classic Music Lover)
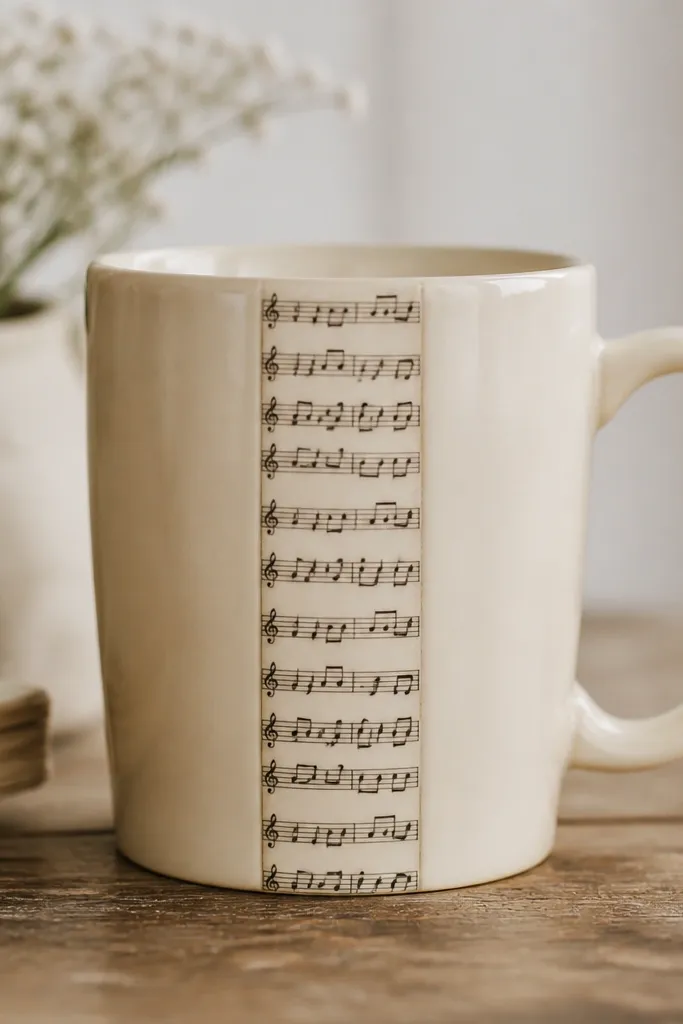
Cut a narrow strip from old sheet music and decoupage it onto the mug. Add a simple painted border (gold or black) to frame the notes. The contrast of vintage paper and clean framing reads elegant, not cluttered.
Good to knowUse a foam brush to press out bubbles so the paper sits smooth under the seal.
11. Stamped Texture Clay Mug (Modern Minimal Dots)
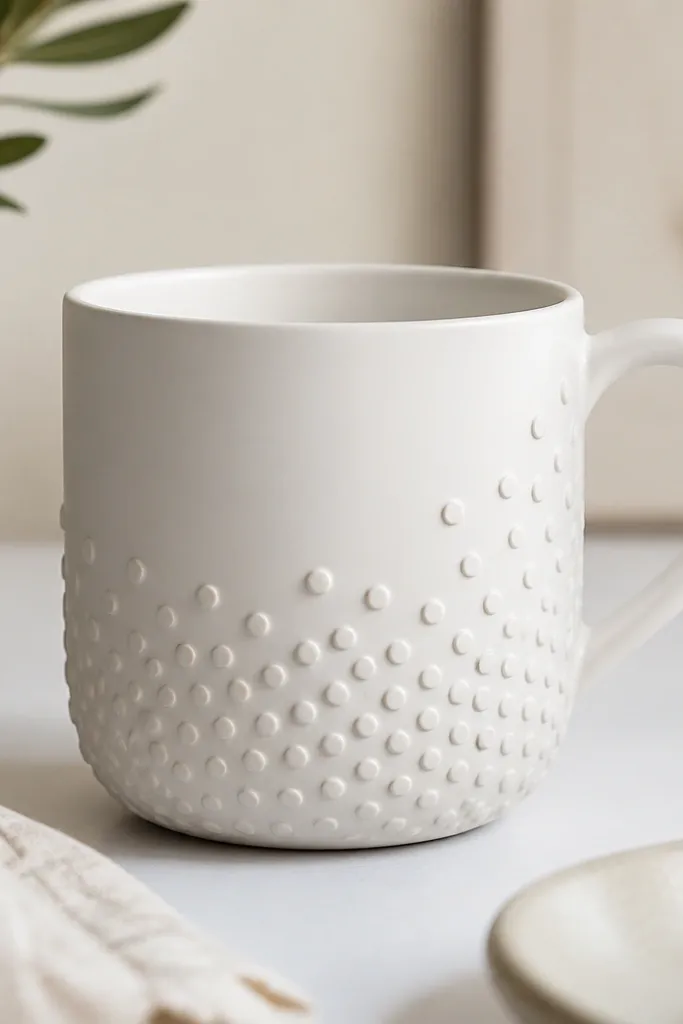
Use air-dry clay or modeling paste to create a raised pattern: press a stamp or lace texture lightly, then let it cure. Paint over with a matching ceramic-safe paint for a unified look. Raised textures hide small imperfections and feel tactile in photos.
Good to knowSand very lightly after curing to remove sharp edges for comfortable handling.
12. Chalkboard Label Mug (Reusable Gift Tag Style)

Paint a small chalkboard label area using chalkboard paint on the outer side, then write a message that can change later. This is great for gatherings because you can swap names for each guest. Seal lightly around the label edges so the rest of the mug stays protected.
Good to knowUse a cotton cloth to apply chalk gently at first — it helps the surface “break in.”