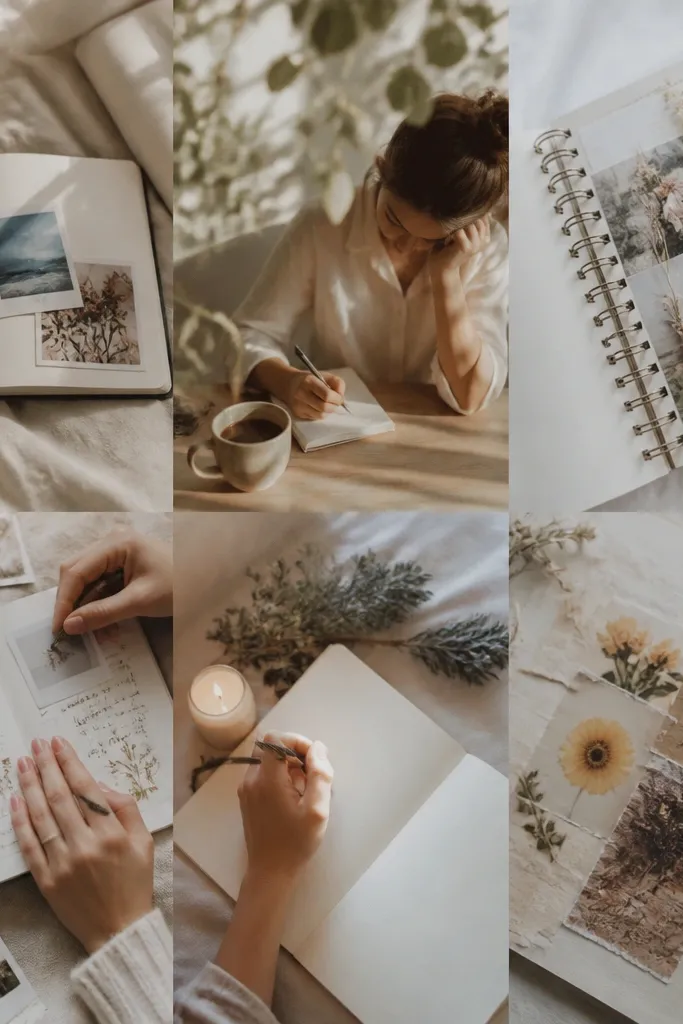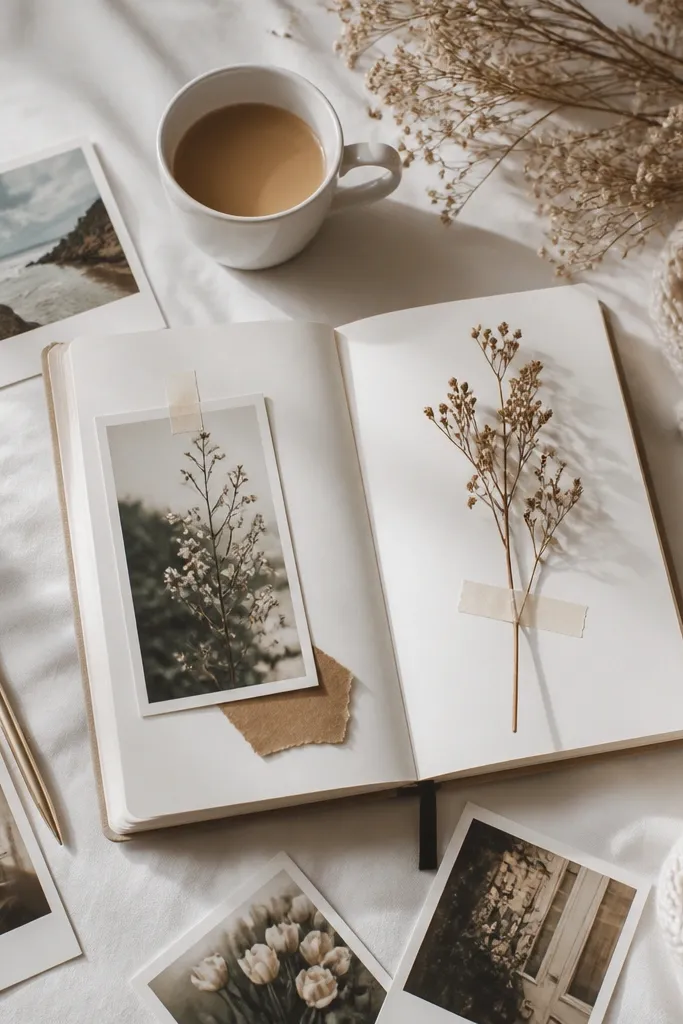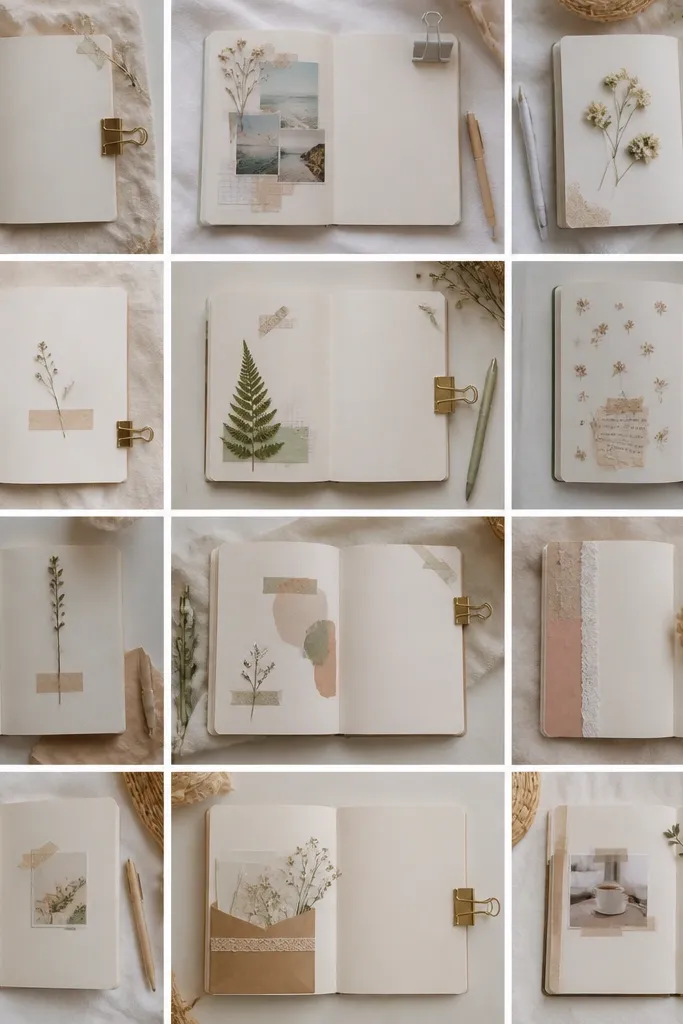

1. Washi Tape Border + Tiny Date Stamp
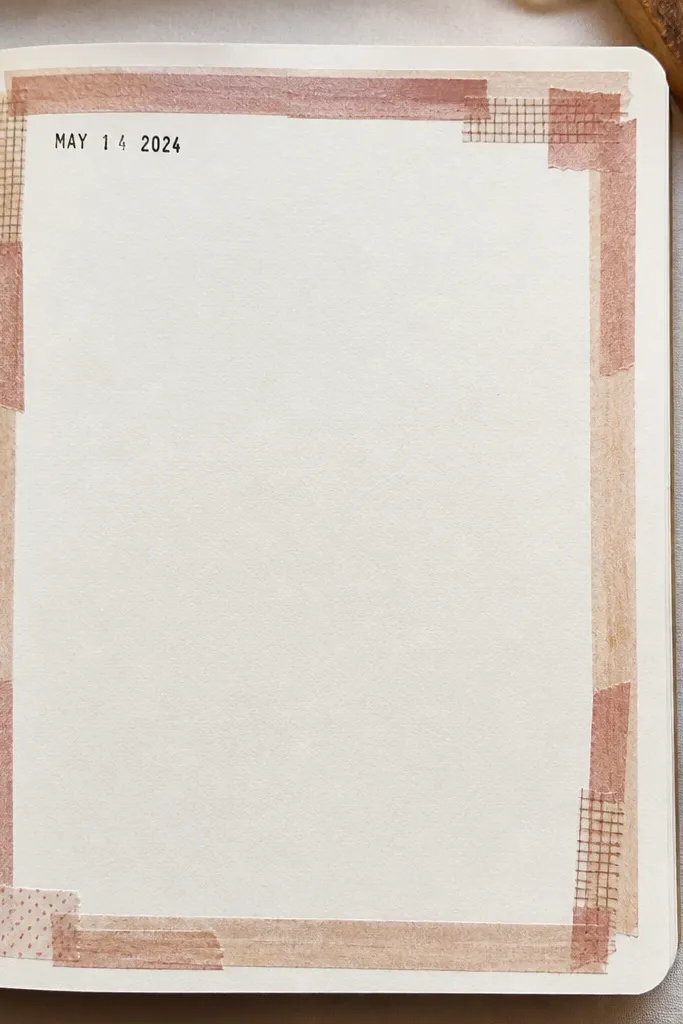
Create a simple frame using 3-5 washi tape strips, slightly overlapping at the corners for softness. Add a tiny date stamp (or a handwritten date in a small box) to anchor the page. This works because the border gives structure while the minimal stamp keeps the page airy.
Use a ruler to align the tape edges, then burnish lightly with your fingertip so it doesn’t lift later.
2. Glitter Gel Pen Constellation Headings
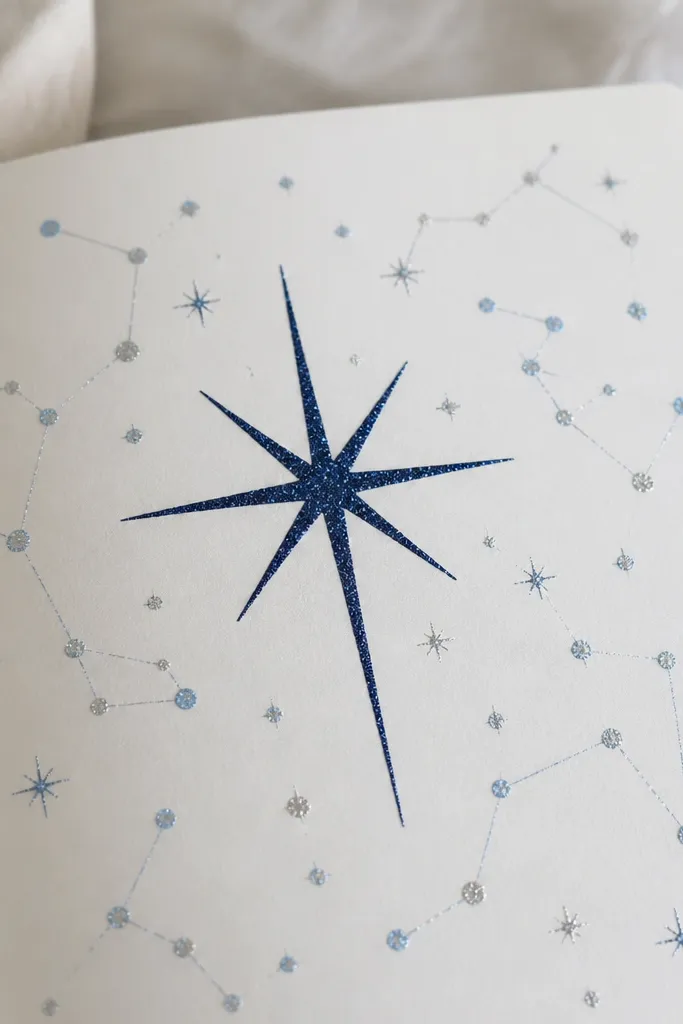
Write one main heading in glitter gel pen (navy + silver looks especially dreamy). Then add 10-20 tiny dot stars around it using a white gel pen or silver pen. The contrast makes the heading feel like “night sky” decor.
Let glitter ink dry fully before closing your notebook to avoid smudging.
3. Pressed Flower Corner Cluster
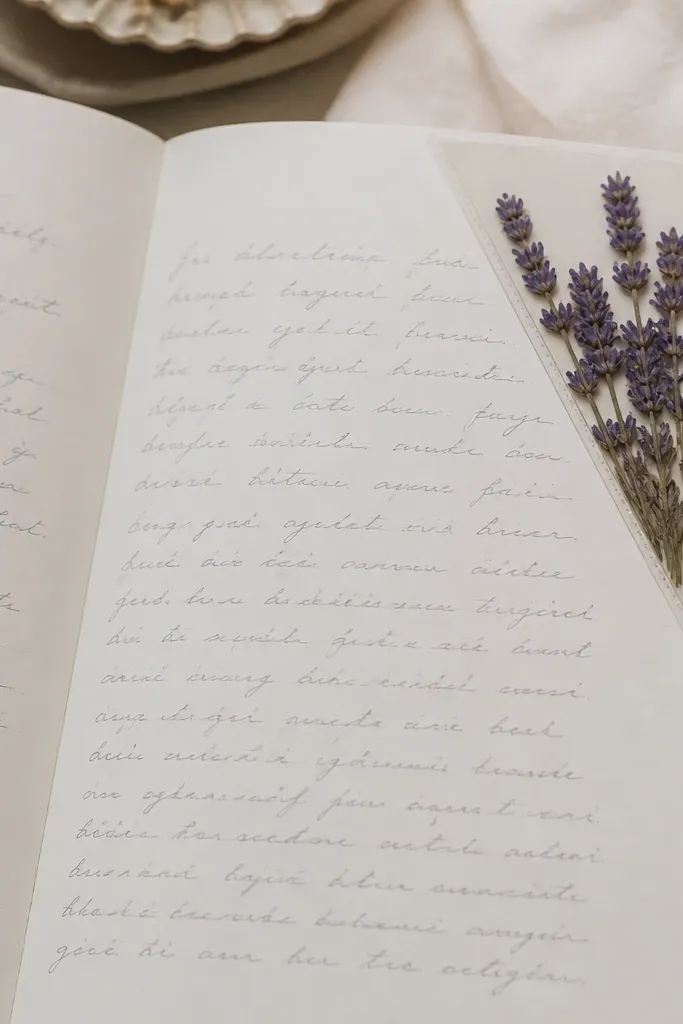
Press small flowers (lavender, baby’s breath, or thin leaves) and glue them into a corner using archival glue or a glue stick. For a cleaner finish, place them inside a small clear sticker pocket or laminate patch. It looks elevated because the cluster stays contained and doesn’t spread across the page.
Press flowers for 1-2 weeks between book pages, then apply glue only at the edges to prevent curling.
4. Coffee Stain Timeline (Sepia Mood Pages)
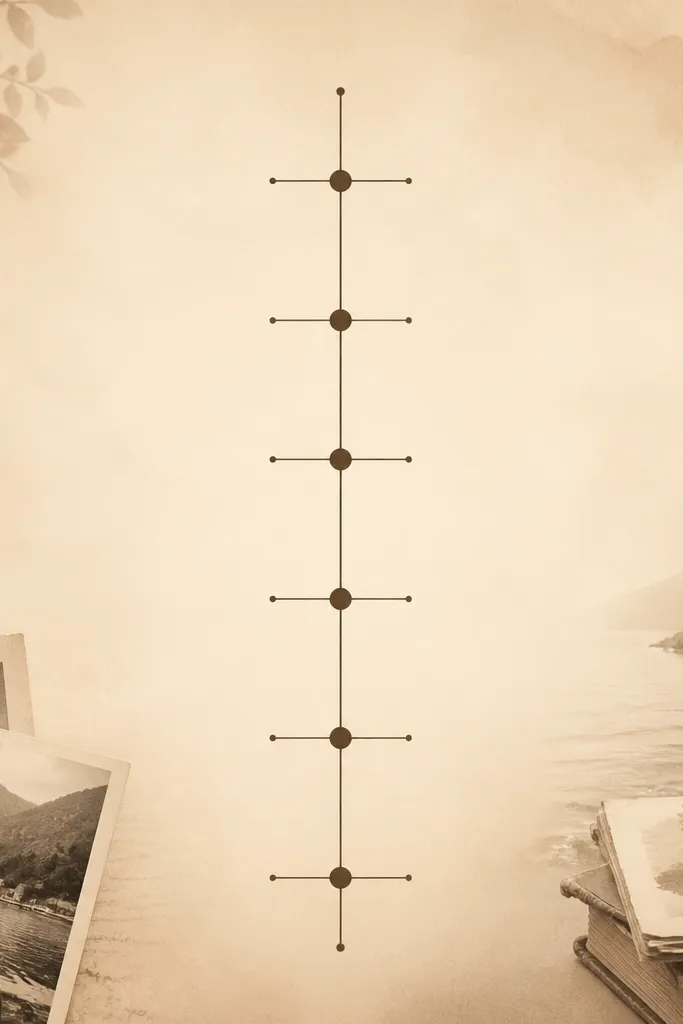
Brew coffee, then dab a damp brush or sponge to create a soft gradient background. Once dry, draw a simple timeline with a fineliner and write short notes beside each date. This aesthetic is perfect for cozy reflections and reads like vintage paper.
Good to knowUse a scrap sheet first to test how dark the coffee gets so your page stays readable.
5. Photo Strip + Caption Lines
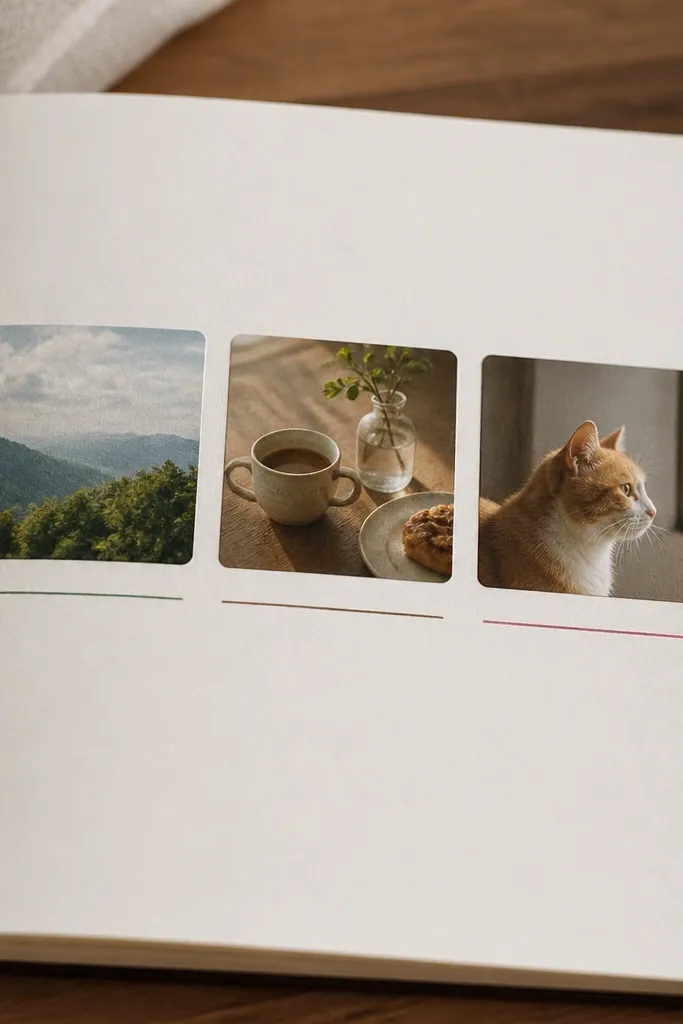
Print or cut 3 mini photos and tape them in a row using washi tape. Add matching caption lines with a fine tip pen (use one color family to keep it cohesive). This works because the strip creates rhythm and makes your memories feel curated.
Good to knowTrim photos slightly smaller than the tape so the border edges look intentional.
6. Sticker Frame Around a Single Quote
Pick one quote (or your own sentence) and frame it with a sticker rectangle. Use consistent sticker sizes so the frame looks like decor, not random pieces. Centering the text keeps the page calm and readable.
Choose stickers in only two tones (like cream + dusty pink) for a more premium look.
7. Watercolor Wash Background + Ink Notes
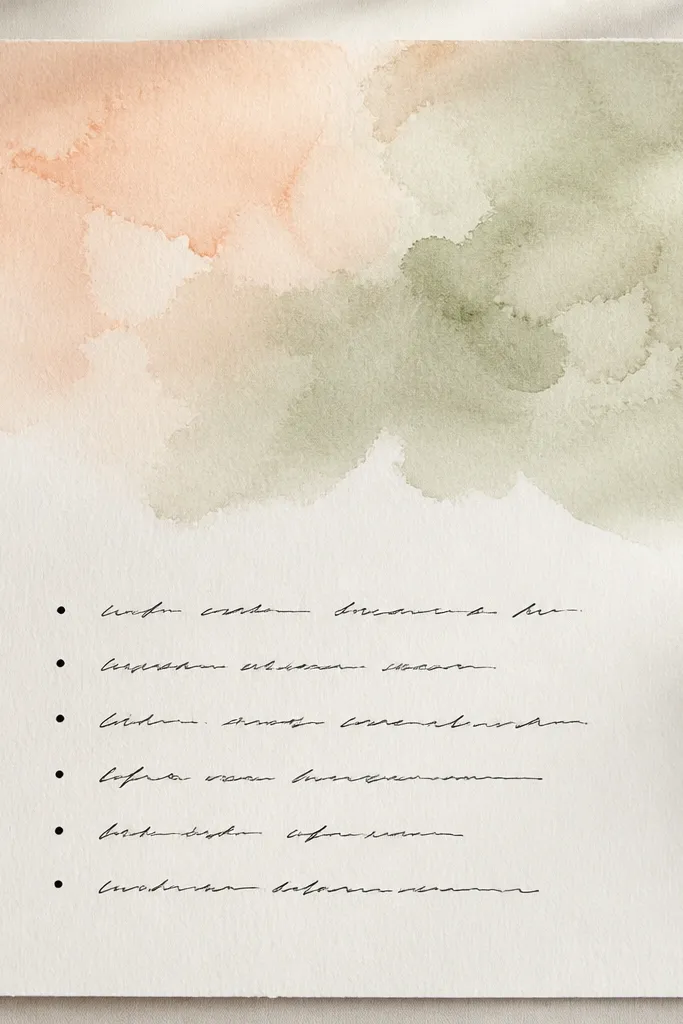
Paint a loose watercolor wash using diluted paint or watercolor markers. After it dries, write your notes in black gel pen or fineliner so the text pops. Watercolor backgrounds look artistic because they create a gentle gradient without clutter.
Good to knowAllow watercolor to dry completely (5-15 minutes) before adding ink to prevent bleeding.
8. Grid Layout with Color-Coded Days
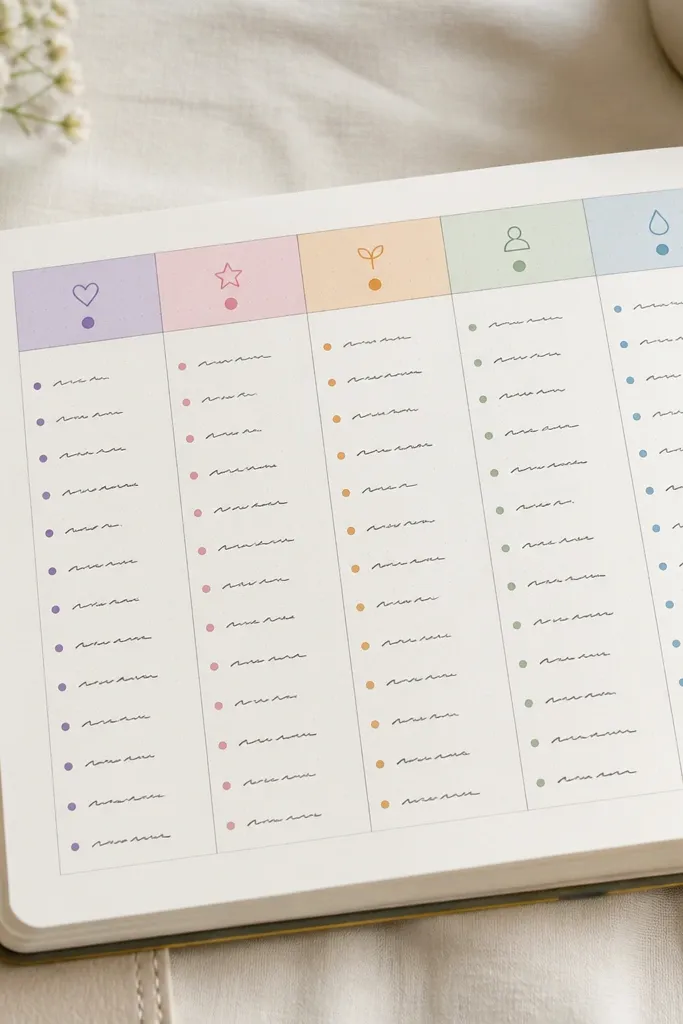
Use a ruler to draw a simple grid and color the headers with highlighters or colored pencils. Keep the writing style uniform (same pen, same size) so the page feels designed. Grids look aesthetic because they’re predictable and easy to scan.
Good to knowUse light pencil for the grid first, then erase before adding color.
9. Minimal Line Art Doodles (One Theme)
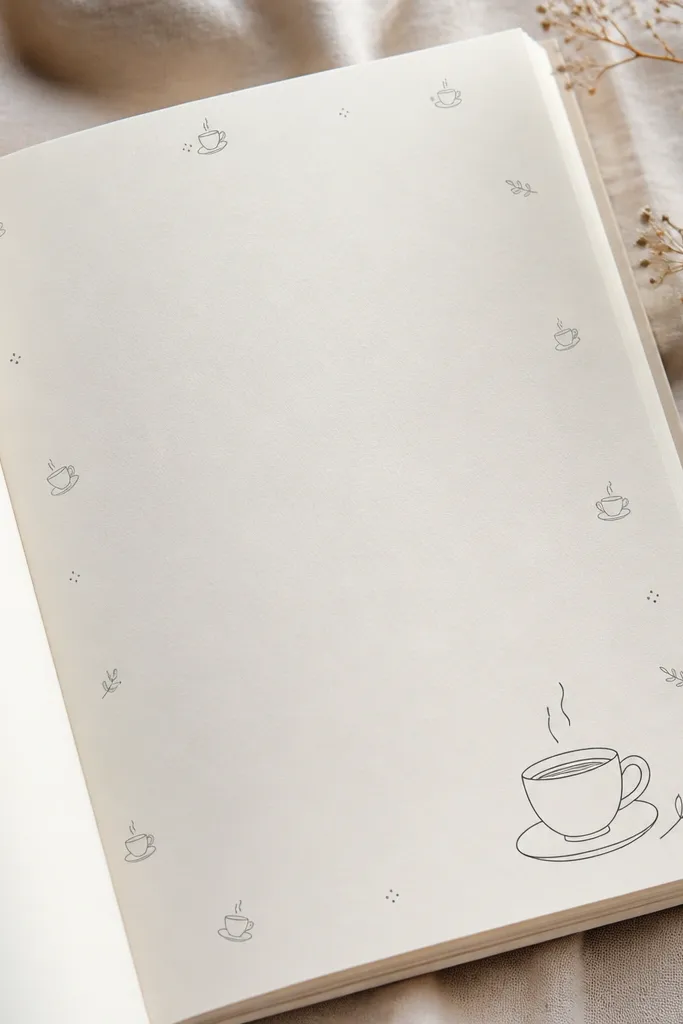
Choose one theme (plants, books, coffee, clouds) and draw small line art along the margins. Keep doodles tiny and spaced so they don’t overpower your writing. This aesthetic works because it adds personality while preserving readability.
Practice one doodle in the margin first, then replicate it 3-5 times max.
10. Washitape + Faux Polaroid Memory Box
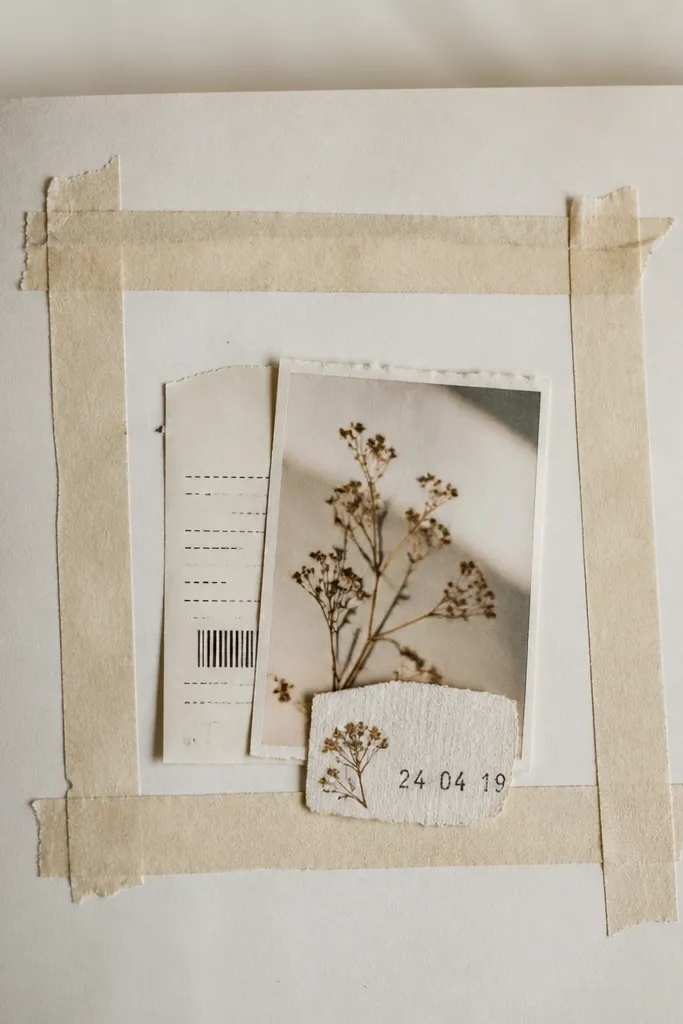
Make a polaroid-style box by outlining a rectangle with washi tape and adding a small photo or cut-out inside. Add a “date” label at the bottom like a real polaroid. Receipts, ticket stubs, or mini printables add texture and make the page feel collected.
Good to knowUse double-sided tape for the inside layer so the cutout lies flat.
11. Monochrome Ombre Highlights
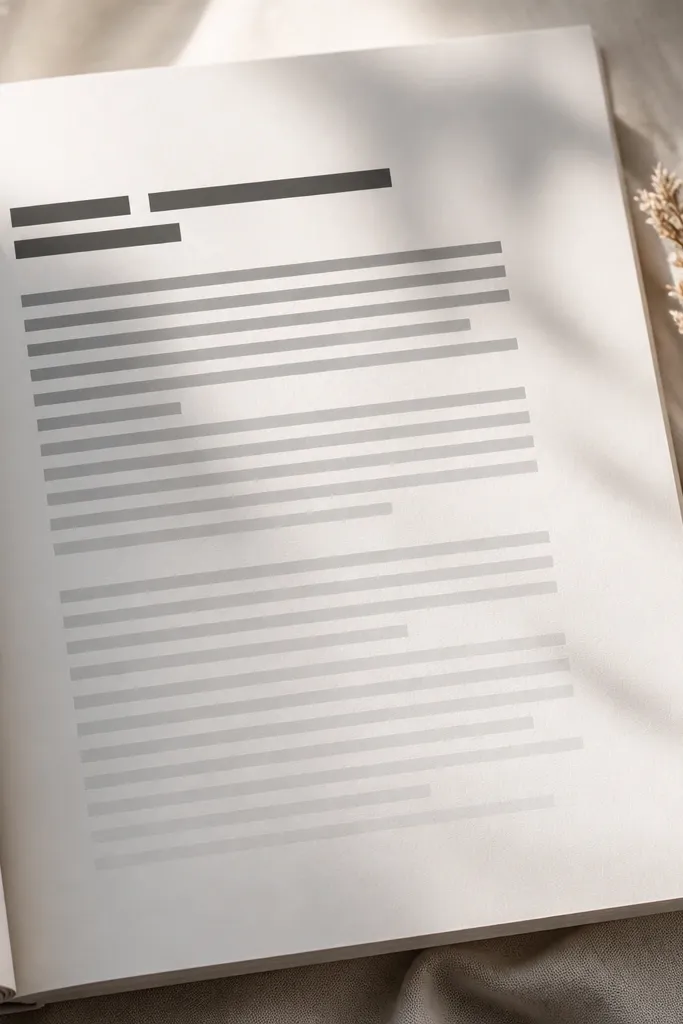
Highlight key lines using a single color family, but fade it gradually across the page. You can do this by blending colored pencil lightly or using a highlighter and reapplying less pressure. Ombre highlights look modern and keep attention on what matters.
Good to knowPick one keyword per paragraph so highlights don’t turn into a full-page block.
12. Handmade Corner Tabs for Sections
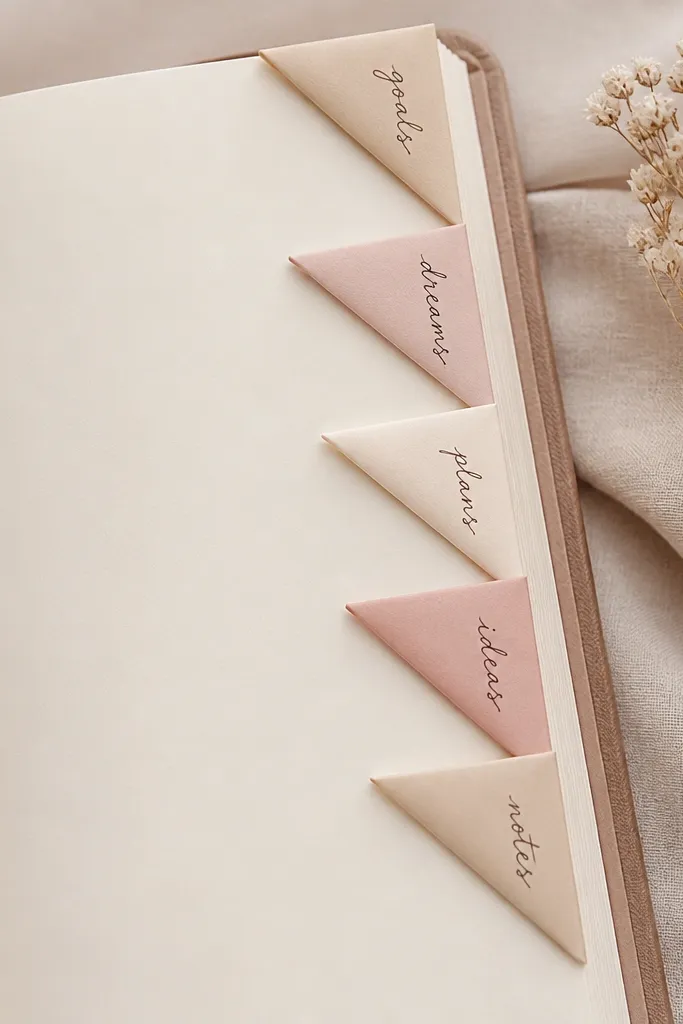
Cut thin strips of scrapbook paper and fold them into tabs that sit at the top corner. Write section labels vertically (like “Today,” “Gratitude,” “Ideas”) so you can flip quickly. This looks aesthetic because it adds physical dimension, not just decoration.
Glue tabs only along the fold so the page still opens smoothly.