

1. Pinholes That Look Like “Glitter”
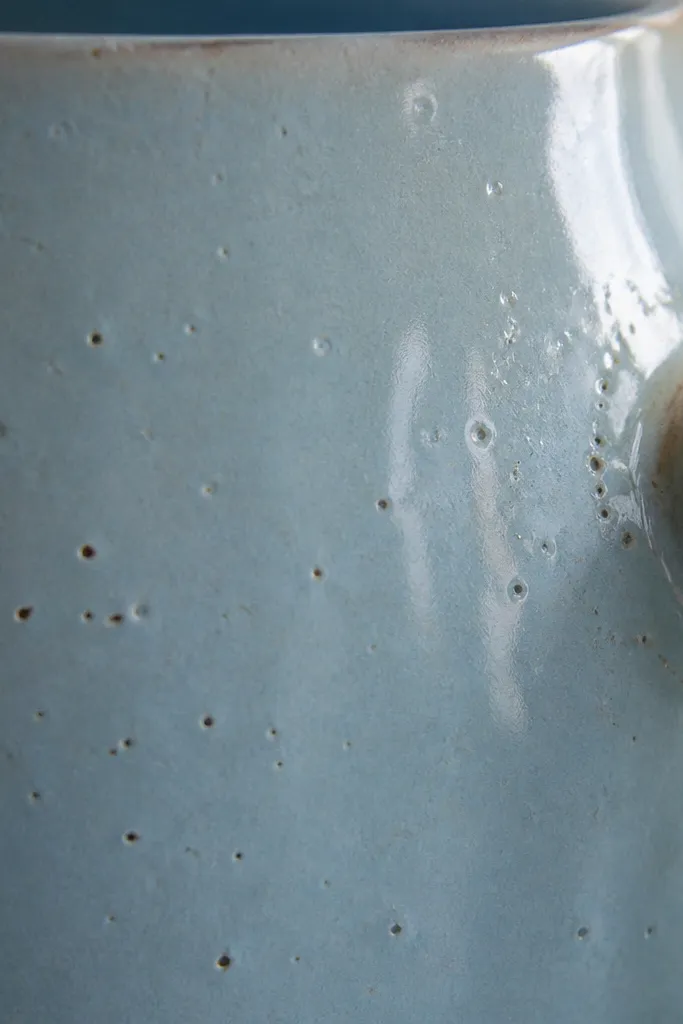
Pinholes usually come from trapped gases escaping through the glaze while it’s melting. The most common causes are dusty bisque, glaze that’s too thick, or firing that’s not hot enough/long enough for gases to release cleanly. If pinholes concentrate near the base or handle seams, that often points to uneven thickness or residue in those spots.
Good to knowSift your glaze and mix thoroughly, then do a test tile to confirm pinholes before glazing the full mug batch. Clean bisque with a soft dry brush and wipe with a barely-damp sponge (not wet-soaked) to remove dust.
2. Crawling Glaze Like It’s “Running Away”
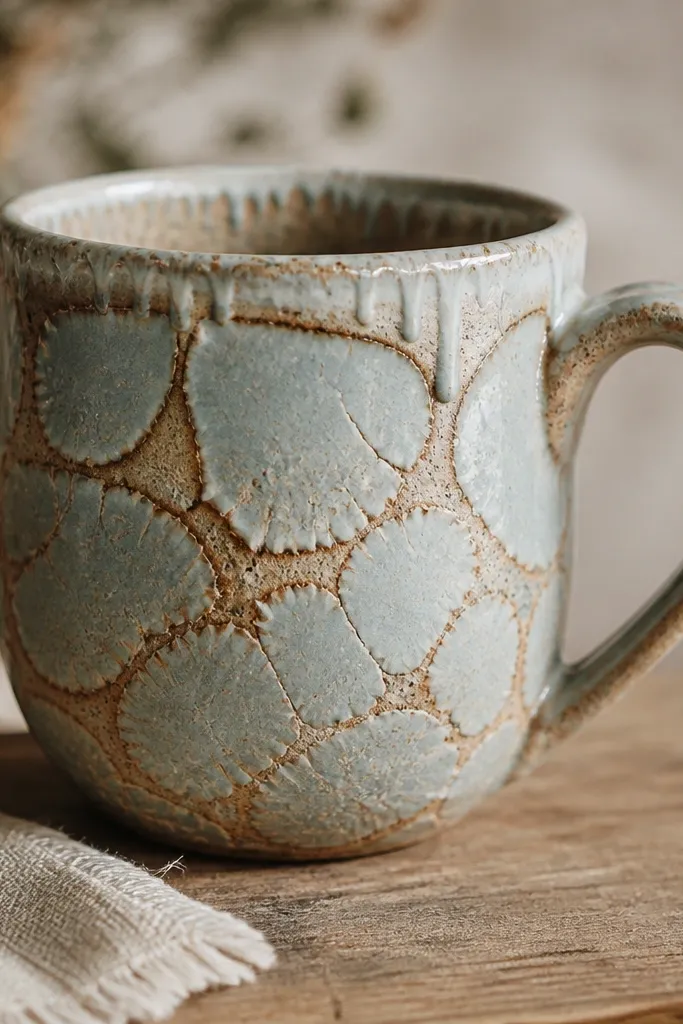
Crawling happens when the glaze can’t wet the surface — often because there’s contamination on the bisque (finger oils, kiln shelf residue, wax, or trapped dust). It can also be caused by applying glaze too thick or with the wrong viscosity for your firing curve. The fact that it looks like the glaze is “avoiding” spots is the giveaway.
Good to knowWear nitrile gloves during glazing and keep your bisque shelves clean. If you see crawling on a test, thin the glaze slightly (small incremental changes) and re-check bisque cleanliness.
3. Blistering and “Bubbles” From Too Much Heat Too Fast
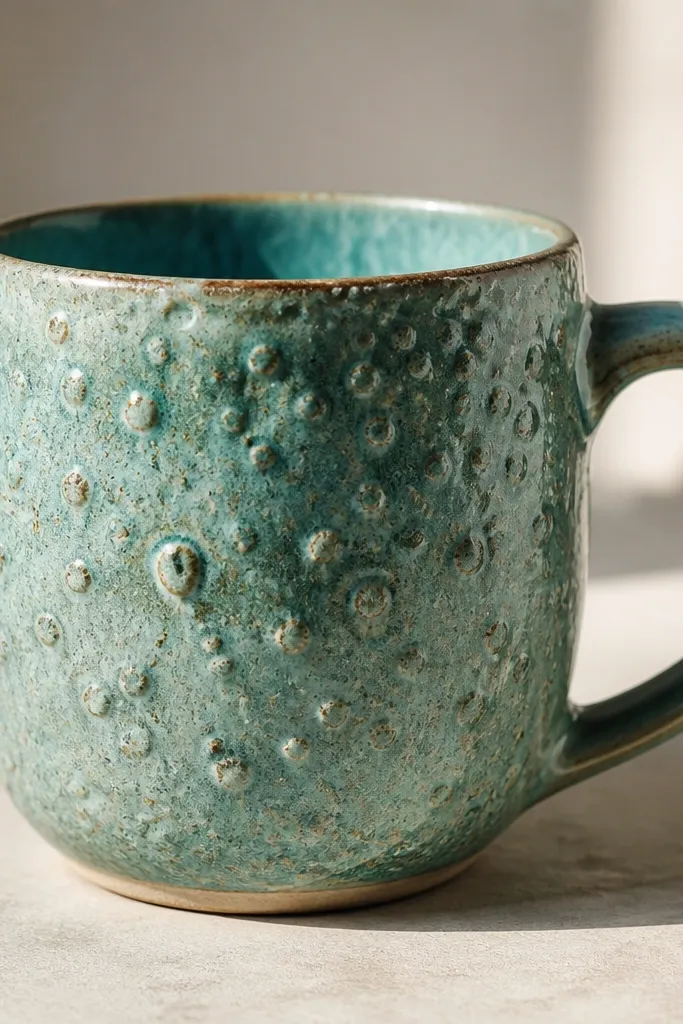
Blistering can be caused by organic residue, trapped moisture, or a firing schedule that drives off gases too quickly. If your bisque wasn’t fully dry before glazing, the first heat can turn moisture into steam and create bubbles. Sometimes it’s also a glaze fit issue where the glaze and clay expand differently.
Good to knowLet glazed pieces dry completely (no cool damp spots) before firing, and slow your ramp rate during early stages if your kiln allows it. Always bisque to a proven dryness level before glazing.
4. Patchy Coverage With Dull Spots
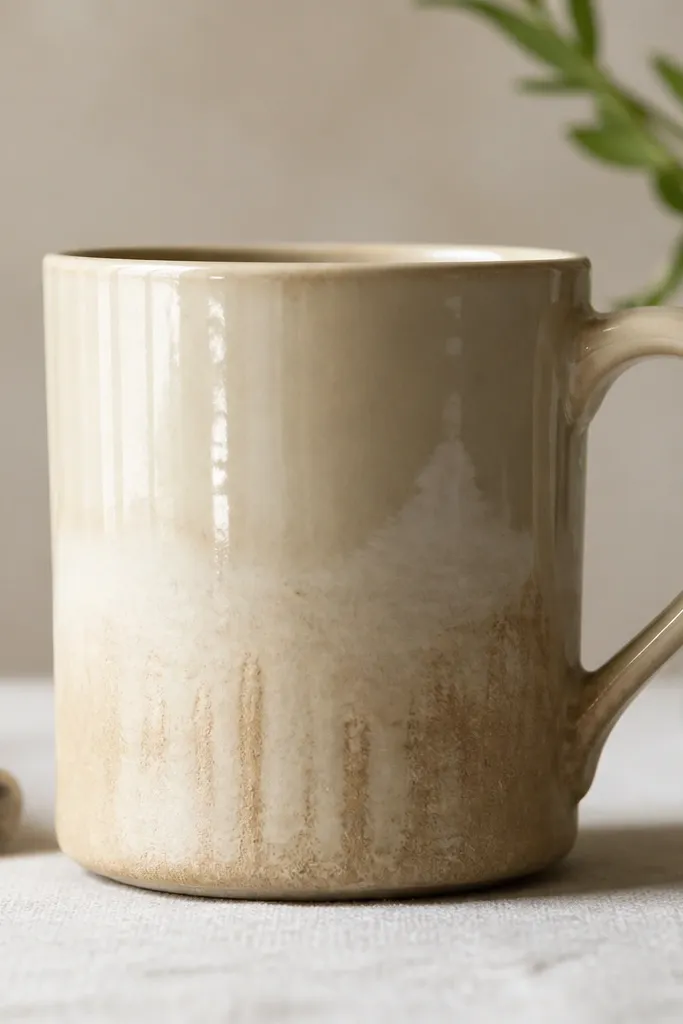
Patchiness often comes from inconsistent application — like over-brushing in one area or glazing too thin so it doesn’t level. It can also happen if your mug is too cold during dipping, causing glaze to gel prematurely. Dull areas that follow brush strokes usually mean your glaze is drying before it can flow smooth.
Good to knowAim for even thickness and use fewer, steadier strokes. If dipping, keep the mug at room temperature and avoid letting it sit out long between coats.
5. Ugly Rim Marks From Glaze Drips
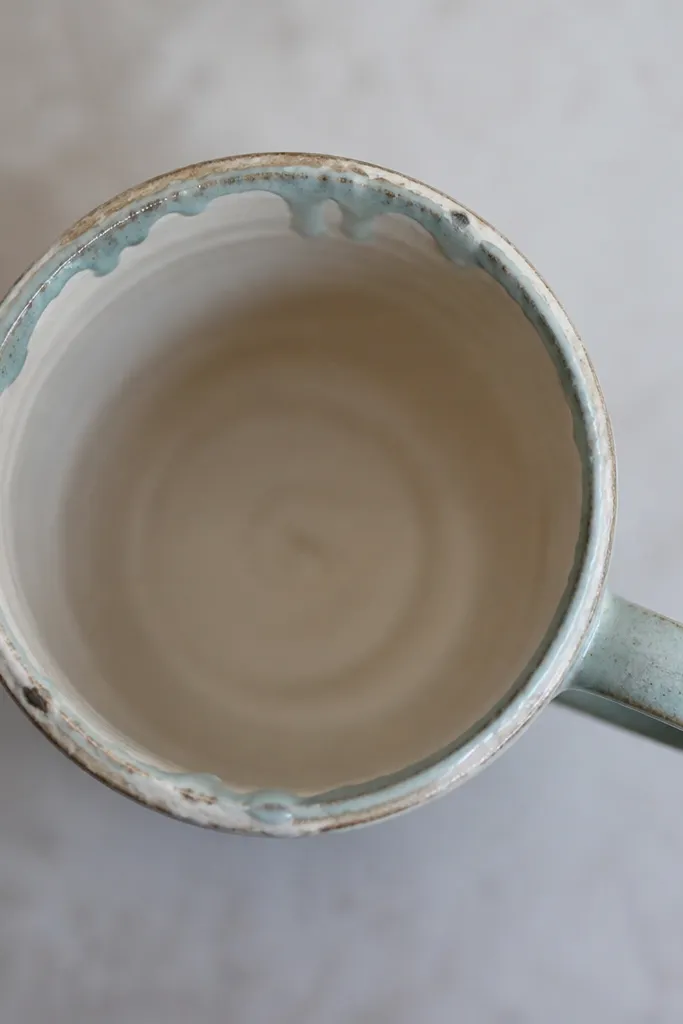
Rim issues are one of the quickest ways to ruin a finished mug look. If glaze runs over the rim and you don’t clean it off, you’ll get thicker glaze, uneven thickness, and sometimes a slightly raised lip. It’s also a food-contact concern if your glaze application is sloppy on the drinking edge.
Mask the rim area with a removable barrier or carefully wipe the rim with a damp sponge right after glazing. Keep a dedicated “clean-up” sponge and don’t reuse the same sponge that touched the glaze body.
6. Crazing That Shows Fine Hairlines
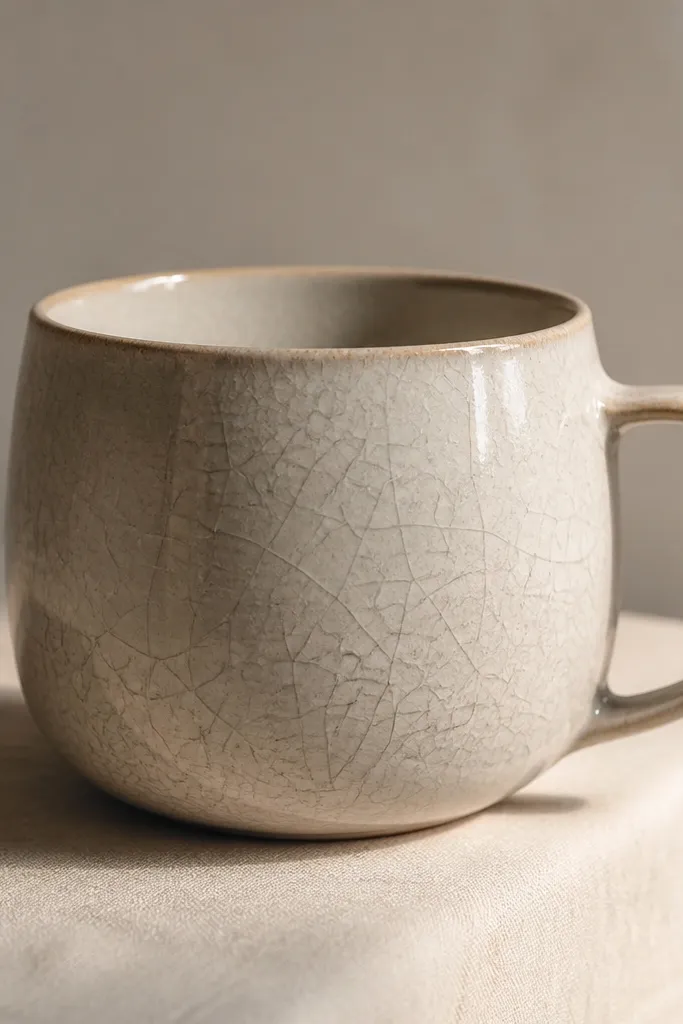
Crazing is usually a thermal expansion mismatch between clay body and glaze, plus stress from how the piece was fired and cooled. It can also be worsened by thick glaze layers or inconsistent thickness. If the cracks look like a fine spiderweb and are present across most of the surface, it’s often chemistry or fit, not handling.
Use a compatible glaze for your clay body and don’t overbuild thickness. If crazing shows up consistently, adjust glaze recipe or firing schedule rather than just changing application.
7. Glaze Peeling or Flaking on the Base
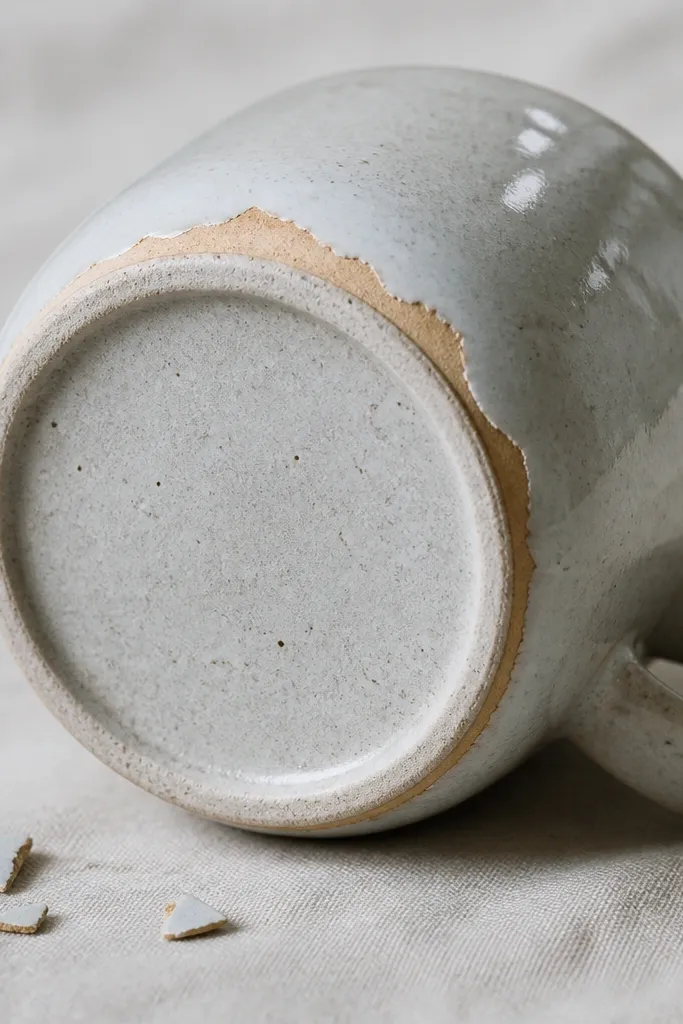
Flaking near the bottom often means the glaze didn’t bond properly — usually because the foot ring was contaminated, the mug sat on a dirty shelf, or you didn’t clean off glaze where it shouldn’t be. Sometimes it’s also caused by too much handling while the glaze was still wet. If only the base fails, focus on your contact points and clean-up steps.
Good to knowLeave the foot ring clean using a controlled wipe or cover it with kiln-safe stilt materials if needed. Handle bisque carefully and let glaze dry before firing to reduce smearing.
8. Orange Peel Texture From Wrong Viscosity
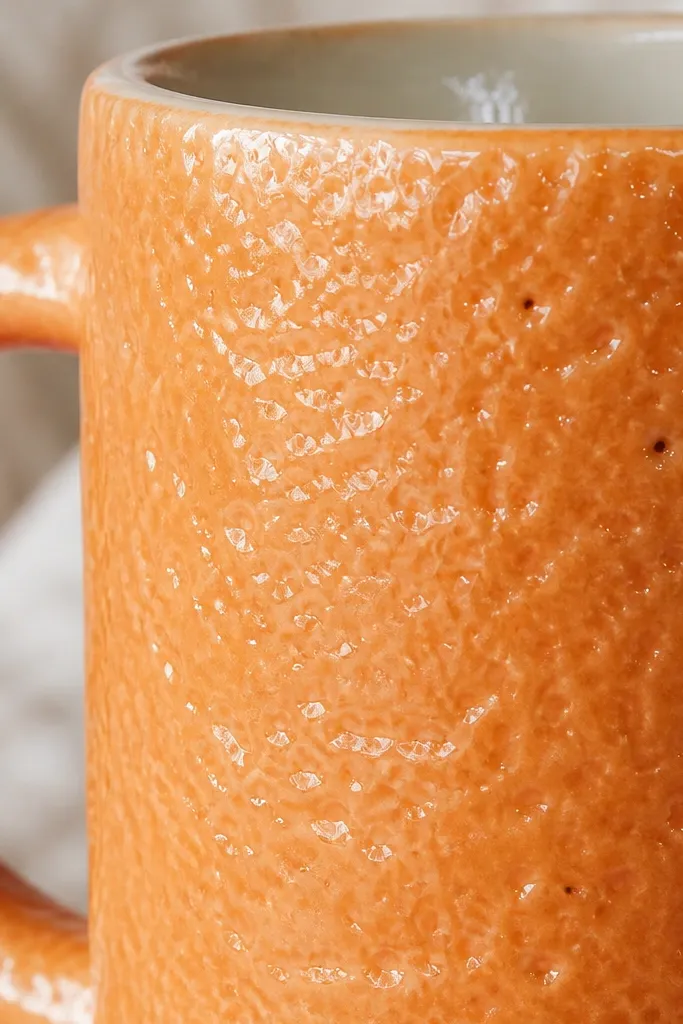
Orange peel texture happens when the glaze doesn’t level smoothly — often because it’s too thick, too cold during application, or the firing curve doesn’t allow enough melt and flow. If the texture is uniform across flat areas, viscosity and leveling are the likely culprits. If it’s only on vertical walls, application thickness variation is usually involved.
Good to knowAdjust glaze consistency by adding small amounts of water and test on a tile. Keep your glaze warm enough to flow evenly (without overheating) and apply consistently.
9. Blotchy Iron Spots or “Speckle”

Speckling and blotches can come from iron in the clay body reacting under glaze, or from contaminants in the glaze batch. If the spots line up with seams and handle joints, it can also be residue from sanding, mold release, or uneven cleaning. Some glazes intentionally show iron effects, but random heavy speckling is usually fixable.
Sieve and mix your glaze thoroughly and avoid touching bisque with bare hands. If the effect is too strong, try a different glaze with better fit for your clay body or adjust thickness.
10. Uneven Color From Over-Handling Wet Glaze
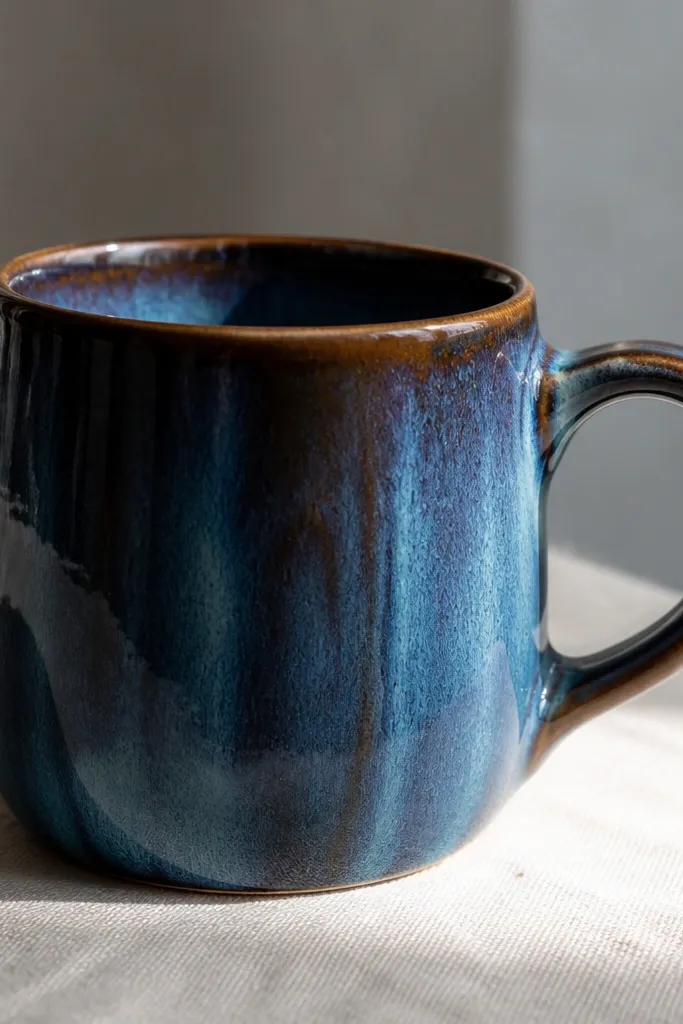
When you handle a freshly glazed piece, oils and small smudges can change how glaze wets and dries, creating streaks or darker bands. It’s especially noticeable on translucent or iron-heavy glazes. If the bands match where your hands naturally hold the mug, you’re seeing contact-caused variation.
Good to knowUse gloves and hold the mug by the handle or bottom edge only. After glazing, place it on a rack and keep it untouched until fully dry.