1. Map-Print “Travel” Mug with Clear Gel Mod Podge Finish
Cut a strip of vintage map paper (or scrapbook paper) to wrap around the mug and overlap slightly at the back. Brush a thin layer of clear gel medium/Mod Podge over the paper, then add another layer on top so the surface becomes glassy. The map detail pops because the mug stays mostly white, letting the print look crisp rather than busy.
Use a foam brush and press the paper flat from the center outward to prevent bubbles before sealing.
2. Fabric-Trim “Ribbon Handle” Mug (No Sewing, Just Heat-Friendly Glue)
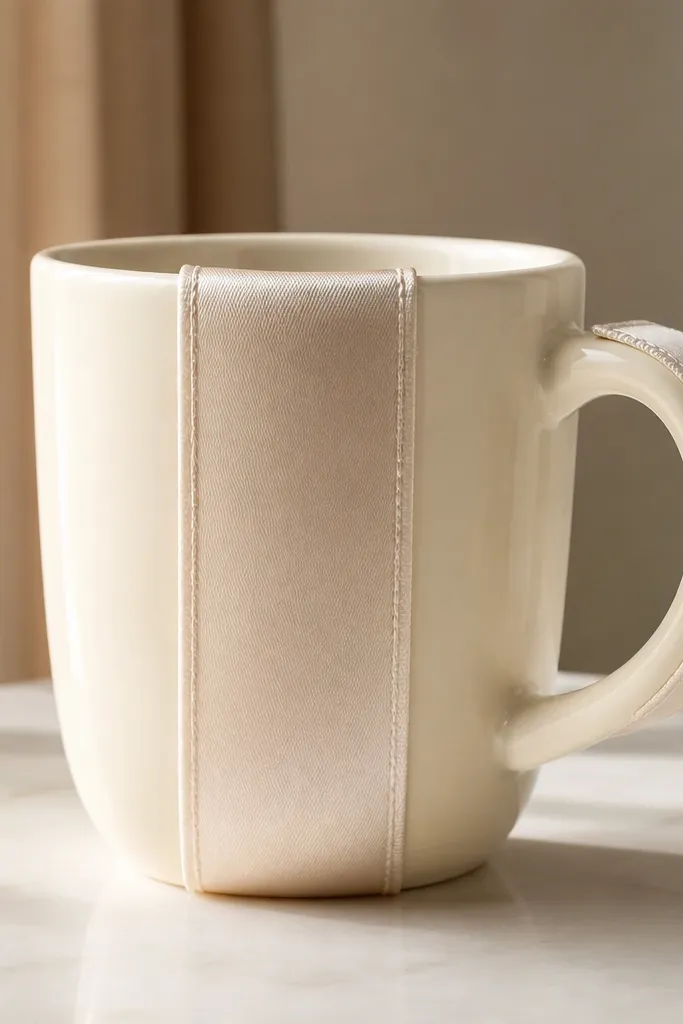
Choose a sturdy fabric trim (cotton grosgrain, linen ribbon, or vintage lace) that won’t fray easily. Glue the ribbon along the mug front with a strong fabric-safe adhesive, then wrap a smaller strip around the handle for a cohesive look. This works because the texture adds warmth and dimension even on a plain mug shape.
Before gluing, lightly sand the mug surface where the ribbon will stick to improve adhesion.
3. Sharpie-to-Stoneware Look: Faux “Marble” Mug Using Oil Pastels + Seal
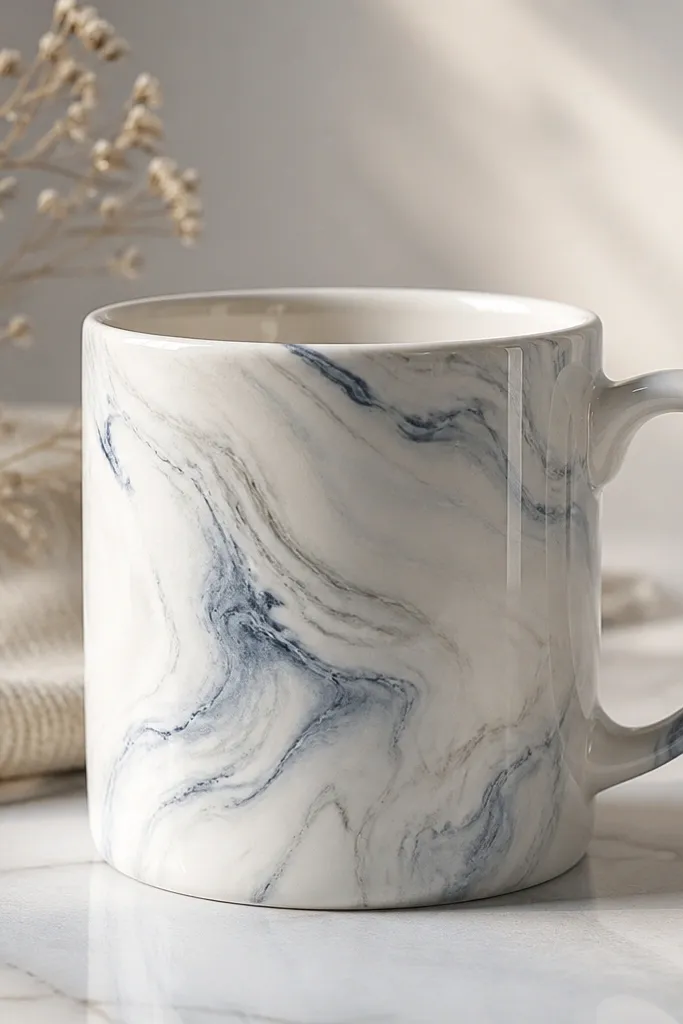
Create marble veins using oil pastels (gray, charcoal, and a muted accent like dusty blue). Lightly scratch and blend the veins with a tissue or cotton pad for a marbled effect, then heat-set if your pastel brand recommends it. Seal with a clear ceramic-safe top coat so the surface feels smooth and resists smudging.
Good to knowKeep the pastel layer thin — thick wax can smear while you blend.
4. Chocolate-Label “Cocoa Coordinates” Mug with Hand-Painted Labels
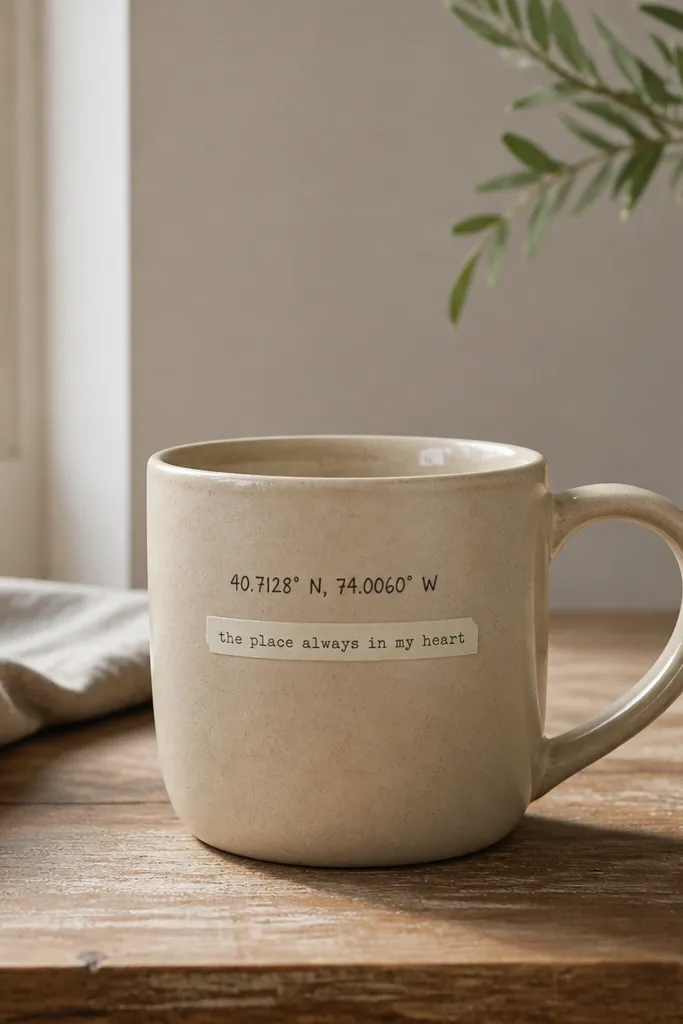
Use a small piece of label paper or cardstock to create a faux product label. Paint coordinates, a short date, or a tiny flavor note using acrylic paint, then outline the label with a fine black paint pen. This aesthetic feels like a boutique package, but it’s still just paper + paint.
Good to knowSeal the painted label edges with clear matte medium to prevent peeling when you wash.
5. Pressed-Flower Transparency Mug (Real Petals, Laminated-Look Finish)
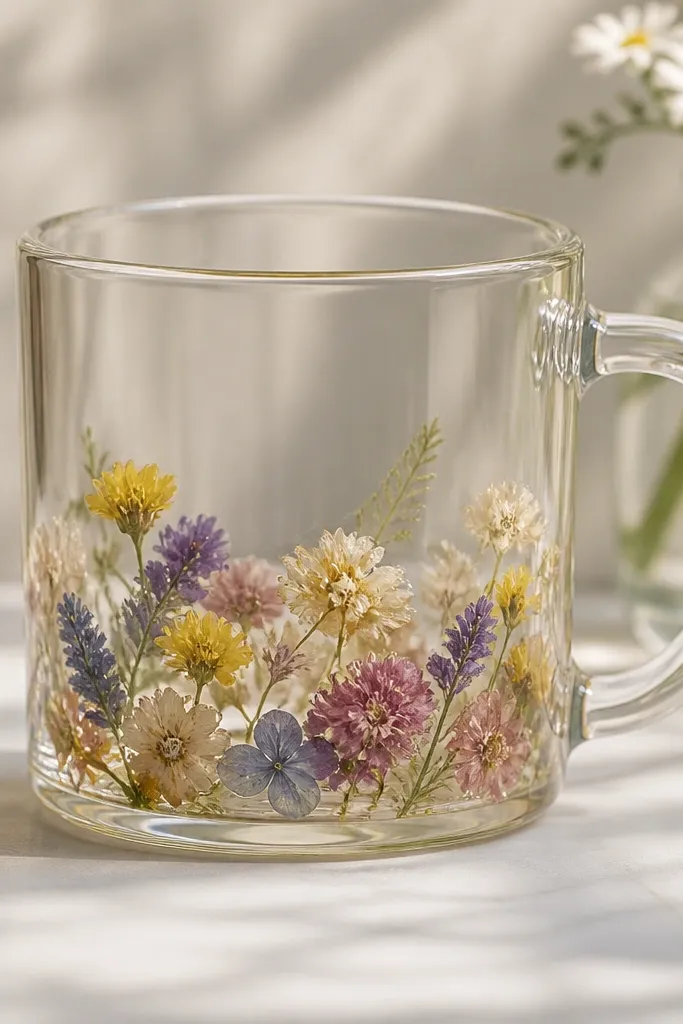
Press small flowers between book pages for 1-2 weeks, then arrange them on the mug where you want the cluster. Apply a thin layer of clear epoxy resin or a clear two-part coating designed for crafts, then seal again on top so the petals are suspended. The flowers look like they’re trapped in glass — a “wow” effect without needing kiln firing.
Work in thin coats and let each coat cure fully before adding the next to avoid cloudiness.
6. Ceramic Splatter “Studio Clay” Mug with Sponge Dots + Acrylic Sealer
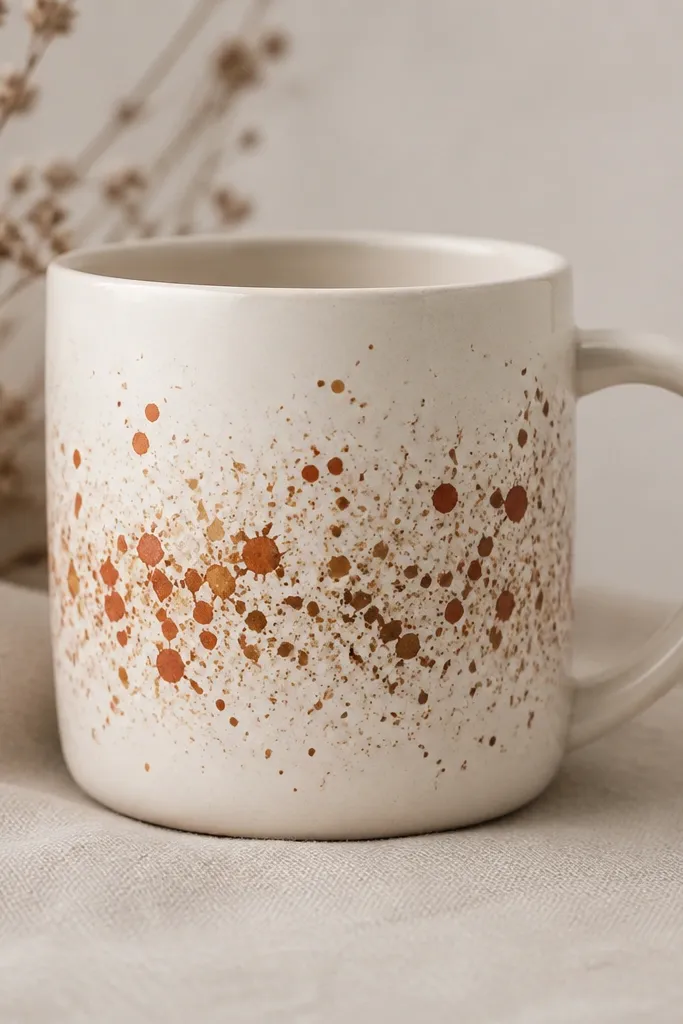
Tape off a clean band on the mug, then use a sponge to dab acrylic paint in small circles for a speckled ceramic look. For splashes, flick a toothbrush loaded with paint from above, keeping distance consistent for a neat pattern. Concentrating the splatter around the center keeps it balanced and prevents the design from looking chaotic.
Good to knowTest your flick distance on paper first so your dots are the size you want.
7. Upcycled Tile Mosaic Mug (Broken Tile Accent Band)
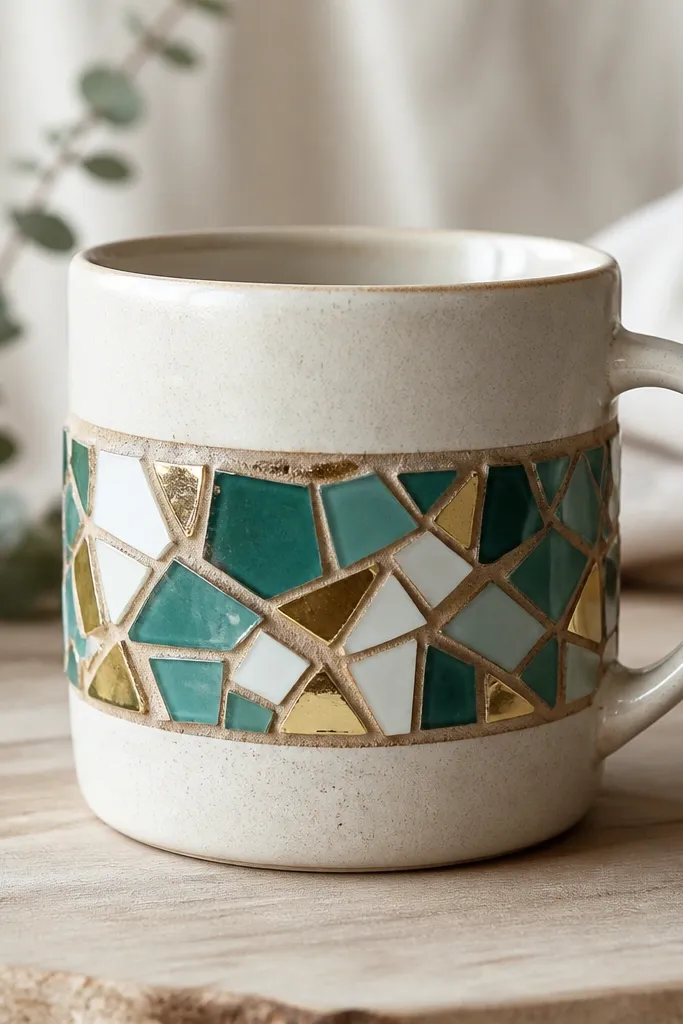
Save broken bathroom tiles or buy clearance mosaic pieces. Apply tile adhesive to a strip area on the mug, press the tiny pieces into place, and use grout (thinned to spread) to fill gaps. The tile effect reads high-end because the colors have depth and the grout lines create structure.
Seal the finished band with grout sealer once cured so stains wipe off easily.
8. Vintage Button Border Mug (Warm, Textured Frame Around the Rim)
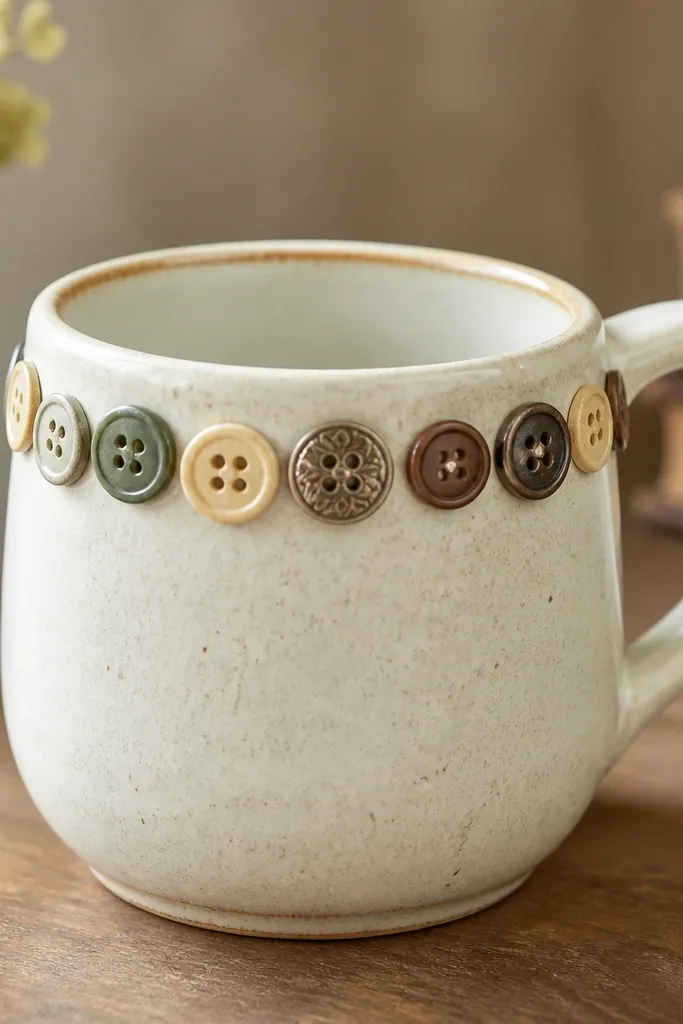
Pick buttons with similar tones (cream, rust, chocolate, and muted green) so the mix looks curated. Glue them as a border near the top — not on the drinking lip — so they stay safe and comfortable. The tactile rim frame makes even a plain mug look like farmhouse decor.
Use a strong craft glue and keep the button height consistent so the border sits flat.
9. Stenciled “Cookie Jar” Typography Mug with Soft Color Blocks
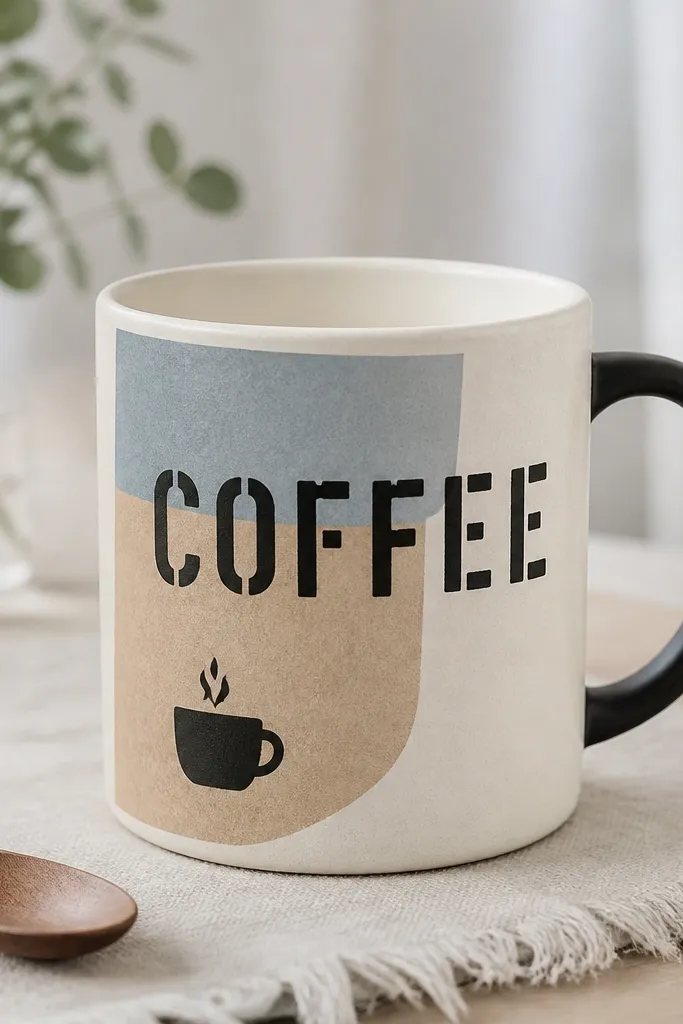
Use a stencil for bold typography and paint in two steps: first the background block, then the letters. Acrylic craft paint works well for matte coverage, and you can add a second coat after drying for solid opacity. This idea looks clean and aesthetic because the negative space on a mug is naturally limited, so crisp edges matter.
Good to knowPut painter’s tape under the stencil edges to prevent paint bleed.
10. Monogram “Gold Leaf” Mug without Pottery Tools (Adhesive + Transfer Leaf)
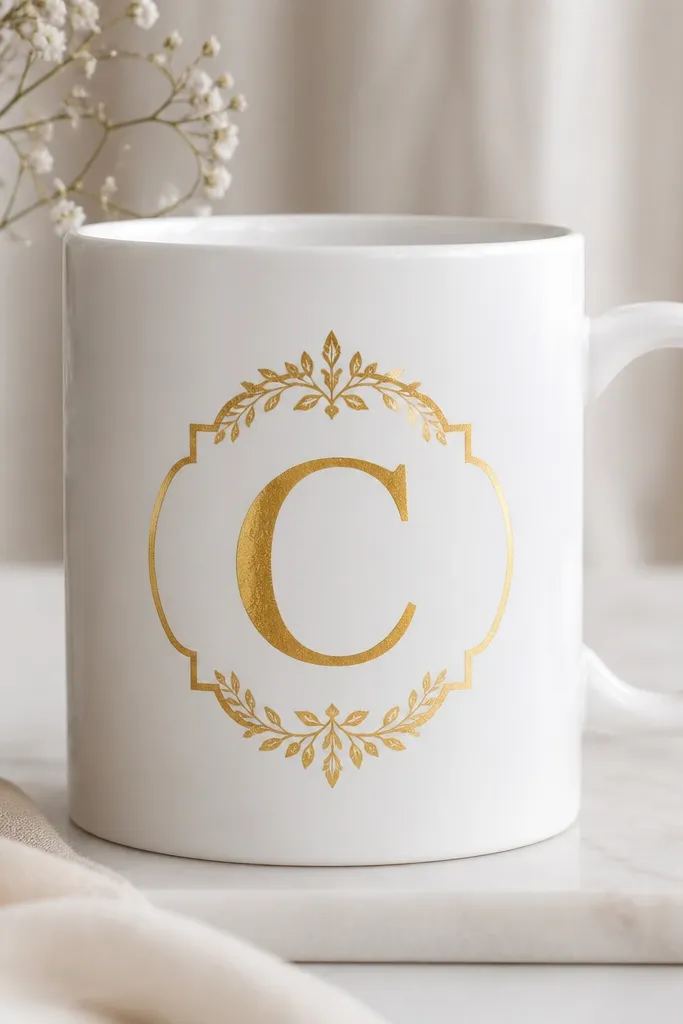
Choose adhesive leafing size (or a leaf-ready glue) and apply it where your monogram will go, using painter’s tape to mask the edges. Lay transfer gold leaf over the tacky area and burnish gently with a soft tool. The metallic finish photographs beautifully and makes a thrift mug feel custom.
Seal gold leaf with a thin clear protective coat to keep it from rubbing off.