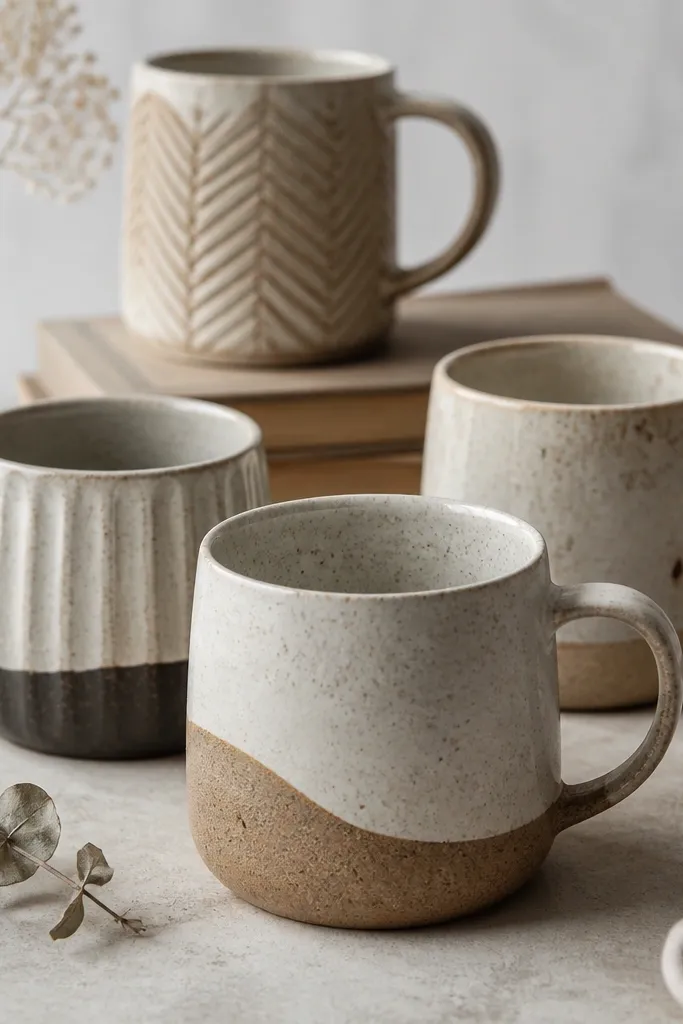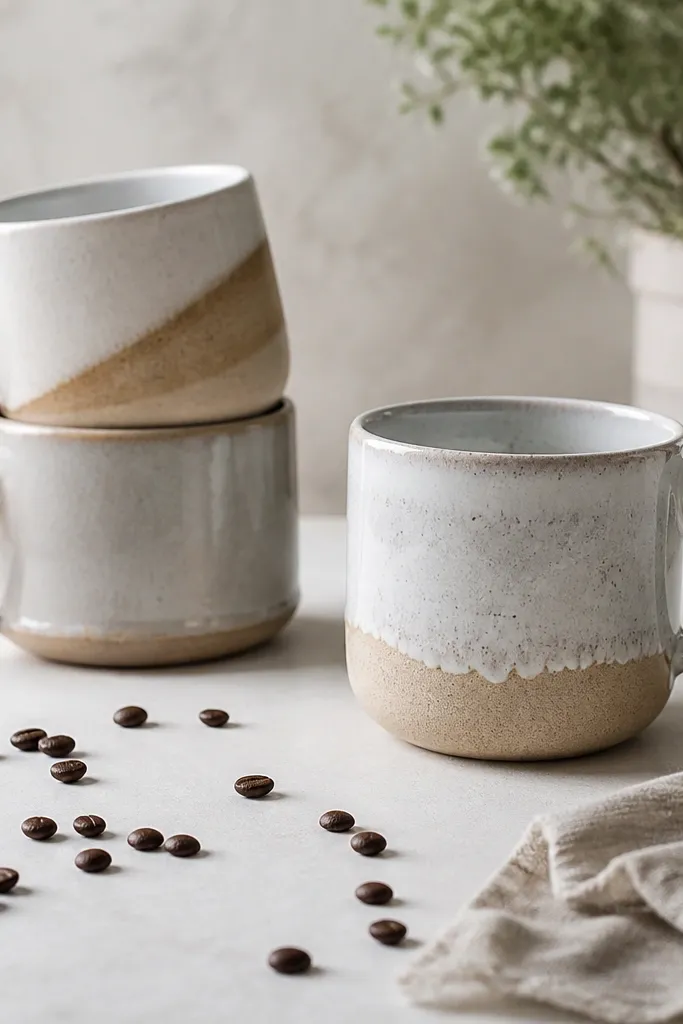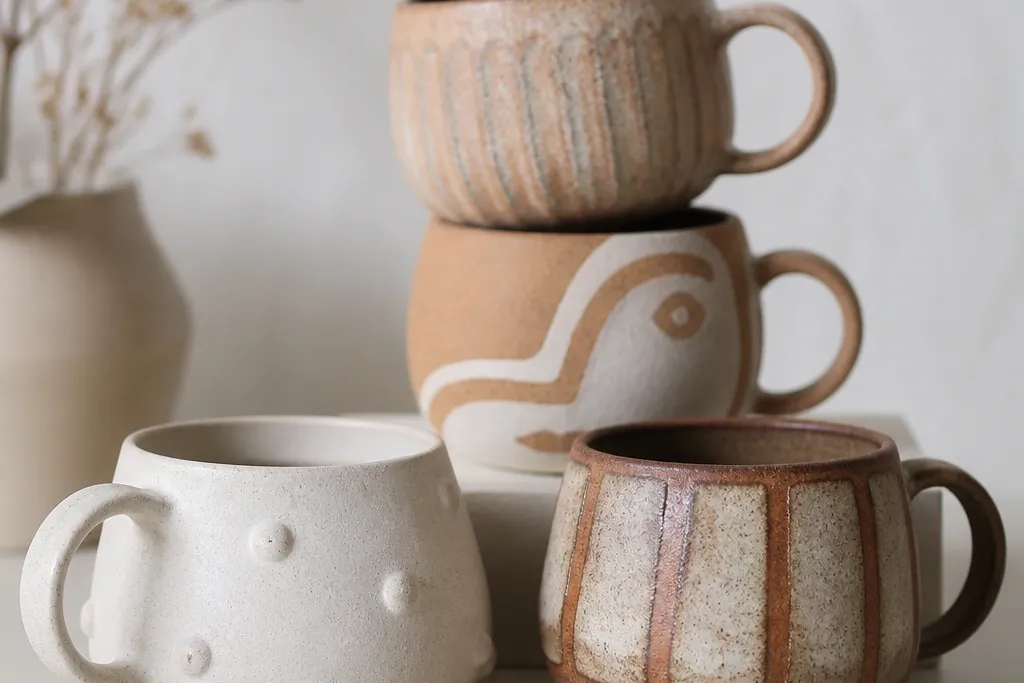

1. Cobalt Speckle Sea Mug
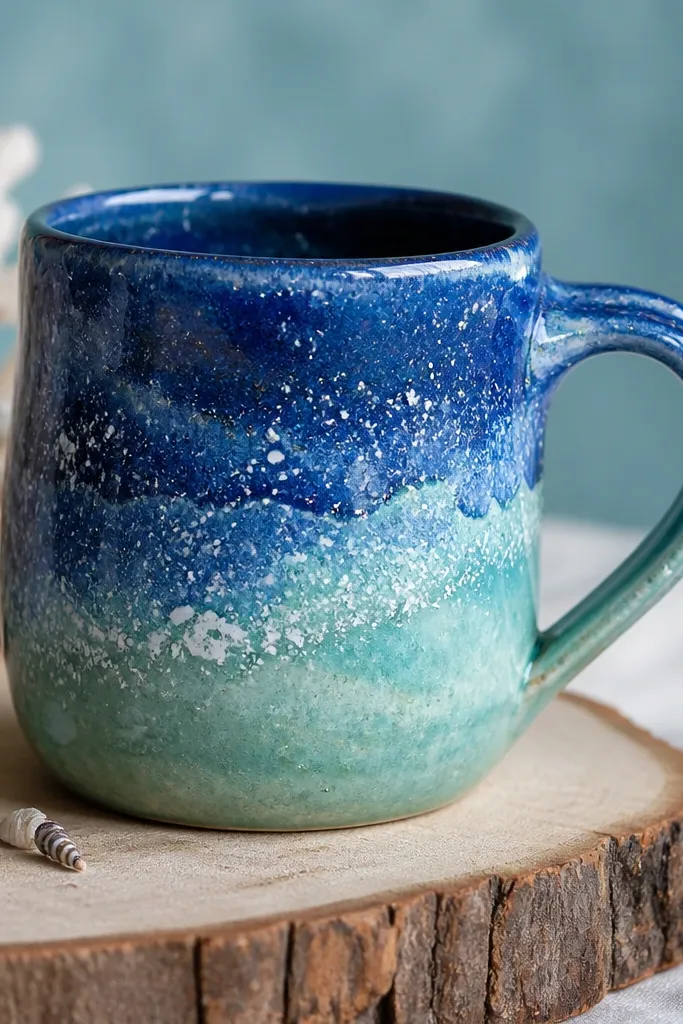
Start with a satin sea-green glaze, then add cobalt speckles by layering a thin cobalt wash and flicking it with a stiff toothbrush. The trick is keeping the base glossy so the speckles look like light catching water. Finish with a clear coat if your specks feel dry to the touch.
Good to knowPractice the flicking on a scrap tile first — aim for medium speckle density so it looks intentional, not messy.
2. Sandstone Slip + Carved Waves
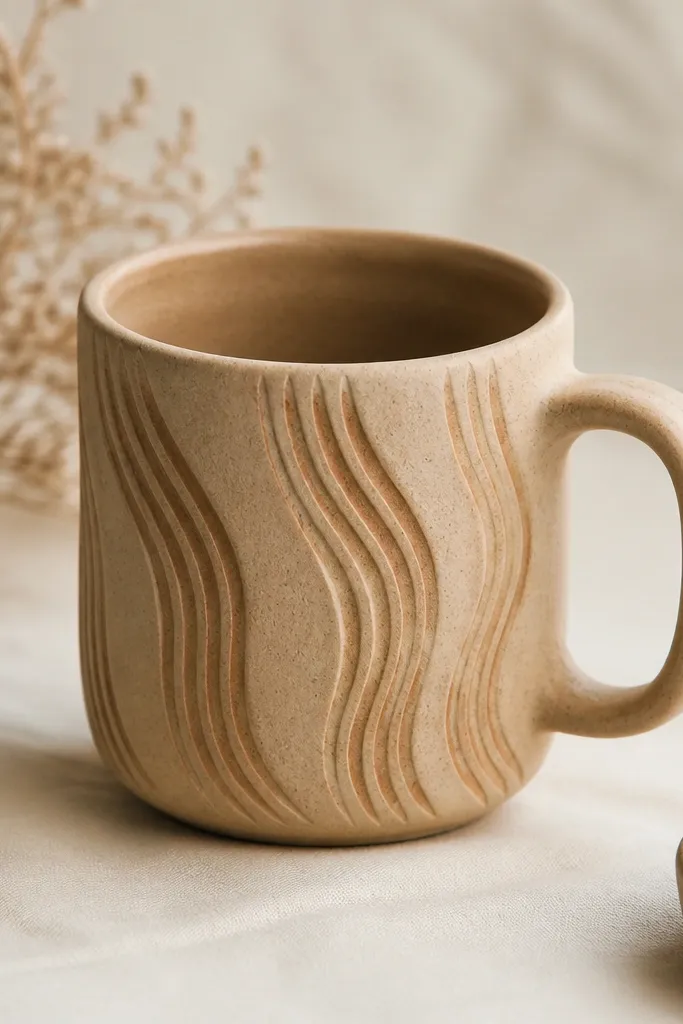
Use a sandstone-toned slip over your clay body, then carve shallow vertical wave grooves before firing. After bisque, you can rub a darker slip into the grooves and wipe the surface clean. This creates a “shadow line” effect that reads beautifully in photos and in-hand.
Keep grooves shallow (about the thickness of a fingernail) so they don’t weaken the mug wall.
3. Terracotta + White Dipped Rim
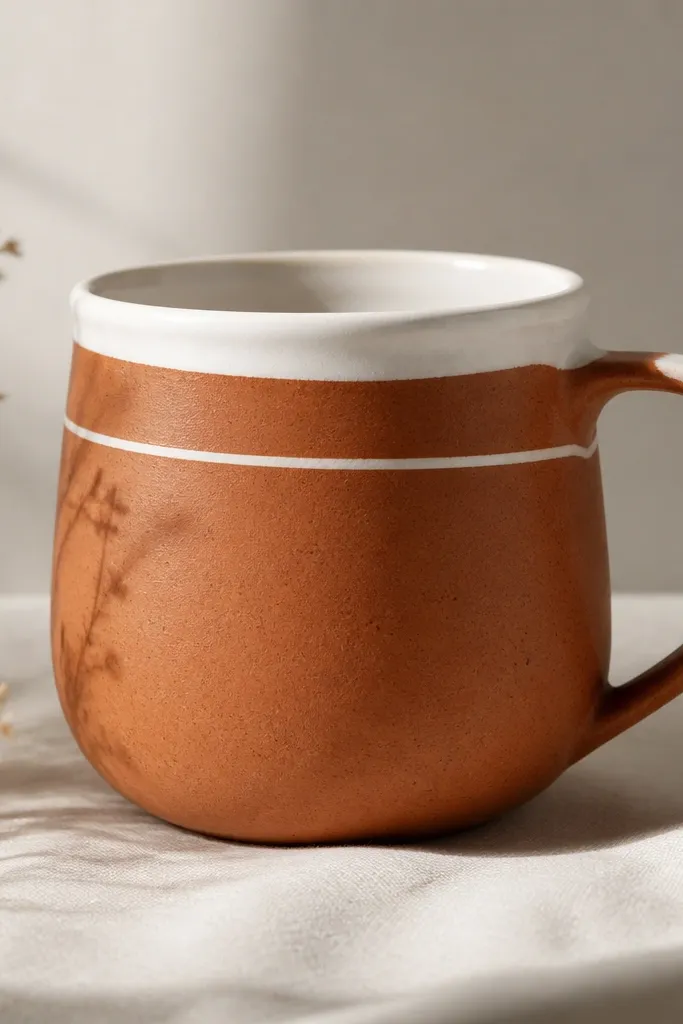
This design is all about contrast. Glaze the body with a matte terracotta or iron-rich glaze, then dip only the rim into a bright opaque white. Add a second narrow white band higher up for balance. The matte + glossy combo makes the mug look high-end without complicated patterning.
Mask with painter’s tape or a soft wax resist to keep the white band sharp and prevent glaze creep.
4. Forest Moss Drip Ombre
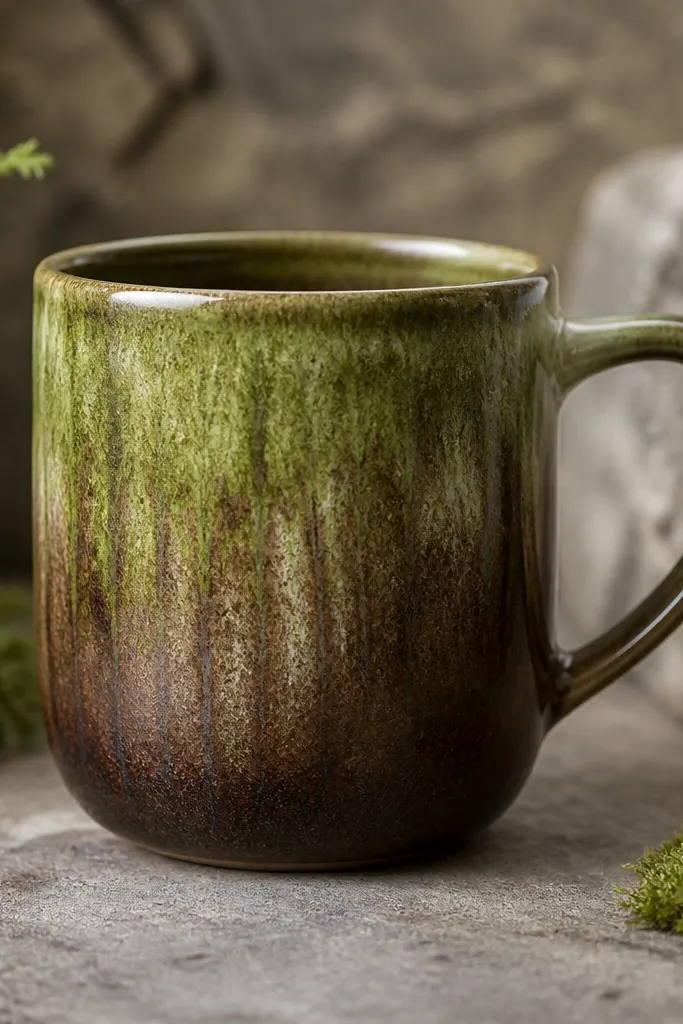
Apply a brown base glaze, then brush moss-green glaze higher on the mug so it naturally drips down during firing. To get an ombre look, blend where the colors meet by feathering the brush in small arcs. Drips should be thin and controlled — they read “organic” when they’re not too thick.
Good to knowTilt the mug slightly while loading it into the kiln so drips form evenly on all sides.
5. Midnight Plum Geometric Panels
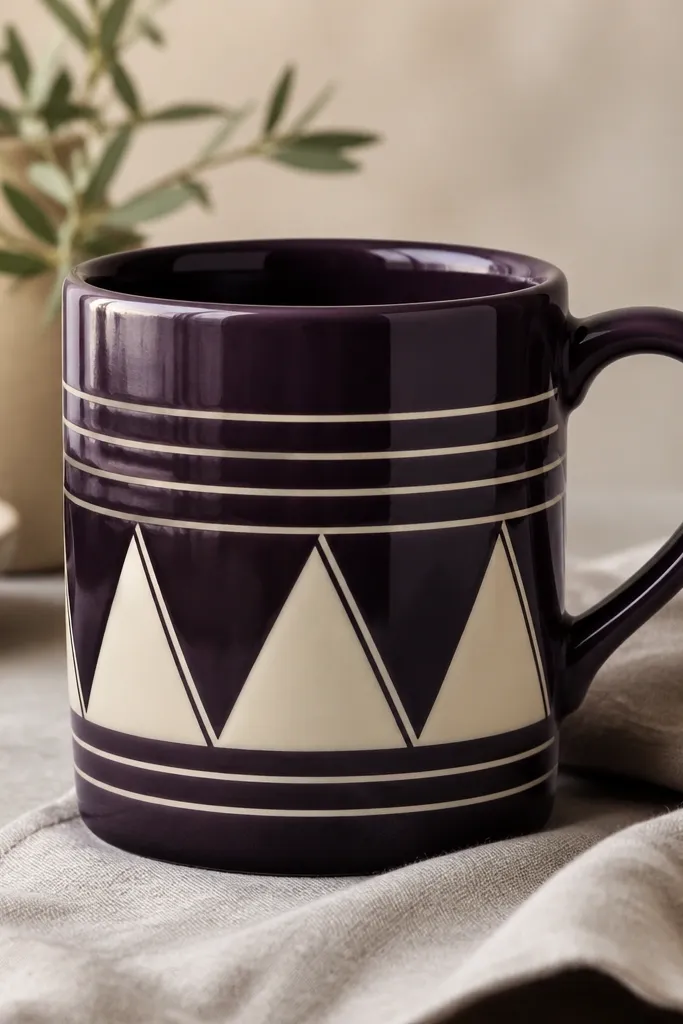
Paint geometric panels with underglaze or glaze paint under a clear coat. Use a ruler and a flexible stencil film to keep lines sharp. The contrast (midnight plum + cream) makes the mug look like modern studio pottery, especially when the glaze is glossy.
Let each painted section dry fully before adding the next — wet layers can bleed and blur edges.
6. Botanical Stem Sgraffito
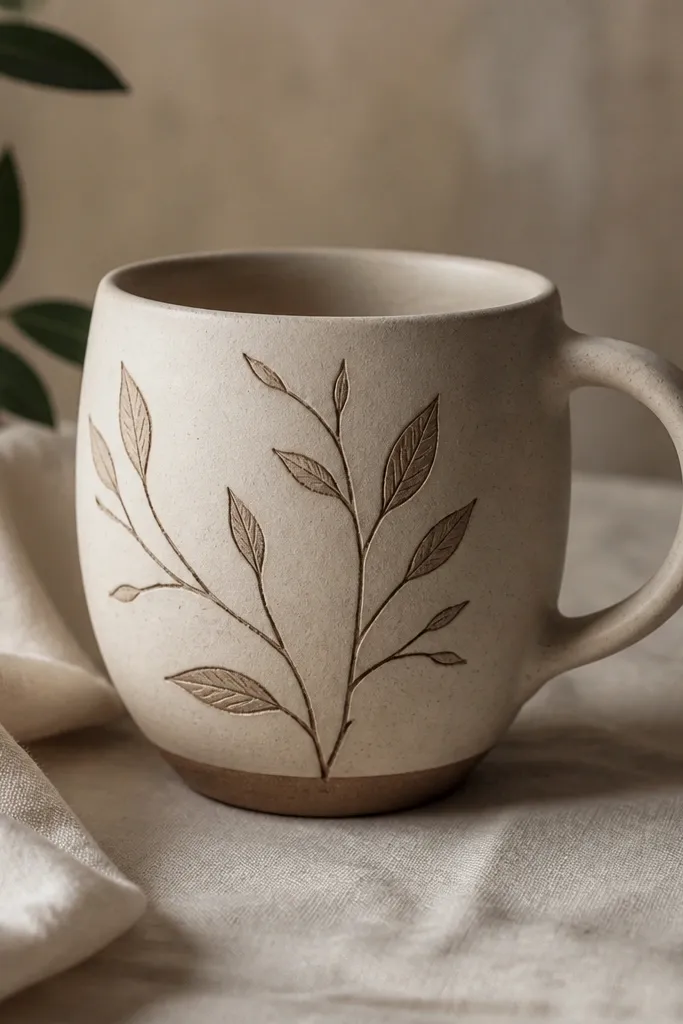
Coat the mug with a light slip or pale underglaze, then sgraffito on top to scratch in stems, leaves, and tendrils. When fired, the scratched lines show through darker clay or a darker underlayer. This technique looks delicate without needing tiny brushwork.
Good to knowUse a needle tool and draw lightly first — you want hairline scratches, not deep cuts.
7. Cherry Blossom Petal Fade
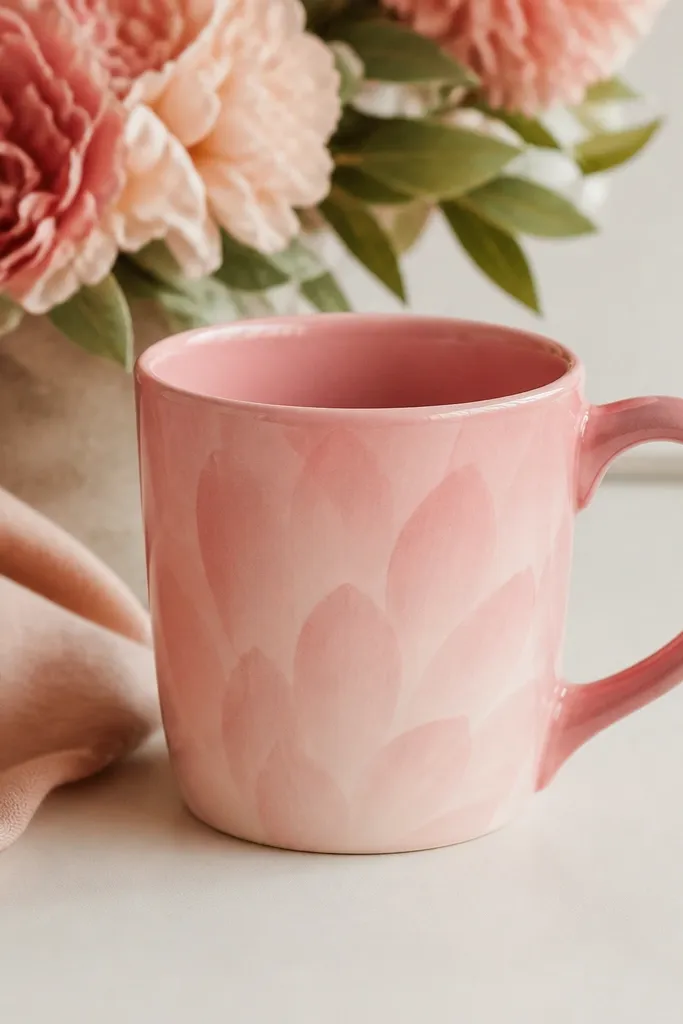
Build a gentle pink fade using a sponge or sea sponge: dab from the center outward so edges stay lighter. Add petal motifs by tapping small rounded dots and short comma strokes while the glaze is still workable. A darker blush outline around petals makes them look like stamped blossoms rather than random dots.
Good to knowSeal with clear glaze so the surface stays smooth for drinking — textured glazes can feel rough if over-thick.
8. Brass Highlights on Speckled Clay
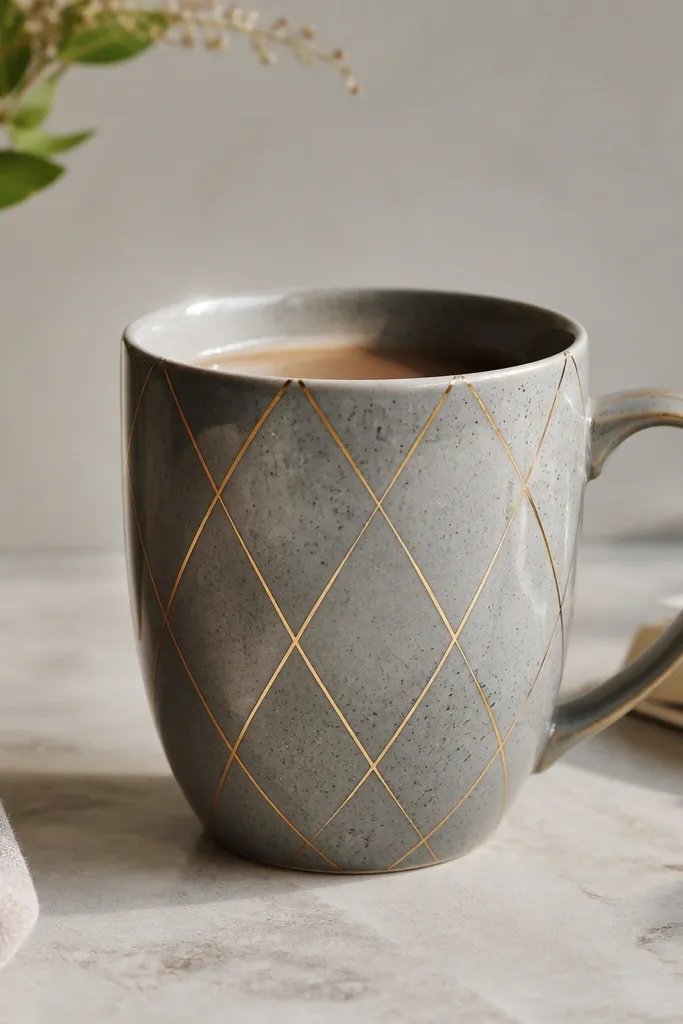
Use a warm-gray speckled glaze as your base, then paint a thin lattice with metallic glaze or underglaze mixed for a gold tone. Keep lines narrow so they don’t look like thick paint. Metallic accents make the mug look “gallery-ready” while the speckle keeps it handmade and not too perfect.
Apply metallic lines in 2 thin coats instead of one thick coat to reduce bubbling.
9. Creamy Stripes + Thumbprint Handle Grip
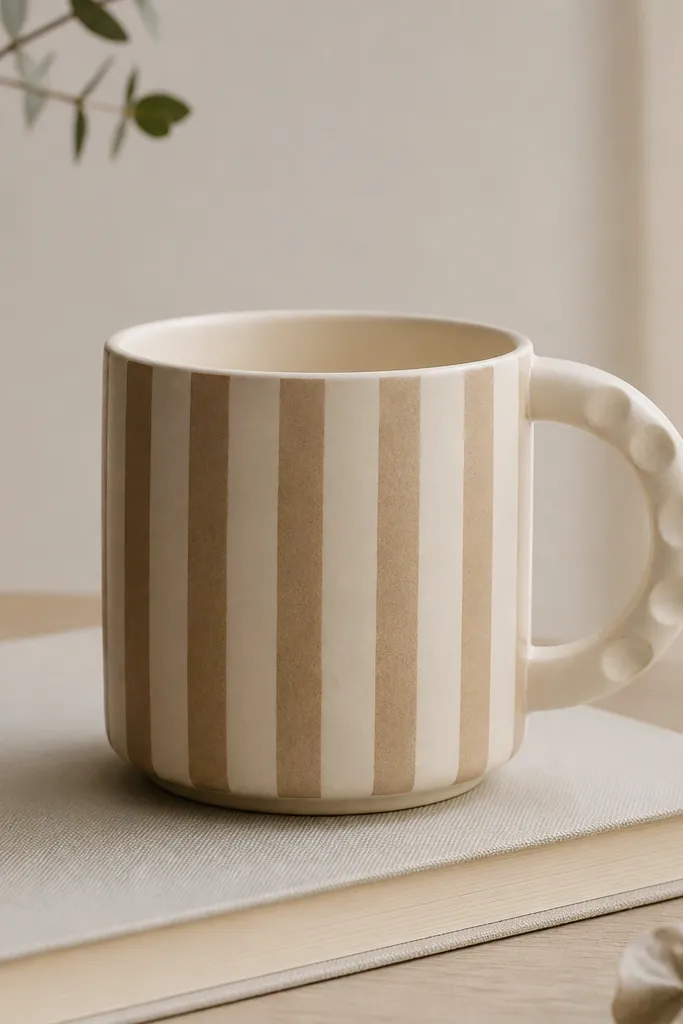
For the body, paint vertical stripes with underglaze and wipe the edges slightly for a vintage “hand-painted” look. For comfort, sculpt thumbprint dimples into the handle grip before firing. The dimples also photograph well because they create small highlights and shadows.
Good to knowTest the handle thickness by holding it for 10 seconds — if it feels bulky, thin the handle before final firing.
10. Charcoal Smoke Wash + White Calligraphy
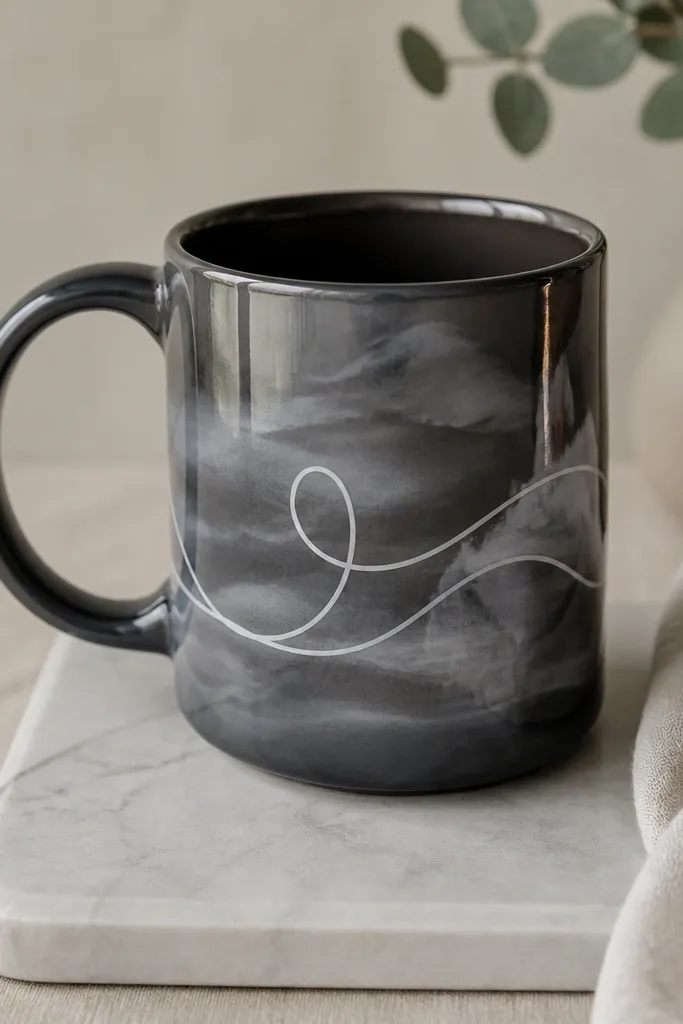
Brush a charcoal wash in uneven horizontal swipes so it looks like smoke drifting. Once dry, add white calligraphy marks using glaze paint or underglaze and a fine liner brush. The cloudy background makes the text pop without needing heavy contrast.
Good to knowUse painter’s tape as a guide strip for your lettering line so the script stays straight around the curve.
11. Ocean Tile Coaster-Inspired Mug Pattern
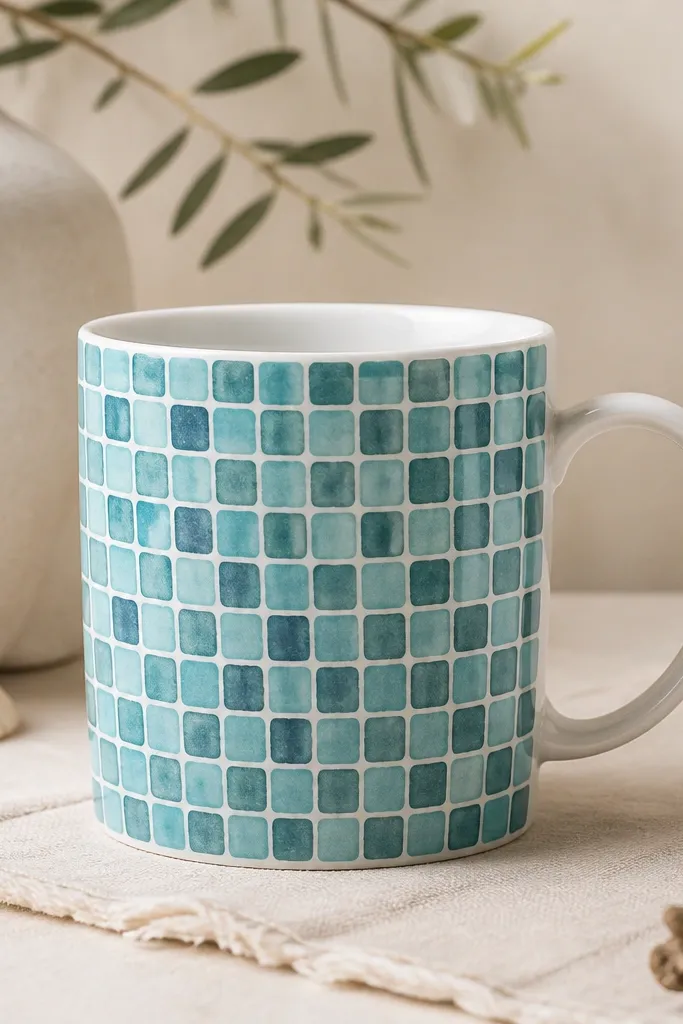
Pull inspiration from tile layouts: outline small rounded squares and fill them with aqua/teal underglaze blocks. Keep grout lines (the white separators) consistent in width so the pattern reads as “designed.” This style looks especially good on mugs because the repeating motif wraps naturally.
Good to knowMark a light reference line around the mug (using a washable pencil) before you start so the pattern alignment stays even.