
1. Thrifted Mug + Gold-Leaf Crackle Constellation
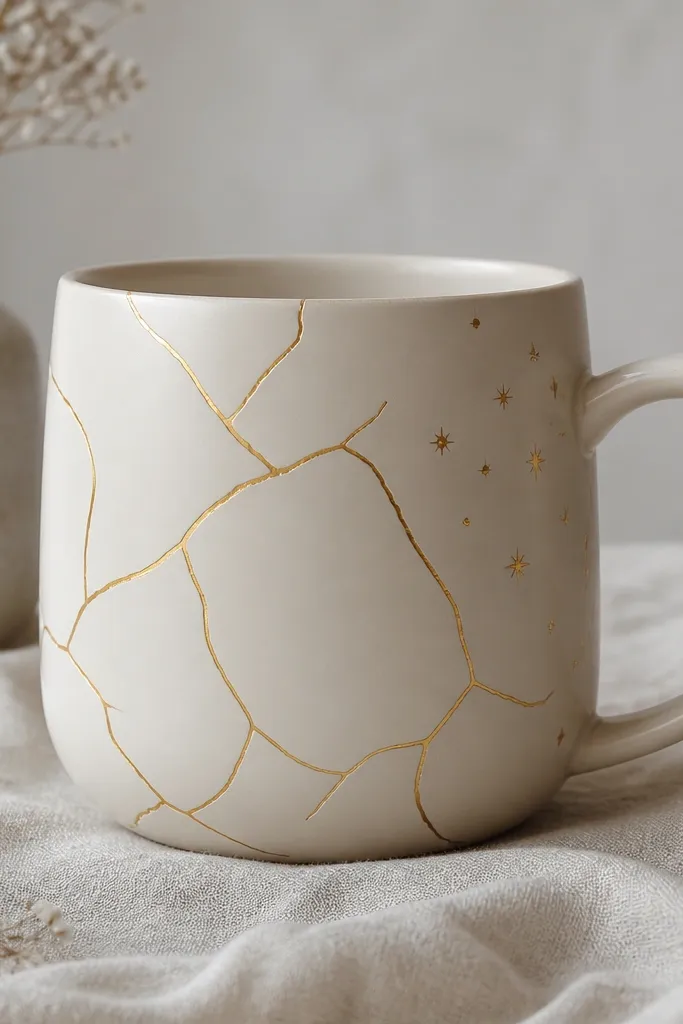
Start with a plain thrifted ceramic mug (no chips on the rim). Paint a clear adhesive in a loose crackle pattern, then press gold leaf pieces into the wet tack for a warm, expensive look. Finish with a thin topcoat made for ceramics so the gold doesn’t rub off.
Good to knowPractice the crackle on paper first, then seal with a ceramic-safe clear coat after the adhesive cures fully.
2. Upcycled Tile Mosaic Mug (Coastal Blue Grid)
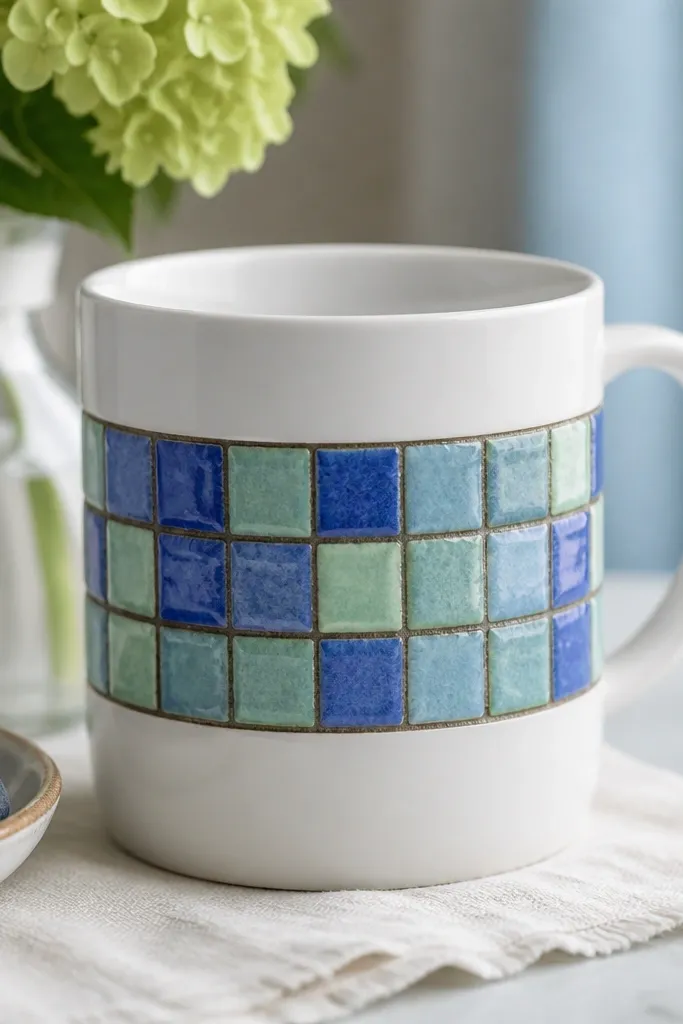
Use small leftover tile pieces (think 1/4 to 1/2 inch squares) from a scrap backsplash lot. Arrange them around the mug in a horizontal band, leaving the handle area clean. Seal gaps with a thin grout-style filler or ceramic mosaic adhesive, then topcoat for a smooth feel.
Keep tile edges slightly rounded with sanding so the mosaic doesn’t feel scratchy when you drink.
3. Broken Plate Decoupage Mug (Botanical Collage)
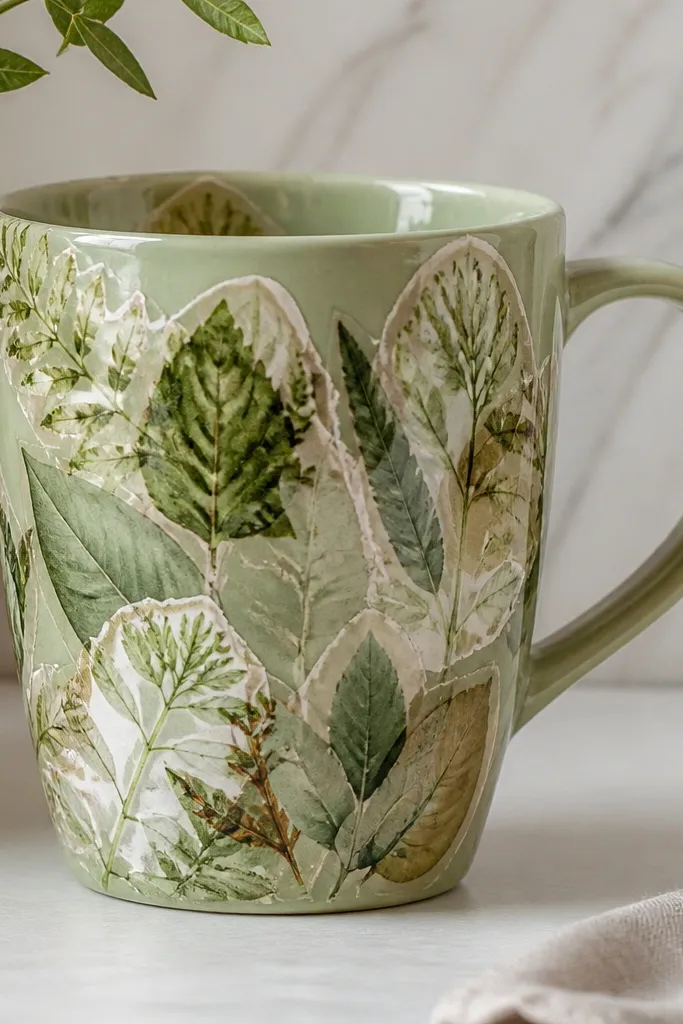
Collect safe-for-crafts broken plate fragments or thin ceramic paper prints inspired by old botanical books. Cut or tear botanical images, then decoupage onto the mug with a brush-on medium designed for ceramics. Seal with multiple thin coats so the surface stays glossy and wipeable.
Good to knowApply medium in thin layers and let each coat dry completely to prevent bubbling.
4. Ceramic Transfer Sticker Mug (French Market Stripes)
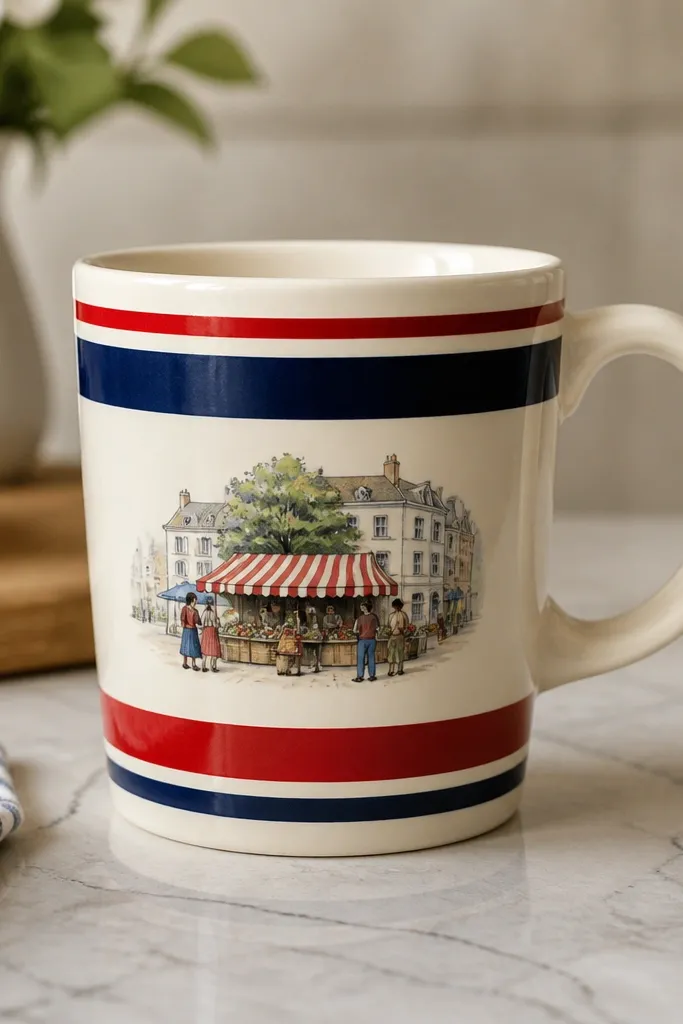
Use ceramic transfer stickers or decals made for mugs. Place the design on a clean, dry surface and press firmly to avoid trapped air. Bake according to the decal instructions (often at a specified temperature and time) for a durable bond.
Wash the mug with dish soap, then wipe with rubbing alcohol before applying the decal.
5. Sgraffito Clay Accent Mug (Leafy Rim Groove)
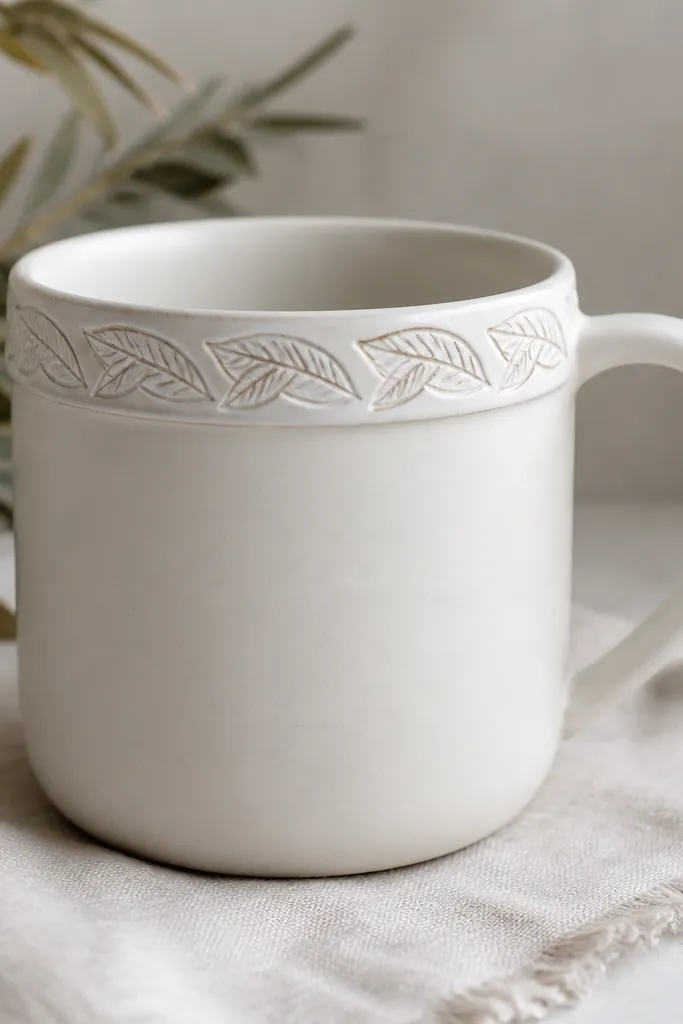
Add air-dry clay or polymer clay details around the mug rim (avoid covering the drinking lip). Once the clay firms up, scratch leafy lines through the raised pattern for a sgraffito look. Seal with a ceramic-friendly sealer or topcoat to protect the carved texture.
Use a damp sculpting tool to sharpen leaf grooves without tearing the clay.
6. Sharpie-Resist Stain Mug (Café Latte Marbling)
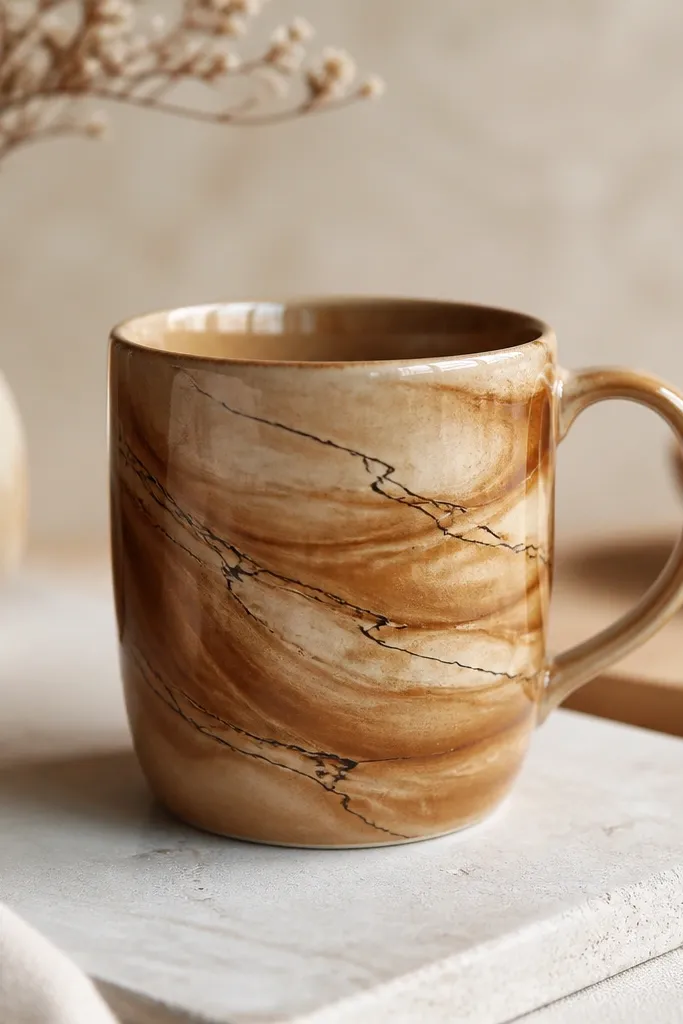
Draw resist lines with an alcohol-based marker on a matte ceramic surface, then apply ceramic stain or diluted paint in swirls. The resist keeps certain areas lighter, creating a marbled “latte foam” effect. Seal with a clear ceramic topcoat for a smooth, drink-safe wipe surface.
Good to knowThin your stain/pigment so it spreads like watercolor, not puddles.
7. Fabric Ribbon Wrap Mug (Vintage Tea Party Texture)
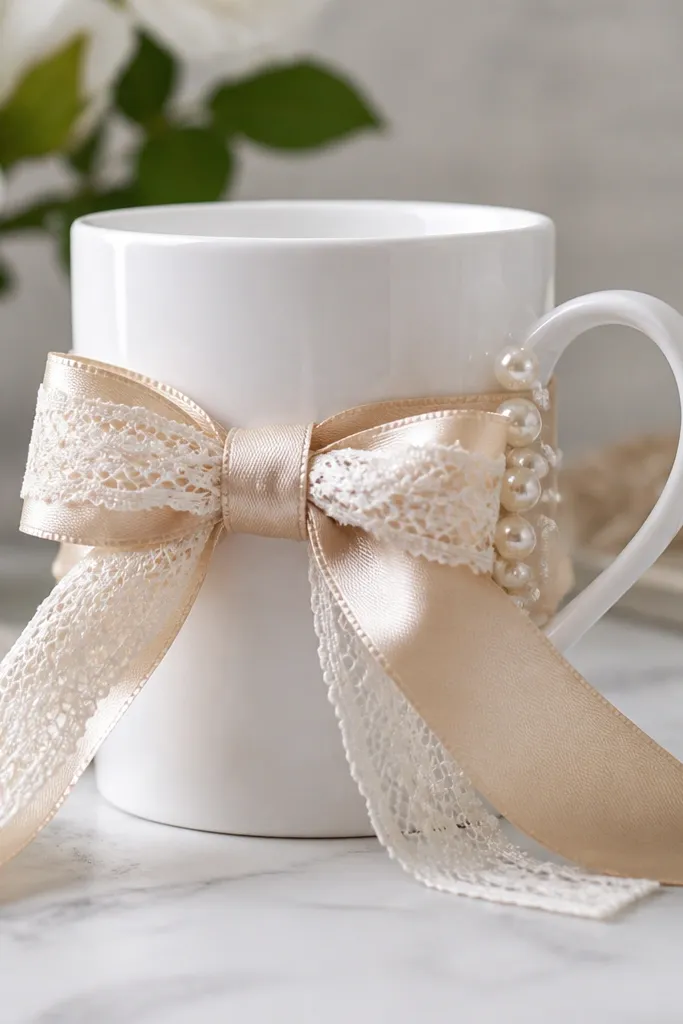
For a super-fast cozy look, wrap a mug exterior with ribbon layers and secure with a fabric-safe adhesive that won’t soak through. Add a small charm or faux pearl cluster near the handle for a “saved from an old gift bag” vibe. This is a style-first option that stays adorable for display or cold drinks.
Good to knowDo not glue ribbon near the inside rim; keep it strictly on the outer wall so cleaning is easy.
8. Mug + Lace Stencil Paint (Creamy Doily Blooms)
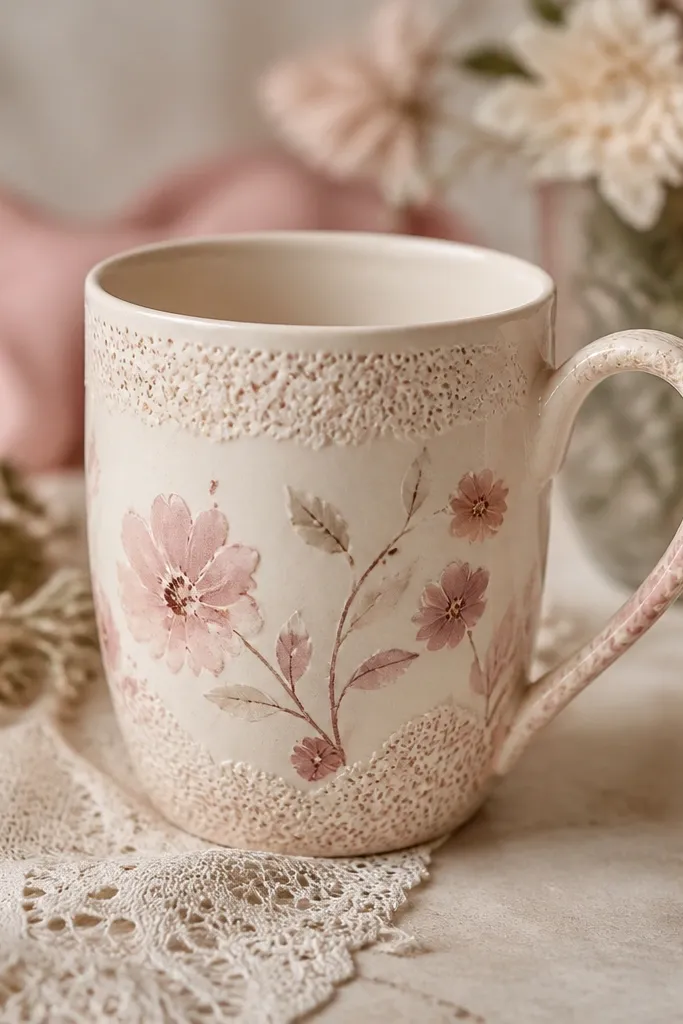
Use a piece of lace as a stencil: press it flat against the mug and dab ceramic paint in light layers. Peel the lace away to reveal crisp bloom shapes with a slightly imperfect, handmade edge. Build up color slowly so the pattern stays airy, not heavy.
Good to knowLet each paint dab dry 10-15 minutes, then add a second layer for better opacity.
9. Thrift Flip: Paint-Off Ombre Mug (Sunset Clay Colors)
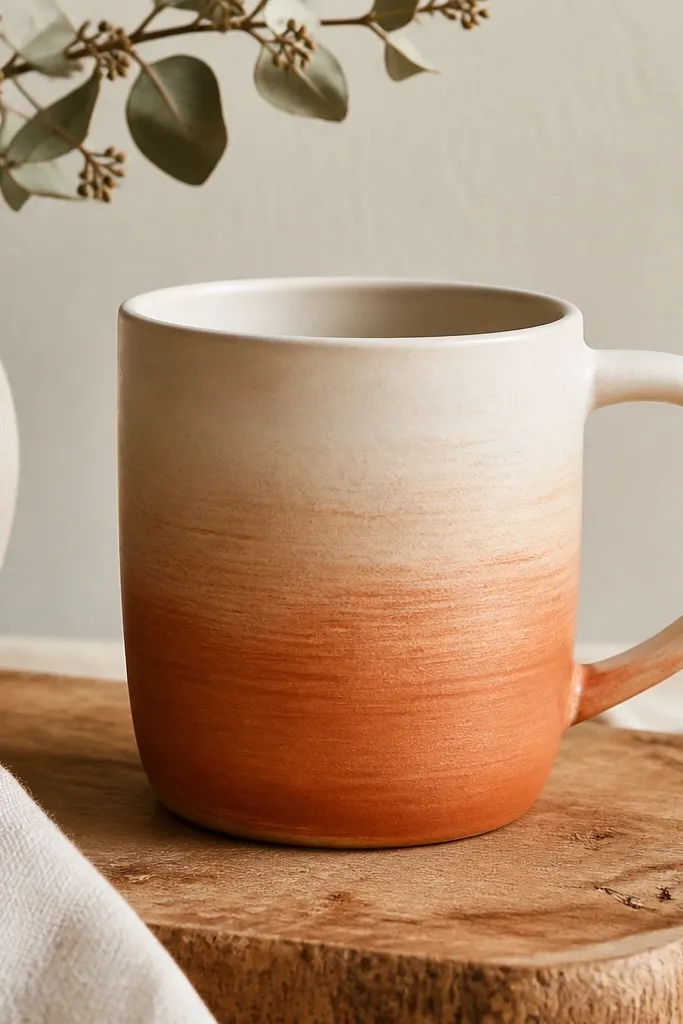
Start with a thrifted mug that’s already a light base. Brush paint from the bottom upward, then wipe the brush edge to blend into the lighter section. Add a second color layer (like clay orange over terracotta) for depth. Seal with a matte-to-satin ceramic topcoat to keep it cozy instead of glossy.
Blend while paint is still slightly tacky for smoother transitions.
10. Pegboard-Inspired Dot Mug (Playful Minimal Polka Grid)
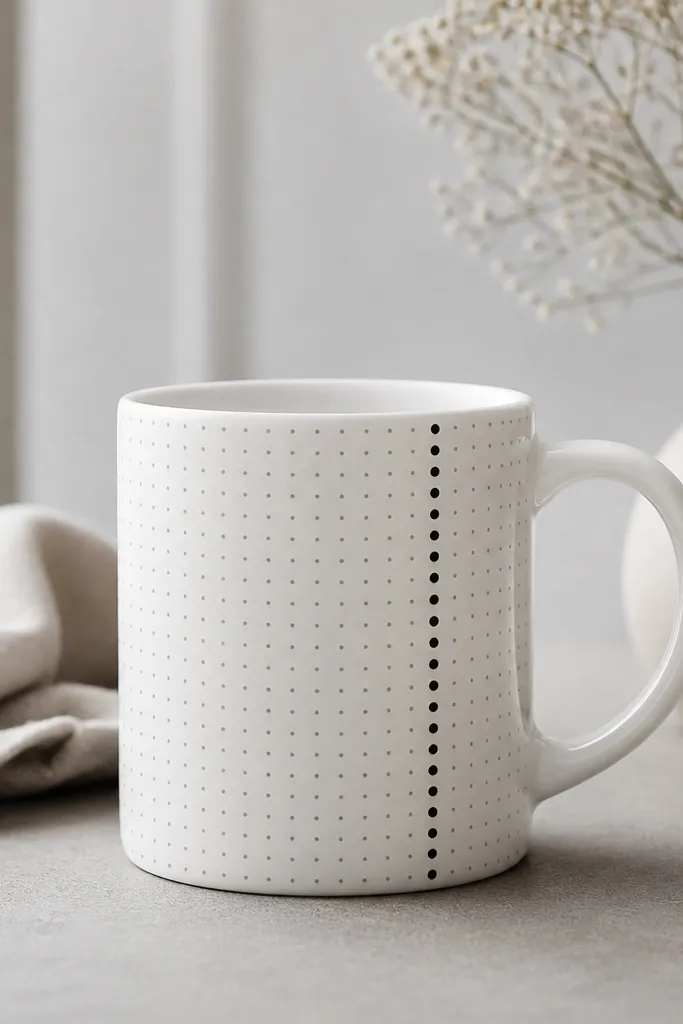
Use a dotting tool or the end of a paintbrush to place tiny dots in a grid-like rhythm. Choose two coordinating colors: one base (off-white) and one accent (sage, cobalt, or burnt sienna). This style looks clean on shelves and feels calm for everyday use.
Mark dot positions lightly with a pencil guide before you start painting.
11. Kintsugi-Inspired Gold Line Mug (Repair as Beauty)
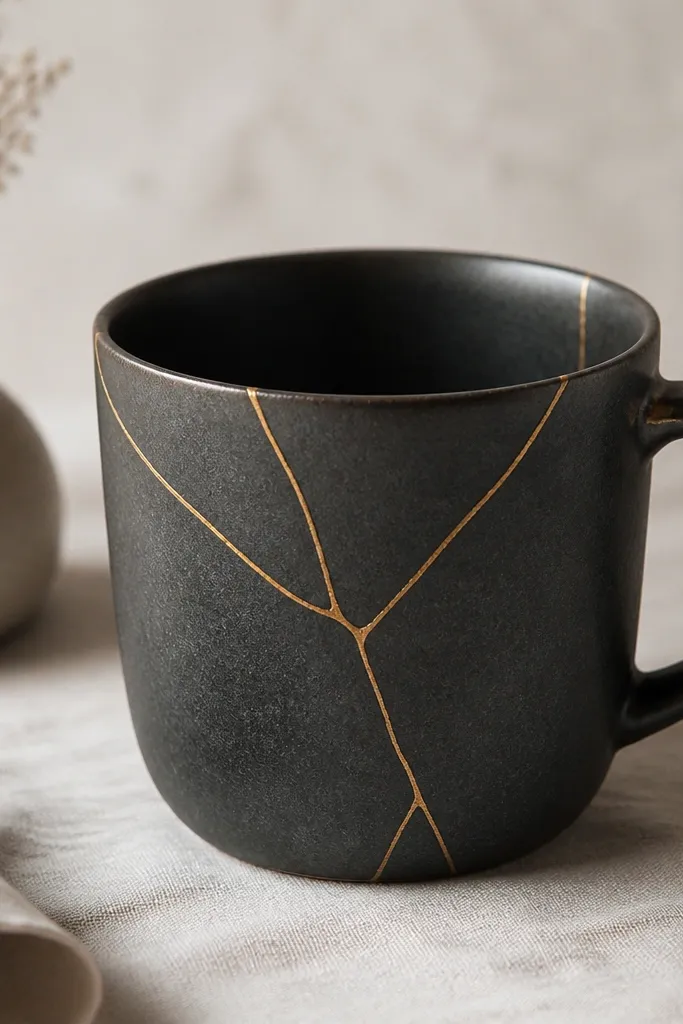
If you find a mug with hairline cracks (not chunks missing), you can mimic kintsugi for a repair-as-art look. Fill cracks with a two-part epoxy or ceramic repair paste, then trace over it with metallic gold paint. The contrast makes the “imperfection” look intentional and luxe.
Test the gold paint on a scrap first — metallics vary a lot by brand.
12. Chalk Paint + Wax Resist Mug (Creamy Rustic Woodland)
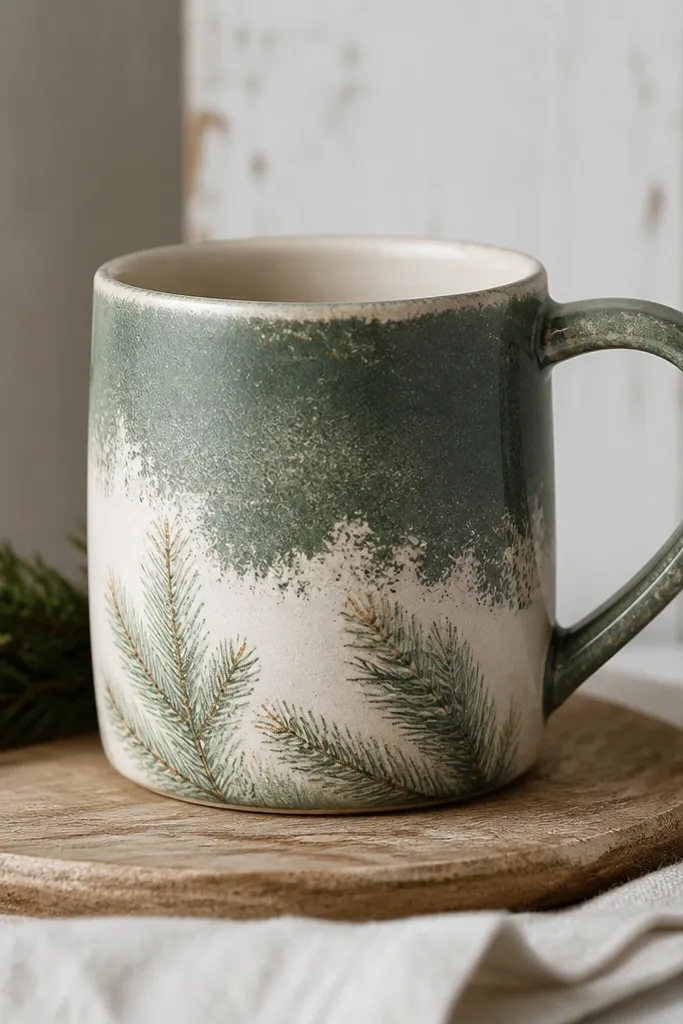
Paint the mug with chalk paint in a muted woodland green. Rub wax onto areas you want to look “worn,” then paint a second lighter layer. Once dry, buff the waxed zones so the underlayer peeks through. Add small pine sprigs with a fine brush for a cozy forest vibe.
Good to knowSeal with a wax or clear topcoat made for chalk paint so it wipes clean.