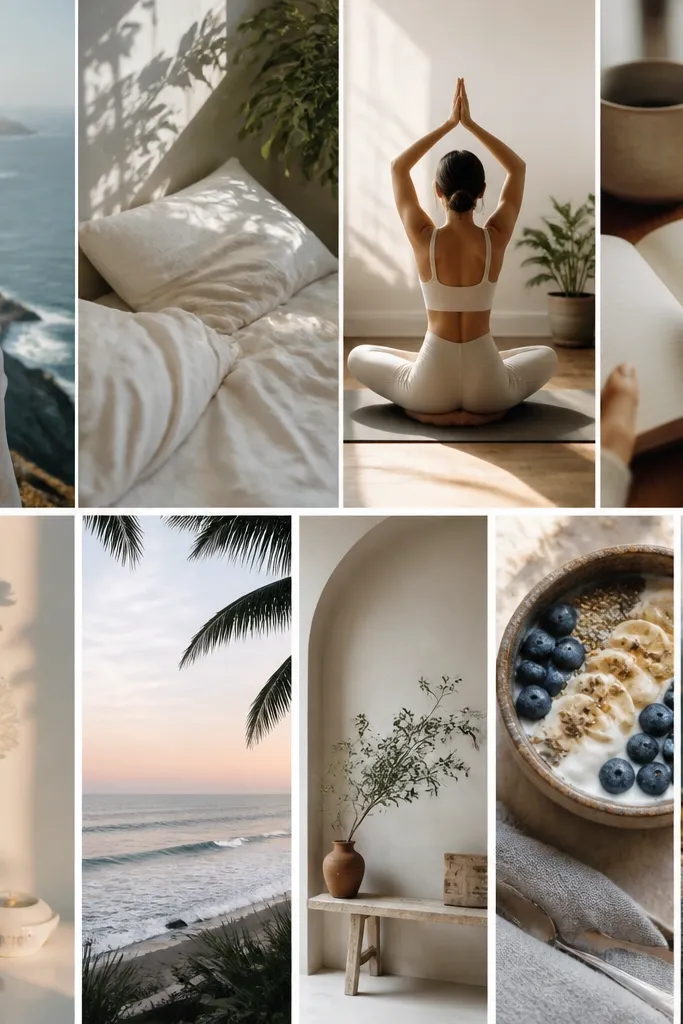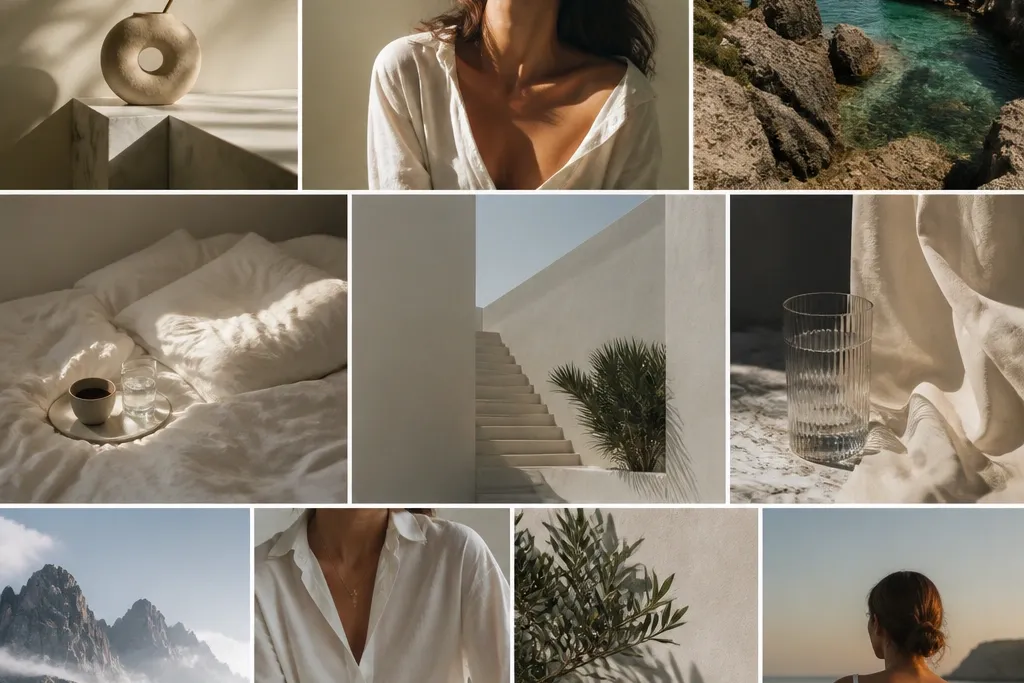

1. Sunlit Beige + Linen Minimal Board
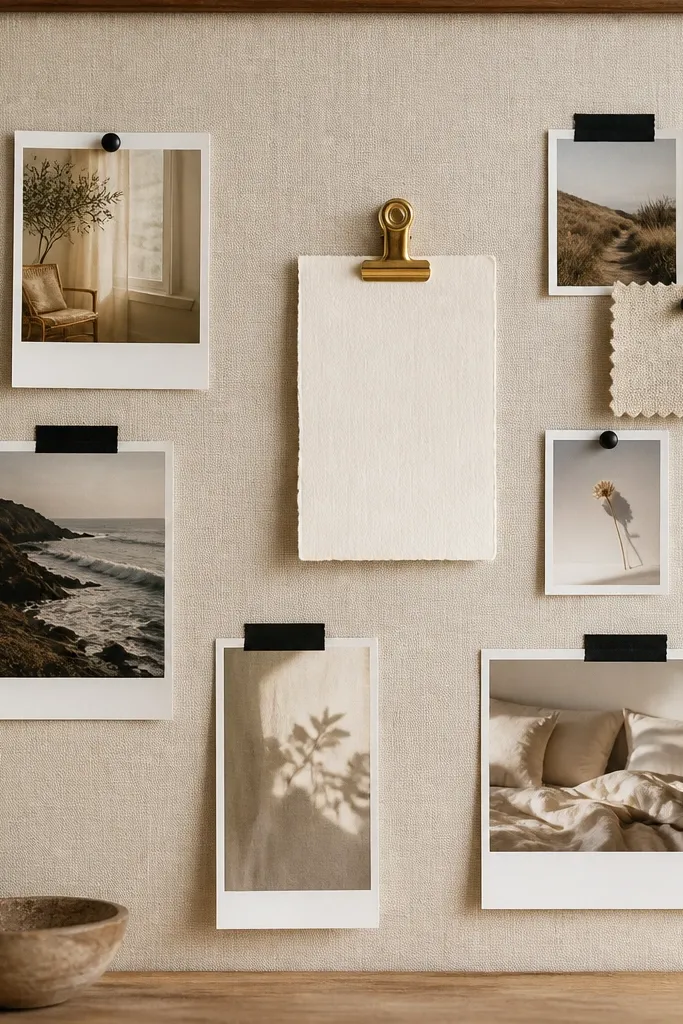
Use a neutral base like linen-texture cardstock or fabric-backed foam board. Keep images sparse: 10-15 photos max, all in cream, sand, and soft tan tones, so everything breathes. Add one metallic accent (gold clip or thin gold washi tape) to make it feel luxe without clutter.
Print your photos in a consistent size (like 4x6) and crop them to match the same warm color temperature.
2. Ocean Glass Collage (Teal + Seafoam)
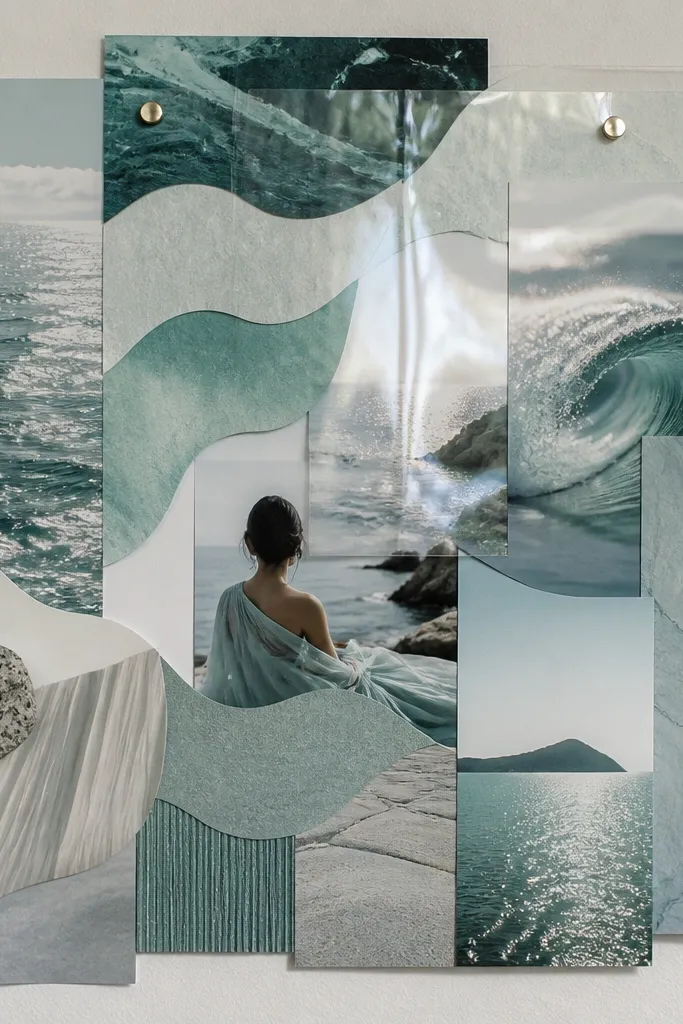
Layer ocean-themed textures: wave scrapbook paper, watercolor brush strokes, and translucent acetate. Choose a teal-to-seafoam gradient for your images — it visually ties everything together. Add one “hero” photo (larger than the rest) to anchor the composition.
Use clear page protectors or acetate sheets so your board looks glossy and cohesive under room lighting.
3. Pastel Dreamboard with Soft Gradients
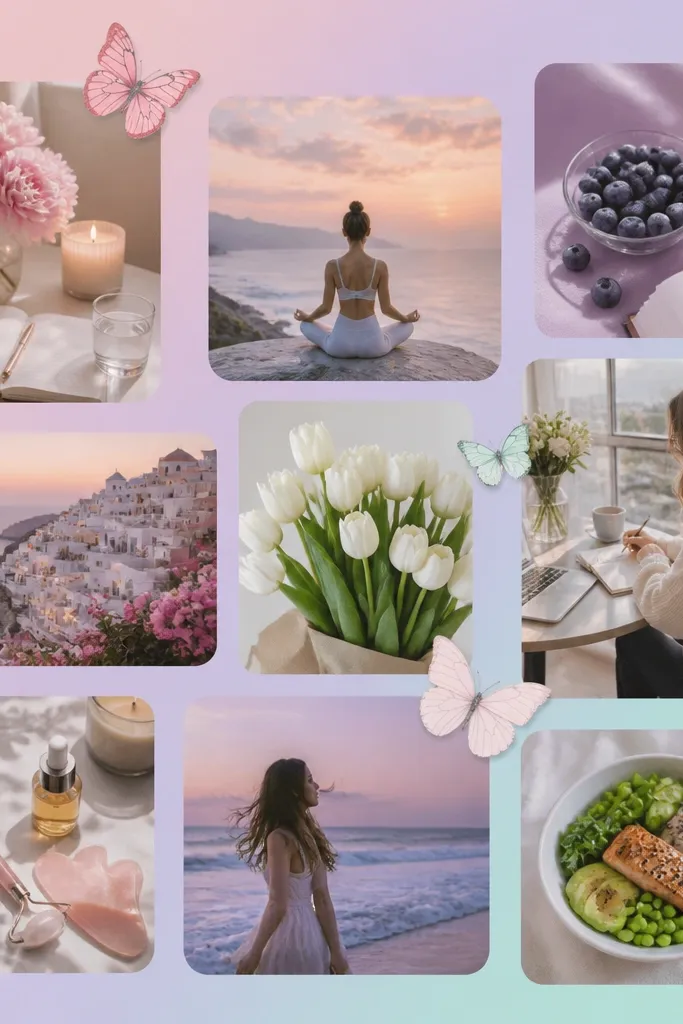
Create a background gradient with pastel paper layers or print a gradient sheet. Round your photo corners (using a corner punch) to keep the whole board “dreamy.” Add tiny accents like butterfly stickers or thin doodle lines in matching pastel shades.
Limit yourself to 3 pastel colors + white so your board stays airy instead of busy.
4. Black + White Magazine Cutout Glam
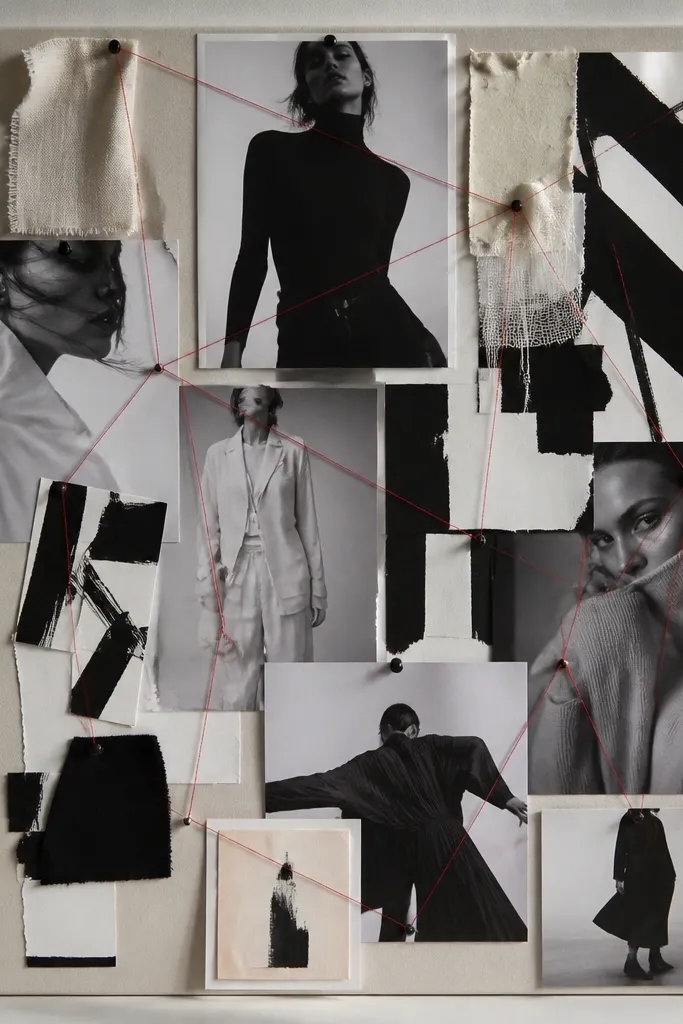
Pull images from monochrome magazines or print grayscale photos. Use bold typography strips (thick fonts) to create rhythm. Tie related goals together with a simple red thread or red washi tape line to make the layout feel intentional.
Mat your clippings with white paper before taping to prevent edges from looking messy.
5. Cozy Cottagecore with Dried Florals
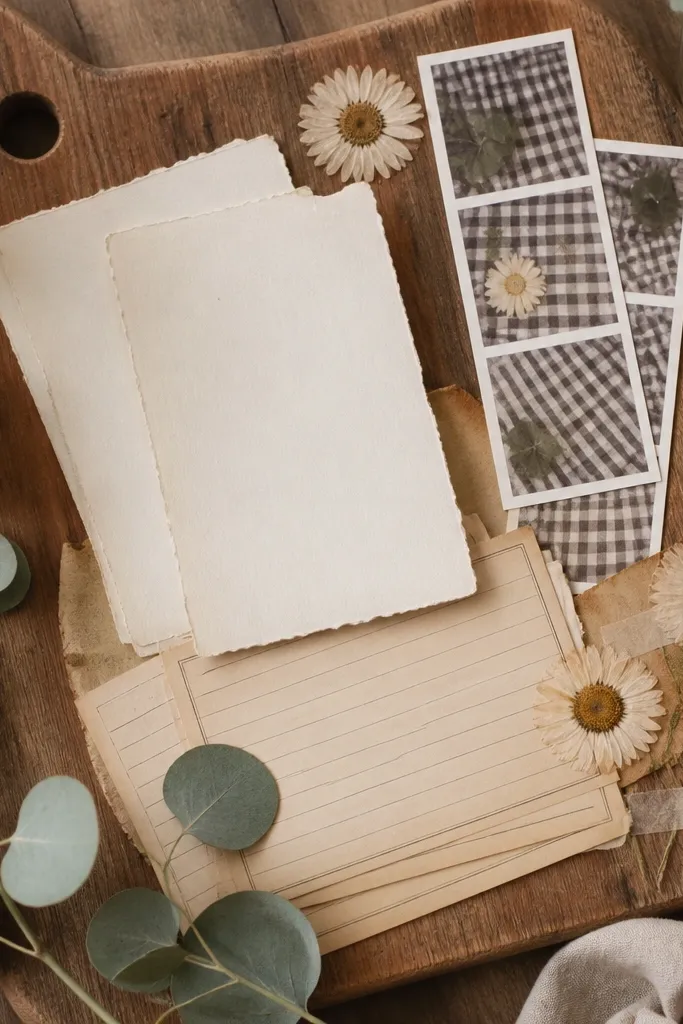
Build a tactile board using pressed flowers (dried and flattened) and textured paper. Cottagecore looks best with warm creams, sage greens, and muted browns. Add small vintage ephemera like ticket stubs or handwritten-style cards for story.
Good to knowSeal pressed florals with a thin layer of clear glue on the back edge or use archival tape to avoid lifting.
6. Neon Pop Goals Board (Hot Pink + Electric Blue)
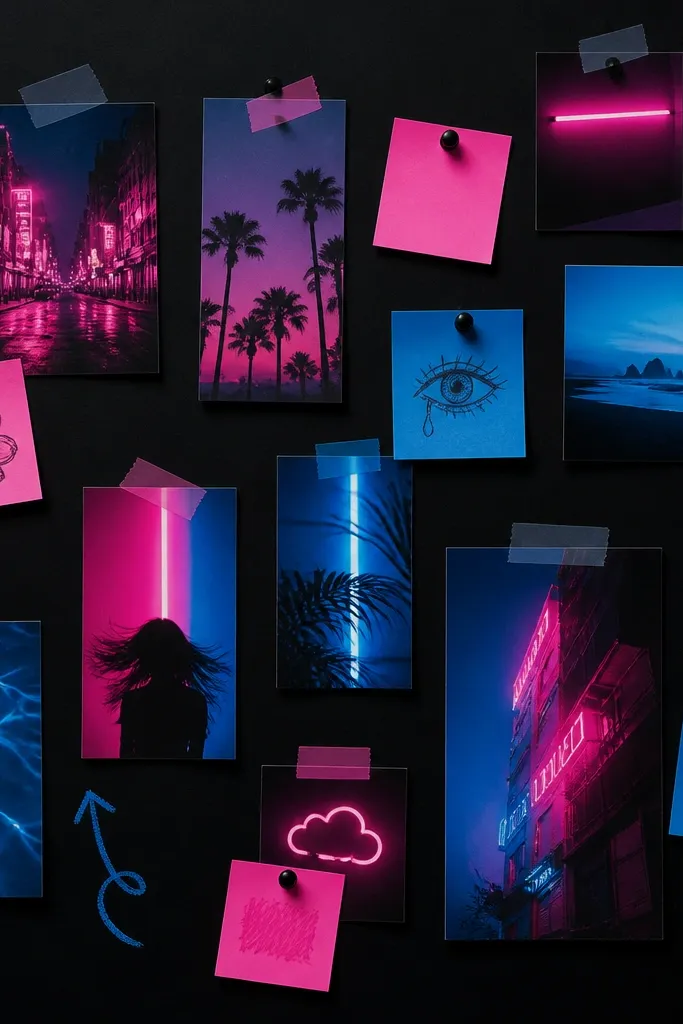
Choose a black base so neon colors pop. Print your photos with high contrast, then add neon sticky notes or marker highlights to point out priorities. Keep shapes consistent: circles and rounded rectangles feel cohesive in neon aesthetics.
Use a white gel pen for thin outlines around photos to make them “glow” on dark paper.
7. Minimal Grid with Color Pops
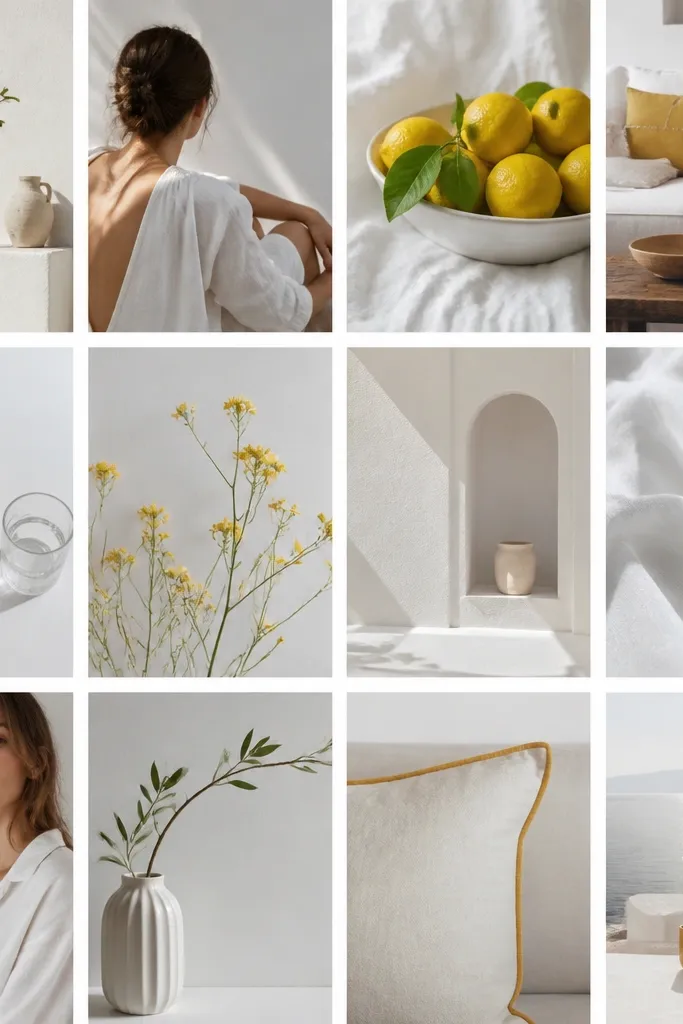
A grid makes everything look organized, even if your goals vary. Use white or light gray cardstock as the base, then place photos in evenly spaced rows. Add a single accent color (like yellow) via sticky tabs, tiny icons, or one bold quote.
Measure spacing with a ruler: even 1/4-inch gaps will make the board look professionally designed.
8. Warm Terracotta + Gold Travel Theme
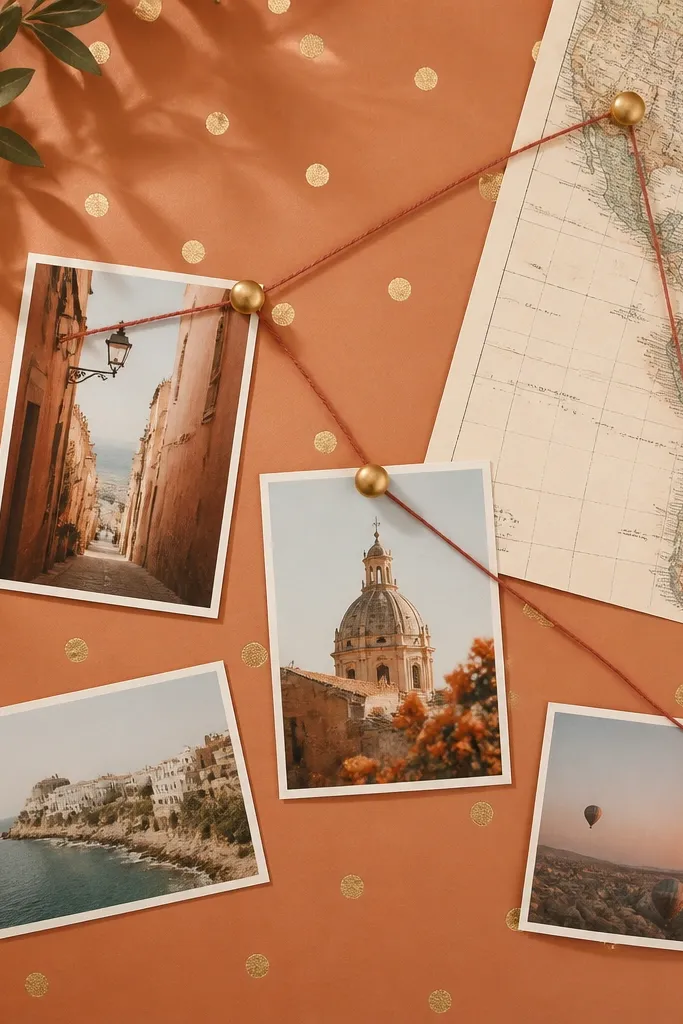
Use terracotta cardstock or paint-wash paper as your background. Add gold foil stickers or gold pen dots to mimic sunlight. For travel goals, include postcard-sized images and a tiny map snippet, then connect destinations with a thin string or ribbon.
Print destination photos with a slight vintage filter so they match the warm palette.
9. Forest Calm Board (Moss Green + Earth Browns)
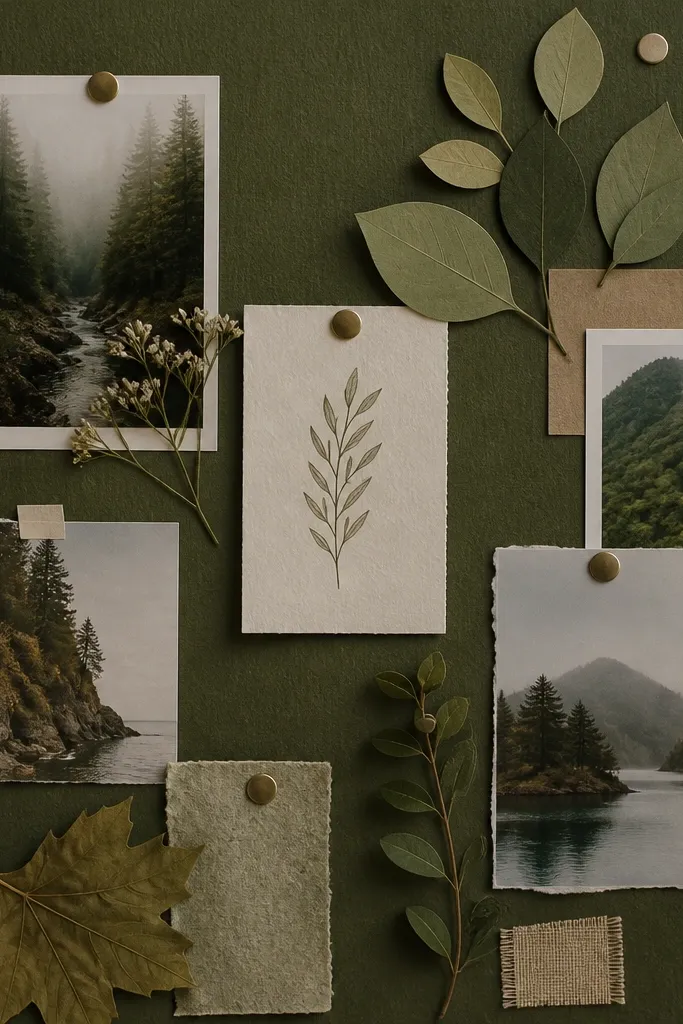
Earthy palettes feel grounding, especially for wellness and habit goals. Layer leaf silhouettes and woodgrain scrapbook paper behind photo clusters. Keep text minimal and handwritten-looking for a calm, intentional vibe.
Use dark brown ink or a fine-tip pen so your text looks consistent across the board.
10. Soft Glam with Blush + Champagne Highlights
Blush and champagne create a soft-glam aesthetic that still feels romantic. Use glossy printouts or magazine cutouts for shine, then balance with matte blush paper. Place one “sparkle cluster” near your top priority goal to guide the eye.
Good to knowAdd a thin strip of champagne washi tape under each photo to unify sizes and edges.
11. Sky Blue Vision Board with Cloud Doodles
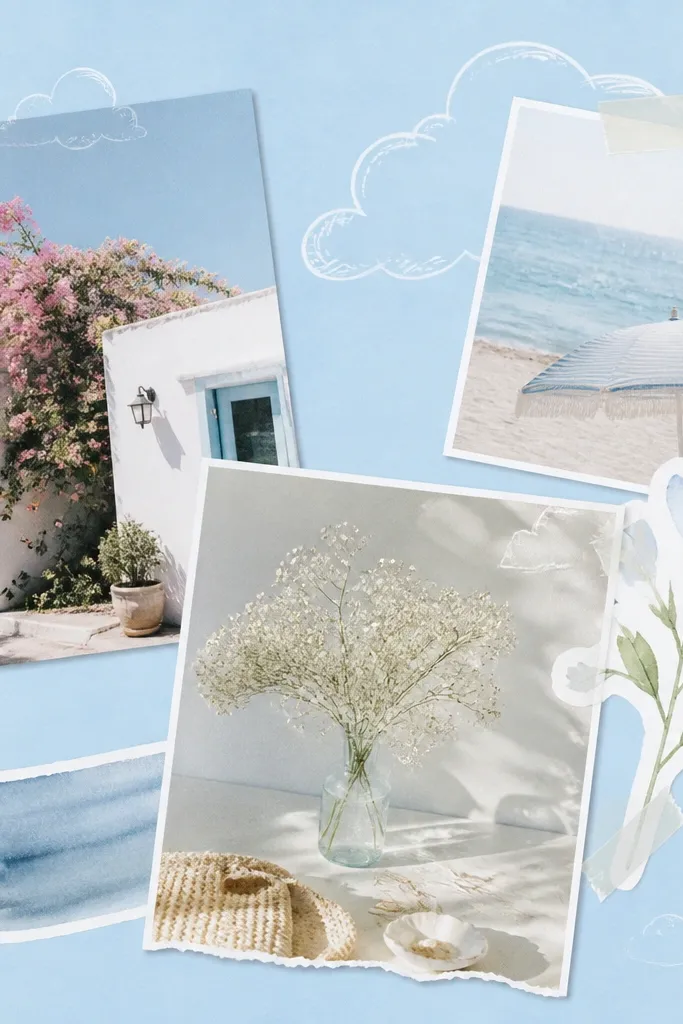
Light sky-blue backgrounds make your board feel optimistic and airy. Use watercolor-style photos or images with lots of sky tones. Add cloud doodles with white gel pen or paint marker so the “theme” is visible even from a distance.
Good to knowWrite one short goal phrase inside each cloud so you don’t overcrowd the rest of the board.