
1. Scrap-Fabric Wrap Mug with Heat-Set Mod Podge Seal
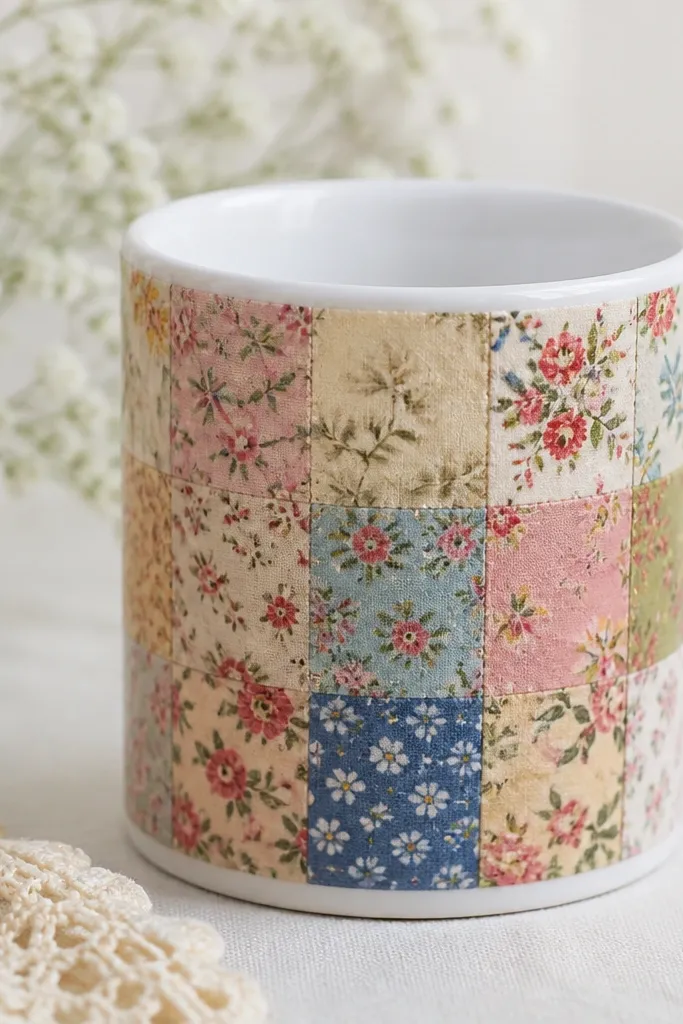
Cut a 1.5-2 inch wide strip of lightweight cotton (old shirt, curtain scrap, or bandana). Glue it around the mug with Mod Podge (or a similar decoupage glue), then seal over the top with 2-3 thin coats so the fabric stays sealed and doesn’t fray. This reads seasonal because you can switch fabric prints anytime — spring florals, summer stripes, fall plaid, winter knit patterns.
Let each coat dry fully (at least 30-45 minutes) before adding the next so the fabric doesn’t wrinkle under the seal.
2. Bottle-Cap “Holiday Button” Mug (All-Season Version)
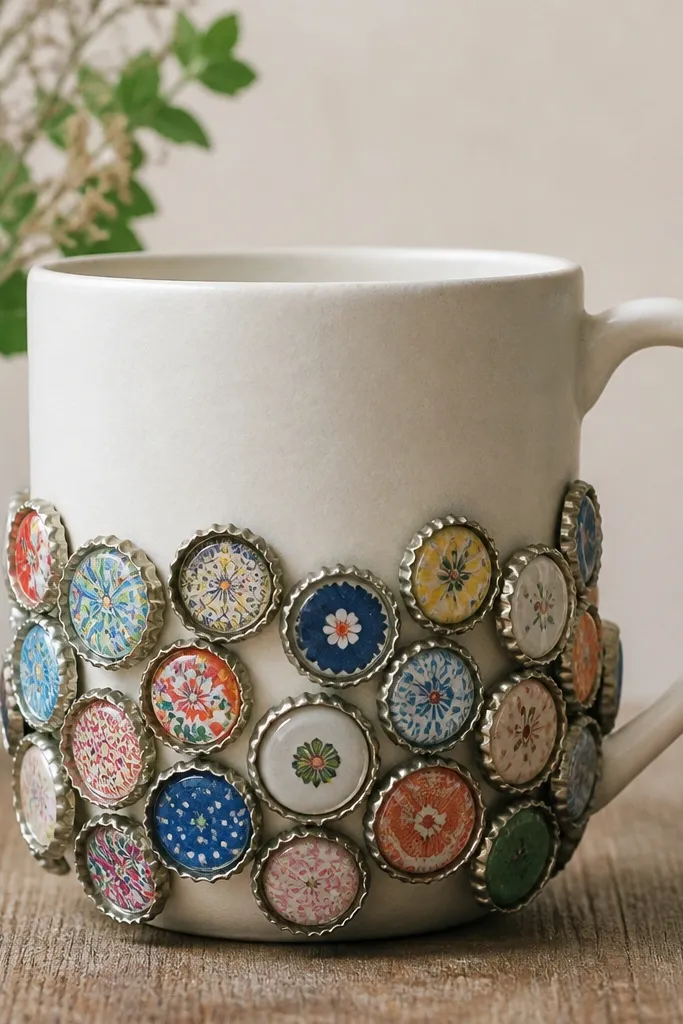
Save bottle caps from flavored drinks or seltzers. Clean them thoroughly, then paint the tops with acrylic in a limited palette (like cream + muted teal) so it looks intentional, not random. Glue caps onto the mug with a strong craft adhesive, then coat the area with a glossy, water-resistant topcoat to lock the look in.
Good to knowUse a cotton swab to apply glue only to the cap rim — overflow glue makes the surface bumpy.
3. Vintage Map Decoupage Mug for Year-Round Travel Vibes

Tear or cut a vintage-style map (or printed paper) into small sections and decoupage them onto the mug. Overlap pieces slightly for a smooth surface, then seal with multiple thin coats of decoupage medium. It feels seasonal because you can swap the map theme — coastal routes for summer, old city streets for fall, winter train lines for cozy vibes.
Good to knowTrim the paper edges with a craft knife so they don’t lift when you add the final seal.
4. Lemon-Tea “Crockery” Pour Paint Using Old Nail Polish
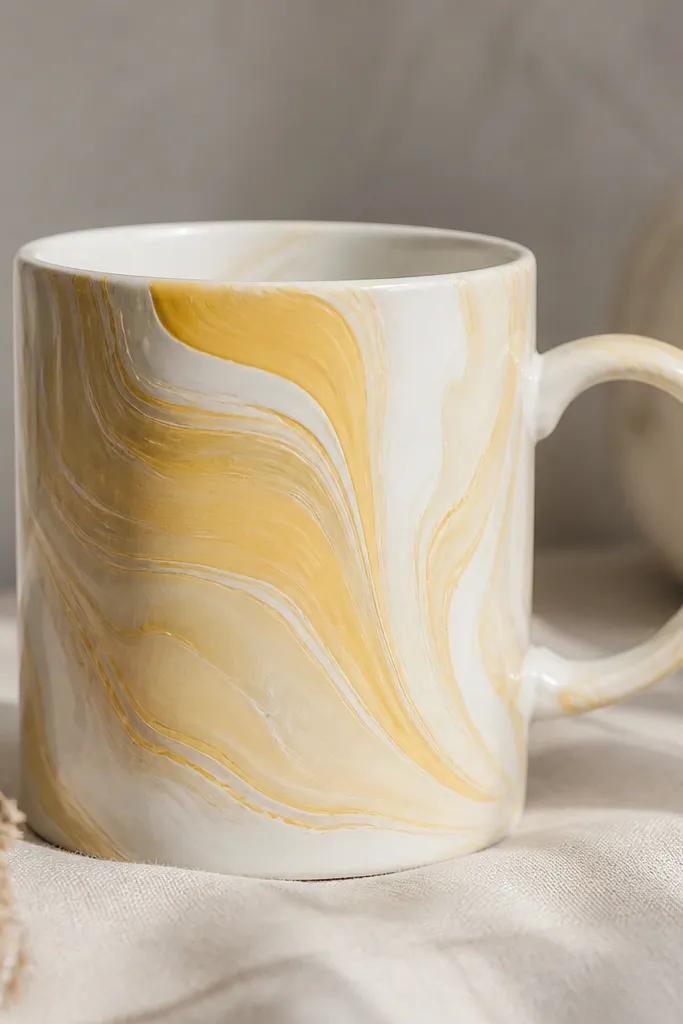
This is a fun repurpose technique: swirl a few drops of old nail polish (yellow, cream, translucent) into a cup of acetone-free craft medium or a thin glazing medium. Pour or drag the mixture lightly over the mug for a marbled “crockery” effect. Seal with clear heat-safe glaze or a compatible clear sealer so the finish stays glossy and easier to wipe.
Good to knowPractice on a scrap ceramic tile first — nail polish spreads fast, and a quick test saves your mug.
5. Pressed-Leaf Line Art Mug (No Real Leaves Needed)
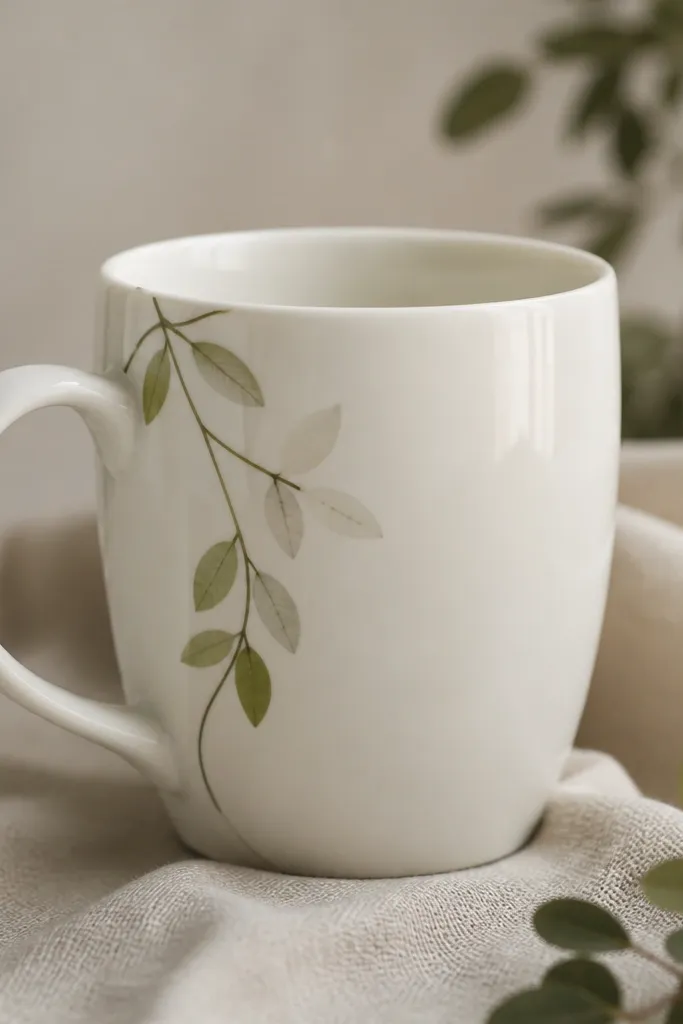
Use real pressed leaves if you have them, or trace leaf silhouettes from a botanical book and cut them out of thin paper. Glue small pieces along the mug in a repeating line pattern, then seal with 2-3 coats of clear decoupage medium. The earthy palette works year-round — swap to darker tones for fall and crisp greens for spring.
Keep the leaf pieces small (under 2 inches) so they lie flat and don’t bubble under the seal.
6. Washer-Belt Charm Mug with Scrap Metal Hooks
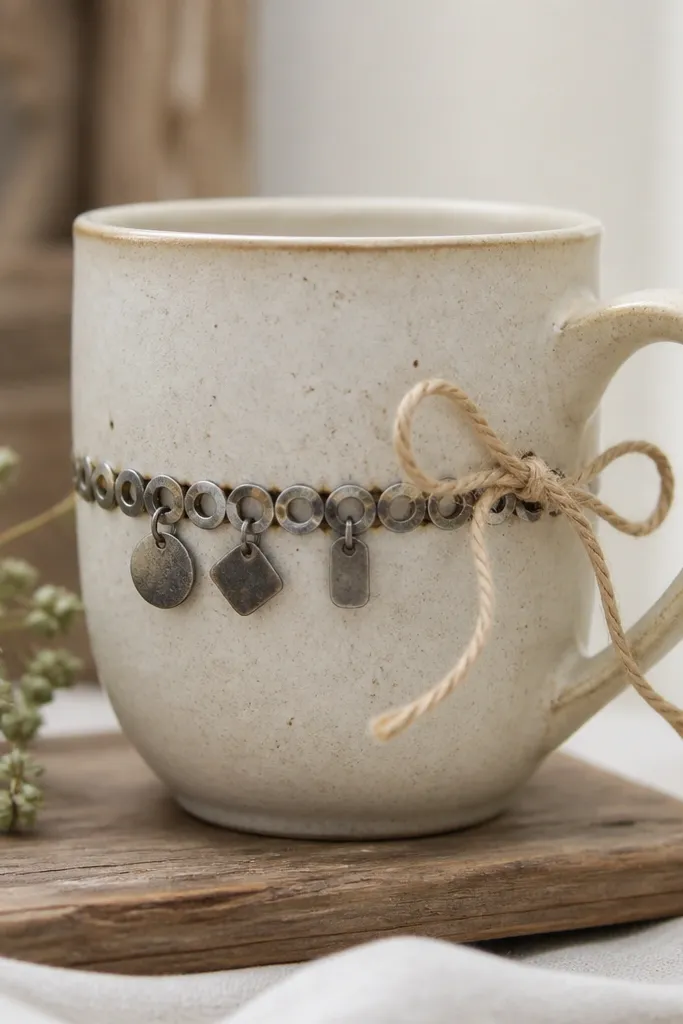
Gather washers, small metal tags, and any leftover hardware from old projects. Arrange them into a “belt” band around the mug, then glue or epoxy them in place. Add a removable twine bow using a small loop so you can change it seasonally without redoing the whole mug.
Good to knowIf you’re using epoxy, rough up the mug surface lightly with fine sandpaper for better grip.
7. Rub-On Vinyl + Fabric Scrap Accent Mug
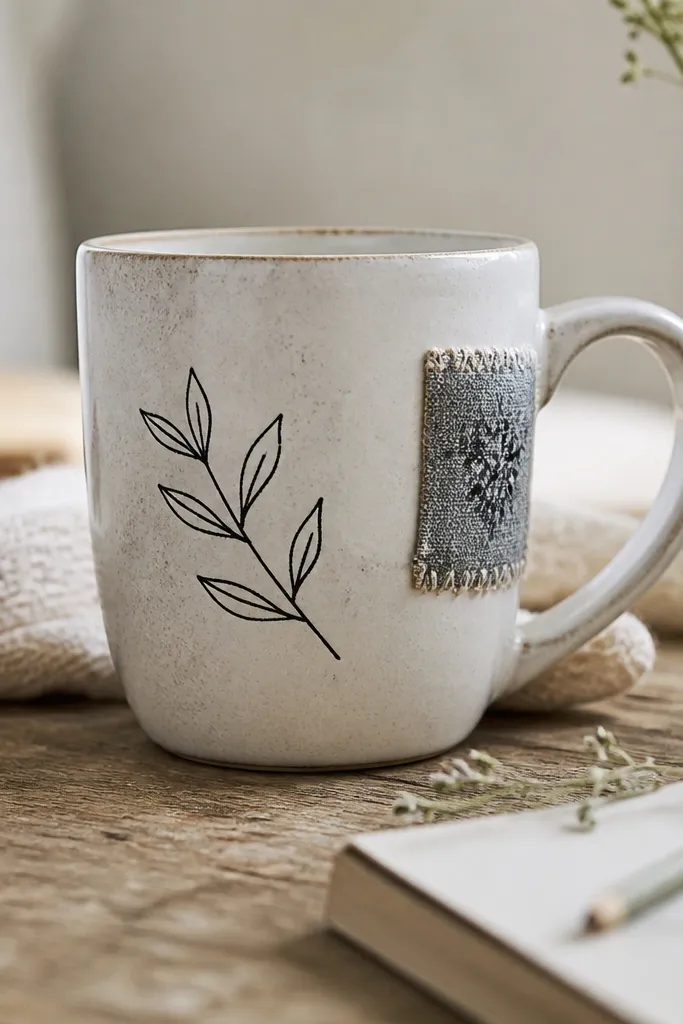
For crisp lettering, use rub-on transfer or vinyl lettering (the kind you can apply without a cutting machine). Add a tiny fabric scrap accent as a “badge” — glue it under a clear coat so it looks like part of the design, not an afterthought. This combo is perfect for year-round mug ideas because you can swap phrases: cozy for winter, fresh for spring, sip for summer, and harvest for fall.
Burnish vinyl edges with a credit card so they seal down before you apply the clear coat.
8. Tea Bag Paper “Chrysanthemum” Decoupage Mug
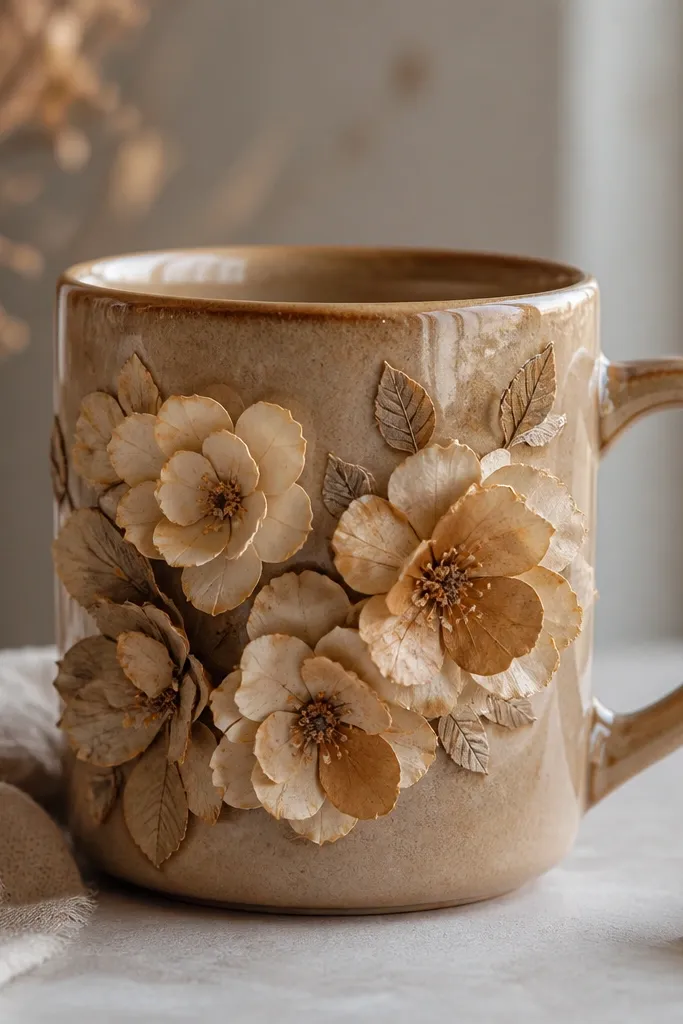
If you steep tea, save the empty tea bag paper. Cut it into petal shapes, then layer them to form small flowers. Glue onto the mug and seal carefully with thin decoupage coats so the paper doesn’t dissolve. The natural tea tones create a warm, neutral palette that suits every season — just change the flower shape for each time of year.
Use a foam brush for sealing so you don’t crush the petal layers.
9. Chalk Pen “Seasonal Window” Mug with Clear Topcoat
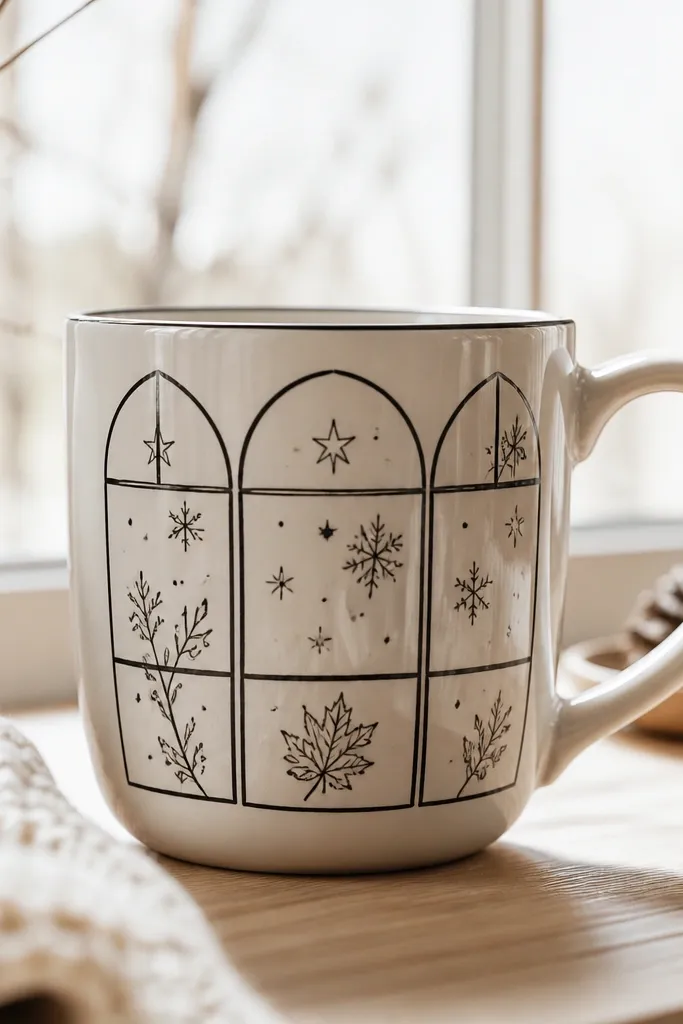
Draw a window frame on a plain mug using a ceramic marker or chalk-style pen made for glass/ceramic. Fill it with quick doodles that match the season (tiny stars for winter, leaf sprigs for spring, berries for summer, acorns for fall). After it’s dry, seal with a compatible clear topcoat so it’s wipeable. This is one of the fastest year-round handmade mug ideas because you can redesign it whenever you want.
Good to knowSeal in thin layers — thick coats can make marker lines bleed.
10. Repurposed Lace + Pearl Dot Handle Accent Mug
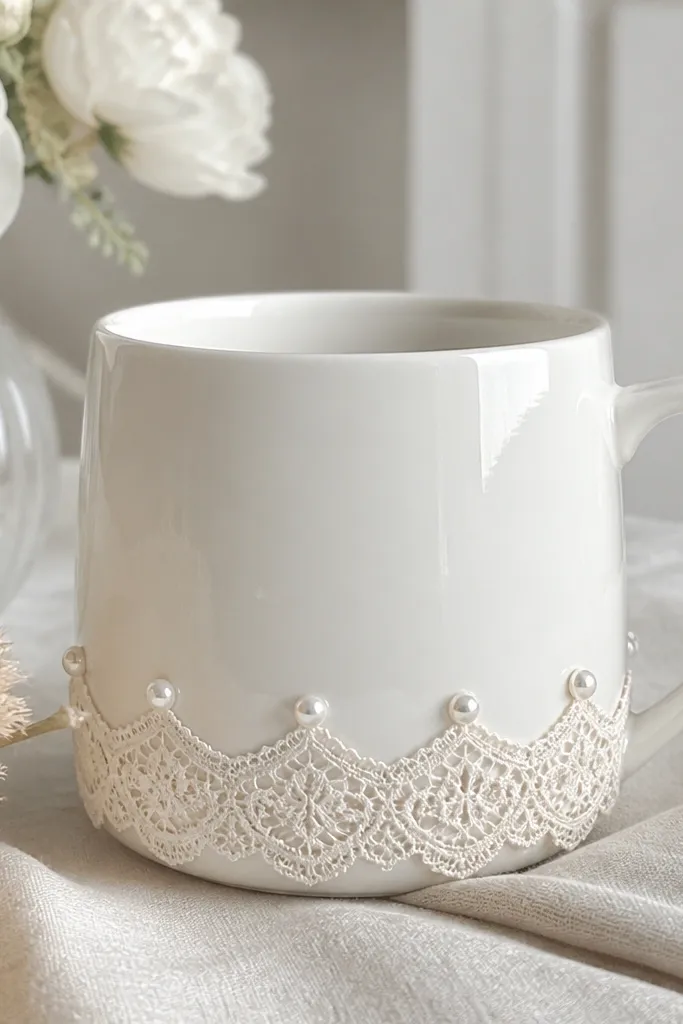
Use lace remnants from old clothing or table linens. Wrap lace around the lower section and glue it with fabric-safe craft glue, then add pearl-like dots (from a craft store or leftover bead stash) as a border. Seal with a clear topcoat to protect the lace from moisture. It looks elegant year-round — keep the lace color neutral and change the center accent (button, mini charm, or ribbon).
Good to knowTrim lace so the seam sits at the back — it makes the finish look intentional.