1. Scrap-Vinyl Quote With Curved Alignment

Cut a quote from scrap adhesive vinyl (Cricut-style or craft vinyl) and test the spacing by wrapping the strip around the empty mug. The curve looks intentional when you split the text into two lines with a slight top-to-bottom arc. Seal with a heat-resistant clear coat so the vinyl doesn’t lift from sweat and washing.
Before sticking, place painter’s tape bands around the mug to mark where the text should sit, then transfer the design in small sections.
2. Thrifted-Book Page Decoupage Bloom
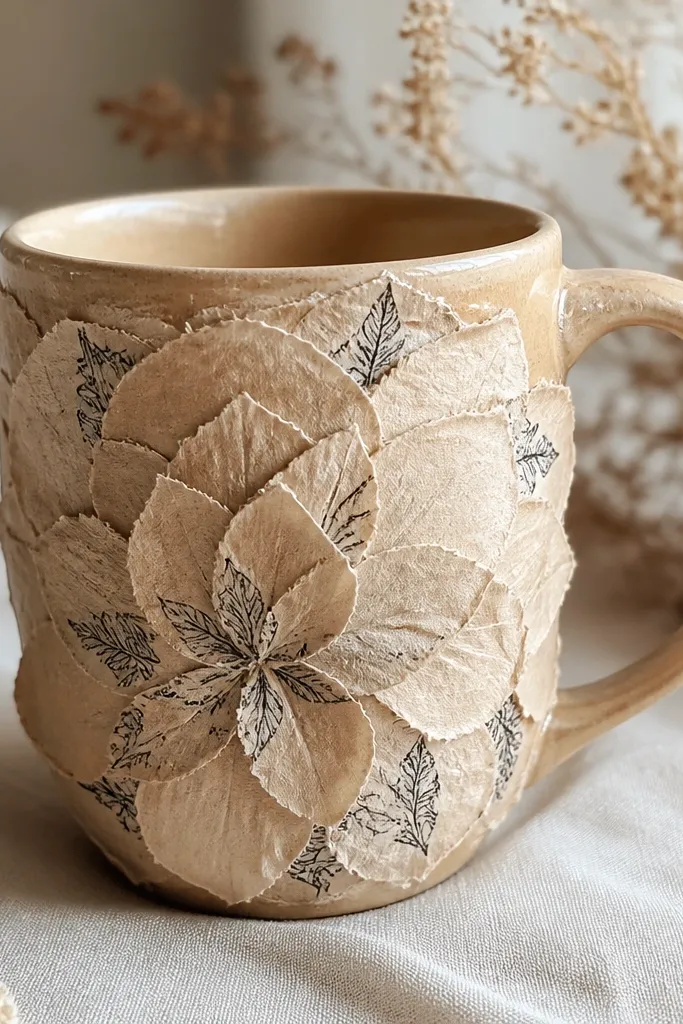
Tear pages from an old paperback or thrifted book for a naturally imperfect texture. Arrange torn pieces into a simple bloom silhouette (center circle + petal strips), then seal over everything. Use a decoupage medium that dries clear and spread it thinly to avoid bubbles.
Seal in 2 thin coats instead of 1 thick coat — it reduces wrinkling and keeps edges sharp.
3. Ceramic Tile Accent With Faux Grout Lines
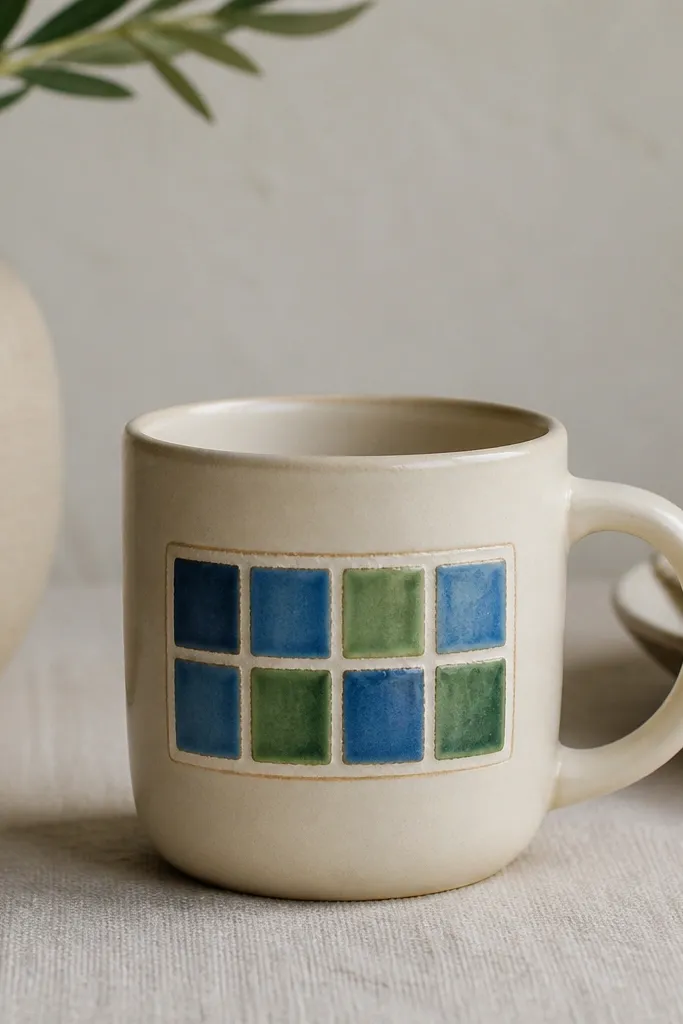
Paint a small tile panel with ceramic craft paint and add grout lines using a fine liner brush. This design reads “high-end” even if your mug is plain because it creates a framed focal area. Keep the grout lines slightly thicker than the tile borders for a realistic look.
Good to knowUse painter’s tape as a guide for the panel edges, then remove while paint is still slightly tacky for cleaner borders.
4. Marbled Acrylic Pour in Cup-Handle Orbit
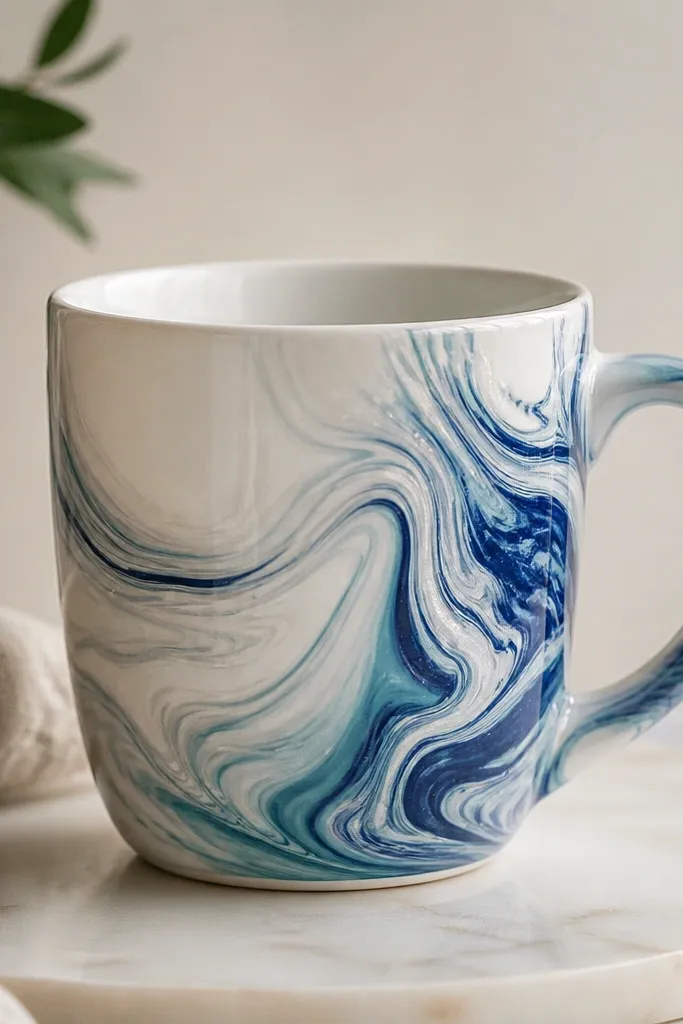
Pour acrylic paint onto a plastic-lined surface, then tilt the mug quickly so the marbling flows in one direction. Concentrating color near the handle makes the mug look dynamic without covering the entire surface. Seal with a clear topcoat designed for craft ceramics and allow full cure before use.
Practice on a scrap mug or a ceramic plate first — timing matters for marbling that doesn’t look muddy.
5. Sharpie Doodle Border + Clear “Glass” Coat
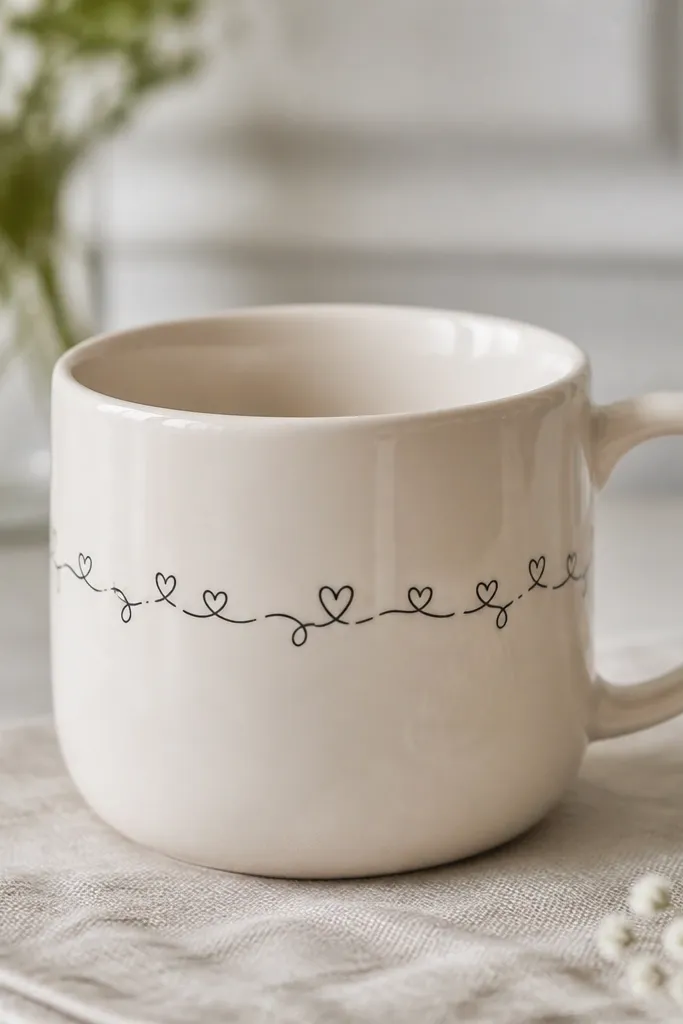
Use permanent marker for simple line art — think looping borders, small icons, and minimal text. The key is to keep strokes thin so the coat doesn’t pool and dull the lines. A clear, heat-appropriate coating helps it resist everyday smudges, but most marker designs are still best hand-washed.
Good to knowLet the marker dry 24 hours before coating to prevent cloudiness or smearing.
6. Mosaic With Broken Tile “Sunburst”
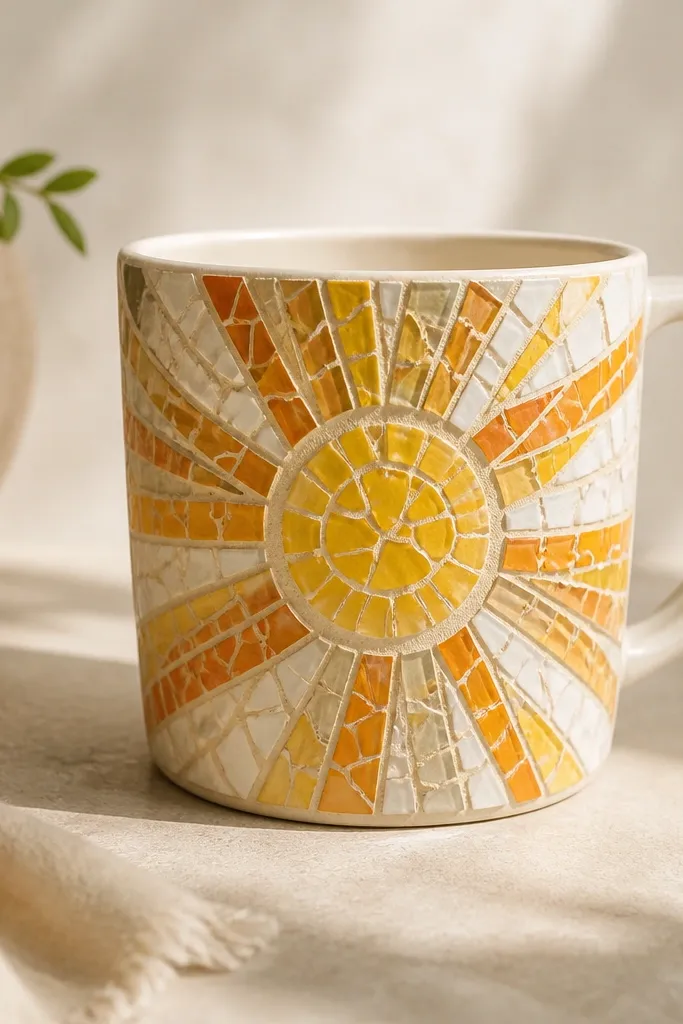
Break small tiles into varied sizes and arrange them into a sunburst that radiates from a center point. Mosaic texture hides minor tile gaps and looks detailed even with beginner layouts. Use a mosaic adhesive and grout (or grout-like filler) to lock pieces in place, then seal for moisture resistance.
Good to knowDry-fit first: lay pieces without adhesive, then take a photo so you can recreate the pattern before gluing.
7. Stencil-Only Polka Dot Fade (No Freehand Needed)
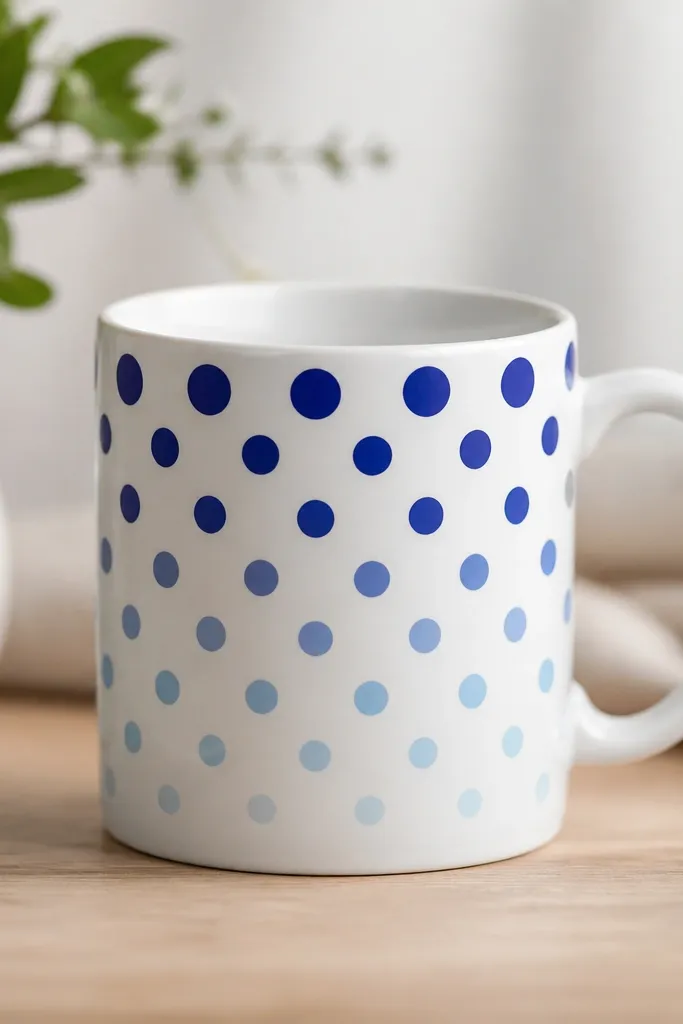
Stencils make this one beginner-proof because mugs curve but dot spacing stays consistent. Apply dots in 3 or 4 tones to create a fade effect — the gradient makes the mug look designed, not “random dots.” Use ceramic paint and let each layer dry before adding the next tone.
Good to knowPress the stencil with painter’s tape tabs so it doesn’t slide on the curve while you dab paint.
8. Iron-On Transfer “Photo Label” With Protective Rim
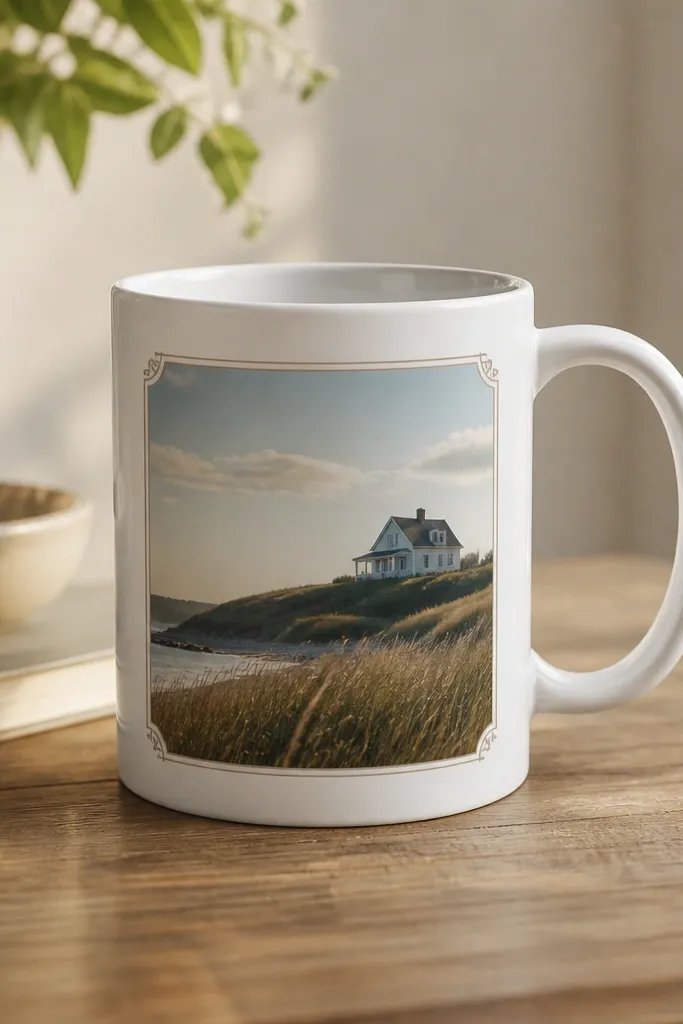
Print or buy an iron-on transfer that’s meant for ceramics, then heat-set according to the product directions. Make a frame around the transfer so the edges look intentional and you can keep the top rim clean. A protective clear coat helps reduce scuffs from stirring and stacking.
Good to knowMask the inside rim with heat-safe tape during coating so the finish doesn’t get tacky near the mouth.
9. Upcycled Fabric Ribbon Wrap With Heat-Set Seal
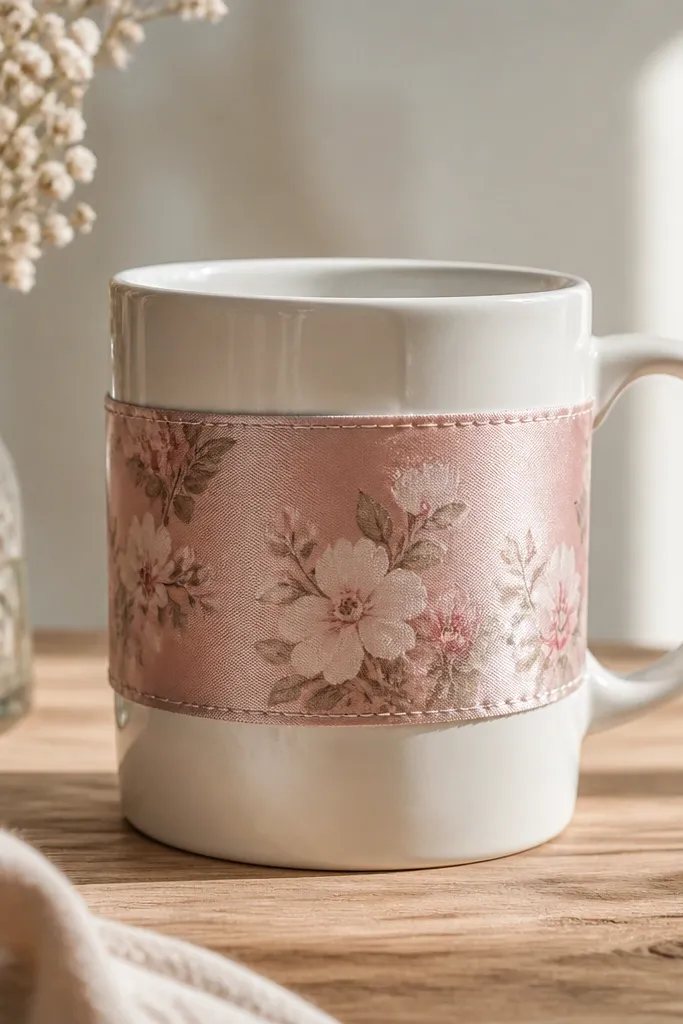
Use leftover ribbon, vintage scarf strips, or thrifted fabric cut into a band that wraps snugly around the mug. Adhere with fabric glue or a craft-safe adhesive, then seal the edges so fibers don’t fray. This style works beautifully for gift mugs because it adds color without needing paint coverage.
Good to knowChoose a ribbon width that covers the seam — that’s the spot that usually shows first if the wrap shifts.