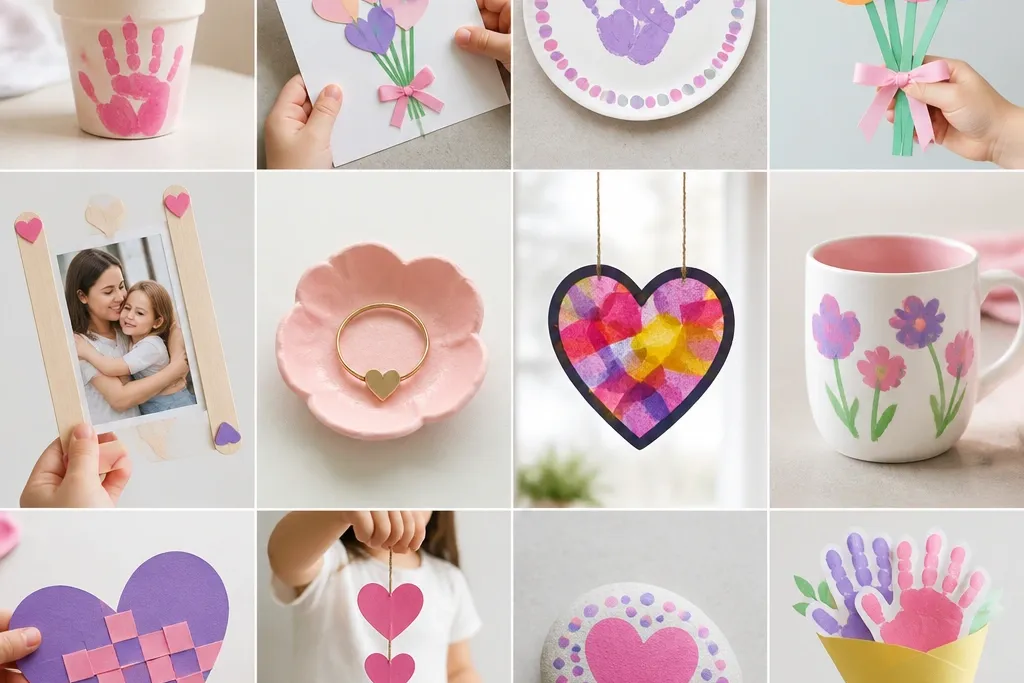

1. Fingerprint Flower Bouquet Card with Washable Ink
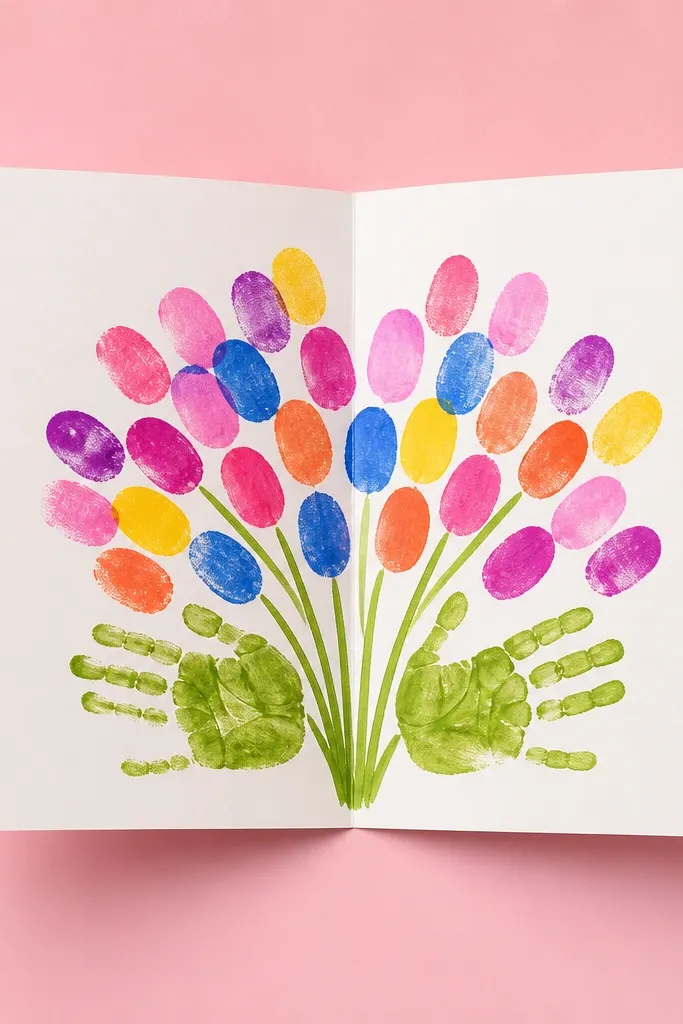
Preschoolers press fingerprints into a paint palette to form flower clusters, then you add stems and leaves with a fine-tip marker. Use washable ink or water-based paint so cleanup is quick and the card stays vibrant. This looks extra “aesthetic” when you keep one color family (like coral, yellow, and pink) and add tiny dots in the center of each flower.
Good to knowSpread a disposable craft mat under the child and wipe thumbs with a baby wipe between colors for crisp results.
2. Paper Plate Mom’s Garden (Cut-and-Glue Sunflowers)
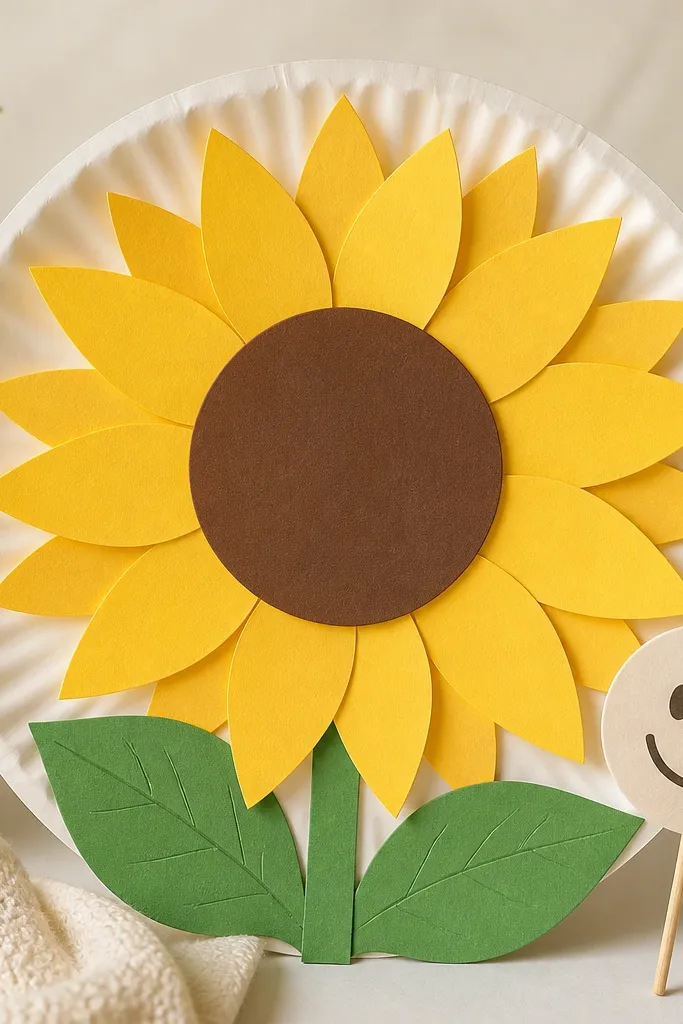
Use a paper plate as the base for a “garden scene.” Cut simple petal shapes and let kids layer them around a brown circle to create sunflowers that look dimensional. Add a strip of green grass and a little “Mom’s Garden” tag for a sweet, keepsake feel.
Good to knowPre-cut the tiny petal shapes and have kids only glue and layer — it makes the whole project faster and neater.
3. Handprint Butterfly on Pastel Tissue Wings
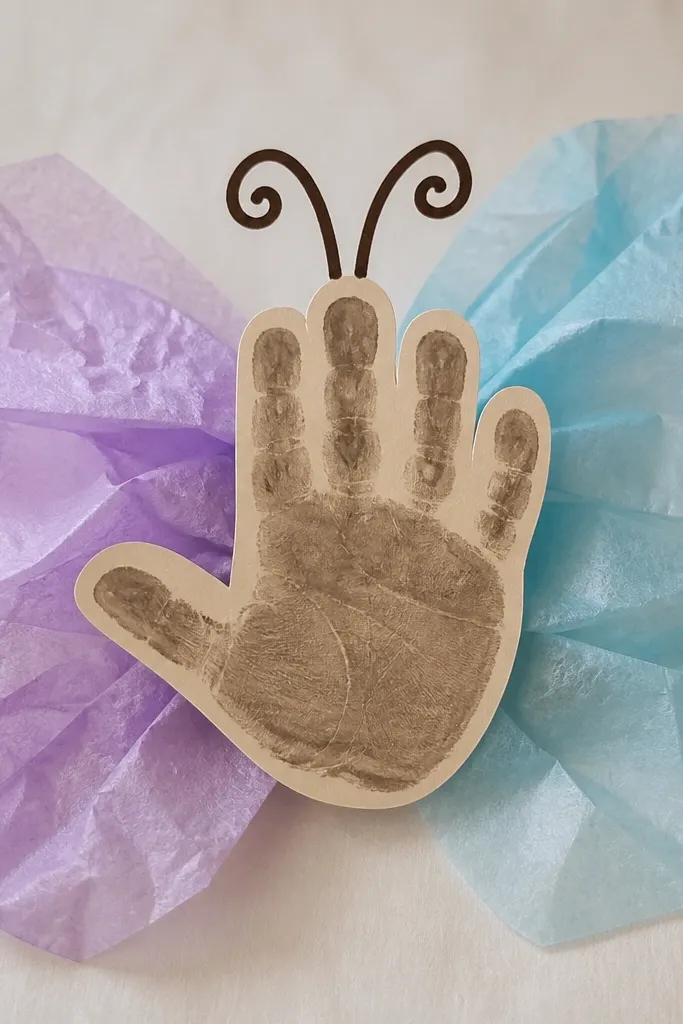
Create a butterfly by gluing tissue paper squares onto a cardstock outline of wings. Add a handprint as the body, then draw antennae and little wing veins with a black crayon. Tissue adds a soft, airy look that photographs beautifully in natural light.
Good to knowUse a thin layer of glue and press tissue gently — too much glue can make it wrinkle.
4. Beaded “Love You, Mom” Pipe Cleaner Heart (No-String Version)
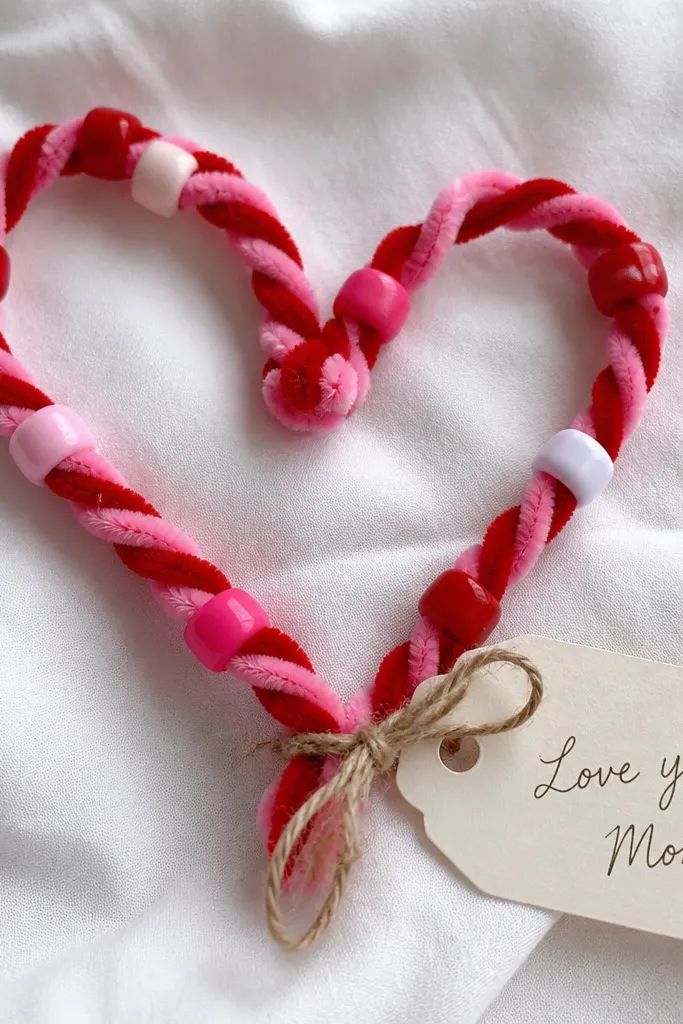
Twist two pipe cleaners into a heart shape, then thread large pony beads along the loops. This is a great motor-skill craft that still looks like a finished decoration. Finish by tying on a small cardstock tag with a cute message.
Good to knowChoose extra-large beads (about the size of a pencil eraser) so preschoolers can thread without frustration.
5. Sponge Stamp Dainty Bouquet Wrapping Paper Keepsake
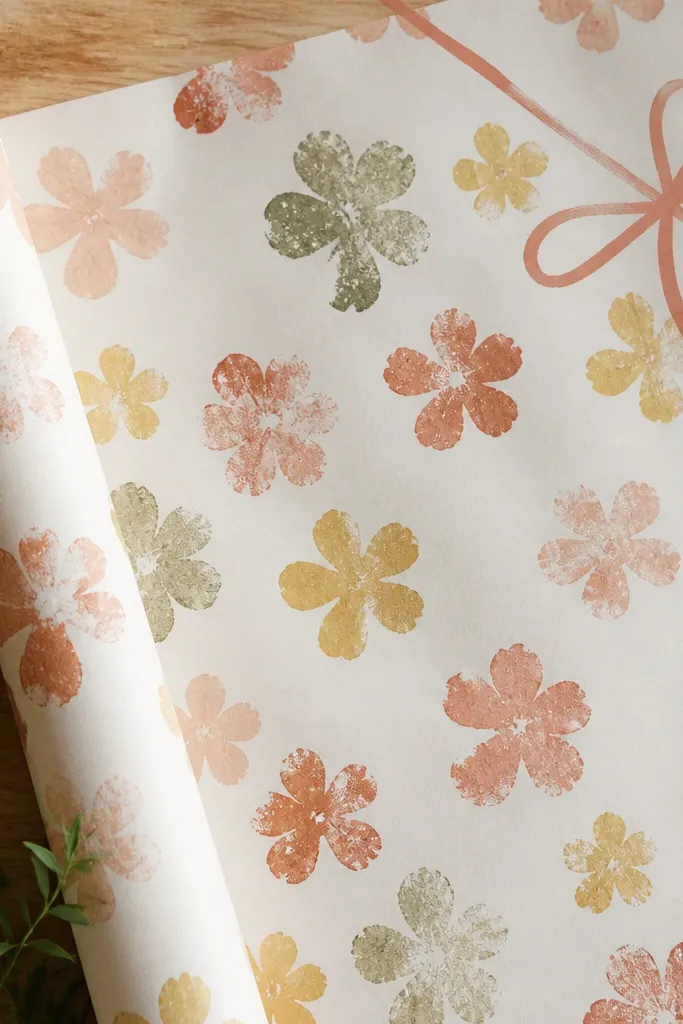
Cut a craft sponge into small flower shapes (or use pre-cut sponge stamps) and dip lightly in paint. Stamp onto kraft paper or white cardstock to create a repeat bouquet pattern. It becomes a “gift wrap” keepsake when you frame the best section or glue it onto a card.
Good to knowStamp on scrap first to test paint thickness — watery paint smears and dulls the pattern.
6. Cotton Ball Cloud Mother’s Day Keepsake with Crayon Rain
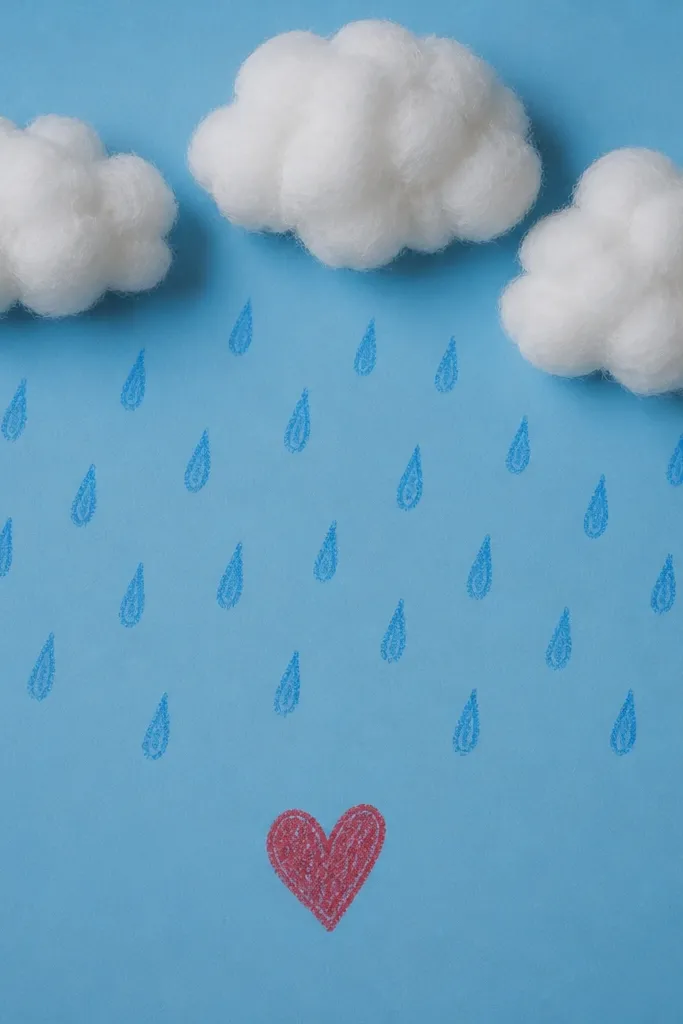
Glue cotton balls onto blue cardstock to form clouds, then add raindrops with a crayon (or marker) in bright colors. Kids can write “Thanks for the love” on a small banner at the bottom. The cotton texture makes it feel special without complex steps.
Let glue dry fully before handling, and place the artwork flat under a book to prevent cotton from shifting.
7. Cardboard Frame Photo + Tissue Paper “Sunshine” Background
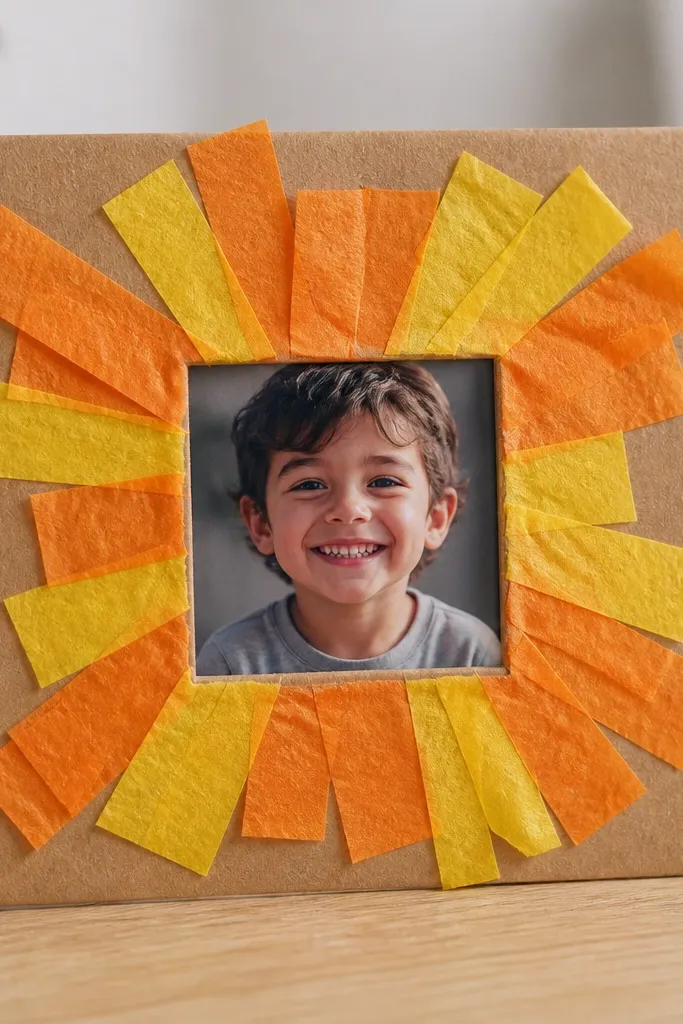
Make a simple frame from cardboard and cut a window for a photo. Glue torn yellow and orange tissue paper in rays behind the photo cutout. The warm “sunshine” look feels instantly Mother’s Day themed, and the photo turns it into a real keepsake.
Good to knowUse a glue stick for tissue — it’s cleaner than liquid glue for preschoolers.
8. Q-Tip Painted Floral Border Bookmark
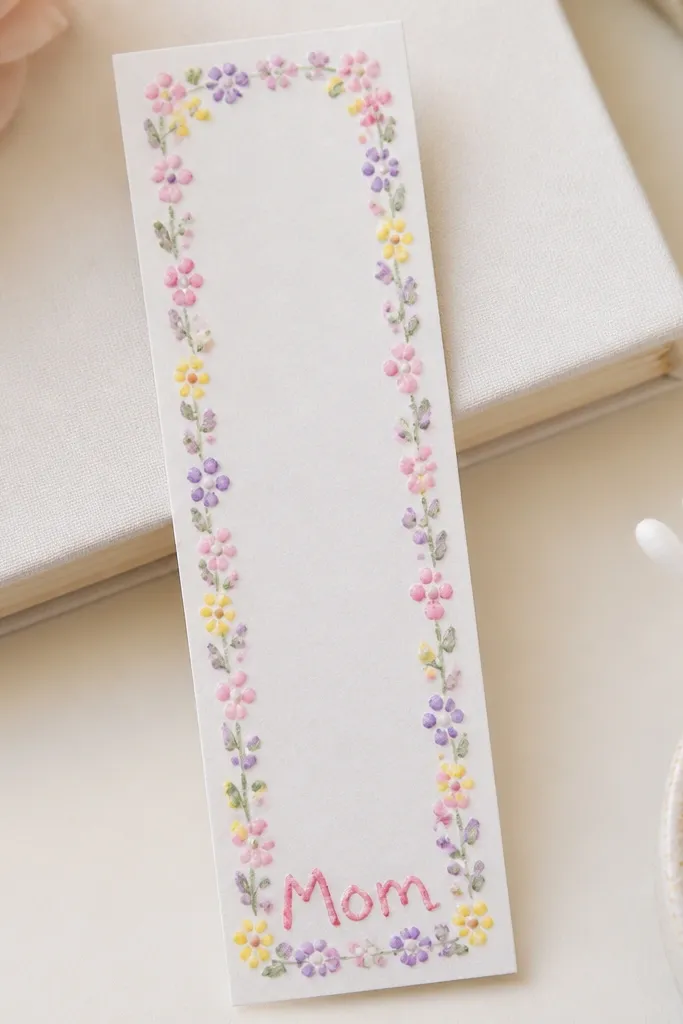
Fold or cut cardstock into bookmark strips and let kids paint tiny blossoms using Q-tips dipped in paint. Add stems and leaves with a marker once the dots dry. This is a practical gift kids can actually use, not just hang on a wall.
Good to knowSeal with clear contact paper or laminating sheets to protect the paint from smudges.
9. Mini Foam Handprint Keychain Keepsake (No-Glue Mess)
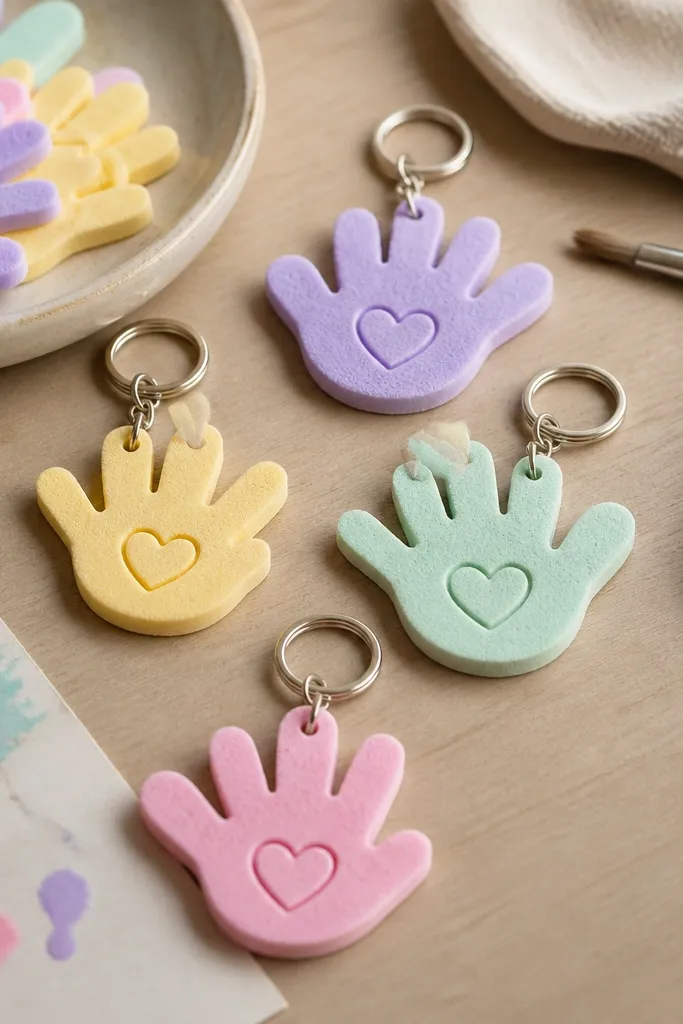
Trace a small handprint onto craft foam, cut it out, and add a heart stamp or marker message. Punch a hole near the wrist area and attach to a keychain ring. Foam is lightweight and durable, making the keepsake last longer than paper crafts.
Good to knowUse permanent markers on foam and let it sit for 10 minutes before attaching to the ring.
10. Color-Block Paper Heart Vase with Tissue Paper Stems
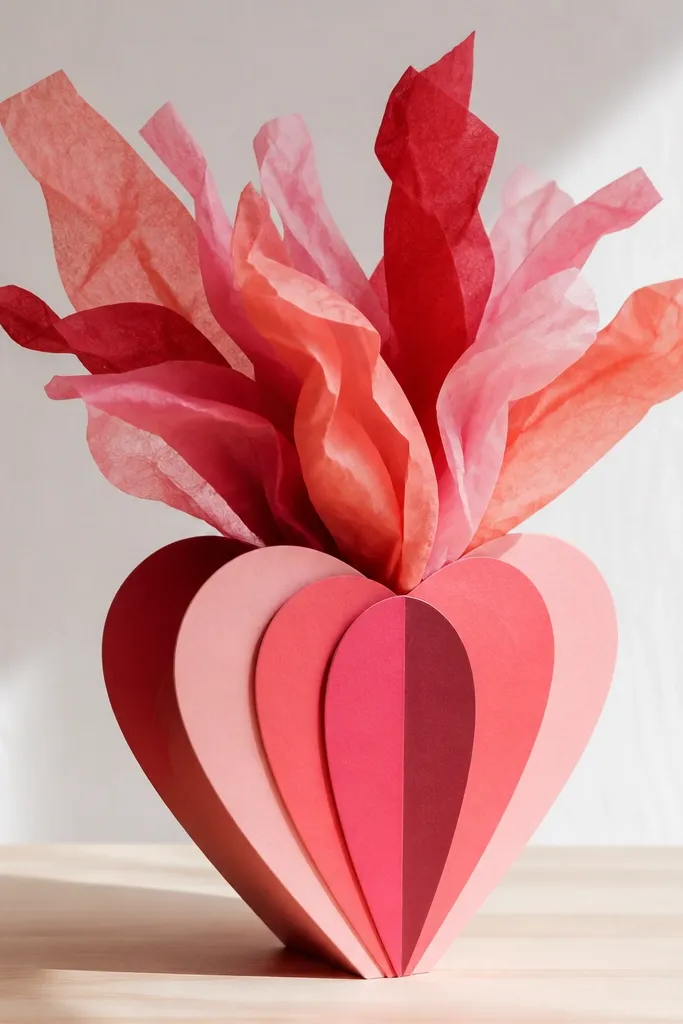
Cut a large heart shape for the vase and layer smaller rectangles to create a color-block effect. Add tissue strips inside as “stems” and fold them outward for a bouquet look. The heart silhouette reads clearly from across the room, which makes it extra aesthetic.
Good to knowPre-score the heart edges with a pencil so folding lines stay crisp.
11. Leafy Love: Pressed Leaf + Crayon Rubbing Card
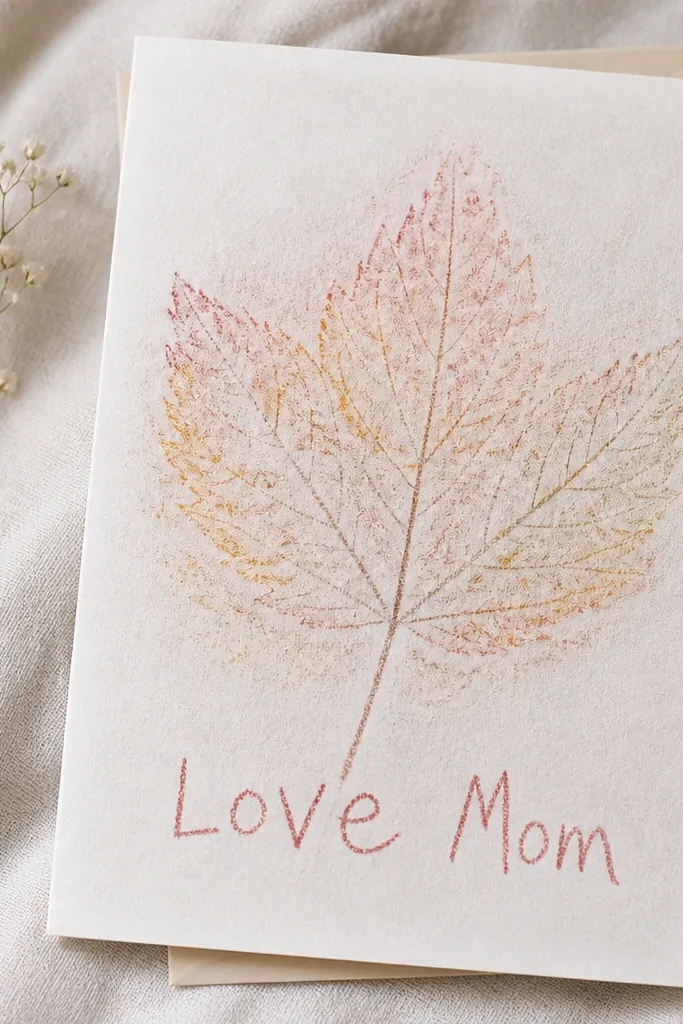
Place a real leaf on paper, cover with a thin sheet, and rub crayons over it to reveal veins. Add a simple border and a “Love Mom” message. This works even for preschoolers because the rubbing motion is easy and the result looks intricate.
Good to knowUse thicker paper (cardstock) so the leaf texture doesn’t tear the page.
12. Sticker Mosaic “Mom” Flower Pot (Sticker Only)
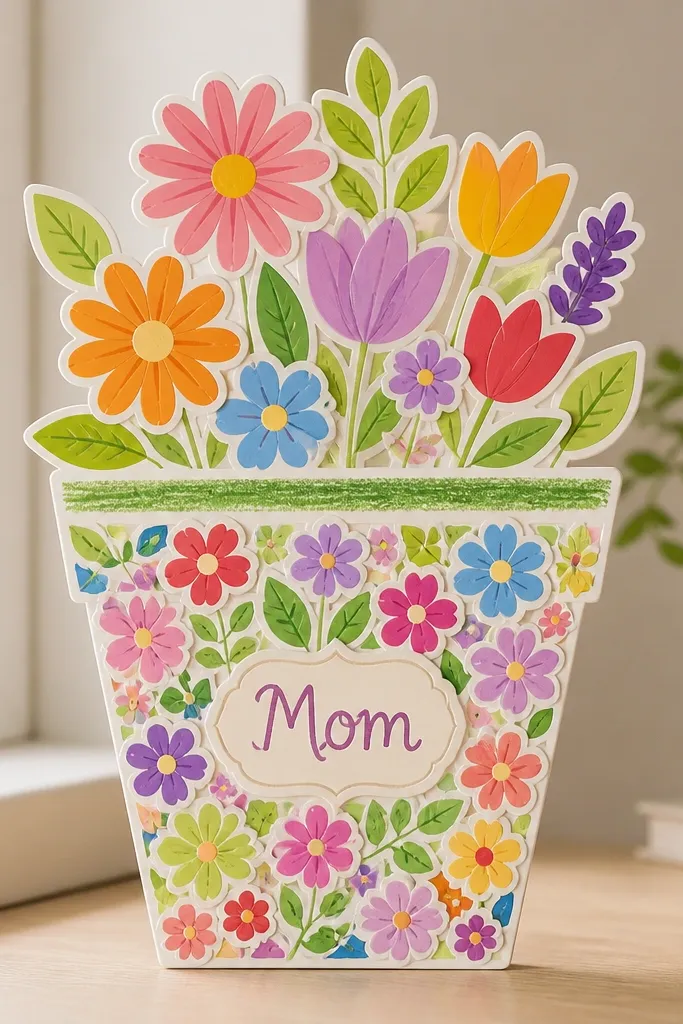
Draw a simple flower pot outline on cardstock, then let kids fill it with stickers like hearts, flowers, and tiny dots. It’s the lowest mess option and still looks like a finished art piece. Add a final label and a few marker details for a polished look.
Choose matte stickers — glossy ones can reflect light and look less “crafted” in photos.