
1. Cream Linen + Gold Foil Nameplate
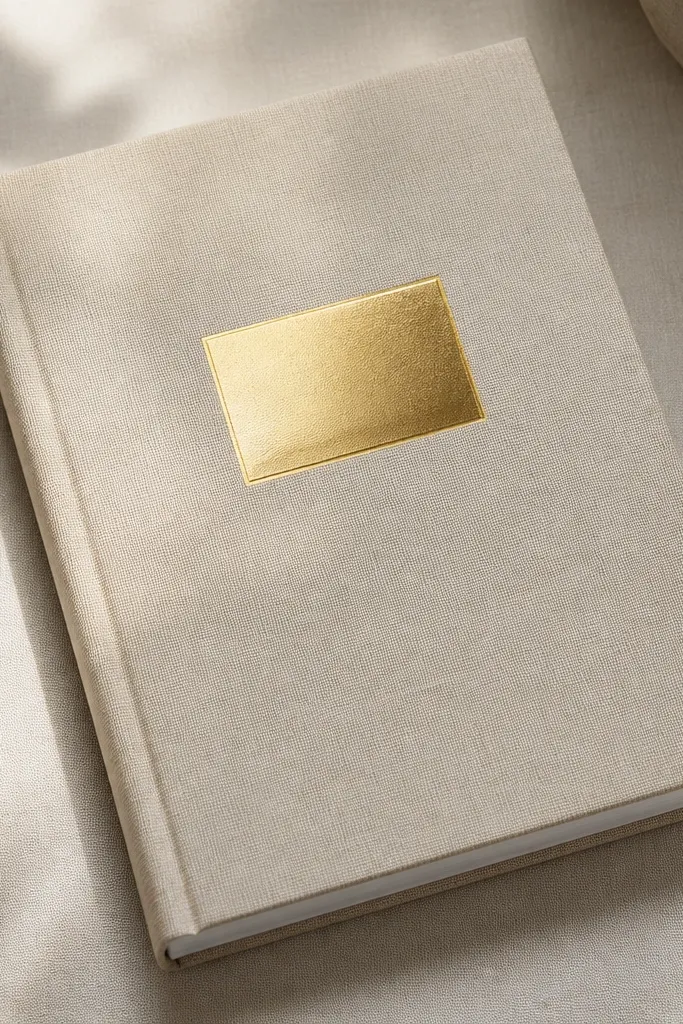
Use linen-look fabric or actual linen for that high-end, tactile feel. Add a gold-foil look nameplate using metallic vinyl or foil-transfer paper so the center detail catches light without clutter.
Good to knowWrap the fabric tightly at the corners and glue with a thin line of fabric glue so it doesn’t ripple.
2. Pastel Gelato Wash Background + Sticker Border
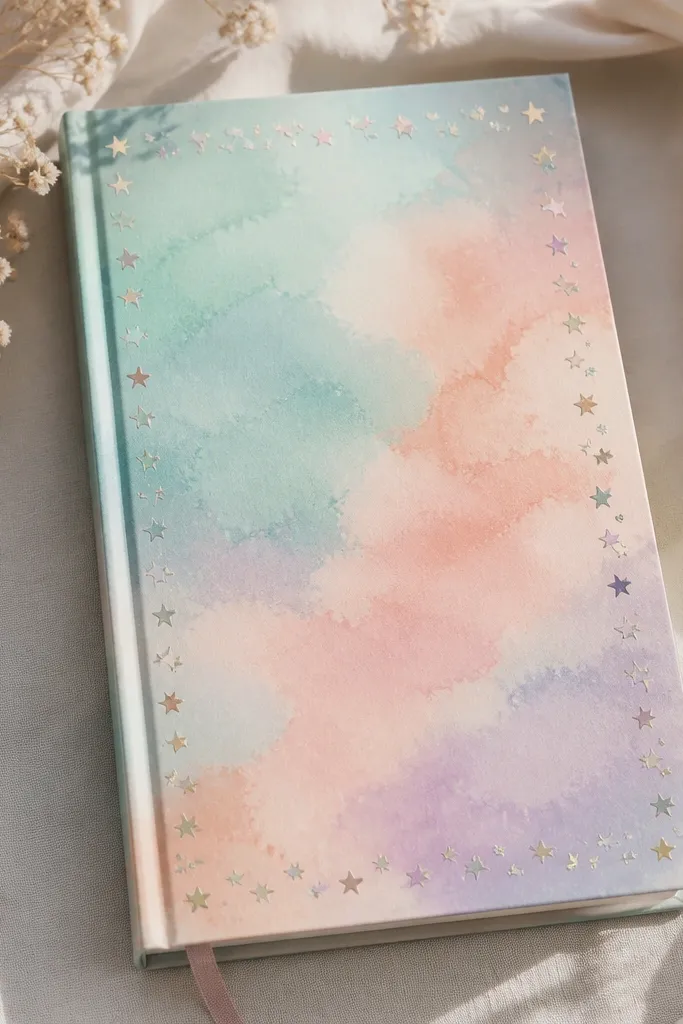
Make a soft wash background using diluted acrylic or watercolor on plain cardstock. Finish with a delicate border of tiny stickers (stars, hearts, or moons) to frame the cover without blocking the texture.
Good to knowLet the wash fully dry between layers, then seal with a matte clear spray to prevent smudging.
3. Bookish Collage: Vintage Page Cutouts + Twine Bow
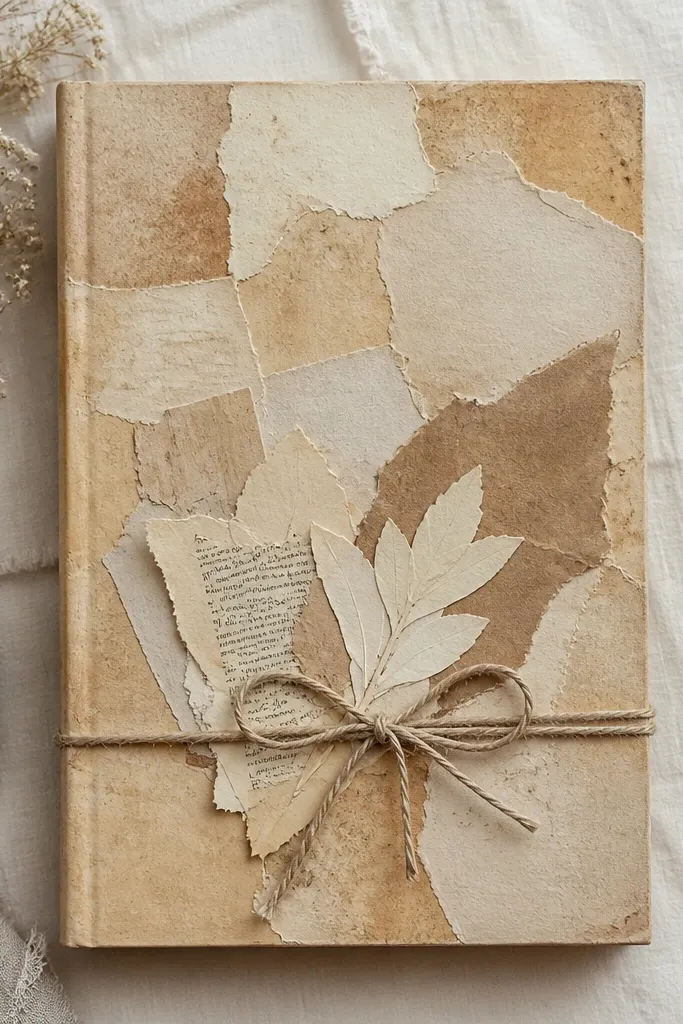
Layer torn vintage book pages for an authentic, lived-in look. Add a twine bow for dimension and warmth, then lightly distress edges with a brown ink pad for cohesion.
Good to knowSeal collage with decoupage medium so paper edges don’t lift over time.
4. Monochrome Line Art + Black Wash Typography
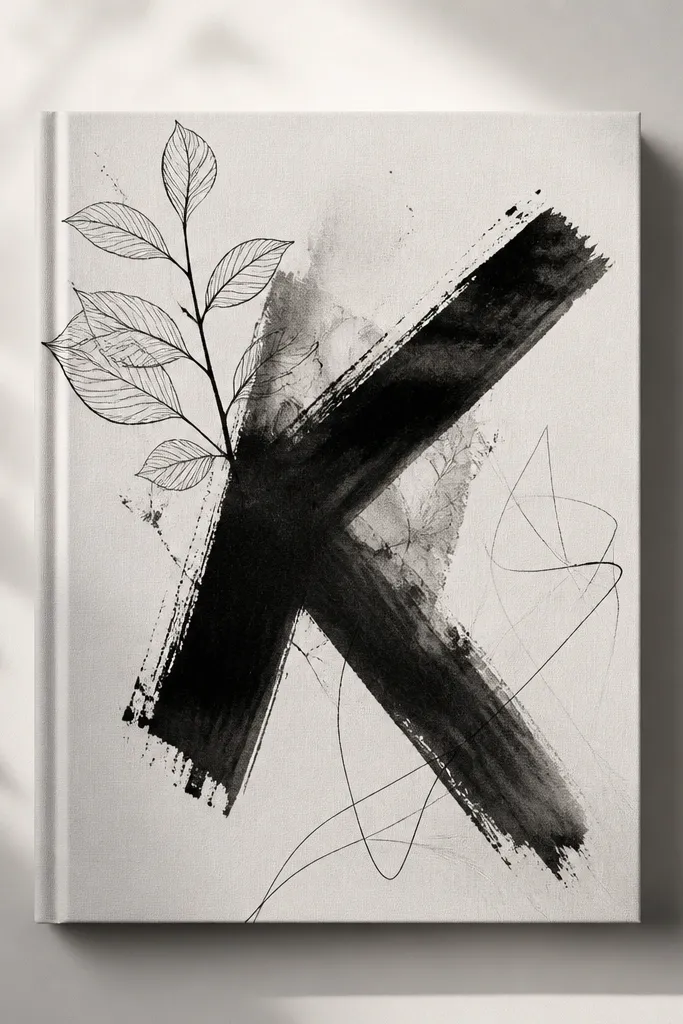
Print or draw simple botanical line art and place it in one corner for a clean, editorial vibe. Use black paint-wash lettering (or vinyl) for the title so it looks intentional, not like a sticker slapped on.
Good to knowUse painter’s tape to mask the lettering area for crisp edges.
5. Pressed Flower Corner + Transparent Vellum Overlay
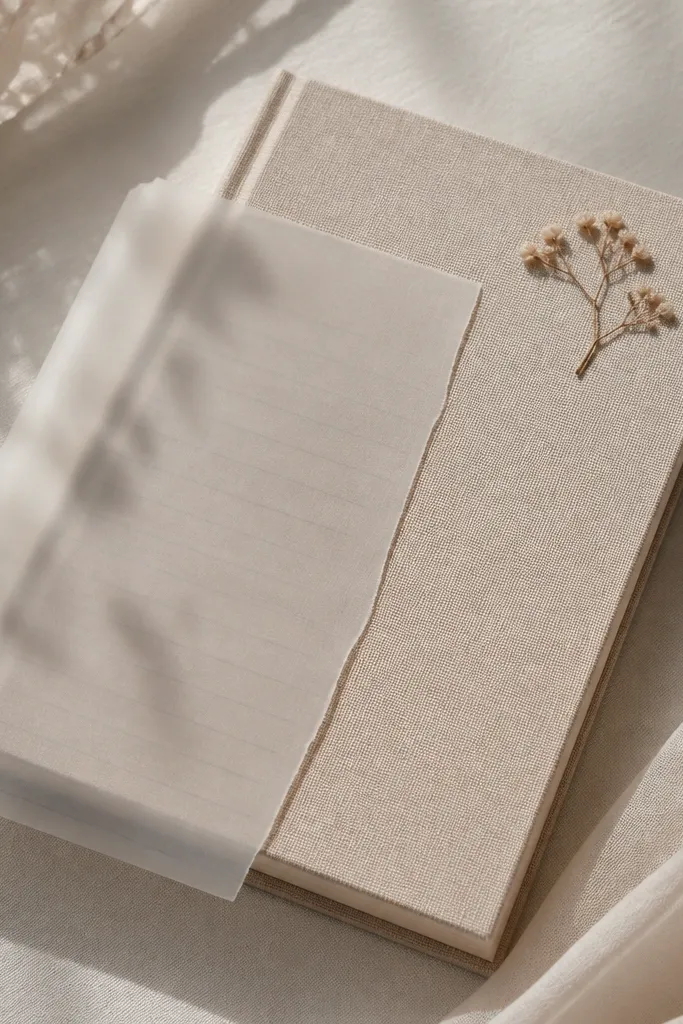
Press tiny flowers (like baby’s breath or small daisies) and place one in a corner for a soft, delicate focal point. Layer vellum over part of the design so the flower looks airy and “floating.”
Good to knowPress flowers longer than you think (at least 1-2 weeks) for flat results before sealing.
6. Sage Green Fabric Wrap + Embroidered Initial
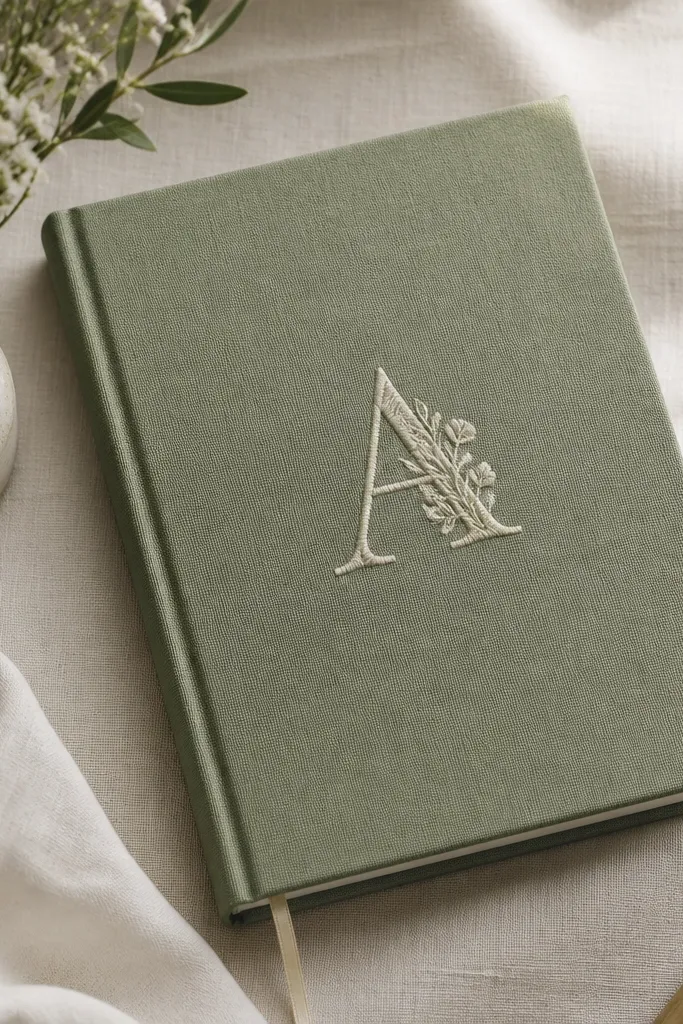
Fabric wraps instantly elevate a basic diary. Use embroidery thread to stitch one initial using a simple backstitch or satin stitch for a clean look that matches the calm palette.
Good to knowLightly iron the fabric (low heat) before wrapping to avoid wrinkles.
7. Washi Tape Grid + Mini Polaroid Frame
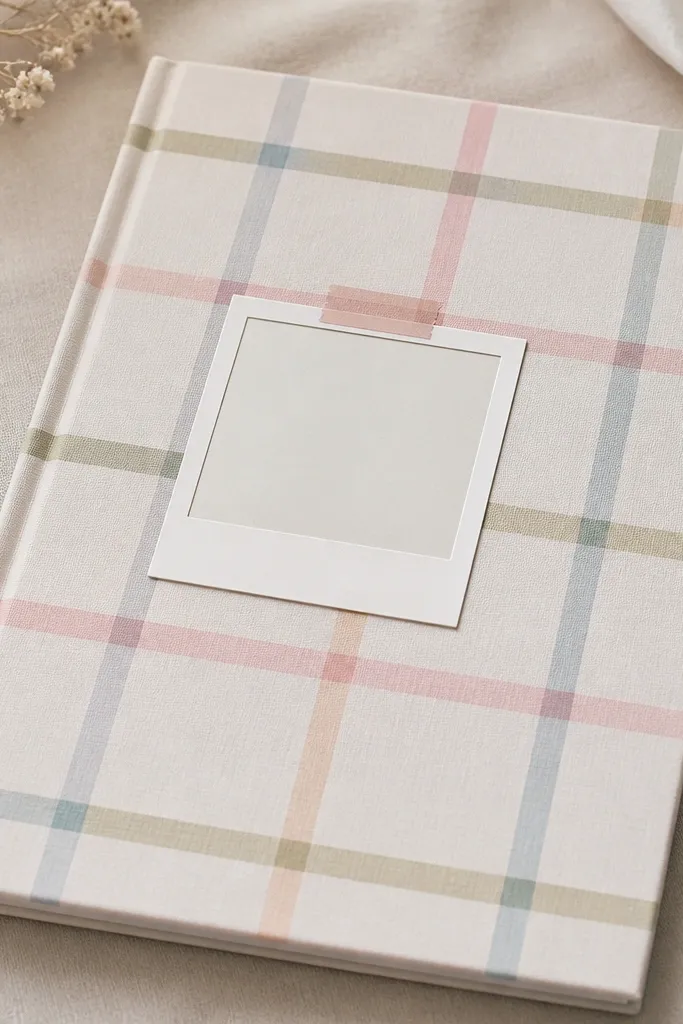
Create a grid using multiple washi tapes in complementary colors (cream, blush, pale blue). Add a mini polaroid frame to give the cover that “memory board” feel even if you don’t include photos yet.
Good to knowUse a craft knife to trim tape edges cleanly after pressing them down firmly.
8. Terracotta Clay Dots + Handwritten Title
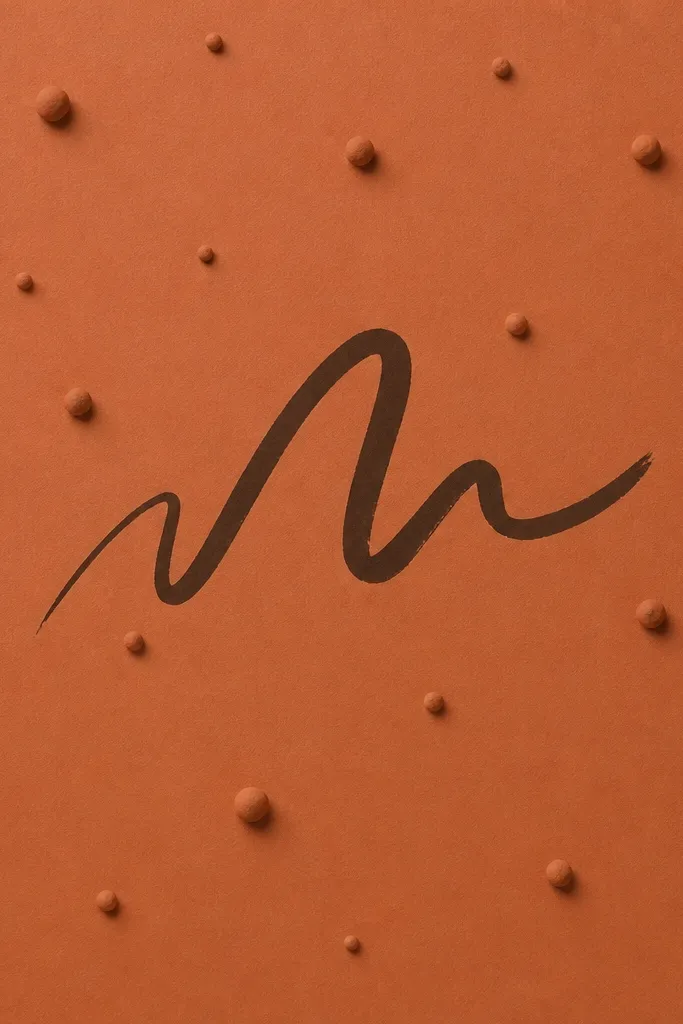
Mix a simple dot pattern using air-dry clay dots (or puff paint) for subtle 3D texture. Pair terracotta with dark brown or black handwriting so the title stays readable and cozy.
Seal 3D dots with a thin clear coat so they don’t snag on bags.
9. Skyline Silhouette + Starry Foil Accent
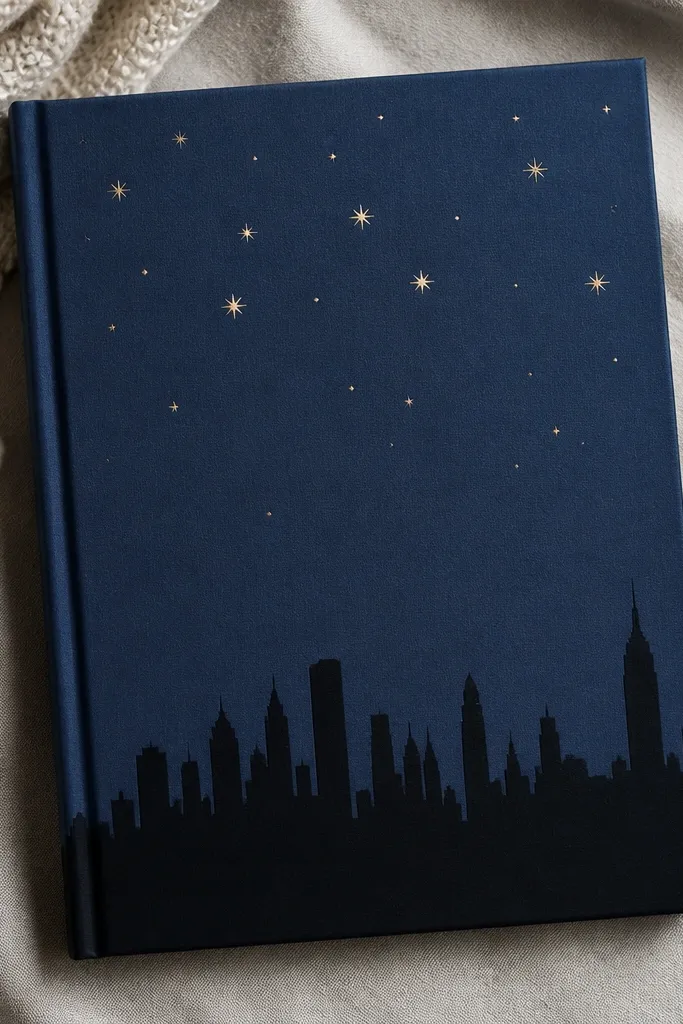
Print or cut a skyline silhouette and glue it slightly above the bottom edge. Add tiny star accents with metallic foil stickers or gold star vinyl for that night-sky aesthetic.
Good to knowBurnish foil stickers with a fingertip or plastic card so edges don’t lift.
10. Soft Peach Ombre + Gold Corner Lines

Blend peach acrylic or alcohol markers vertically for a smooth ombre. Use gold paint markers or gold tape to draw corner L-lines framing the title space for a gallery-like layout.
Practice the ombre on scrap paper first, then transfer with light, overlapping strokes.
11. Cottagecore Window: Fabric Lace + Tiny Garden Tag
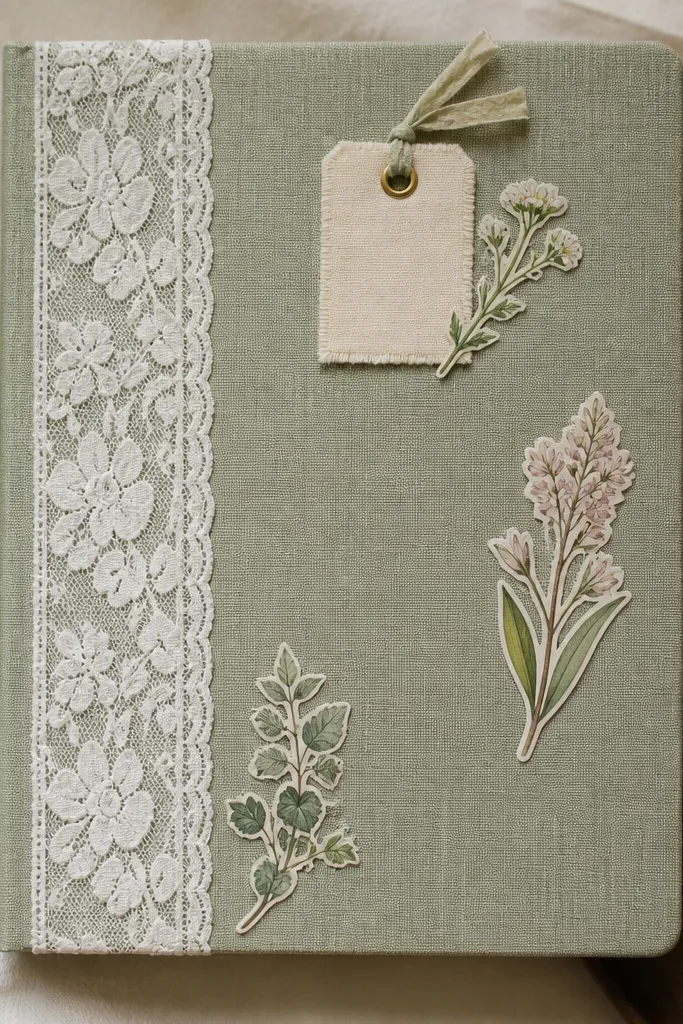
Add lace as a “window” panel so the cover feels handmade and romantic. Pair it with a tiny tag (like a mini label) and botanical stickers for a cottagecore vibe that still looks organized.
Trim lace with zigzag scissors and glue only the center to prevent fraying edges.
12. Abstract Marble: White + Blush + Gray Swipe
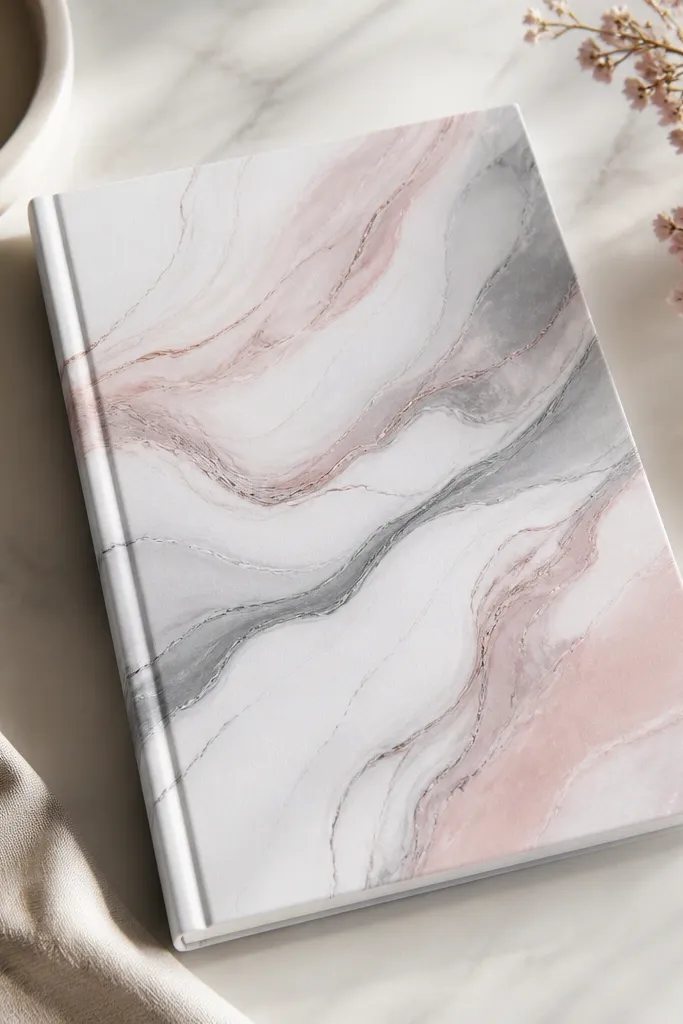
Create a marble effect by swiping diluted acrylics with a sponge or palette knife for organic streaks. Keep the typography minimal with a single centered title to let the marble do the talking.
Good to knowSeal with matte medium, not gloss, to reduce glare on your notebook cover.