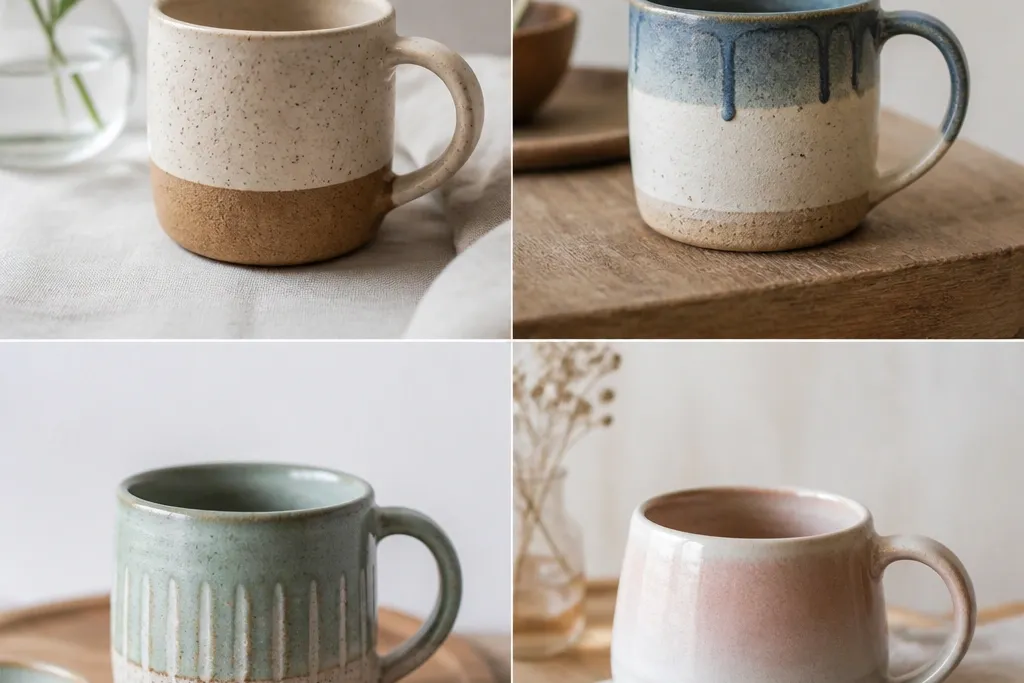
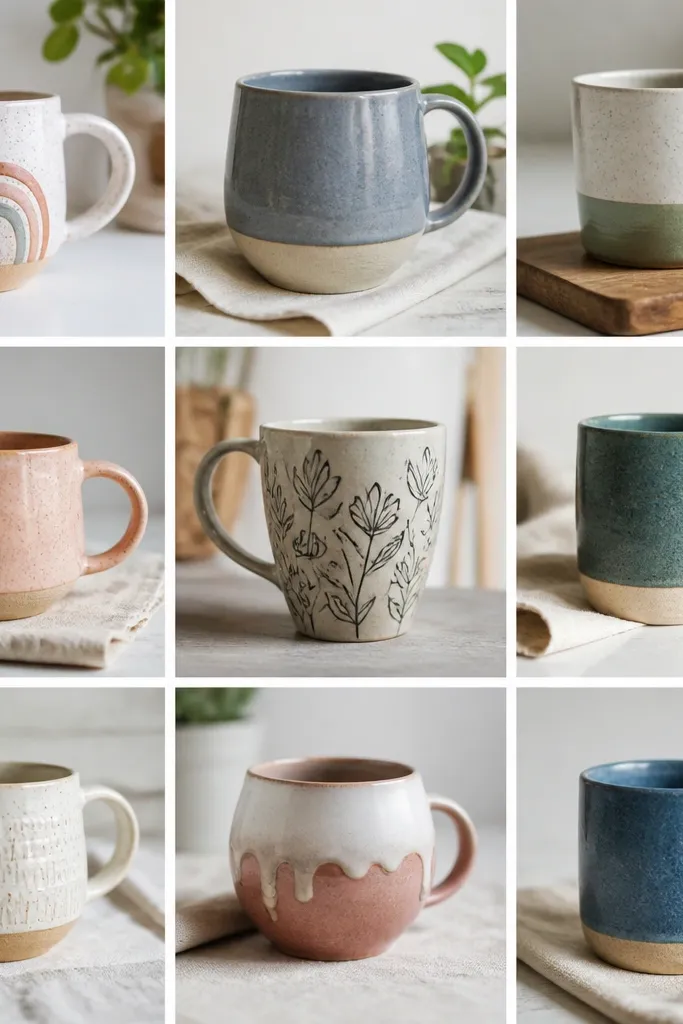
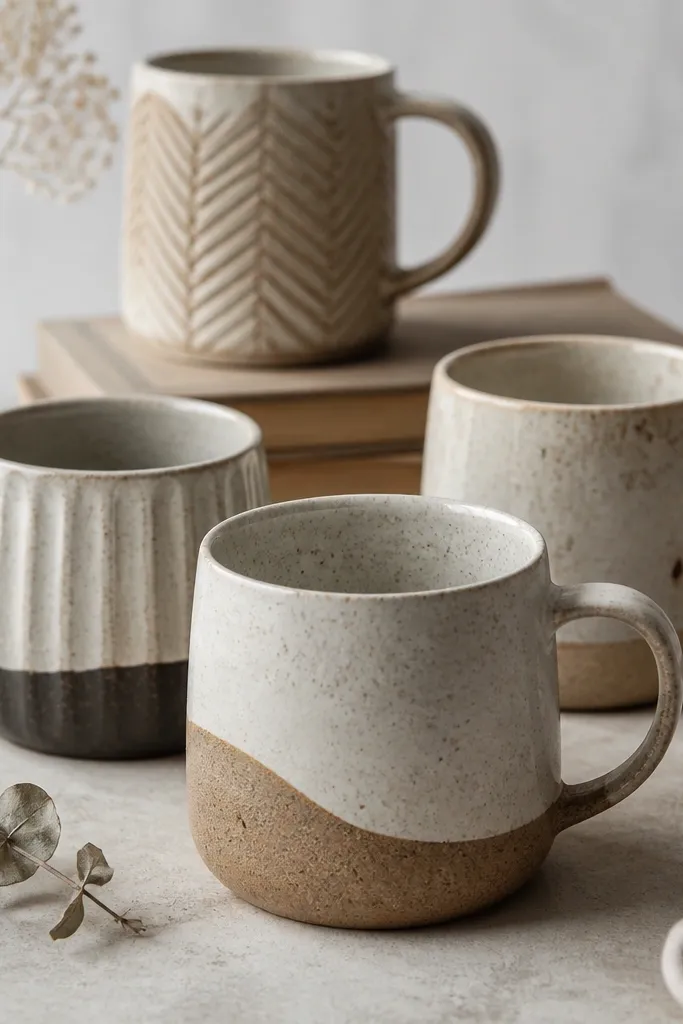
handmade mug ideas weekend — you can make a finished, gift-ready mug in 2 days by using no-fire techniques like paint, vinyl, and decal sealing. If you can spare one 30-minute block and another for drying, you’ll get a mug that looks custom and doesn’t scrape off with normal use.
Step by step
Choose your weekend method. Pick one approach so you’re not waiting on multiple incompatible coatings. For a guaranteed fast route, go with acrylic + sealant or vinyl + sealant.
Prep the mug surface. Wash the mug, then wipe with rubbing alcohol and let it fully dry. Mask off the rim and handle with painter’s tape so you don’t have to clean paint later.
Create your design (no-fire or low-fire). Apply stenciled paint for crisp shapes, or press vinyl for clean lettering. For decoupage, brush a thin layer of decoupage medium, lay paper, then seal over the top.
Let it dry without smearing. Dry paint in thin layers — 20-40 minutes between coats. Keep the mug flat and avoid touching the design until it’s tack-free.
Seal for durability. Brush on clear dishwasher-safe sealant in 1-2 thin coats. Let each coat cure fully per the product directions before stacking or wrapping.
Finish and test. Remove tape carefully while the sealant is still slightly flexible, then inspect edges. After curing, hand-wash first to confirm nothing lifts, then go to gentler dishwasher cycles if your sealant allows.
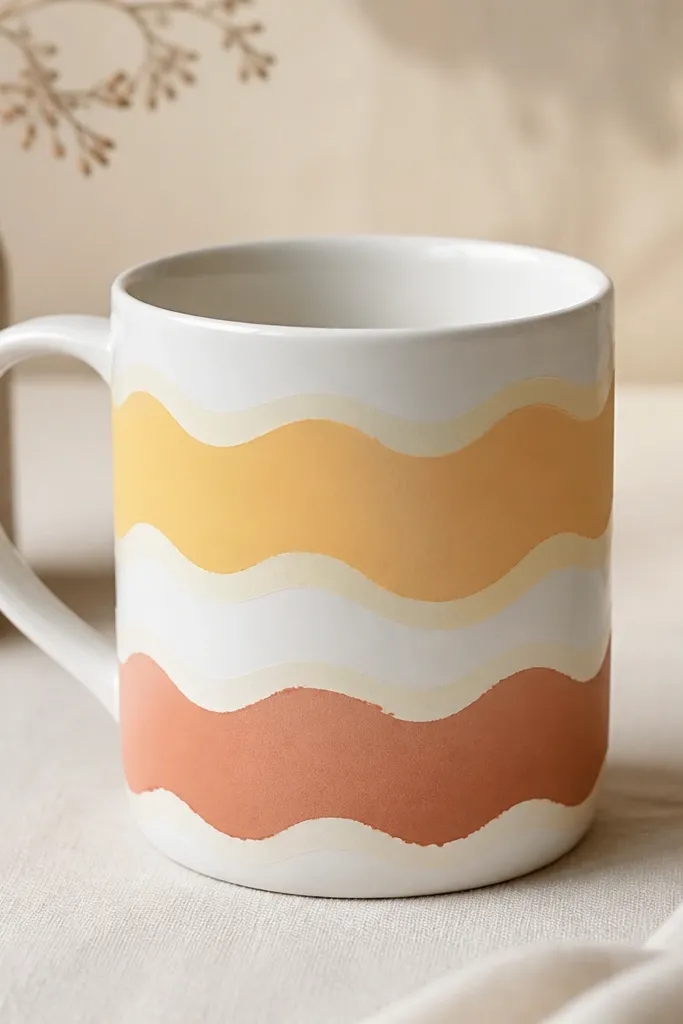
This look uses a simple stencil to get crisp waves without freehand stress. Warm yellow + terracotta reads “cozy kitchen” and hides minor brush texture better than thin lettering. Seal the paint so it doesn’t fade or scratch from spoons.
Good to knowUse a foam roller for stencil fills — it reduces streaks and keeps weekend time on track.
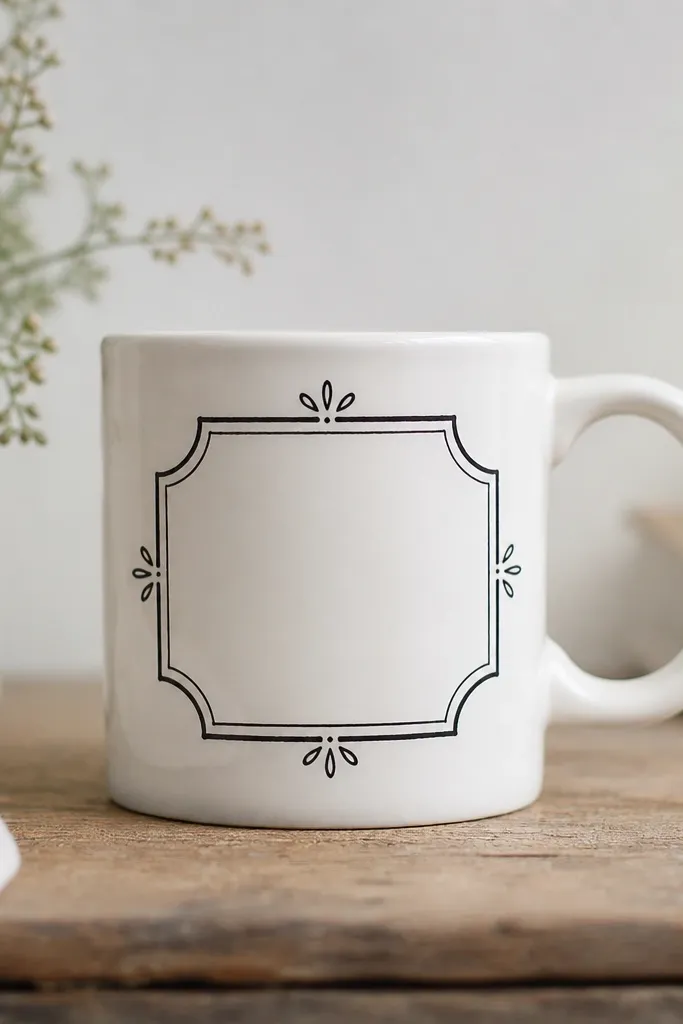
A label wrap makes your mug feel store-bought even when you’re using basic supplies. Blackline art looks sharp on white mugs and is forgiving if your lines aren’t perfectly symmetrical. Vinyl or paint-marker style outlines both work well with a final seal coat.
Good to knowLightly sketch the label with a pencil first, then trace with paint or vinyl so spacing stays balanced.
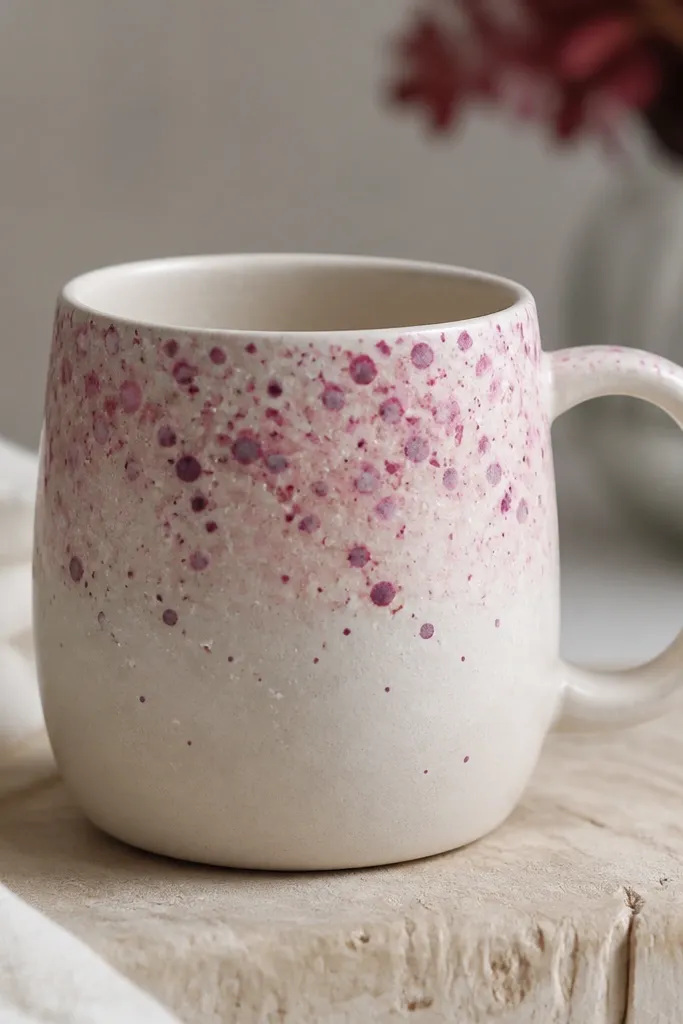
Splatter looks fancy but can be controlled fast using a toothbrush and diluted paint. Keep the splatter concentrated near the handle side so it looks intentional, not random. Soft gradients hide small imperfections from weekend-level painting.
Good to knowSpray a light mist of water on your paint (not the mug) to make splatter softer and more watercolor-like.
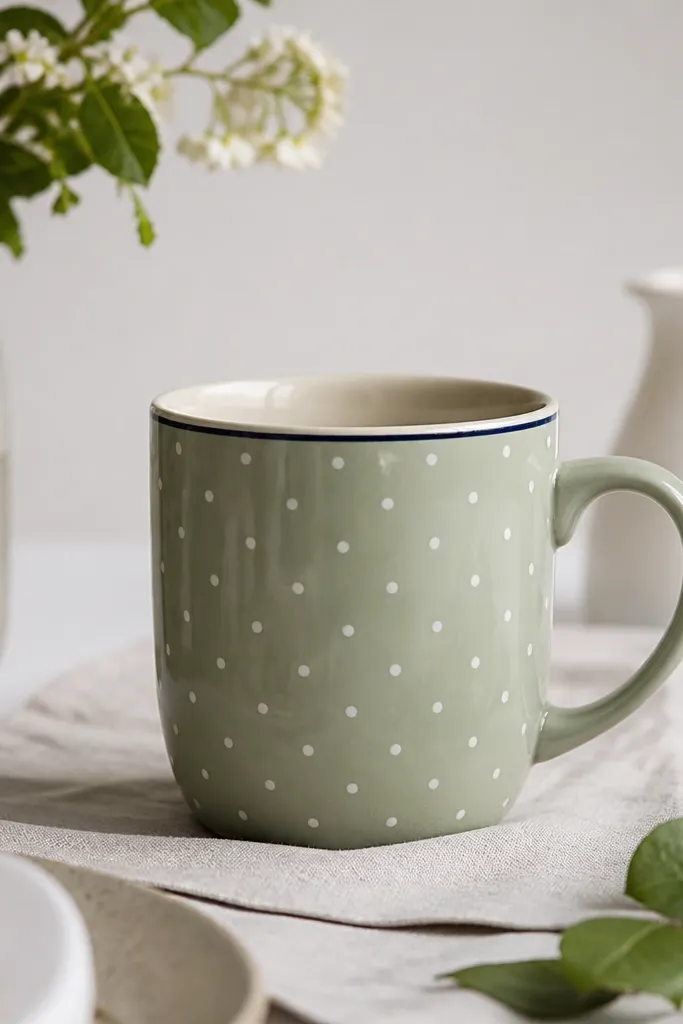
Polka dots are one of the quickest ways to make a mug look “designed” without lettering. A rim pinstripe frames the dots and makes the mug feel cohesive. This is great for making a matching set for friends.
Good to knowUse a dotting tool or the rounded end of a cotton swab for consistent circle sizes.
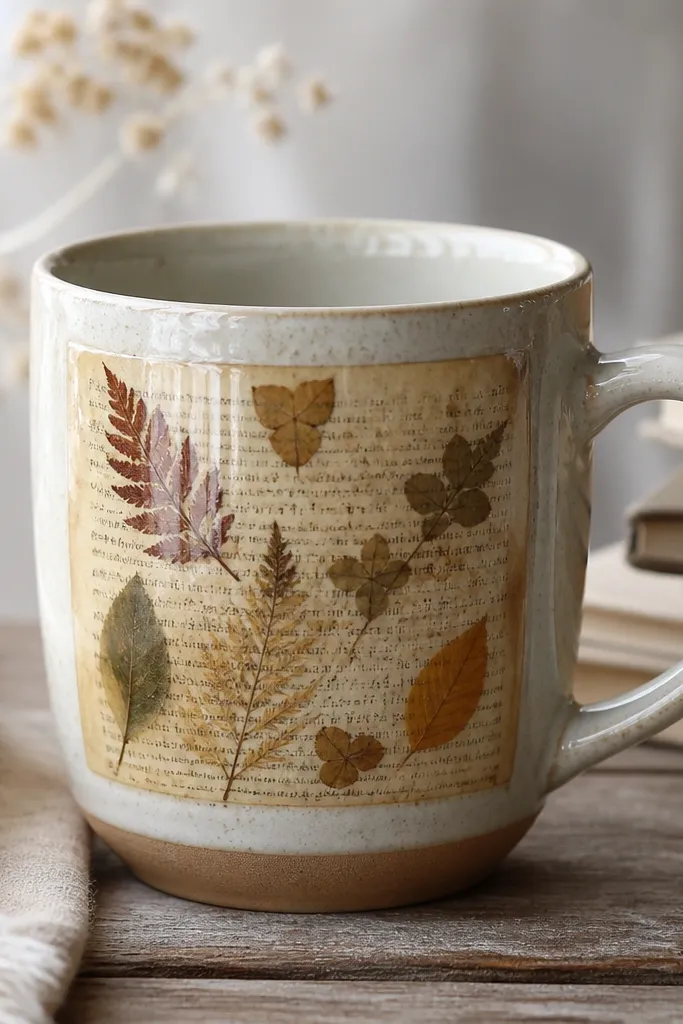
Decoupage gives you texture and “layered art” in a weekend. Use thin paper like book pages or botanical napkin cutouts so edges blend under the medium. Glossy sealing makes the design look like it’s printed.
Cut shapes with small scissors and press the paper down with your fingertip wrapped in a tissue to prevent wrinkles.
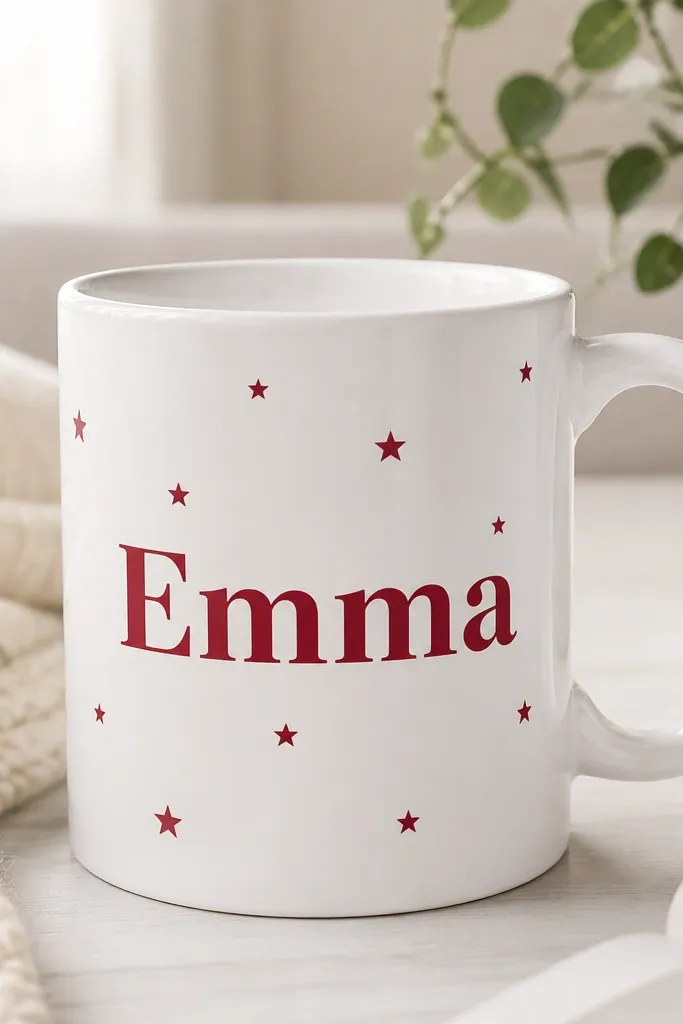
Vinyl lettering is fast and crisp, especially for gifts. Pair one focal name with a few tiny stars so the design doesn’t feel empty. Seal over vinyl so it won’t lift during washing.
Burnish vinyl firmly with a plastic card before sealing — edges make or break the final look.
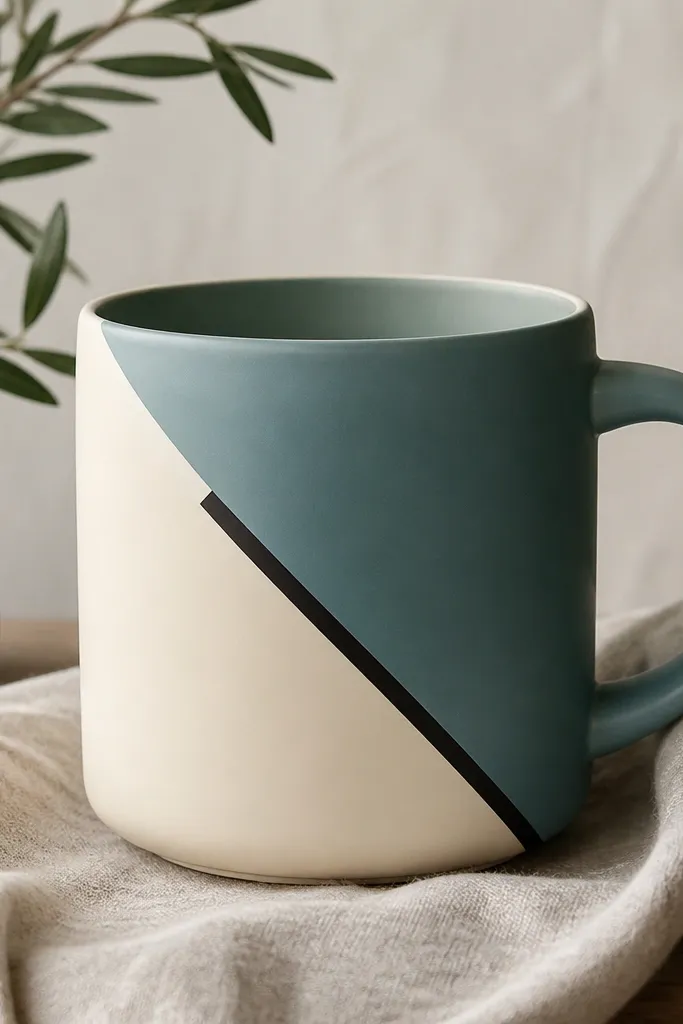
Tape resist makes geometric mugs without advanced skills. Choose two paint colors plus a contrasting accent so it reads modern, not chaotic. Crisp separation looks professional once sealed.
Peel tape at a 45-degree angle while the last coat is slightly tacky for the cleanest edge.
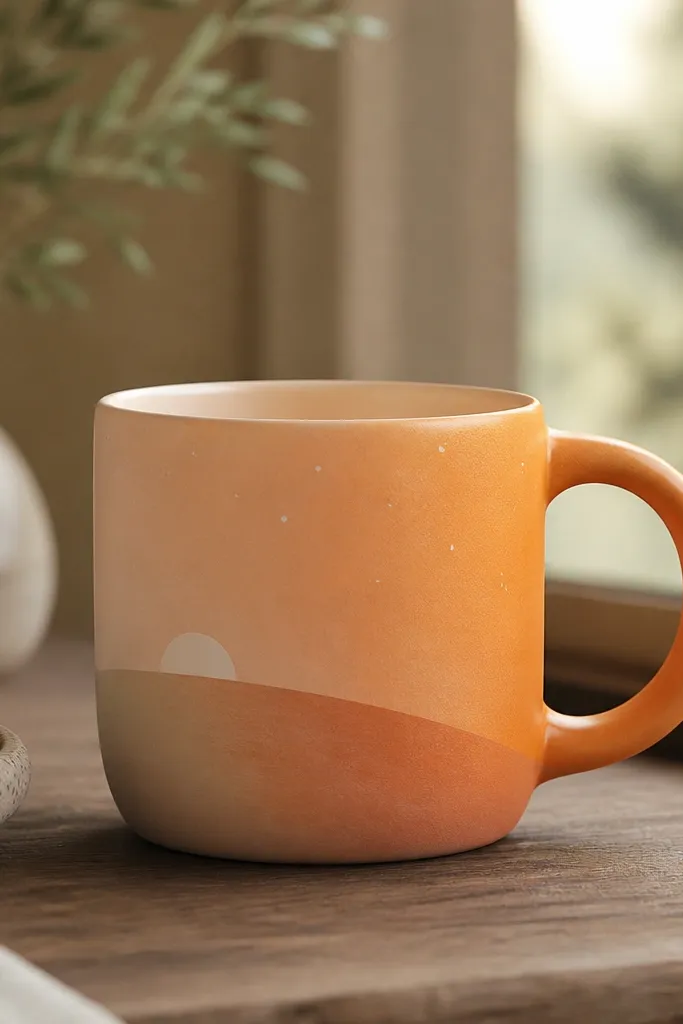
Gradient work looks impressive and can still be weekend-friendly if you use a sponge for blending. Painting near the handle makes it feel like a “scene,” not a flat sticker. A thin seal coat keeps the gradient glossy and washable.
Blend using a damp sponge in small taps — wipe your sponge between color transitions.
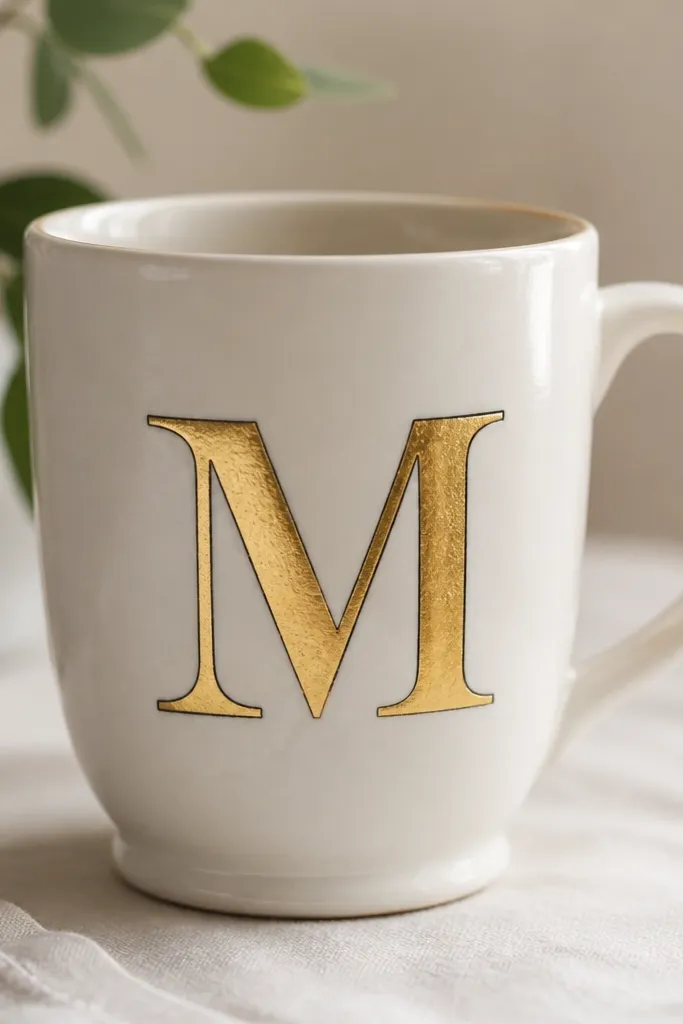
A monogram instantly upgrades any mug, and metallic paint looks luxe even when it’s simple. To keep the gold from dulling, seal it with a clear ceramic-safe topcoat. This is perfect for birthdays and thank-you gifts.
Do gold in two thin coats rather than one thick coat to prevent bumps.
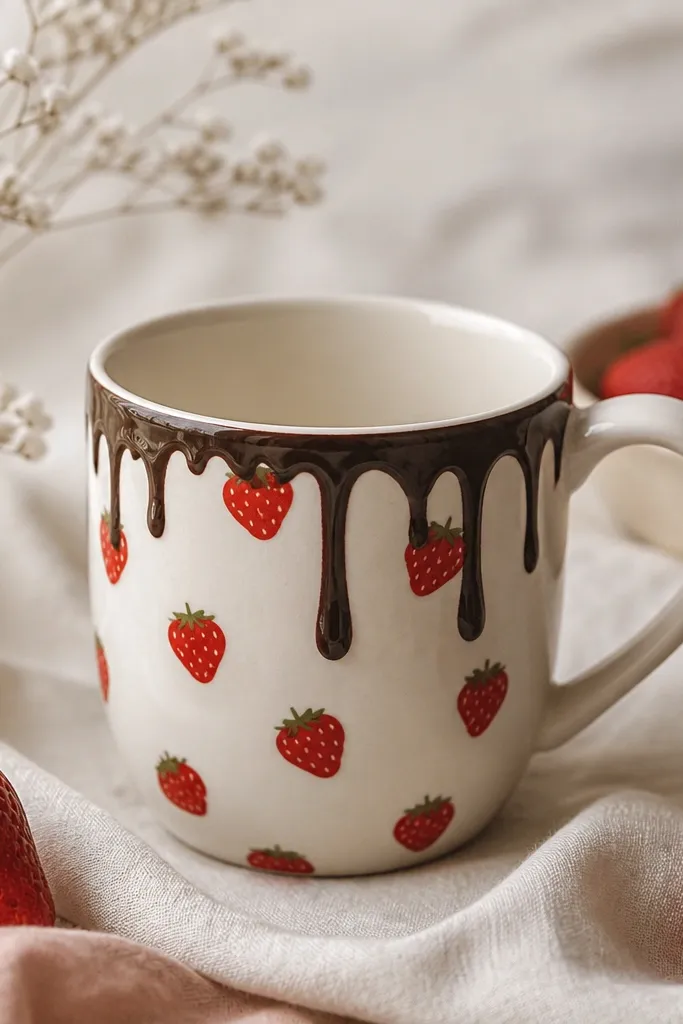
Food-themed mugs are a huge hit for everyday joy and make great hostess gifts. Keep the pattern small and repeat it in a band so the design doesn’t wrap awkwardly around the handle. Seal carefully over highlights so the texture stays smooth.
Good to knowUse a fine liner brush for chocolate drips so the “drip” lines don’t blob.
Your questions, answered
How long will a sealed painted or vinyl mug last?
With a ceramic-safe dishwasher-safe sealant and proper curing, many DIY designs last through regular use for months. For best longevity, hand-wash for the first couple of weeks and avoid abrasive scrubbers.
Do I need to bake the mug in the oven?
Only if your specific ceramic/porcelain paint instructions say to cure with heat. If you’re using a sealant-only approach with vinyl, you usually don’t bake — just let coatings fully cure per label directions.
How much does it cost to make one mug?
Most mugs cost $3-$12 if you thrift or use a plain blank mug. Supplies like paint and sealant are the main variable, but they stretch to multiple projects, so the per-mug cost often lands in the $5-$15 range.
Where can I get the materials like ceramic-safe sealant and porcelain paint?
Look for ceramic/porcelain paint and dishwasher-safe clear sealant at craft stores, online DIY craft shops, or big-box retailers in the painting aisle. Search the product label for “dishwasher safe” and “for ceramic” to avoid the wrong topcoat.
Is this beginner-friendly if I’m not good at drawing?
Yes. Stencils, vinyl, and tape-resist patterns remove the pressure of freehand skills. Even simple labels, dots, and geometric blocks look polished once sealed.
Can I put these mugs in the dishwasher?
Only if your paint and sealant are explicitly labeled dishwasher-safe. If not, hand-wash is the safer option — especially hot water and harsh detergents that can lift unsealed edges.