1. The Clay Body That Betrays You (Stoneware vs. Porcelain)
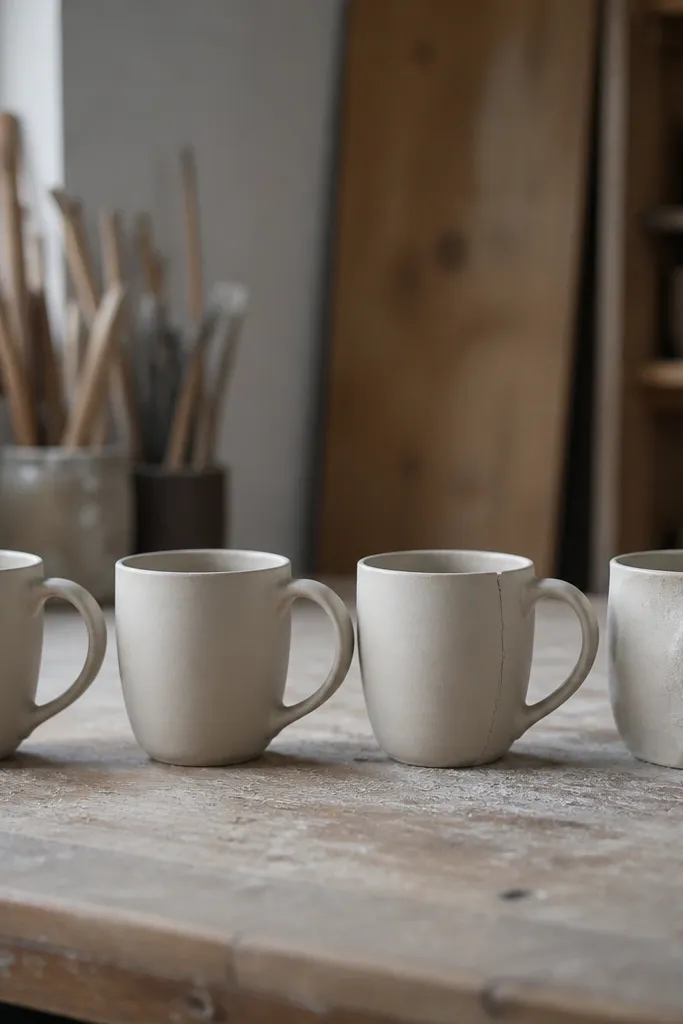
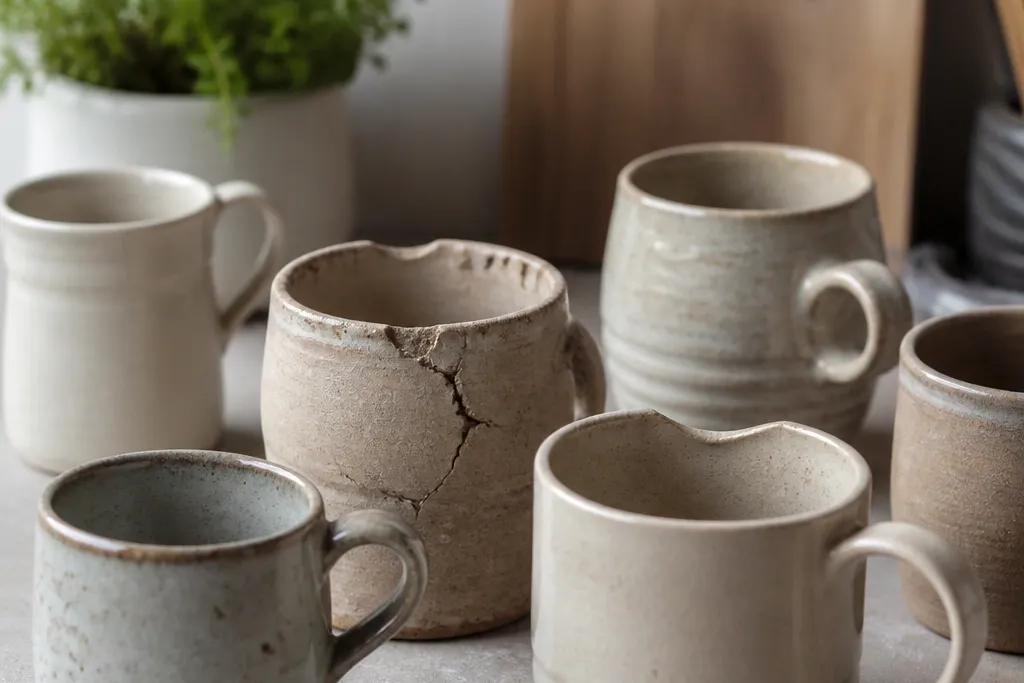
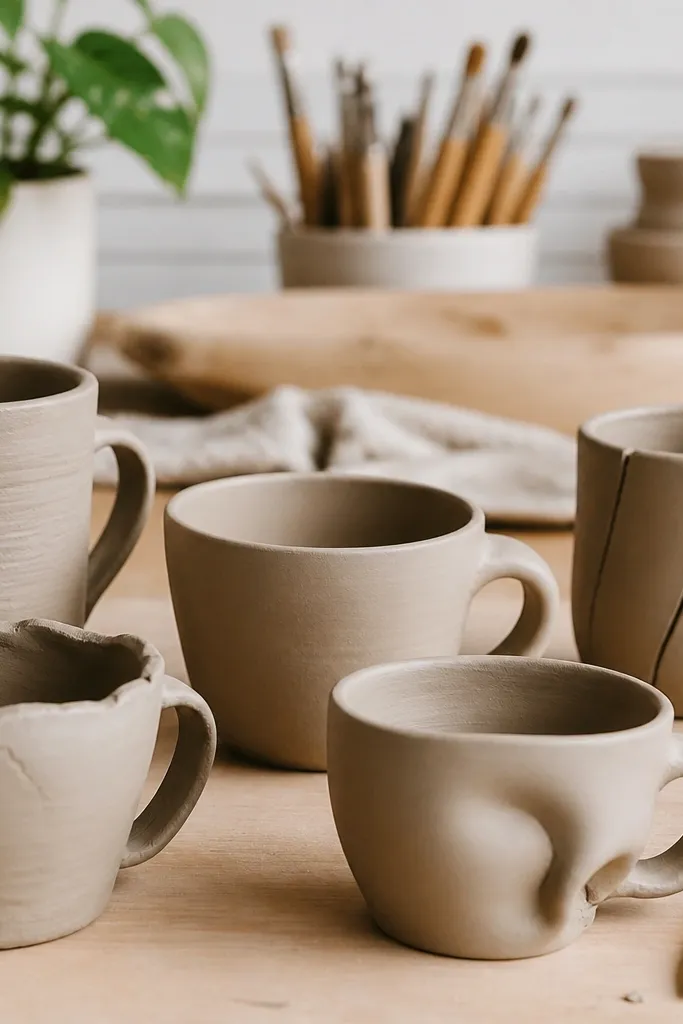
I learned the hard way that not all clays behave the same when you add decoration or extra layers. Stoneware often tolerates underglaze layers better, while porcelain can be unforgiving if your design method changes the surface thickness or causes uneven shrinkage. The crack usually appears where stress is highest — around handles, rims, and any thick texture you added.
If you’re planning to decorate, pick a clay body that’s compatible with your kiln schedule and stick to one decoration method per batch so shrinkage stays consistent.
2. Handle Attachment: The Hidden Stress Point
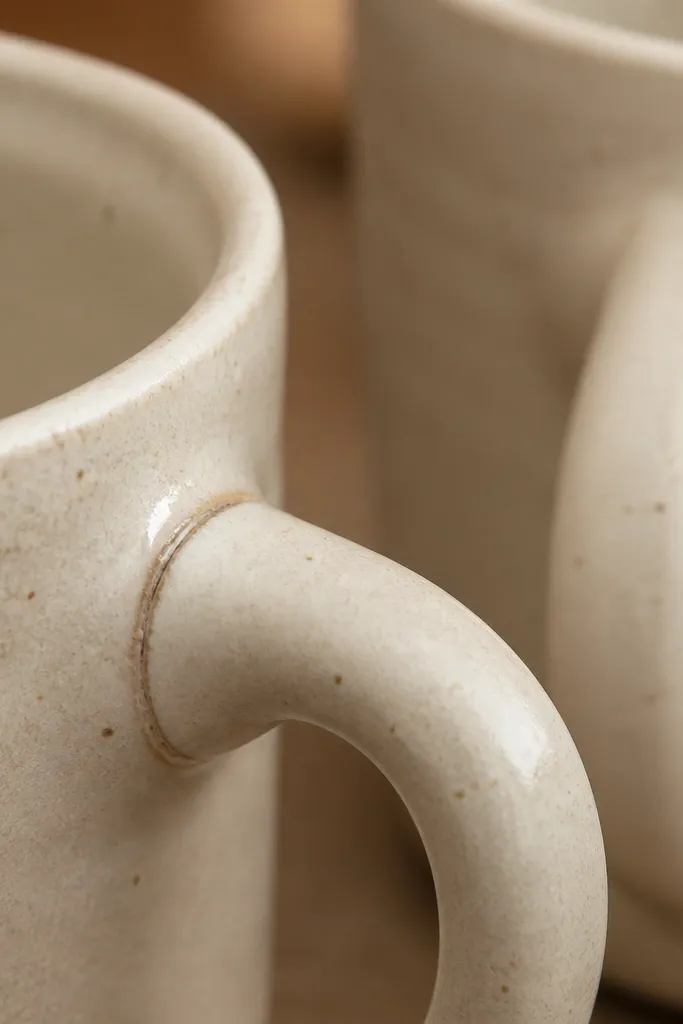
My first attempt had a tiny gap at the handle join. After firing, that seam turned into a crack because moisture and shrinkage didn’t match at the attachment point. Even if the handle looks “attached,” a thin slip layer can dry unevenly and create a weak bond.
Score both surfaces, apply slip evenly, and blend the join with steady pressure — then let the mug dry fully before any firing.
3. Underglaze Halo Around Transfers
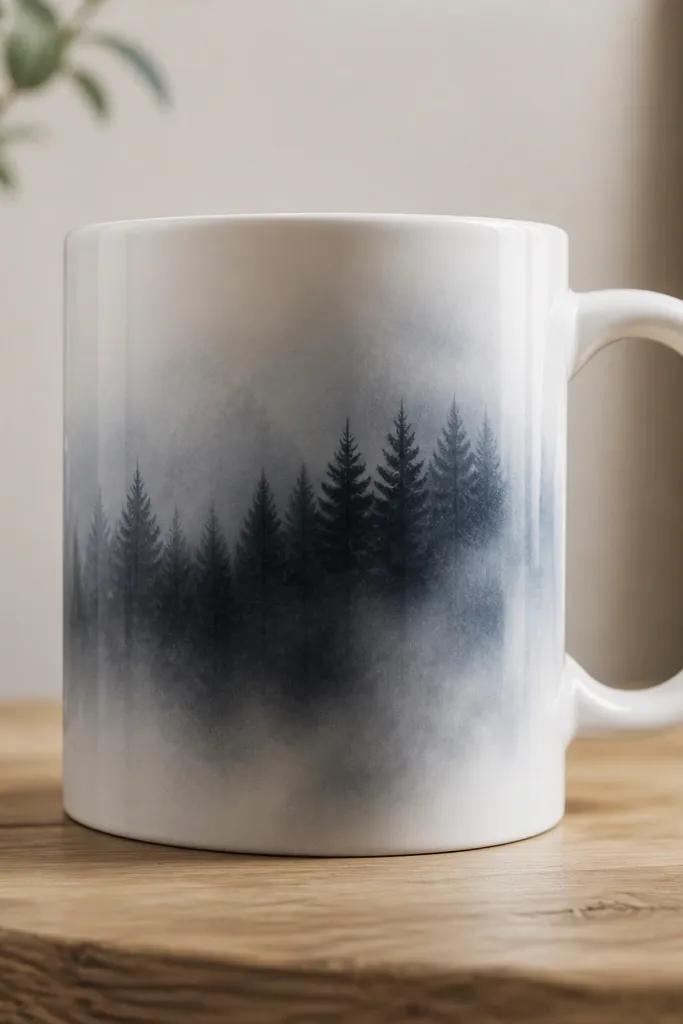
That halo happened because I applied underglaze too wet over a transfer, then the ink and underglaze mixed unevenly. The result is a soft outline that makes your image look blurry instead of crisp. It’s extra noticeable on light backgrounds and fine line art.
Good to knowLet transfers dry completely, then apply underglaze in thin passes — not one heavy coat — and keep your brush pressure light.
4. Decal Sticker Over Glaze: The “Peel-Off” Problem
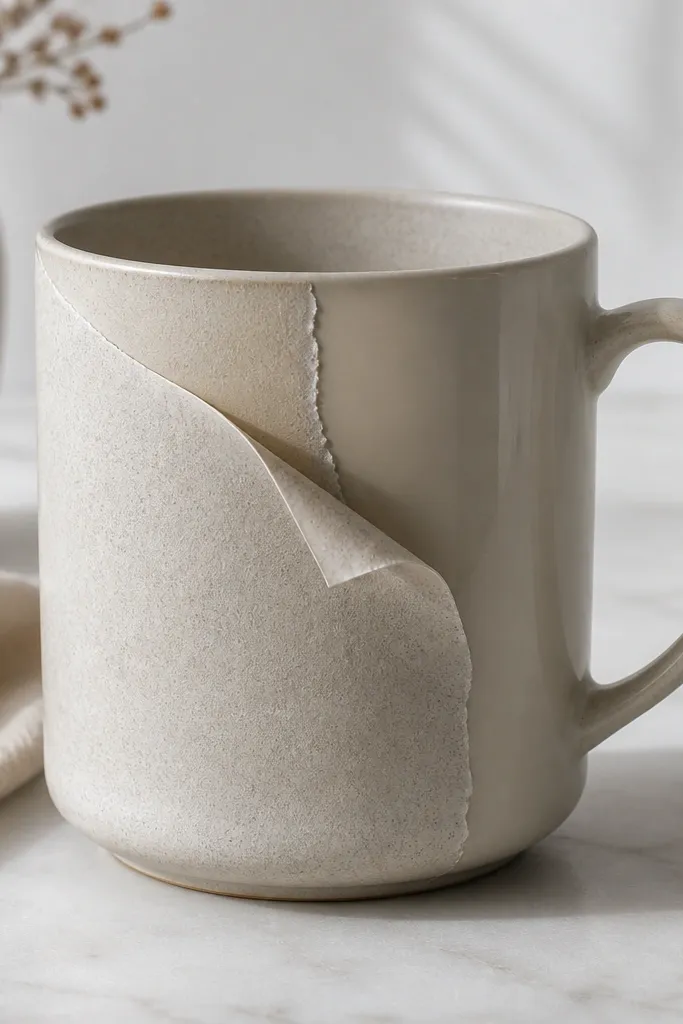
I thought decals were foolproof, so I placed one on an already-glazed surface. The firing reactivated the adhesive and caused edge lifting, especially where the mug curved. When it peels, you also get rough texture under the decal that feels awful to touch.
Good to knowFollow the decal instructions exactly for placement stage (bisque vs. glaze firing) and test one mug first on the same curvature.
5. Sanding Bisque Too Late (Your Finish Gets Patchy)
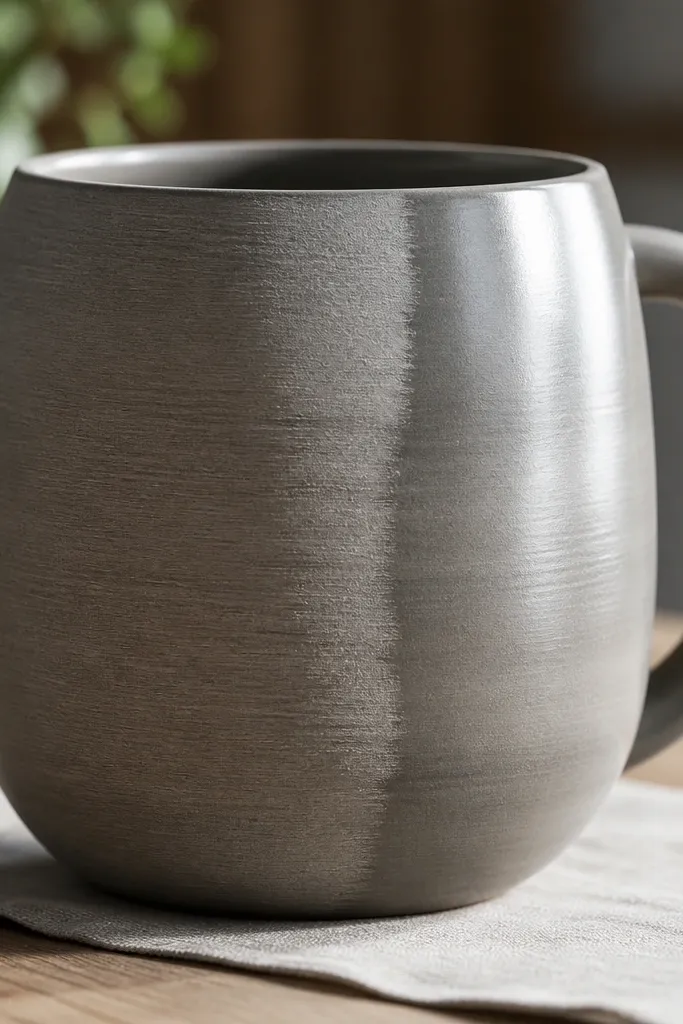
I sanded after bisque because I was impatient. That timing made the surface slightly uneven, and the glaze settled differently — leaving dull patches and tiny texture bumps. Glaze loves a consistent surface, and even small unevenness changes how it flows.
Good to knowSand your bisque when it’s fully dry and cool, then wipe dust off with a dry, soft cloth before glazing.
6. Glaze Thickness: When “More” Turns Into Crawling
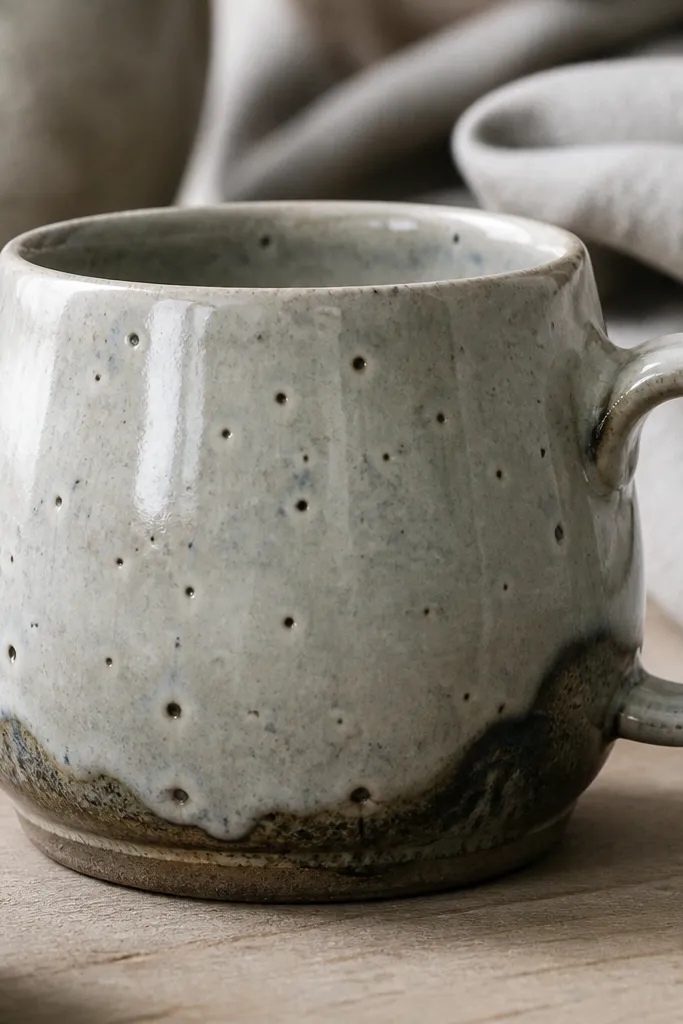
I overloaded glaze on one batch because I wanted deeper shine. Instead, the glaze crawled and formed little imperfections, especially on textured areas and thick edges. The bottom rim is a common trouble spot because it naturally collects more glaze.
Use consistent dip time or a measured brush coat, and keep the bottom rim controlled — wipe drips before firing.
7. Rim Overpainting: The “Sticky Lip” Mistake
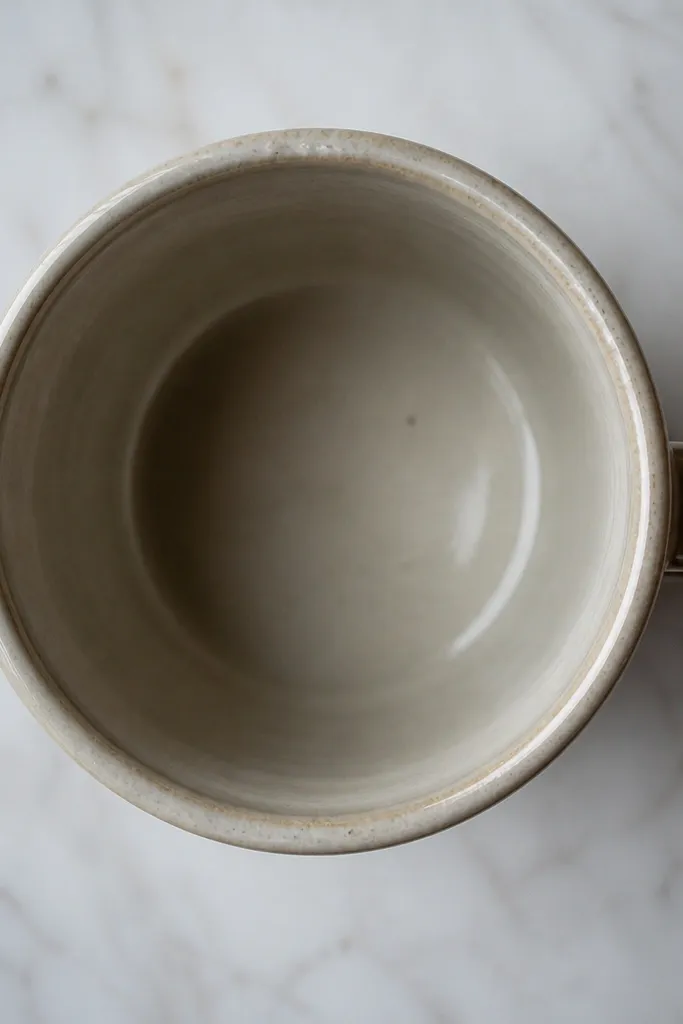
I painted right up to the drinking surface. After firing, that extra thickness can feel tacky or uneven, and in some cases it can create a glossy ridge that collects residue. It also makes the rim harder to polish smooth.
Good to knowMask or carefully avoid the inner rim area and let the glaze do the finishing there — aim for smooth, even coverage.
8. Color Bleed From Too-Wet Layers
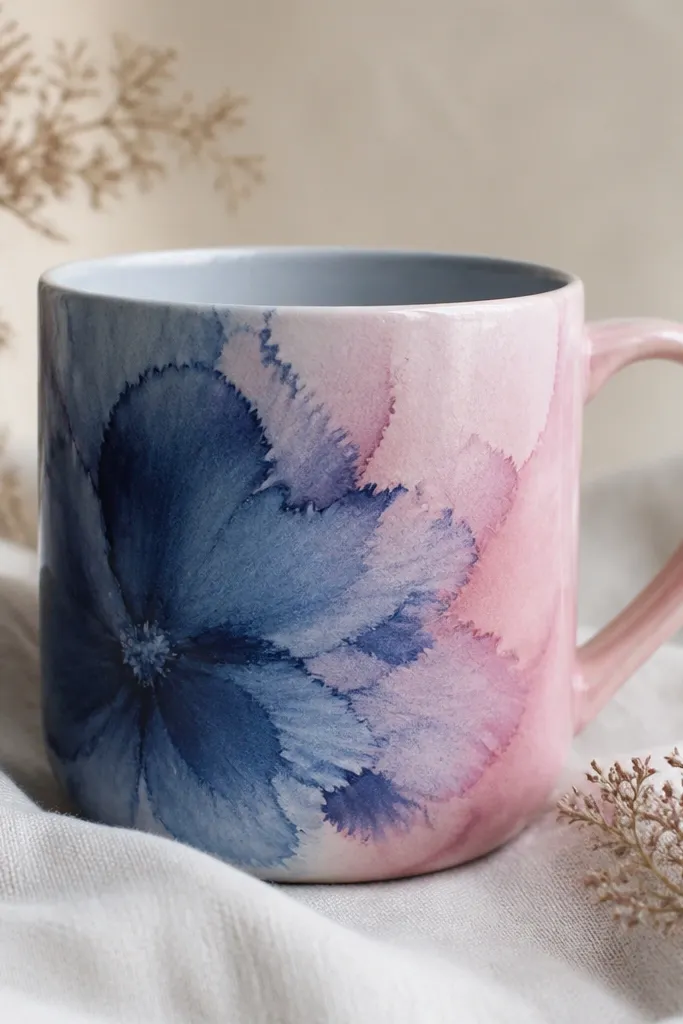
This happened because I rushed the drying between layers. When one color is still wet, the next layer can dissolve into it, especially with watery underglaze or paint. The blur reads “handmade” only for about 10 seconds — then you notice it every time you use the mug.
Dry fully between layers, and use a slightly thicker consistency for outlines so colors don’t travel.
9. Firing Schedule Guessing: The Crack Lottery
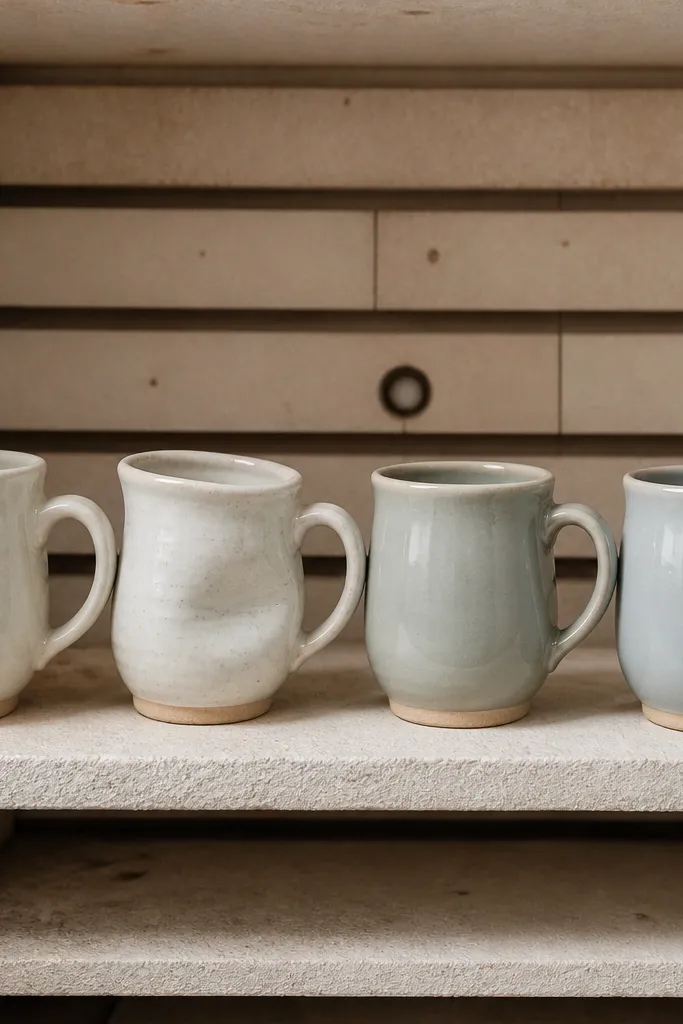
I tried to “close enough” the firing because I was making a bunch at once. But decoration layers and glaze need the right heatwork — too cool and it doesn’t mature, too hot or uneven and you get cracking or warping. Test mugs saved me because failures were obvious early, not after the whole batch.
Good to knowWrite down your exact clay + glaze + decoration product combo, then follow its recommended schedule and test with 1-2 sacrificial mugs.
10. Skipping the Water-Safe Barrier Layer
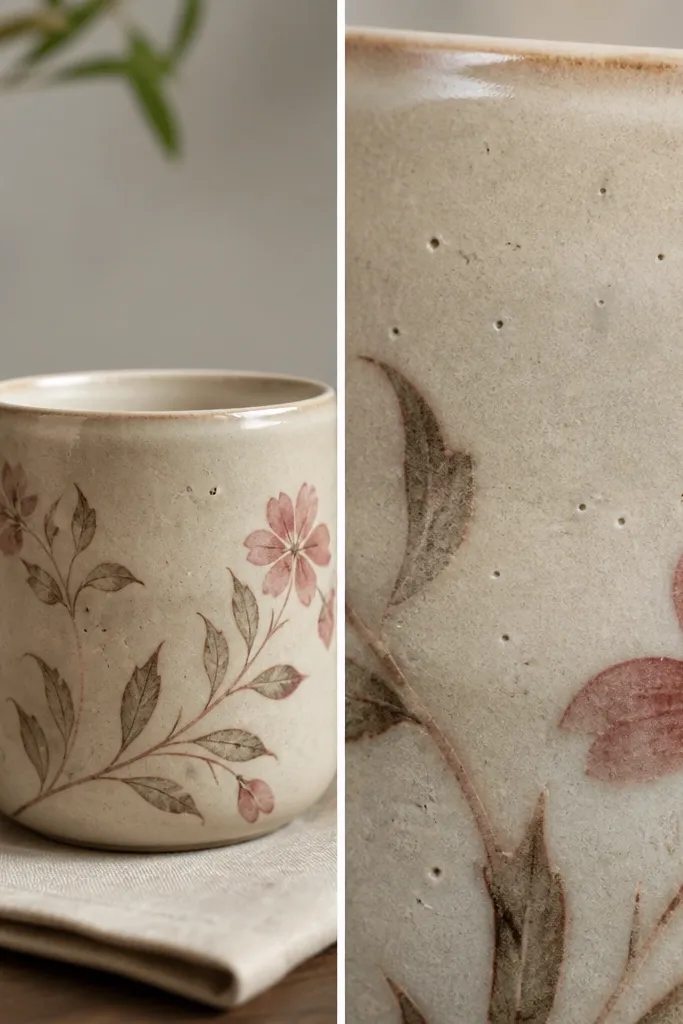
Even if the design looks sealed, it may not be fully protected from water exposure if you skip a proper sealing step. Pinholes or thin glaze can let moisture creep into decoration layers. Over time, that can cause fading, roughness, and grime buildup in the image area.
Use the recommended seal/glaze system for your materials and verify it’s designed for food-contact surfaces where applicable.