1. Painted Swirl Teacup Mug (2-Color Acrylic + Clear Sealer)
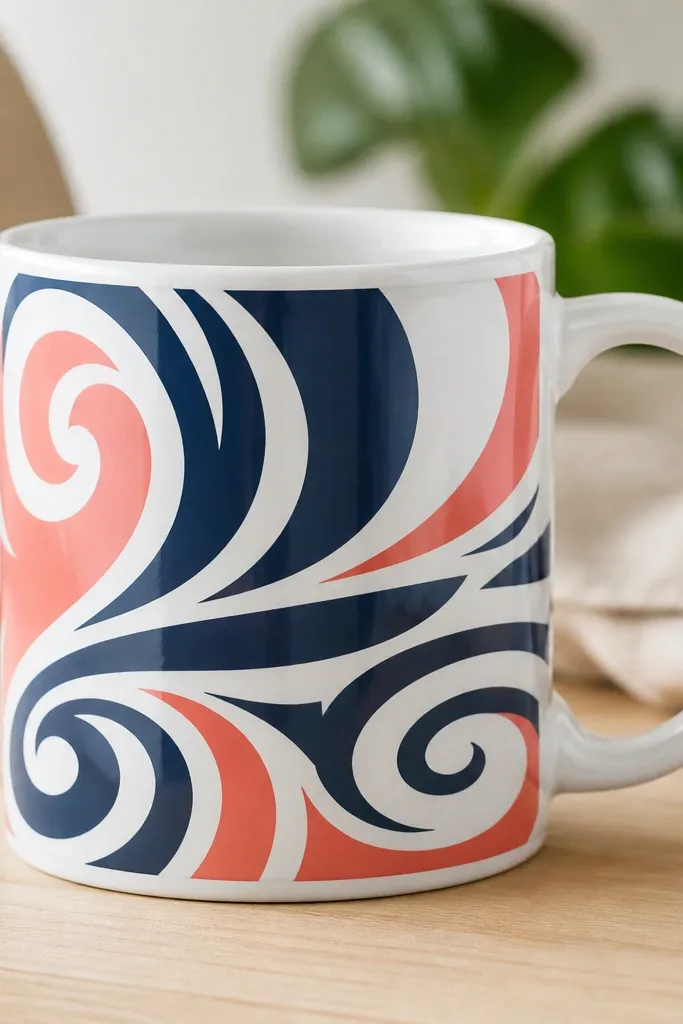
Start with a plain white ceramic mug (or thrift one). Use 2 acrylic colors (navy + coral works great) and a small round brush to pull thin curved lines, then lightly blend where they overlap. Acrylic won’t be food-safe by default, so seal the design with a dishwasher-safe clear glaze sealer made for ceramics.
Let each paint color dry 30-60 minutes before adding the next swirl, then cure according to your sealer instructions (often 24 hours).
2. Scrap Lace + Fabric Mod Podge Mug Lace Band
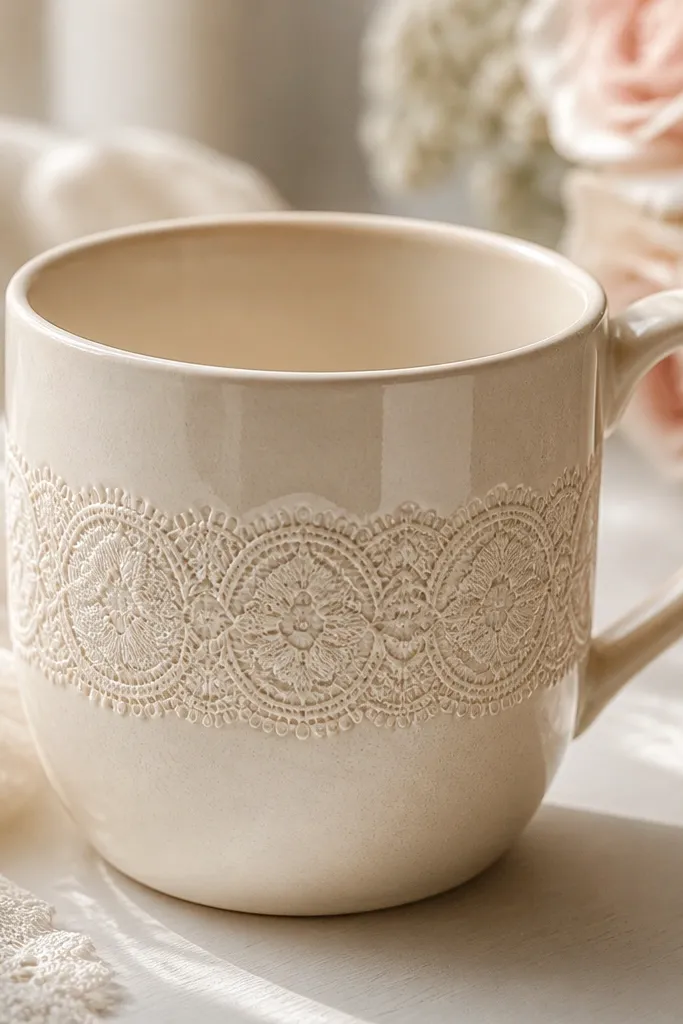
Wrap a strip of lace (cotton lace from old curtains or a craft store clearance bin) around the mug and secure it with gentle pressure while you apply fabric Mod Podge or decoupage glue. Add a few coats so the lace edges don’t fray out. This gives a vintage look without expensive ceramic paint sets.
Before sealing, trim lace so it doesn’t overlap the handle area — it lifts there first.
3. Tile Grout + Paint Speckle Mug (Budget “Stoneware” Look)
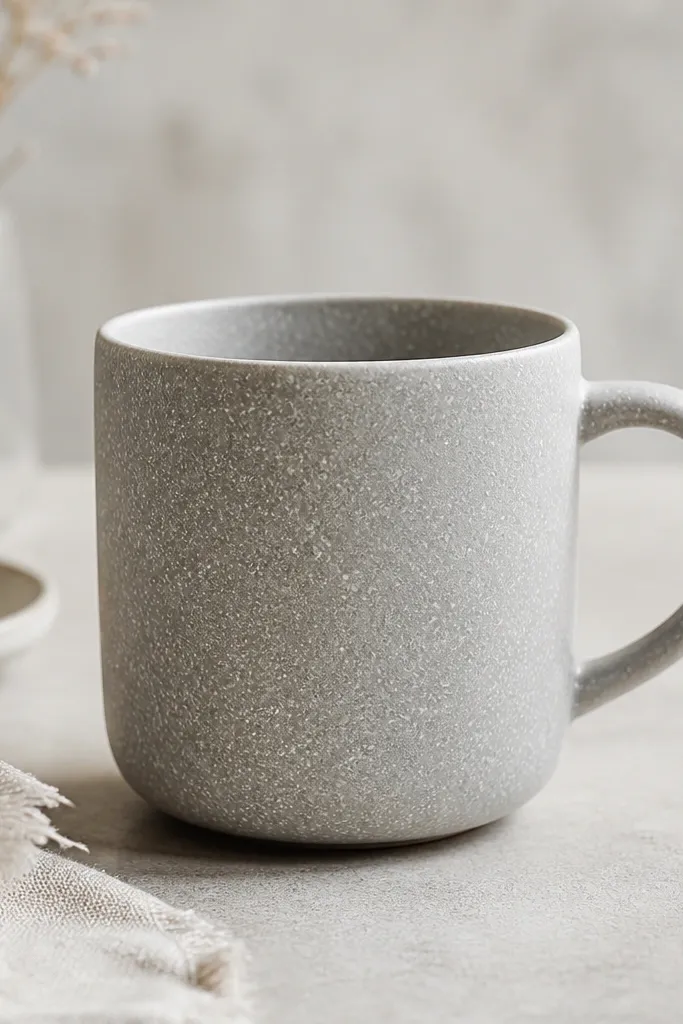
Mix a small amount of white tile grout with water to a thick paste. Dab it on with a sponge or toothbrush for speckles, then let it dry fully. Once dry, seal with a ceramic-safe matte or satin sealer to keep the texture from getting dusty.
Do a test on the mug bottom first to confirm the grout doesn’t crack after drying.
4. Cork Coaster-Style Mug Bottom Wrap (Heat-Resistant Texture)
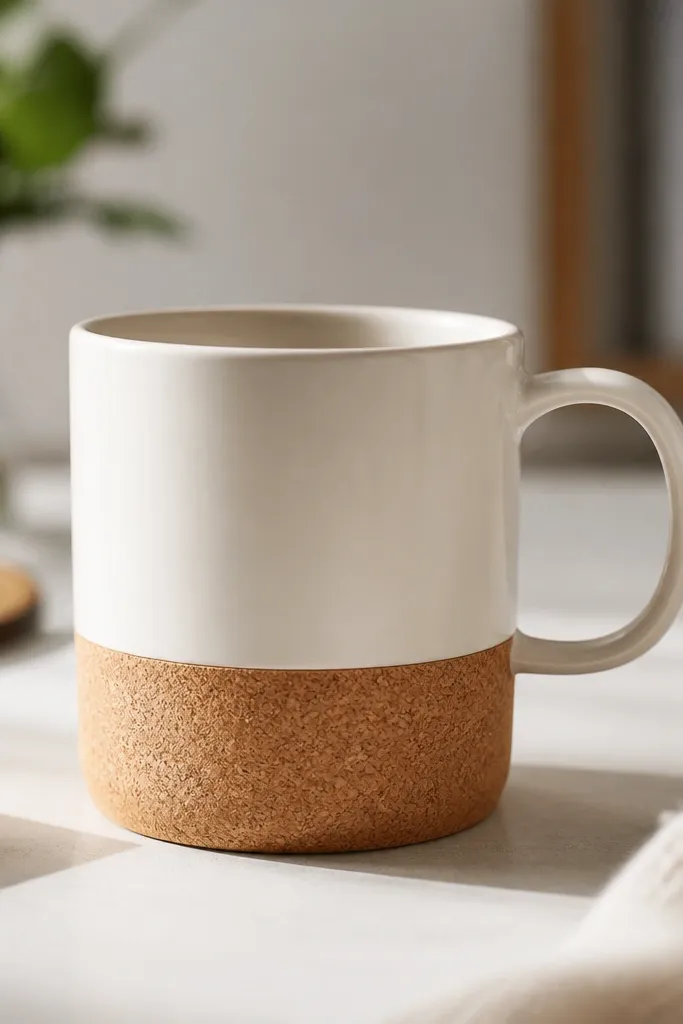
Cut a strip of cork sheet or cork coasters into a band. Glue it around the lower third using strong craft glue or a contact adhesive. This hides chips or discoloration near the base and adds a natural, cozy look that reads “intentional.”
Seal the cork with a clear acrylic sealer so it doesn’t absorb coffee stains.
5. Vinyl Name Tag Mug Using Scrap Contact Paper
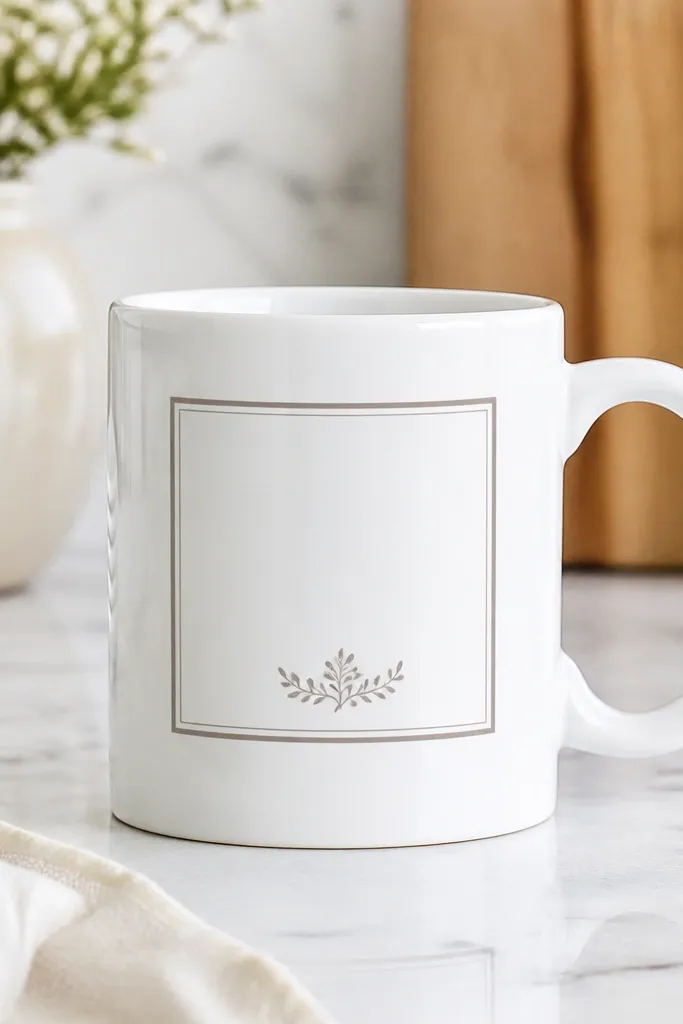
If you have scrap contact paper (or leftover vinyl), cut a label shape and stick it to the mug. Paint over the exposed area with ceramic paint or regular acrylic designed for surface painting, then peel the vinyl/contact while still slightly tacky for sharp lines. The label style looks high-end even when you’re using thrifted mugs.
Press the edges down with a credit card so paint doesn’t bleed underneath.
6. Sharpie + Clear Coat “Stained Glass” Mug Panels
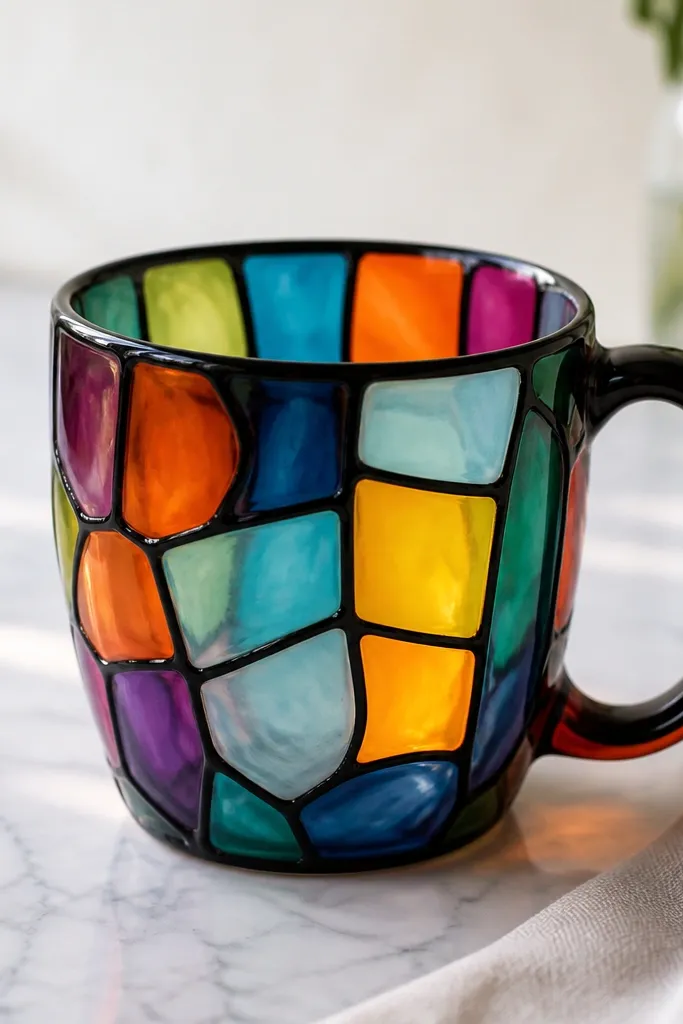
Outline simple geometric shapes with permanent black marker. Fill the shapes with washable colored markers or alcohol-based marker (test first), then seal with a few thin coats of clear acrylic. This creates a stained-glass vibe without kiln work.
Good to knowUse thin coats — thick clear coats can smear marker ink.
7. Upcycled Tea Bag Pattern Mug (Decoupage “Botanical” Transfer)
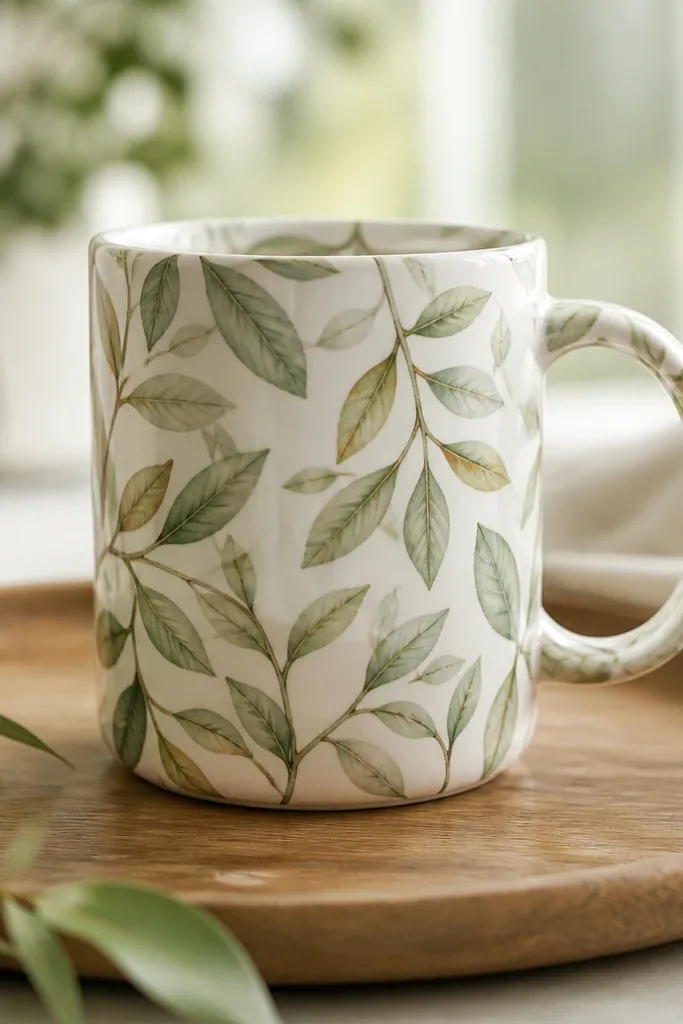
Some specialty tea bags have pretty printed designs. Cut out the paper layer carefully, then decoupage it onto the mug with a water-based decoupage medium. Smooth bubbles with your fingers or a soft brush, and seal over the top so the paper doesn’t fray.
Work in small sections and let each layer set for 15 minutes before the next.
8. Polymer Clay Mini Charms Around the Handle (No Full Coverage)
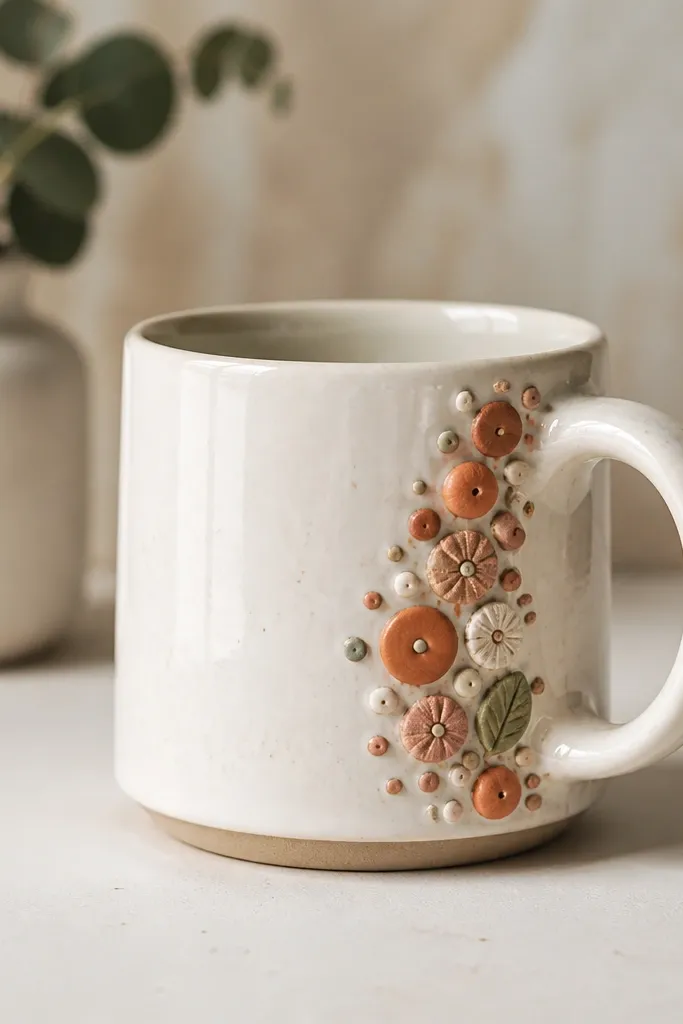
Instead of covering the whole mug, add small polymer clay pieces near the handle — like dots, tiny fruits, or starbursts. Bake according to the clay brand, then attach with ceramic-safe glue or epoxy made for crafts. This is budget-friendly because you only use a little clay.
Good to knowRoughen the mug with fine sandpaper where the charm will sit for better adhesion.
9. Yarn + Twine Wrap Mug (Cottagecore Handle-to-Body Accent)
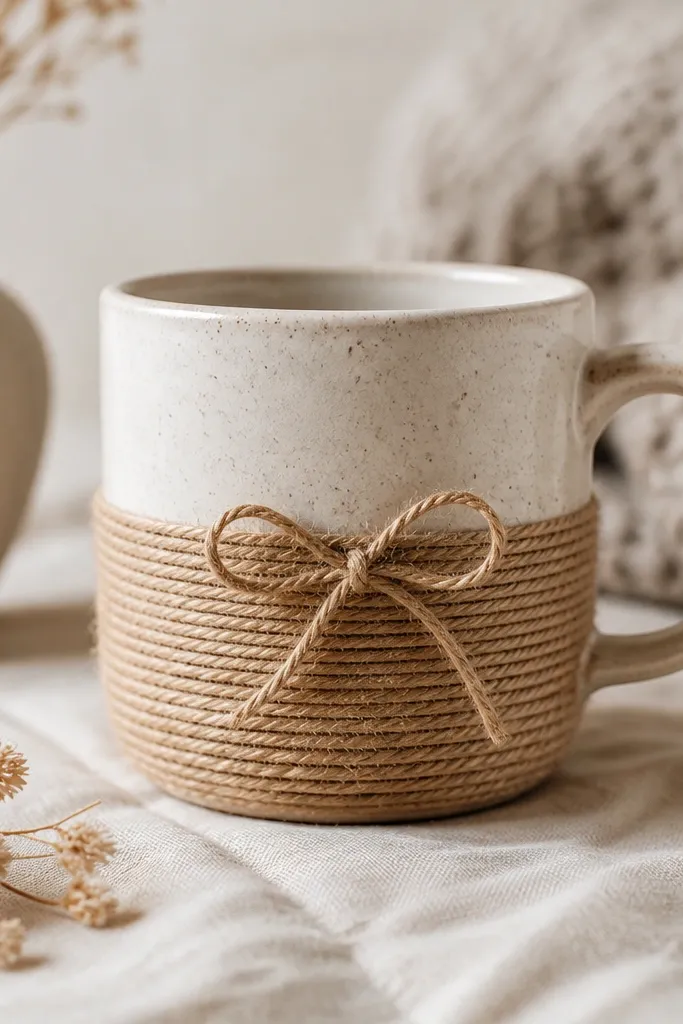
Wrap twine or yarn around the mug in a tight spiral for grip and texture. Seal the wrap with a thin coat of clear glue medium so it stays in place and doesn’t snag. Leave a small gap under the rim so your drink stays clean.
Good to knowUse a glue gun sparingly — too much glue makes lumps that show through.
10. Coffee Grounds “Patina” Mug with Brown Wash Look
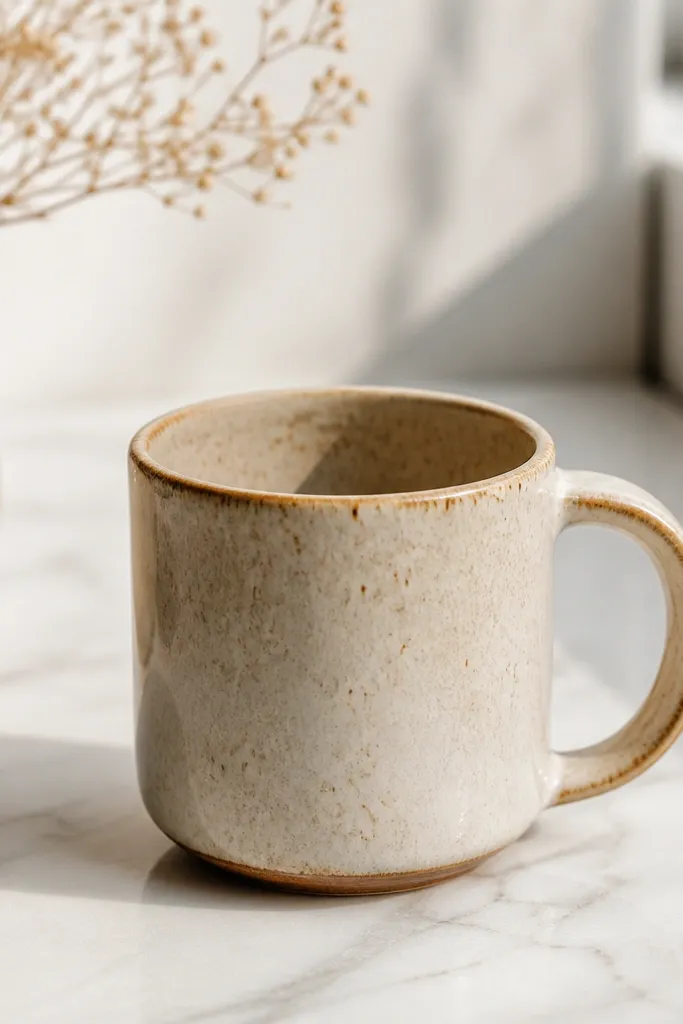
Mix used coffee grounds with a little water to make a thin paste, then dab it lightly for a speckled “aged” finish. Let it dry completely, then gently buff any loose bits. Seal with a food-safe ceramic sealer so it won’t turn your next coffee into grit.
Good to knowStrain the mixture through a fine sieve first to prevent chunky texture.
11. Monogram Sticker + Acrylic Wash Fade Mug
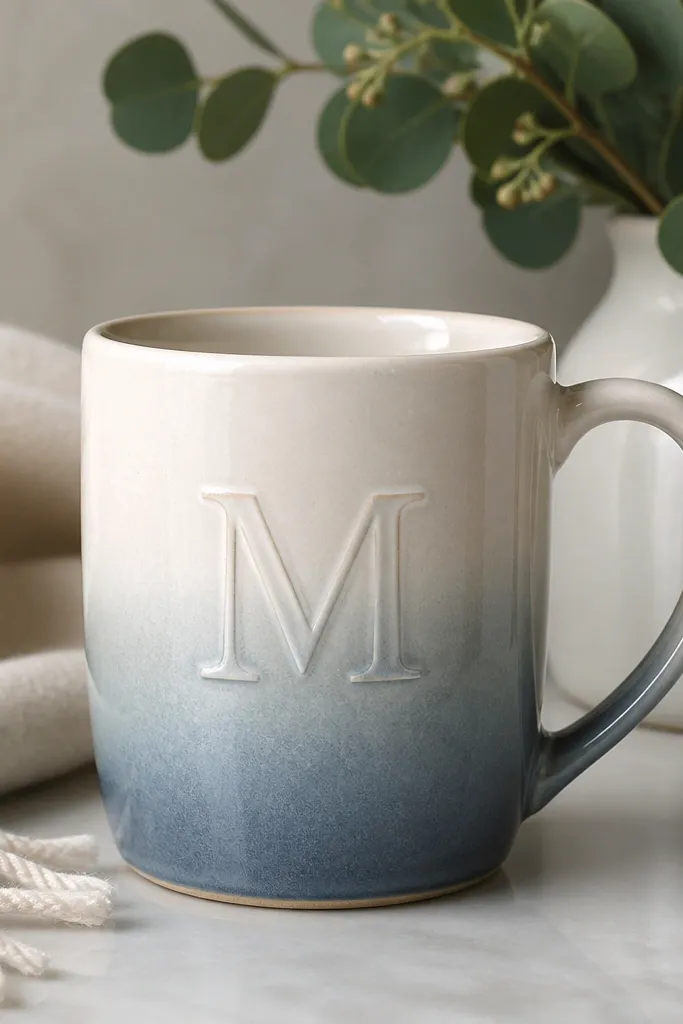
Stick a monogram vinyl sticker or cut-out stencil where you want the letter. Paint a light acrylic wash (like cream to terracotta) and feather the edges as you go. Peel the stencil after the paint is tacky to keep crisp negative space.
Use a damp sponge for feathering so the gradient looks smooth, not streaky.