1. Cream Lace Rim With Pearl-Effect Speckles
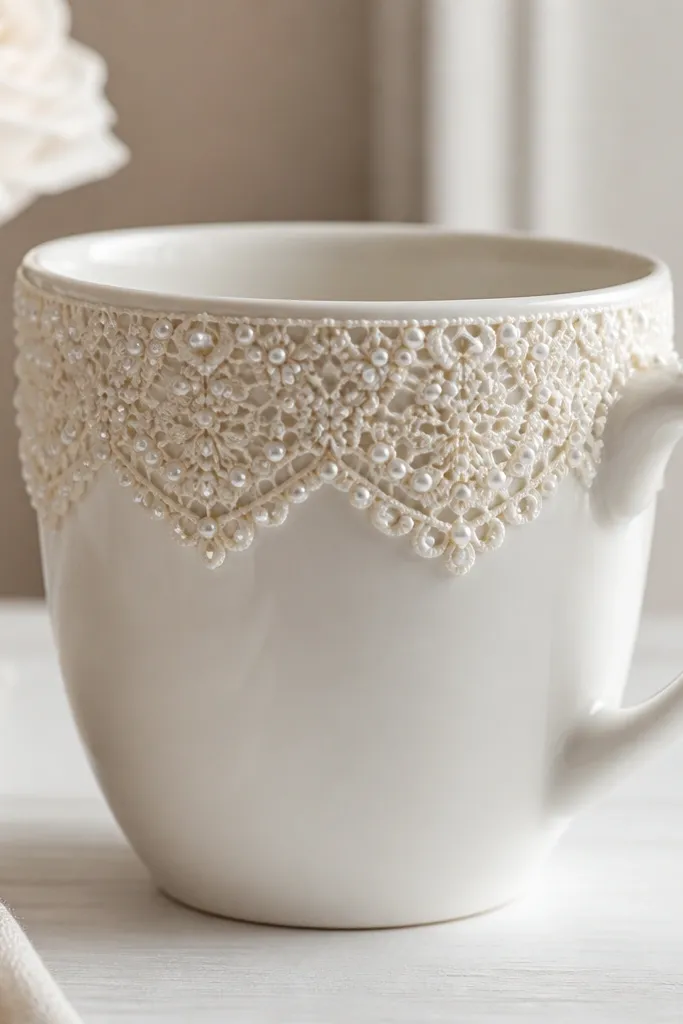
Start with a plain white mug or a thrift mug that’s not heavily glossy. Glue a narrow lace strip around the rim using a thin, even layer of clear-drying craft glue made for ceramics, then lightly dab white acrylic mixed with a touch of glossy medium to create pearl-effect speckles. The lace reads antique-luxe, and the speckles add that “expensive finish” depth camera loves.
Good to knowLet the glue cure fully before sealing — then brush on 2-3 thin coats of dishwasher-safe/food-safe clear sealer (check the product label) to lock in texture.
2. Book-Page Script Dip (Vintage Library Look)
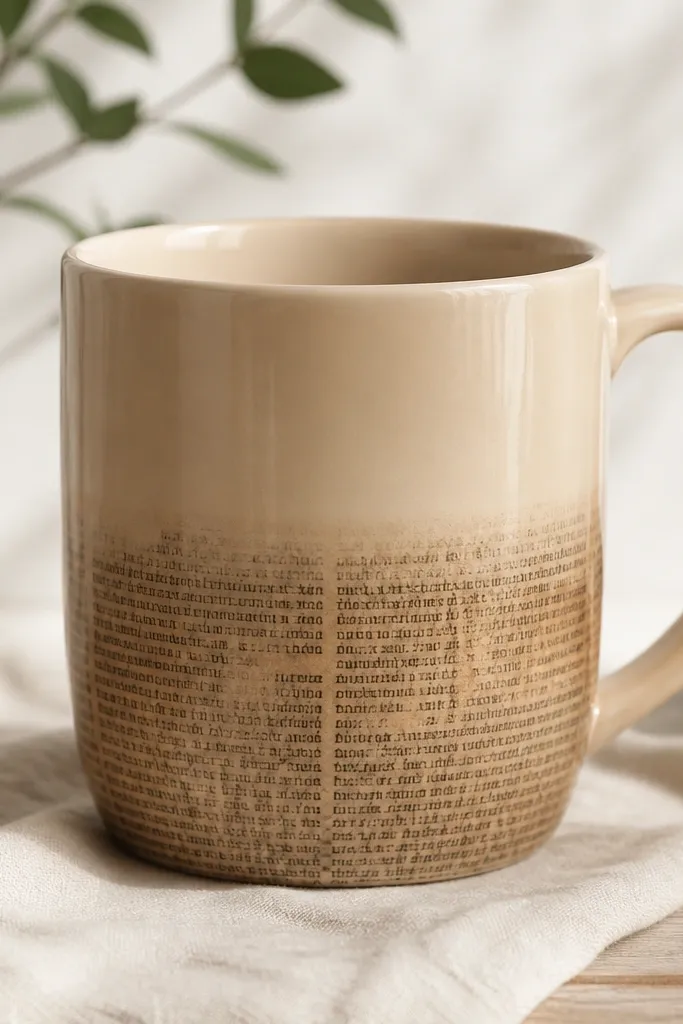
Tear or cut book pages into irregular strips and soak briefly in decoupage adhesive so the paper flexes without tearing. Apply to the lower half, overlapping like a collage, then smooth edges with a plastic card so it looks seamless. Seal over the top with multiple clear coats until the surface feels glassy — the gloss makes it look like custom ceramic, not paper.
Use pages with dense text and a warm tone (not bright white) for the most “heritage expensive” vibe.
3. Marbled Tea-Color Wash Using Acrylic + Rubbing Alcohol
Mix acrylic paint with a tiny splash of water, then add a few drops into a shallow tray with rubbing alcohol. Stir gently to create marbling, then dip only the lower third of the mug for a controlled wash. Once dry, paint thin gold lines where swirls intersect to mimic high-end ceramic veining.
Good to knowPractice on a scrap plate first to dial in how long to dip — short dips give the most “designer” gradient.
4. Sage + Terracotta Color-Block With Clean Masking
Color blocking looks expensive because the edges are crisp and the palette is limited. Use painter’s tape or vinyl masking to create a straight divider line, then sponge-paint sage and terracotta in thin layers. Remove tape while paint is slightly tacky for the cleanest line, then seal with a clear ceramic medium for a smooth finish.
Good to knowDo 2-3 thin coats instead of one thick coat — thick paint can crack around masked edges.
5. Gold Outline “Gallery Frame” Around a Monogram Sticker
Print a monogram on adhesive vinyl (or use a pre-made vinyl monogram), stick it centered, then paint around it with a gold acrylic paint. For the “expensive” effect, add a second pass using a gold paint marker or dimensional fabric paint (very light pressure) to create a faint raised outline. When you remove the vinyl, you get a crisp negative-space center that looks custom.
Warm the vinyl slightly with a hair dryer before peeling so it releases cleanly.
6. Upcycled Fabric Wrap Sleeve (No Paint, All Texture)
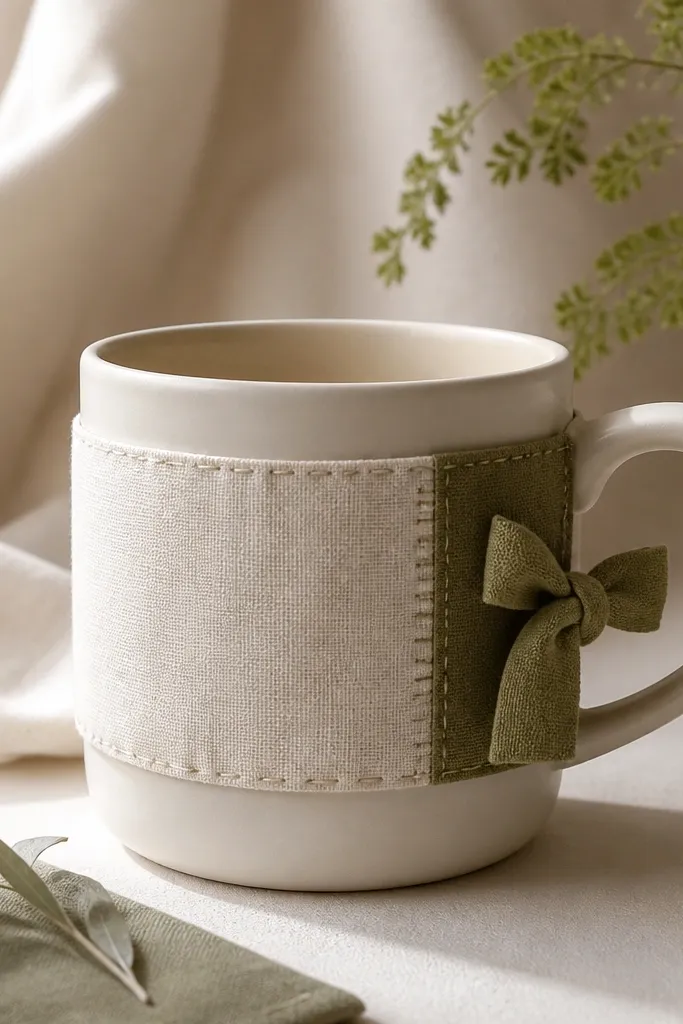
If you want an “expensive look” without committing to paint, make a removable fabric sleeve. Wrap a small strip of upholstery fabric or linen around the mug, then secure with heat-resistant fabric glue or a hidden seam so it sits tight. Add a folded cuff edge and stitch a straight line for that tailored vibe. The texture reads luxe and also protects the mug from daily scratches.
Good to knowChoose medium-weight fabric — thin fabric wrinkles and looks more DIY than studio.
7. Thrift Necklace Charm Cluster (Tiny Hardware Luxury)
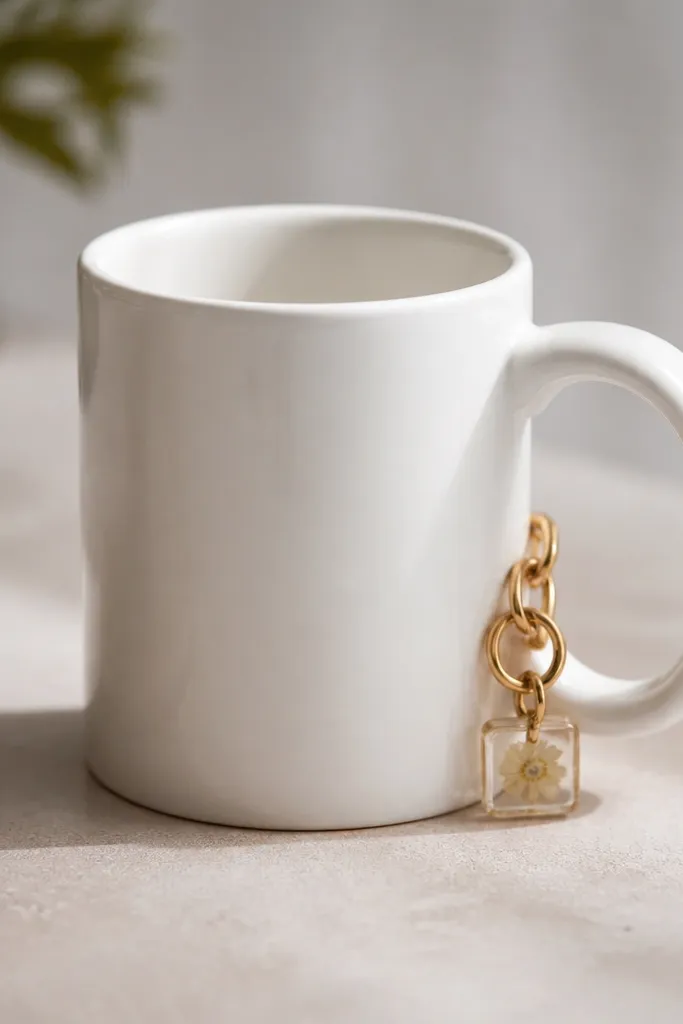
Raid your old jewelry box for tiny chain segments, bead drops, and charm pendants. Clean the mug with rubbing alcohol, then attach charms using a clear epoxy made for mixed materials (ceramic + metal + resin). Once cured, paint a thin translucent glaze medium around the base to blend the hardware into the ceramic. This gives a high-end “designer accessory” feel.
Good to knowKeep the charm cluster small — one focal group near the handle looks intentional, not cluttered.
8. Old Map Coordinates With Black Ink + Soft Wash Background
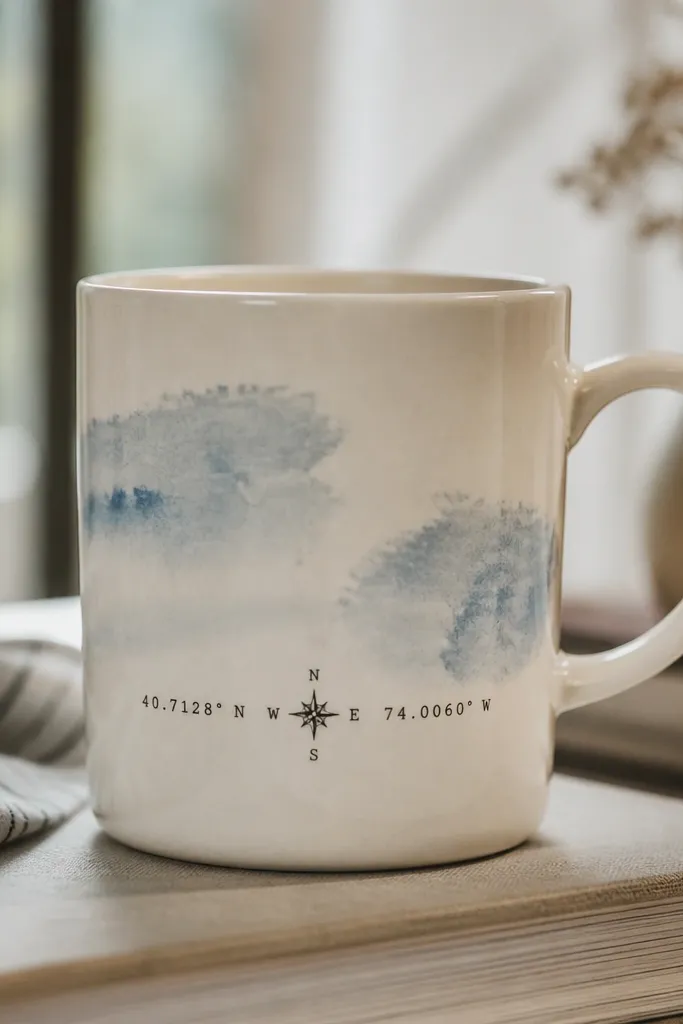
Cut a small map fragment from an old atlas page and decoupage just the coordinates area. Build the background first with a diluted watercolor wash (dusty blue or muted gray), then seal lightly before applying the map piece so it doesn’t bleed. Finish by stamping tiny compass marks in black ink around the coordinates for a “cultural travel” luxury vibe.
Good to knowUse matte sealer on the background, then a glossy top coat over the map area so text stays crisp.
9. Terracotta Clay-Effect Dots (Faux Pottery Finish)
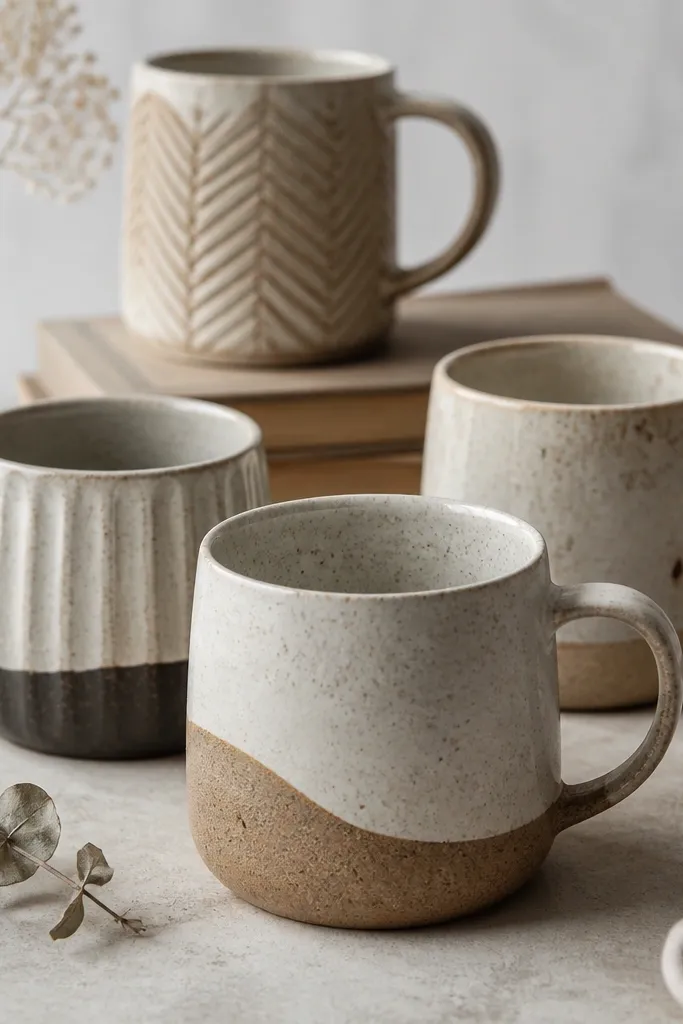
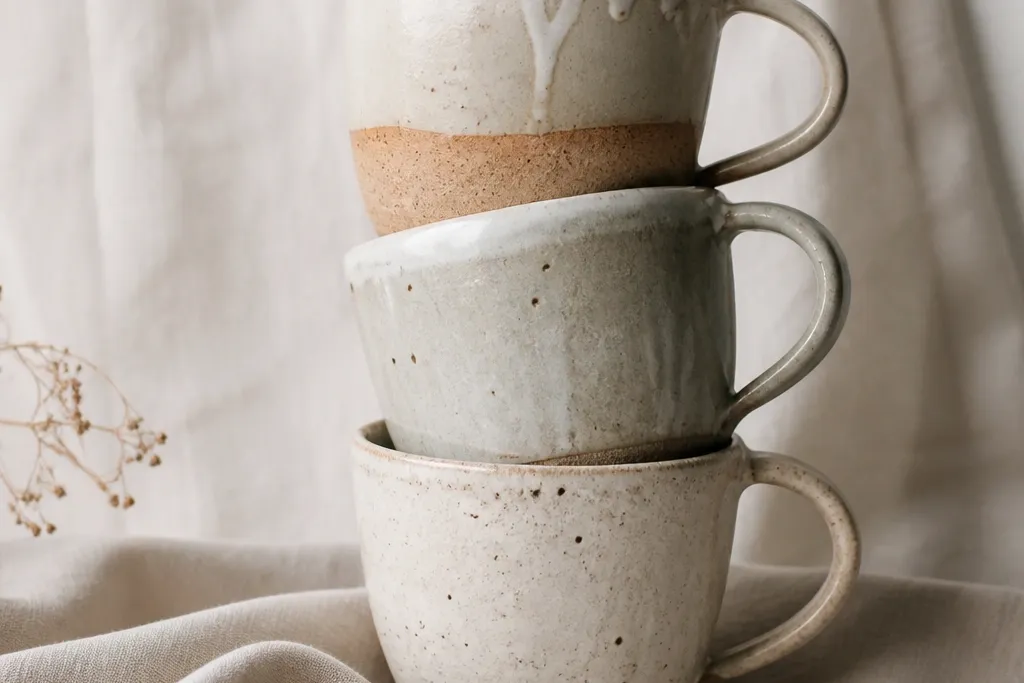
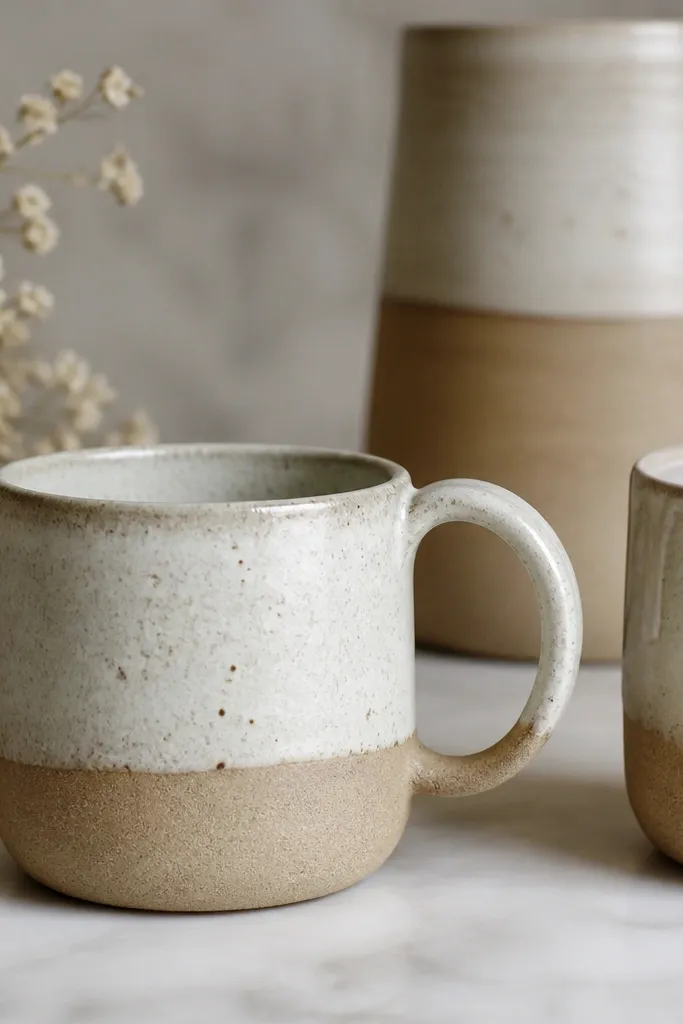
Make a clay-effect texture using acrylic paint thickened with a small amount of texture gel (or mix in baking-soda carefully for grit). Tap dots with a sponge or the end of a brush to get an organic, handmade irregular pattern. When sealed with a matte glaze, it looks like artisan pottery rather than craft paint.
Good to knowAvoid glossy seal over the dots if you want pottery realism — matte reads more authentic.
10. Ombre Ink Transfer Using Tissue Paper + Watercolor
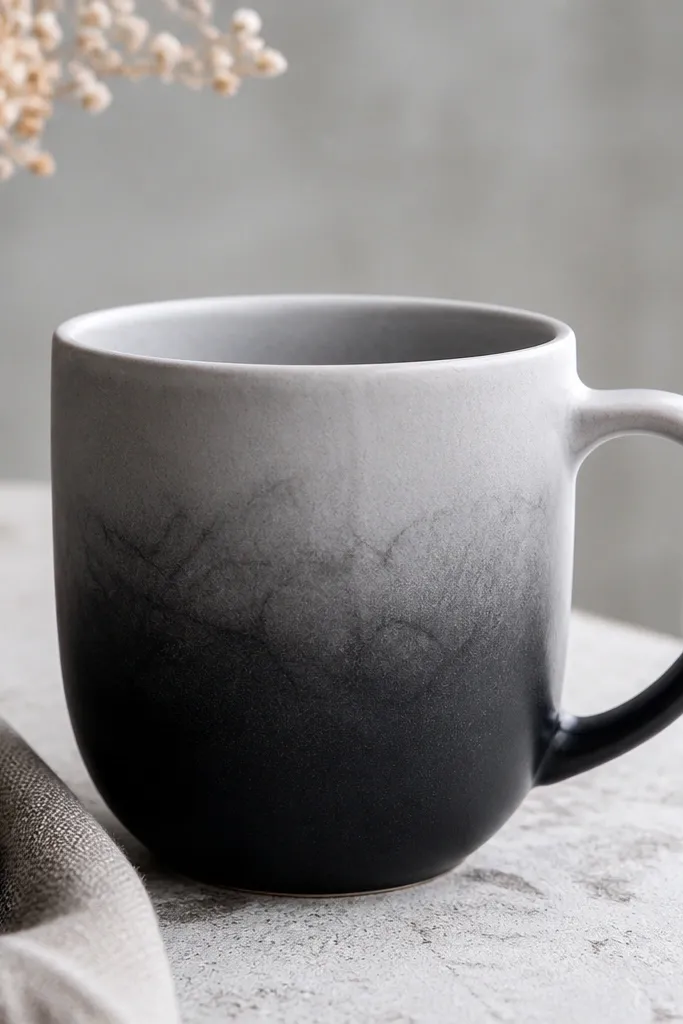
Use tissue paper or coffee-stained paper for a lightweight transfer. Wet the tissue, paint it with diluted watercolor/ink, then press the tissue to the mug and remove carefully to leave a subtle ink imprint. Add 1-2 more layers for richer bottom color. The fiber texture makes the gradient look like artisanal ceramic glazing.
Good to knowPress gently with a dry cloth and do one layer at a time — overworking smears and kills the luxe fade.