1. Gold-Edge Script with Porcelain Paint
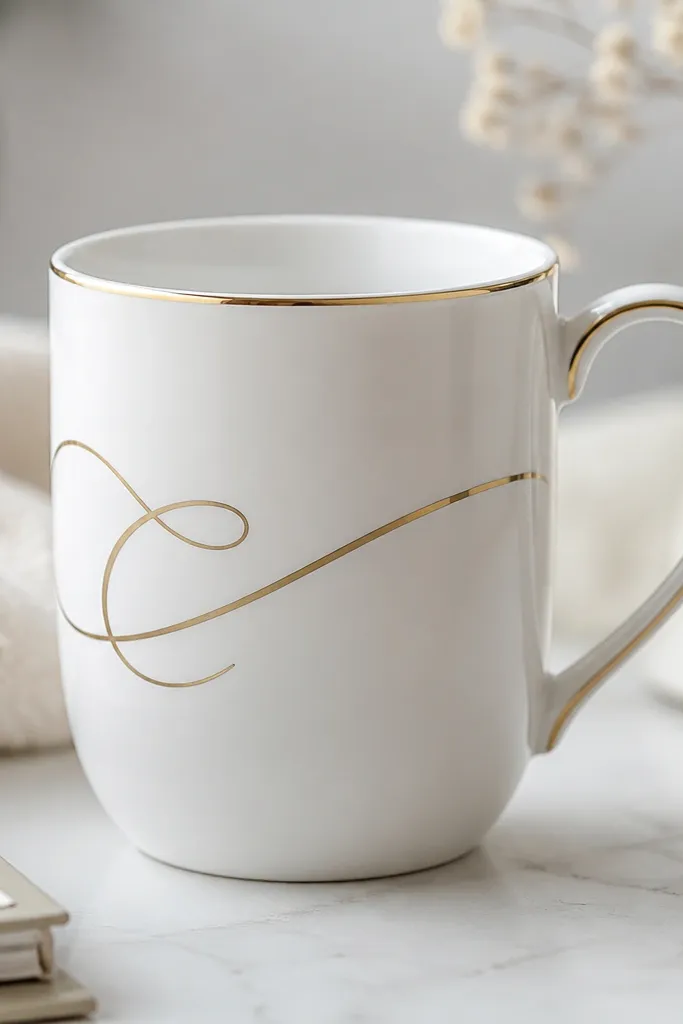
Start with a glossy white mug for the cleanest luxe finish. Paint a narrow gold line along the rim and handle using porcelain paint made for ceramics, then add a script monogram with a fine detail brush. The key is keeping the gold line consistent in thickness so it reads like designer trim, not DIY wobble.
Practice on paper first — then use painter’s tape to mask a straight rim line before painting.
2. Faux Marbled Clay-Inspired Mug Dip
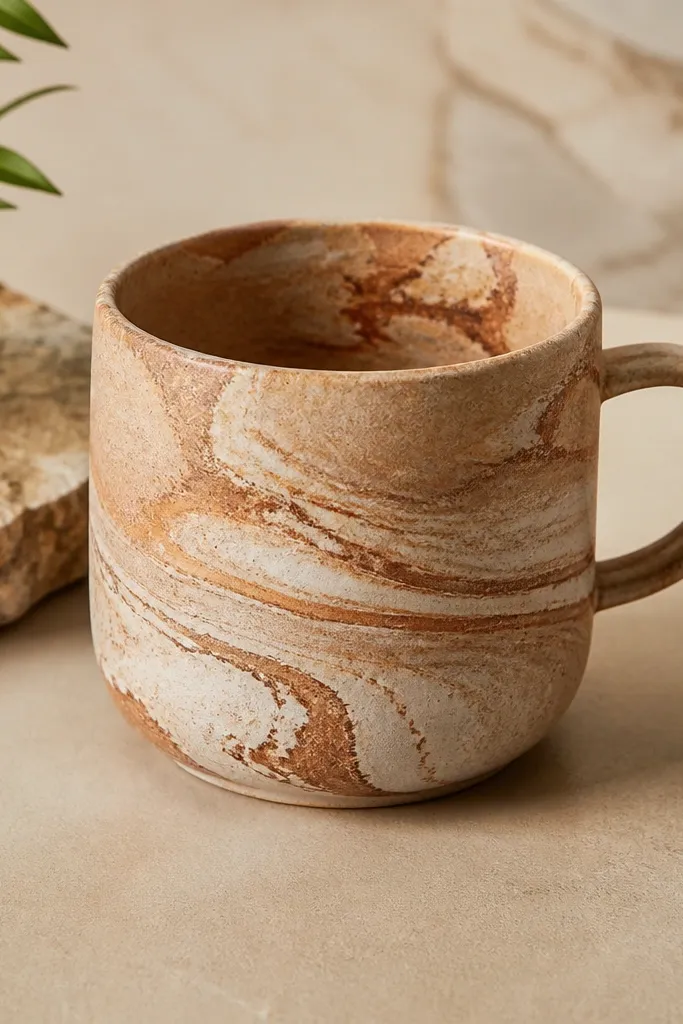
For a high-end marble vibe without a full redesign, blend terracotta acrylic with a tiny amount of raw umber and a pearl medium, then swirl into a thin glaze-like layer. Dip only the lower third so the top stays clean and elegant. A matte sealer on top makes it feel expensive and soft-touch instead of shiny craft paint.
Good to knowDip, rotate, and lift in one smooth motion to avoid hard drip lines.
3. Velvet Black with Heat-Set Gold Speckles
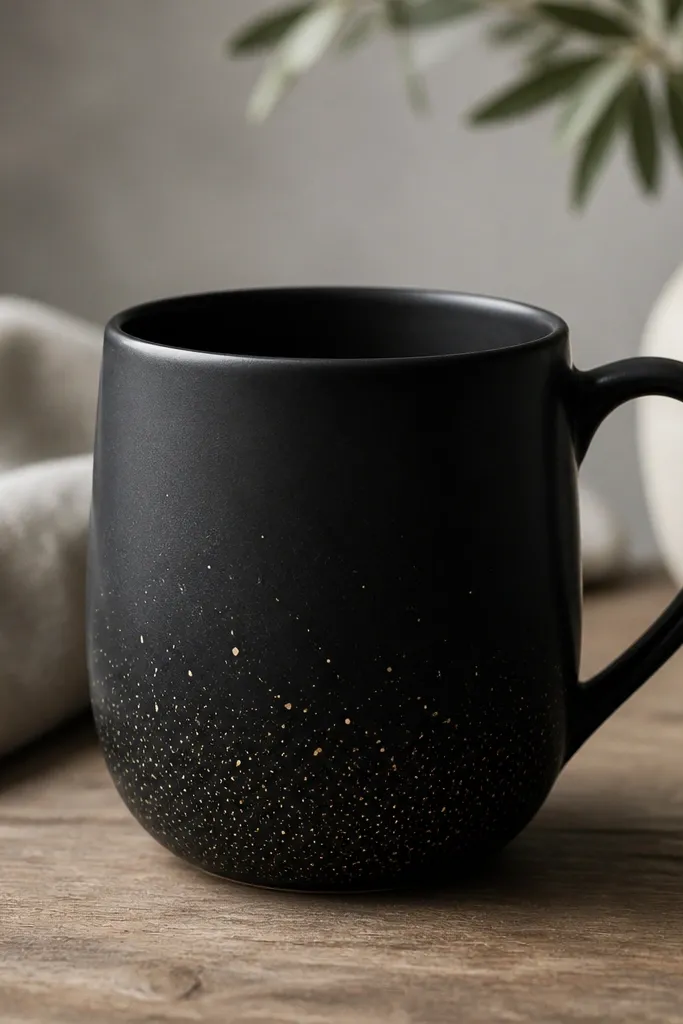
This look is all about contrast. Coat the mug in a specialty matte ceramic black (not regular craft black), then lightly tap gold speckle paint or metallic flakes mixed with a thin binder near the bottom. The speckles mimic luxury terrazzo and look stunning under warm kitchen lighting.
Apply in thin layers — heavy black paint can turn patchy and reduce the “velvet” effect.
4. Sculpted Floral Relief with Polymer Clay
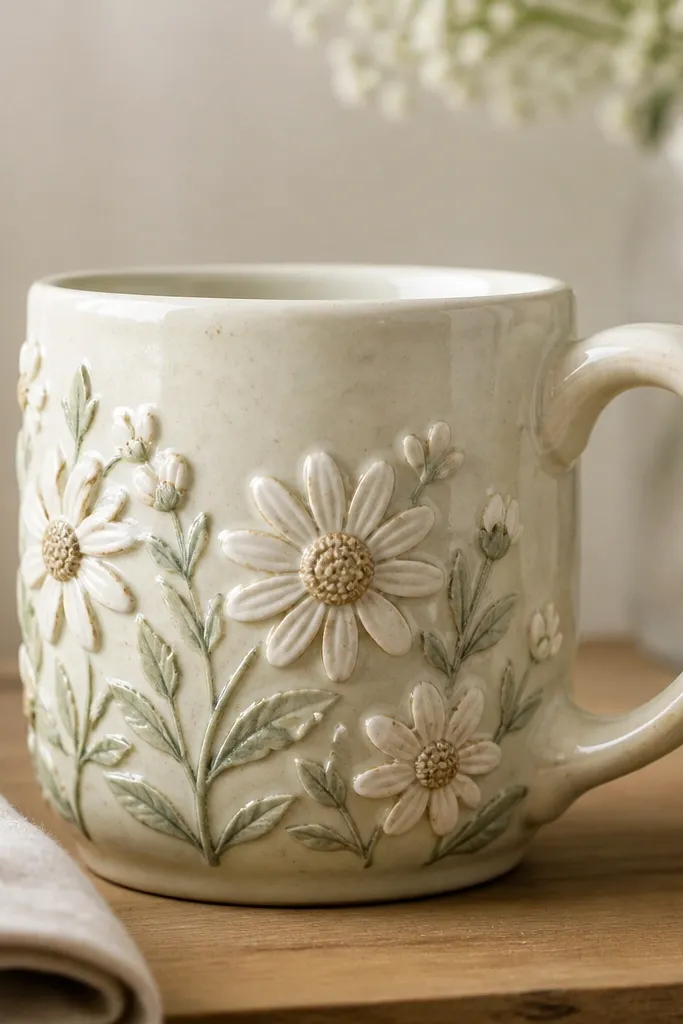
Use polymer clay to create real dimension — luxe pieces read as “designed” because they cast shadows. Roll tiny petals, press vein lines with a needle tool, and attach to the fired ceramic using a clay-safe adhesive. Paint the relief with ceramic-compatible paints, then seal for durability so the raised details don’t scuff.
Good to knowKeep relief small — a cluster of 3-5 flowers looks more designer than covering the whole mug.
5. Botanical Transfer + Antique Wash
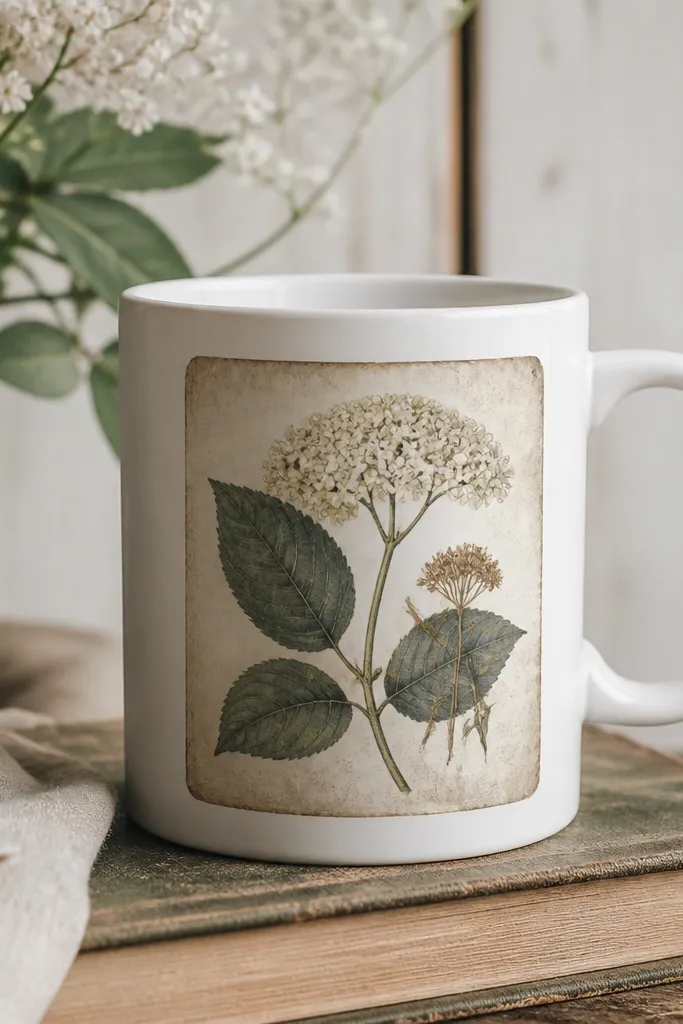
Print or buy botanical transfers that match your color palette, then apply to a smooth mug surface. After sealing the transfer, add an antique wash (a diluted brown or sepia acrylic) around the edges so the image looks aged and collectible. This is a luxe trick because it adds depth without repainting everything.
Seal the transfer first, then wipe the wash off highlights — you want aged edges, not muddy coverage.
6. Porcelain Decal Geometric Lines (Clean Masking)
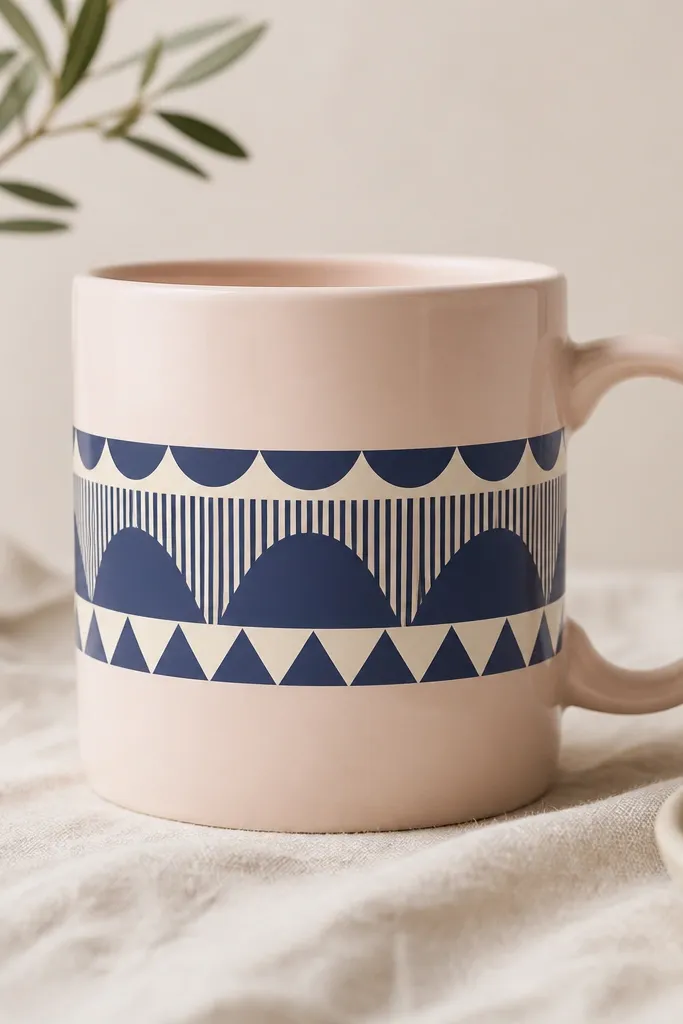
Geometric bands look designer when the lines are straight and the spacing is intentional. Use masking tape or vinyl stencil strips to create sections, then fill with ceramic paint or porcelain enamel. Once dry, remove the tape while the paint is still slightly tacky to prevent peeling edges. Finish with a clear coat to protect the geometry from daily scratches.
Measure wrap-around width and mark guides lightly with pencil — it’s the difference between ‘cute’ and ‘designer’.
7. Chocolate Drip Glaze Look with Heat-Resistant Paint
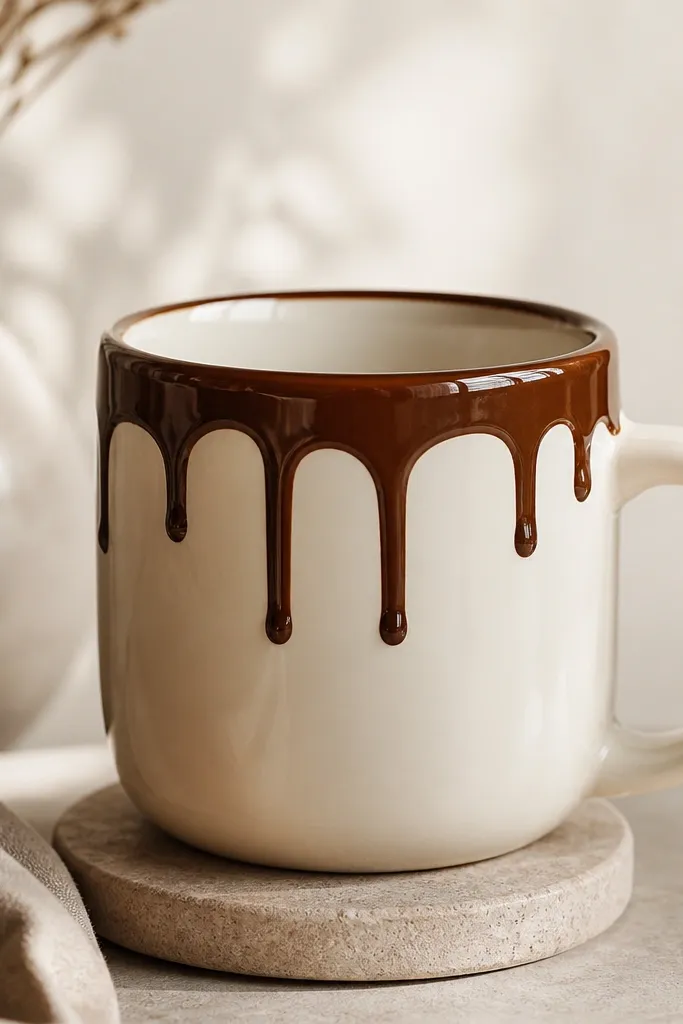
To mimic a bakery-style glaze, paint a thick band near the rim, then drag a few drips downward using the tip of a brush. Add a second thin chocolate layer so the drips look dimensional instead of flat. Choose a heat-resistant ceramic paint and seal with a clear topcoat to keep it looking glossy and intentional.
Less drip is more — 6-10 drips of varied length reads luxe, while 30 drips looks messy.
8. Pearl Ombre + Tiny Rhinestone Accent
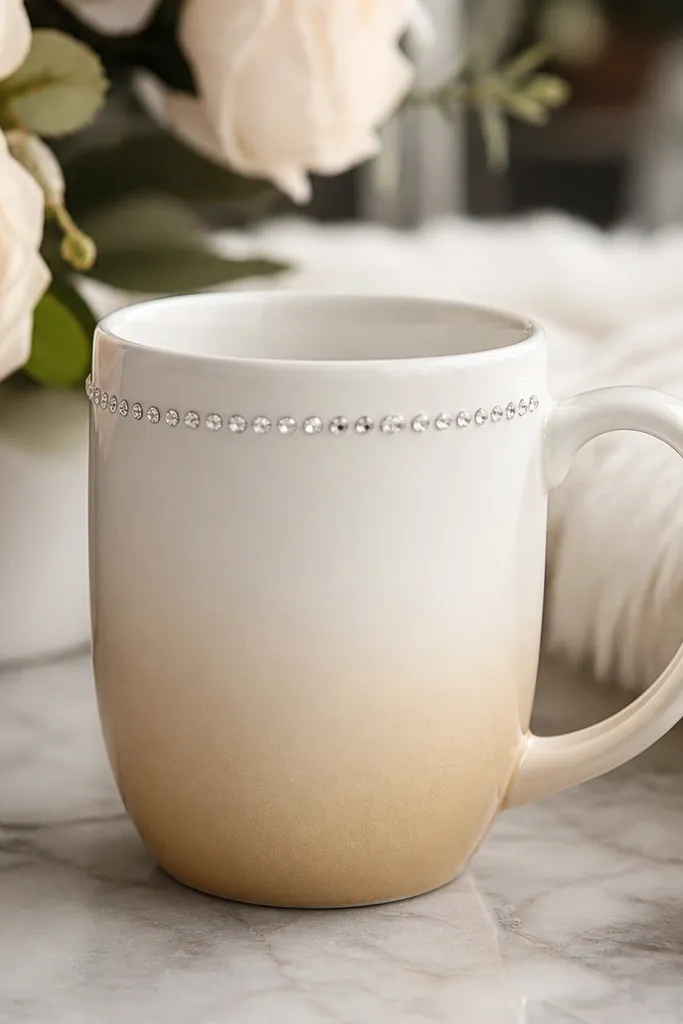
An ombre looks high-end when it transitions smoothly and uses one family of tones. Blend pearl paint from top to bottom with a sponge in feathered layers, then add a single rhinestone line (or a micro pearl bead strip) to frame the design. Keep the sparkle minimal so it looks curated, not costume.
Good to knowUse a toothpick to place rhinestones — press each one flat and space them evenly.
9. Monogrammed Linen Tag (Upcycled Fabric + Seal)
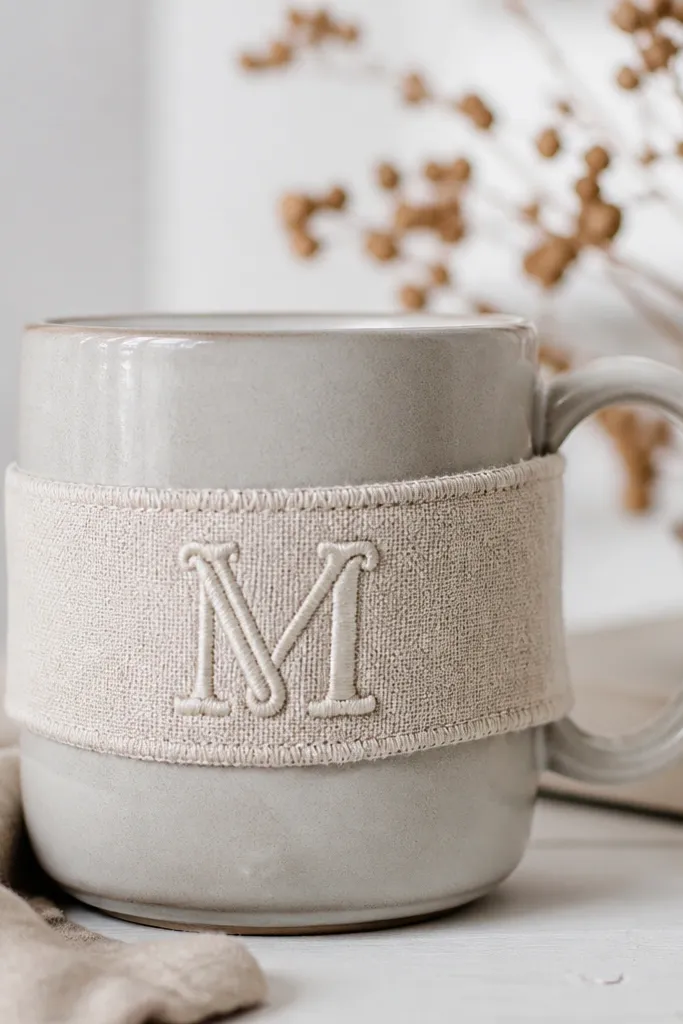
For true luxe styling, add a fabric detail like a designer product tag. Cut a strip of linen or cotton from an old shirt, then use fabric paint or an iron-on transfer for a monogram. Adhere with a thin layer of fabric-safe glue, then seal the edges with a clear, flexible topcoat so it survives daily use without fraying.
Good to knowTrim the fabric strip to fit the mug curve — don’t let it wrinkle because wrinkles read sloppy in close-up photos.
10. Ink-Wash Lettering with Matte Clear Coat
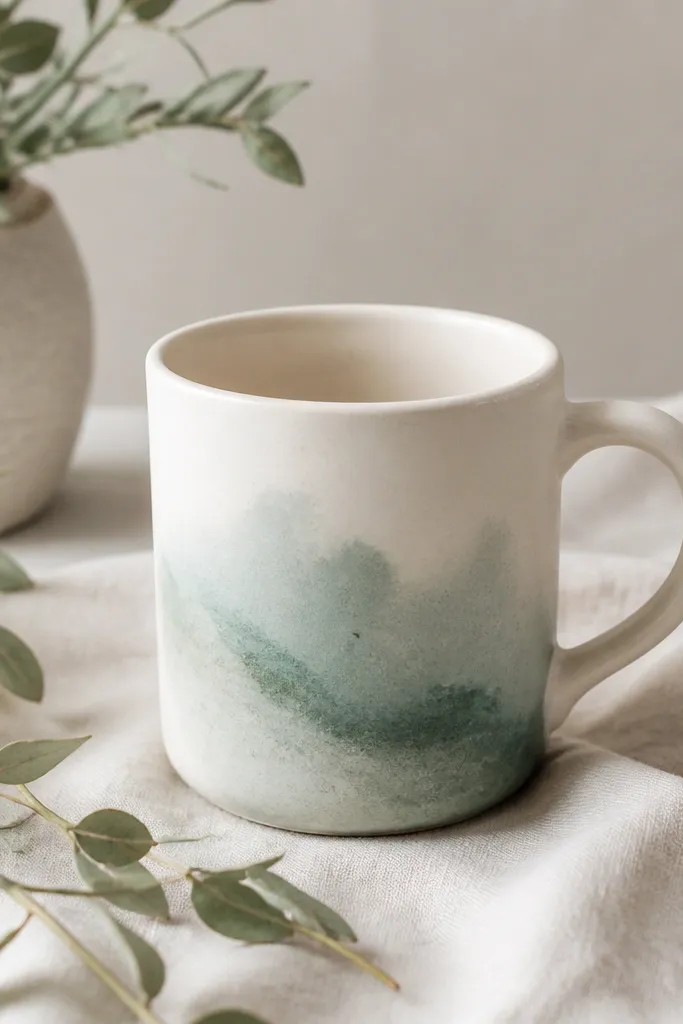
This look is luxe because it’s airy and imperfect in an intentional way. Brush diluted ink or acrylic ink onto the mug in loose lettering strokes, then soften edges with a damp brush for a watercolor wash effect. Finish with a matte clear coat to reduce shine and make the lettering feel like fine print.
Do 2-3 light passes instead of one heavy stroke so the fade stays natural.