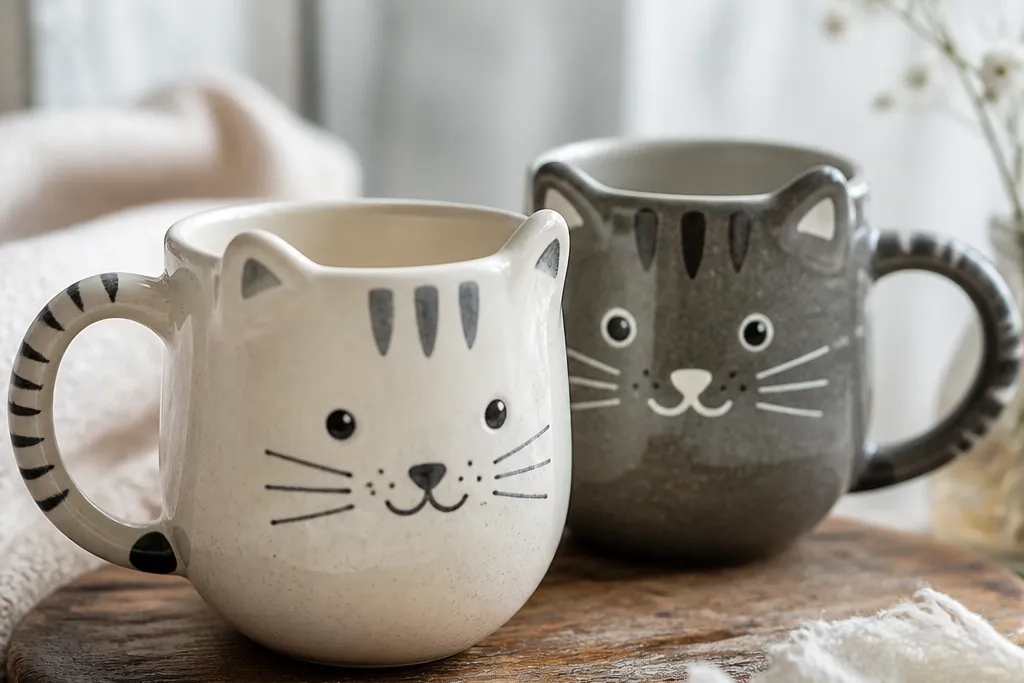
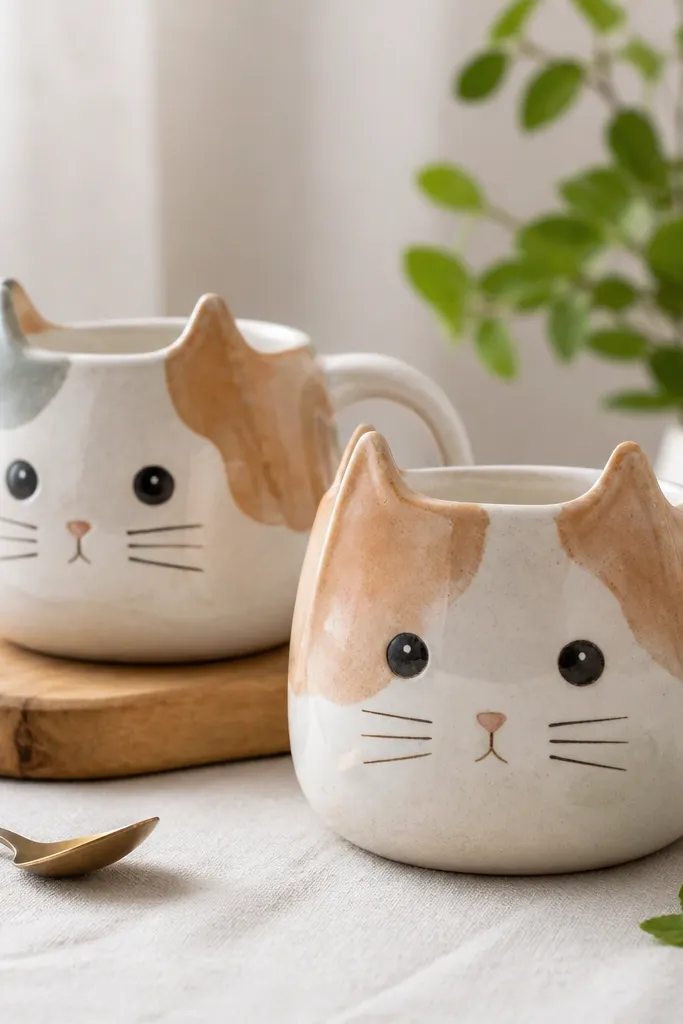
1. Chalk-Pastel Tabby Face With Soft Whiskers
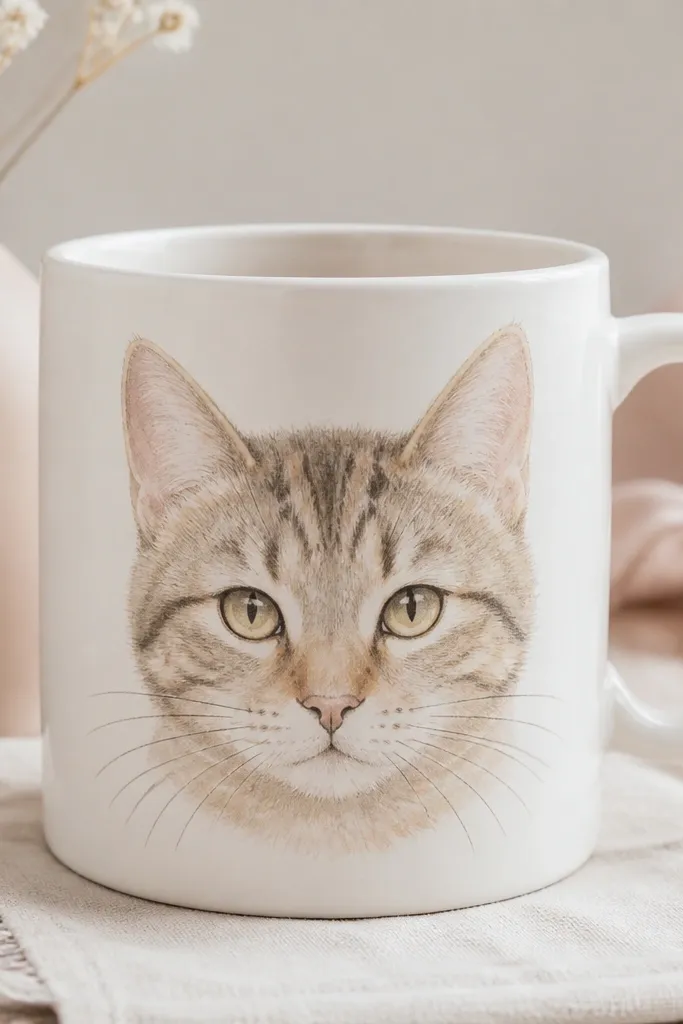
Use a white mug and draw the cat face lightly with a pencil first, then color using acrylic paint thinned to a chalky consistency. Add whiskers with a fine paint marker so the lines stay sharp. This style looks cozy because the fur stripes are subtle and the eyes have a soft, matte glow.
Good to knowAfter painting, seal with a dishwasher-safe clear glaze or a ceramic-safe clear coat in thin layers — let each layer cure fully before adding the next.
2. Black Cat Silhouette With Glitter “Moon Collar”
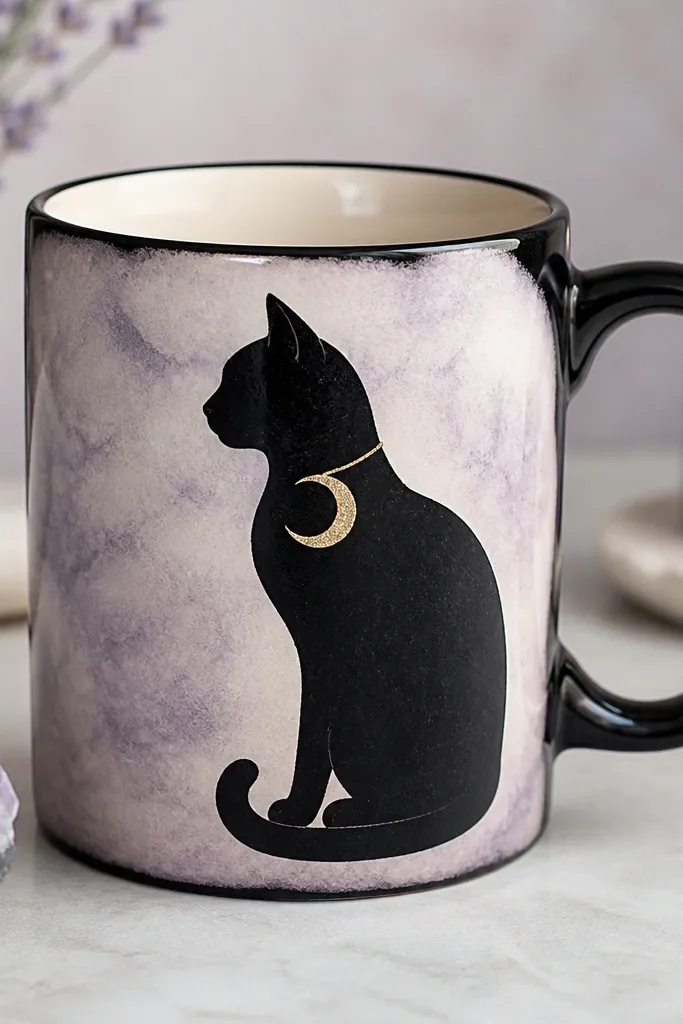
Paint a simple silhouette using black acrylic or ceramic paint, then stencil a crescent moon collar. Trace the moon edge with glue and sprinkle gold glitter for a raised sparkle effect. The contrast makes the silhouette read instantly in photos, even from across the room.
Use painter’s tape to mask the moon area so glitter doesn’t wander into the cat body.
3. Watercolor Kitten Paws Drip Border
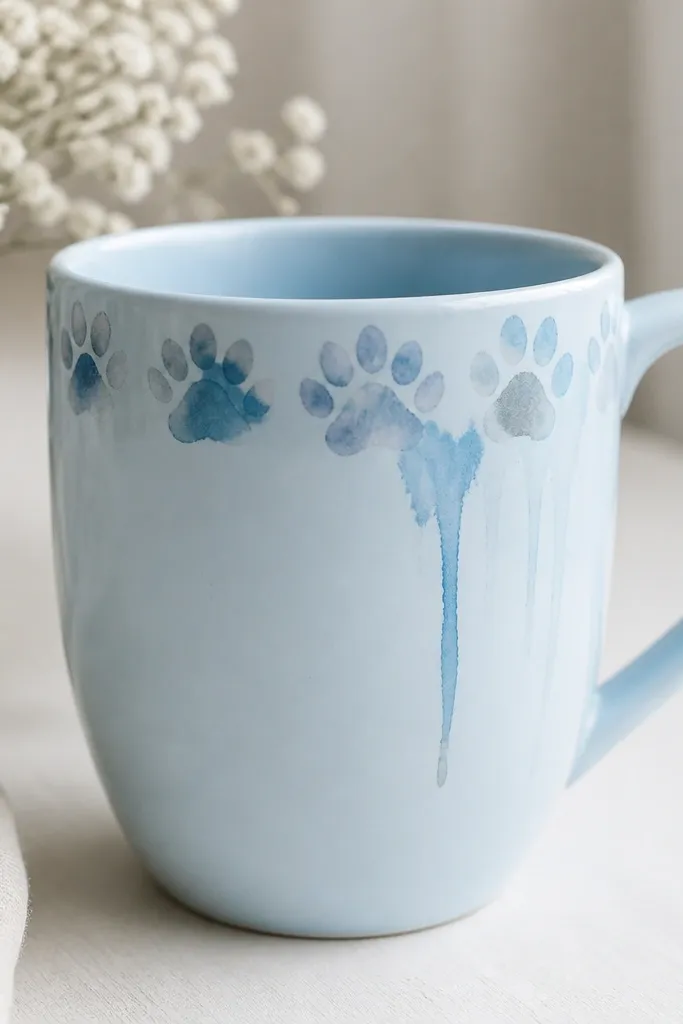
Create paw prints with a damp brush and diluted paint, then add a drip border by loading paint on the brush and lightly touching it to the mug edge. Keep paw shapes uneven and organic for a true watercolor look. This design is great if you want something cute but not overly “face” focused.
Practice the drip on scrap paper first — the best drips start from the rim and taper down naturally.
4. Polymer Clay 3D Ears and Bow Tie Cat Mug
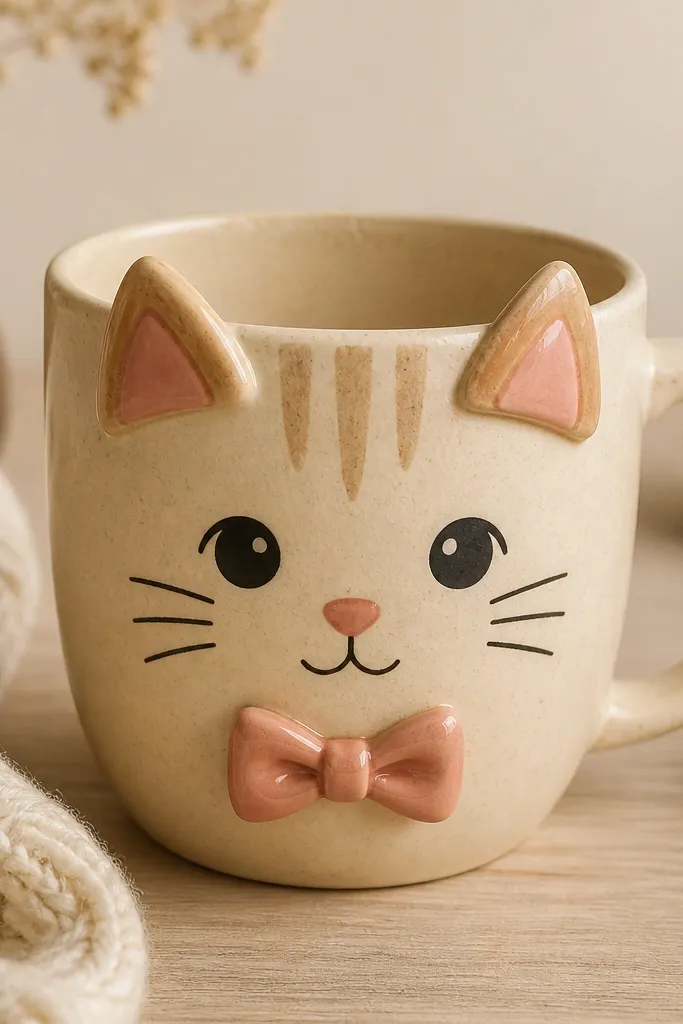
Roll small ear shapes and a bow tie from polymer clay, then bake and attach with ceramic-safe adhesive. Paint the face flat while leaving the ears and bow as the tactile focal point. The 3D effect makes the mug feel like a premium handmade collectible.
Seal the entire mug surface after attaching the clay so the edges won’t catch on a sponge.
5. Rustic “Glazed” Orange Tabby With Speckle Spots
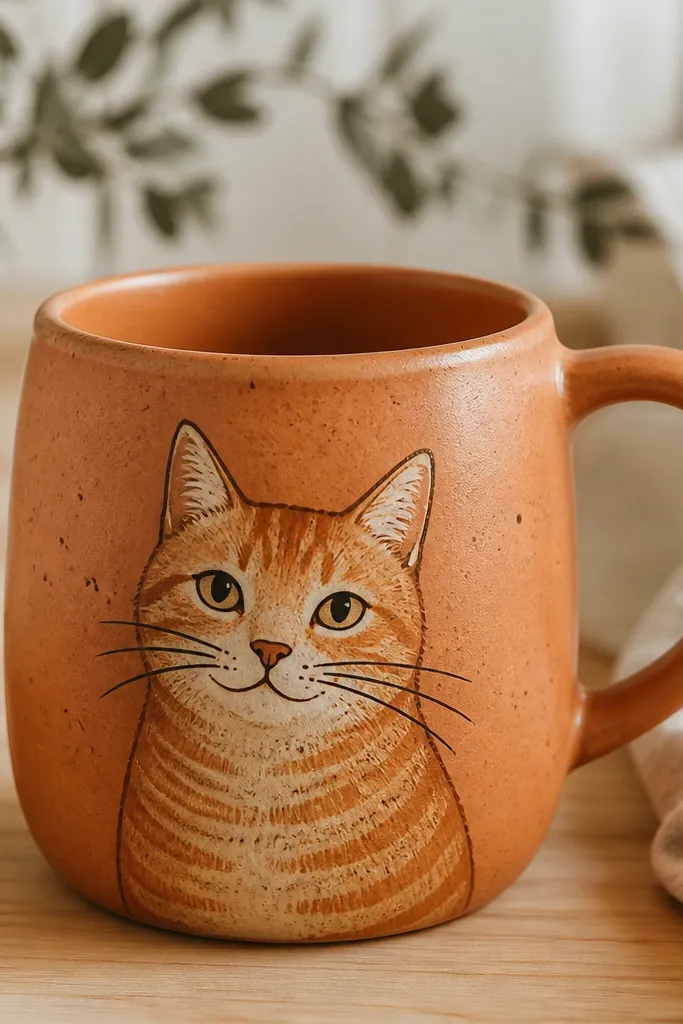
Mix orange acrylic with a tiny bit of brown to mute the tone, then add speckle spots with a dry brush or toothbrush technique. Outline key features (eyes, nose, mouth) using a dark brown paint marker. The speckles mimic ceramic glazes and hide minor brush strokes.
If you use a toothbrush speckle, hold it at least 6 inches away so the dots look intentional, not splattered.
6. Pastel Siamese Cat With Color-Block Collar
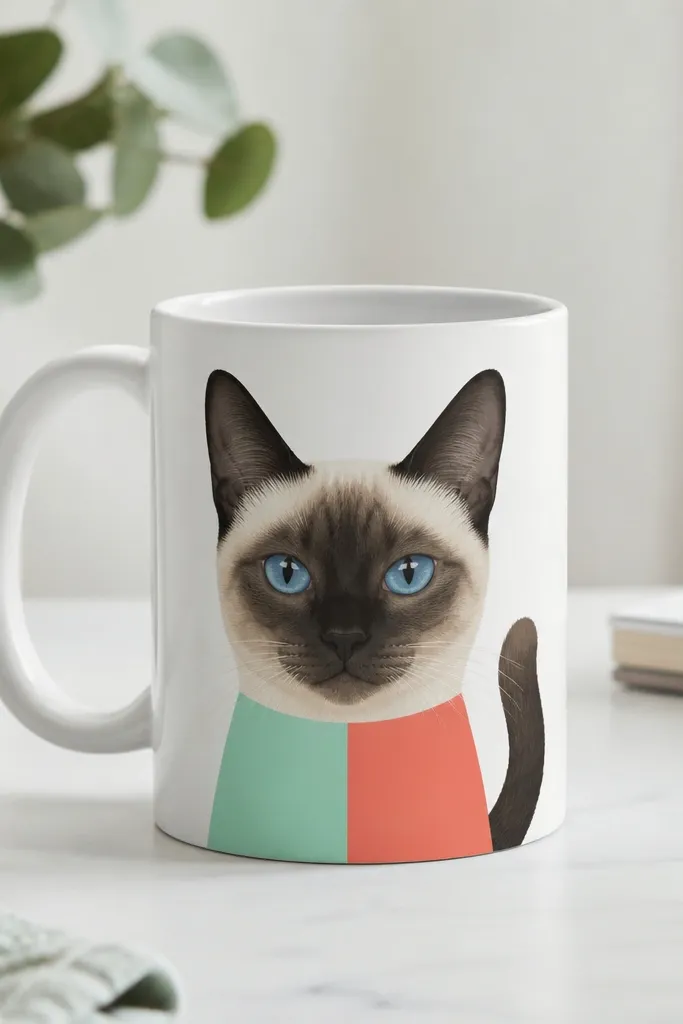
Paint a light base for the face and add darker points on ears and around the mask area. For the collar, use painter’s tape to create crisp color blocks. This idea looks modern because the color-block collar contrasts with the soft, pastel cat coloring.
Good to knowRemove tape while the paint is still slightly tacky to prevent peeling edges.
7. Black-and-White Tuxedo Cat With Tiny Heart Nose
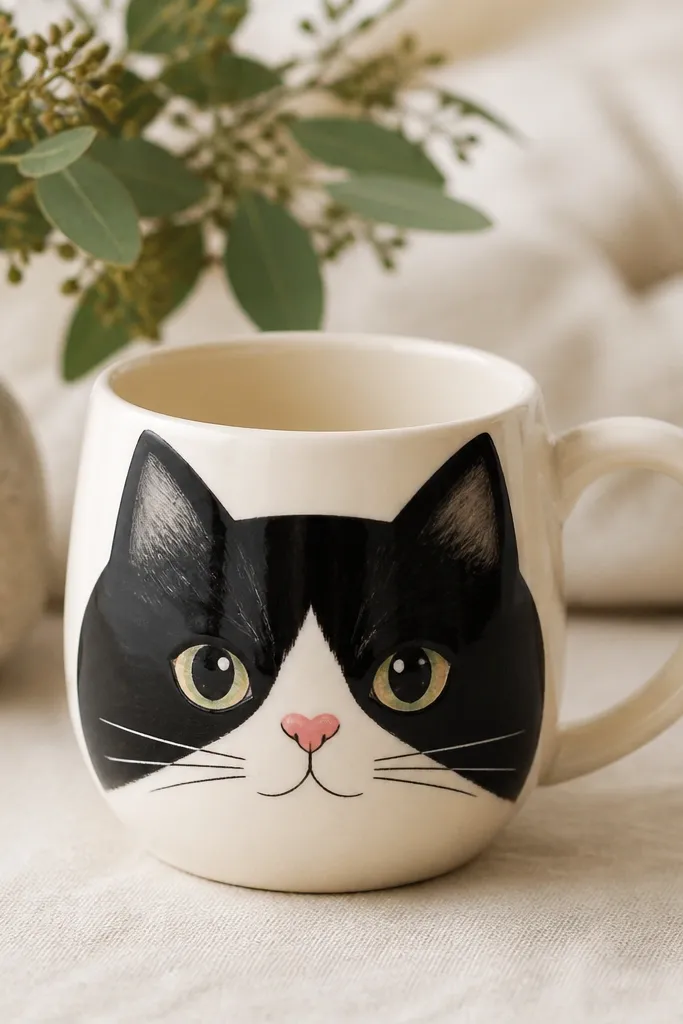
Use masking tape to section the tuxedo pattern so the black and white areas stay clean. Draw a tiny heart nose with a fine liner brush and add a subtle pink blush to the cheeks. Symmetry makes this mug feel “finished” and adorable without being overly busy.
Mark whisker placement lightly with dots first — then connect them with a ruler or straight edge for alignment.
8. Mosaic Cat Face Using Broken Tile Pieces
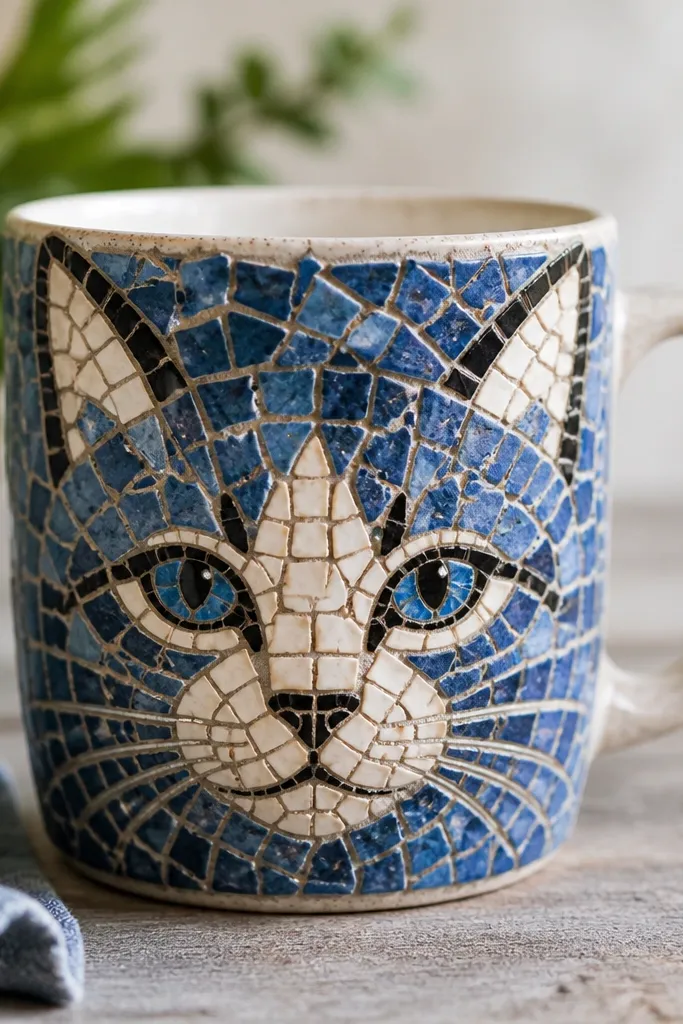
Sketch the cat face, then glue small tile shards along the lines using a strong adhesive suitable for ceramics. Use different tile colors for fur and add a darker outline to define the eyes and nose. Mosaic designs read as high-end because the texture catches light.
Let adhesive cure completely before grouting or sealing — rushing can cause tiles to shift.
9. Embroidery-Style Cat Outline With Paint + Fine Liner
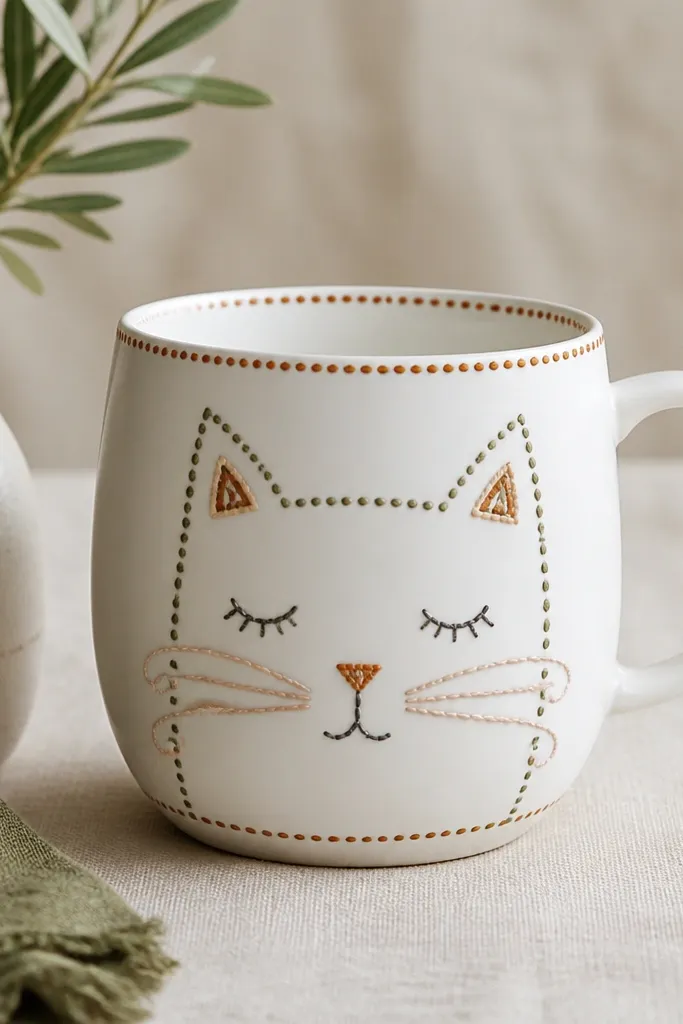
Create an embroidery illusion by drawing the outline with a fine liner, then adding tiny dot “stitches” around the border. Add looped cheek lines with a slightly thicker paint for dimension. This idea is subtle and charming, especially if you prefer neutral palettes.
Stitch dots look best when you keep them consistent — use a toothpick to dab the paint instead of a brush.
10. Cat Treat-Themed Mug: Bone Pattern + Tail Swirl
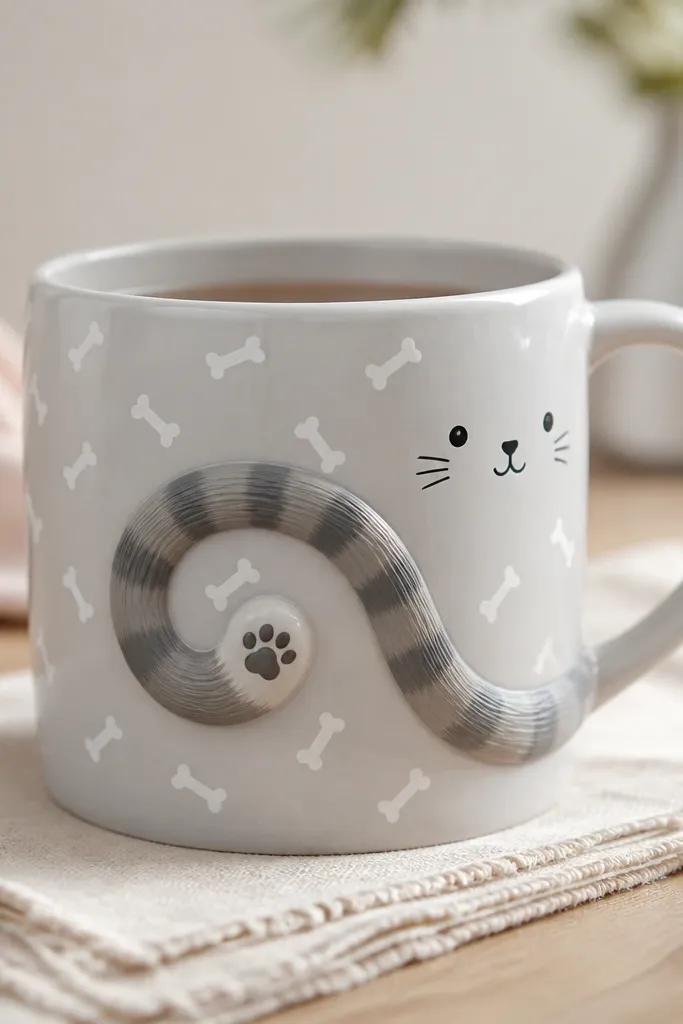
Paint a repeating bone pattern with a small stamp or sponge-cut shape, then add a tail swirl that visually connects the bones. Place a mini cat face near the handle so it’s “surprising” when you turn the mug. It’s playful and works well for pet lovers who like cute icons more than big portraits.
Good to knowUse a stamp template and spacing marks on paper to keep the bone pattern even.