How to Design a Handmade Clay Mug (Beginner Guide)
By Ella Maren·6 min read·Updated Jun 28, 2026
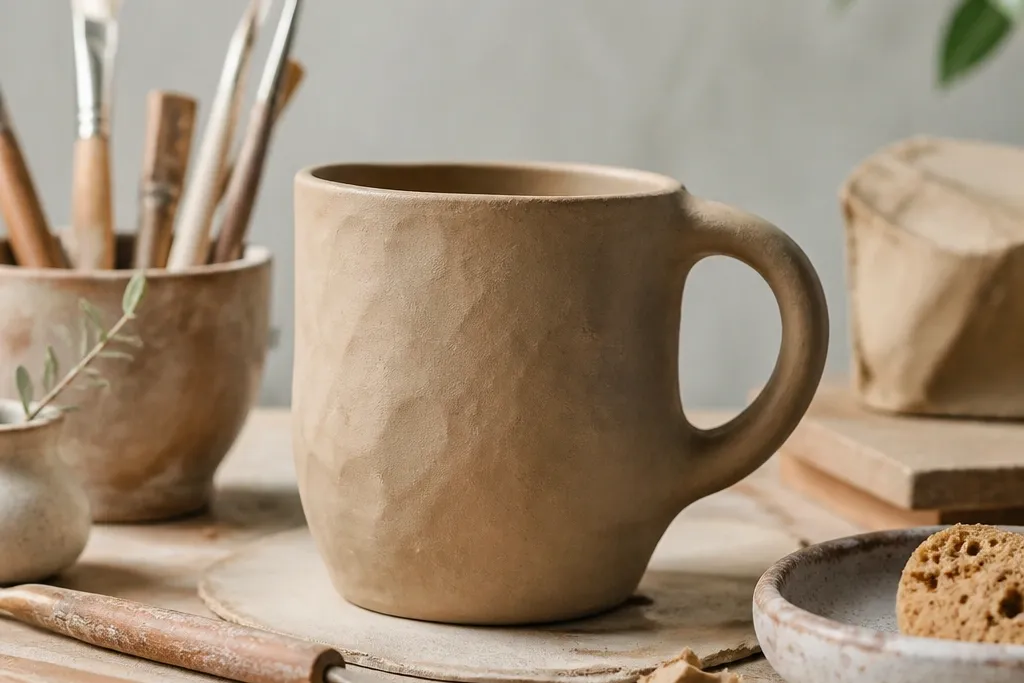
Ever tried to make a mug and watched the handle crack during drying? This beginner guide shows how to design a handmade clay mug from sketch to first successful dry batch using simple proportions. If you stick to a 2:1 height-to-diameter body ratio and score + slip the handle properly, you can cut common breakage risk fast. We’ll map out a clear design workflow you can repeat in under an hour before you ever turn on the wheel or start shaping.
Step by step
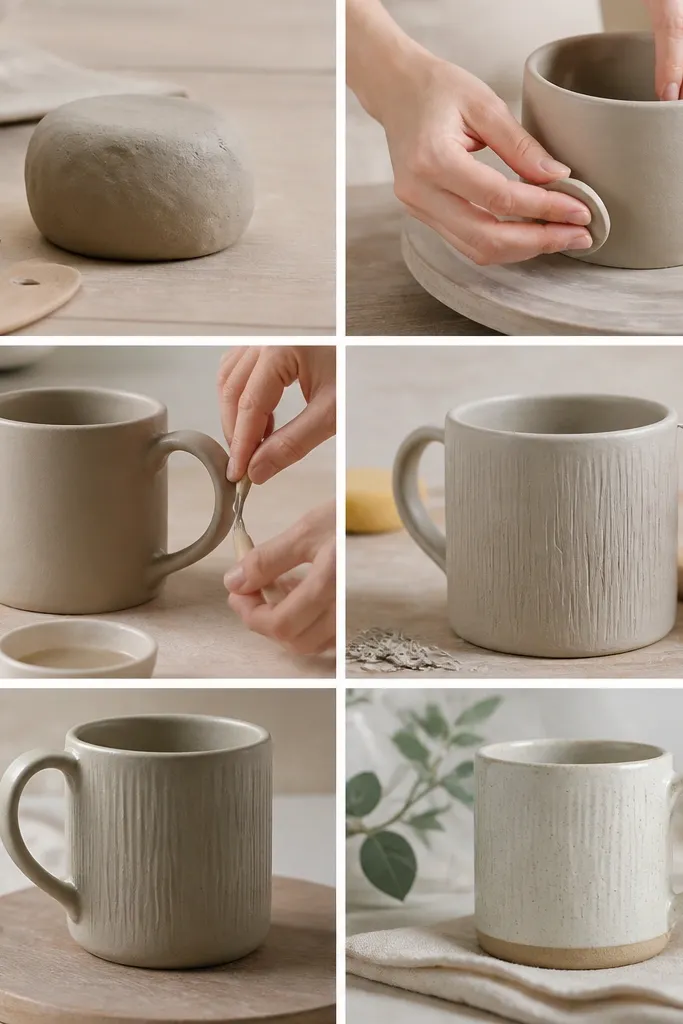
Sketch the mug proportions. Decide your finished height and diameter, then use a 2:1 height-to-diameter ratio for a stable beginner form. Mark the rim width and where the handle will start about 1/3 down from the top.
Build the body cylinder and smooth the rim. Shape your mug body into a consistent cylinder or slightly tapered form, then compress the rim area with your fingers and a rib. Keep the rim thickness even so it dries and fires without warping.
Plan and attach the handle with score + slip. Score both the mug body and handle contact zones with a crosshatch pattern, then apply slip to both sides. Press firmly, then blend the seam with a damp sponge and tool so there’s no sharp ridge to split later.
Add a thumb rest and balance the silhouette. Shape a subtle thumb rest by thinning the handle inner curve slightly while keeping the outer curve thicker. Rotate the mug while you check balance, so the handle doesn’t pull the silhouette to one side.
Refine surface texture for grip and drying control. Add texture sparingly near the bottom and avoid deep undercuts that trap moisture. Smooth any sharp edges and use a damp sponge to unify the surface so it dries evenly.
Dry slowly and evenly before any glaze. Cover loosely with plastic wrap for the first 24 hours, then uncover gradually over several days. Turn the mug once a day and keep humidity consistent to prevent handle separation.
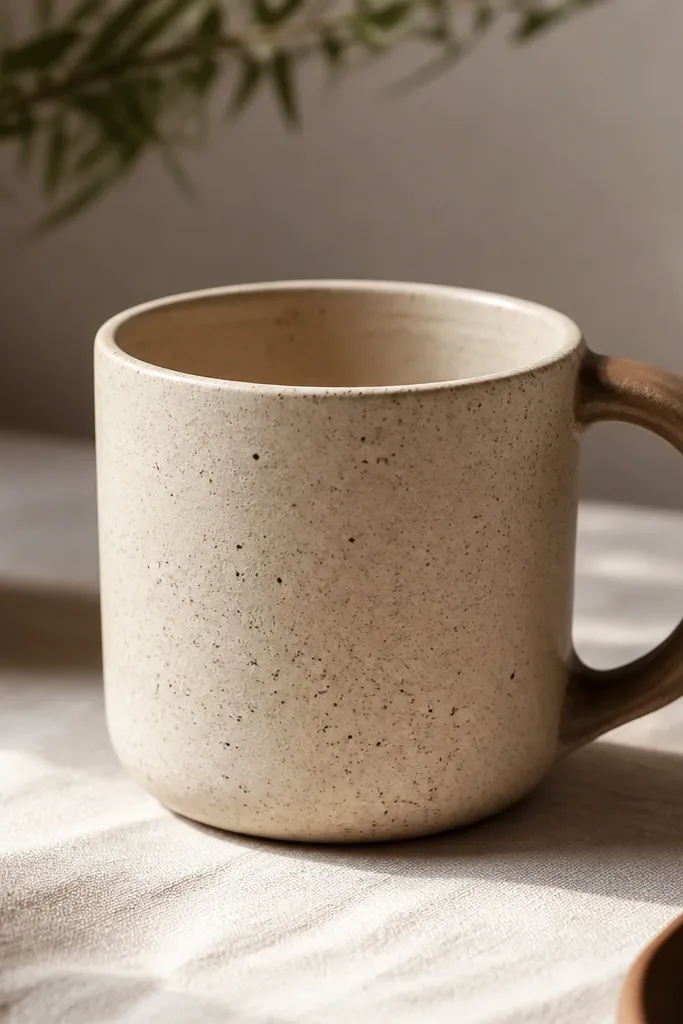
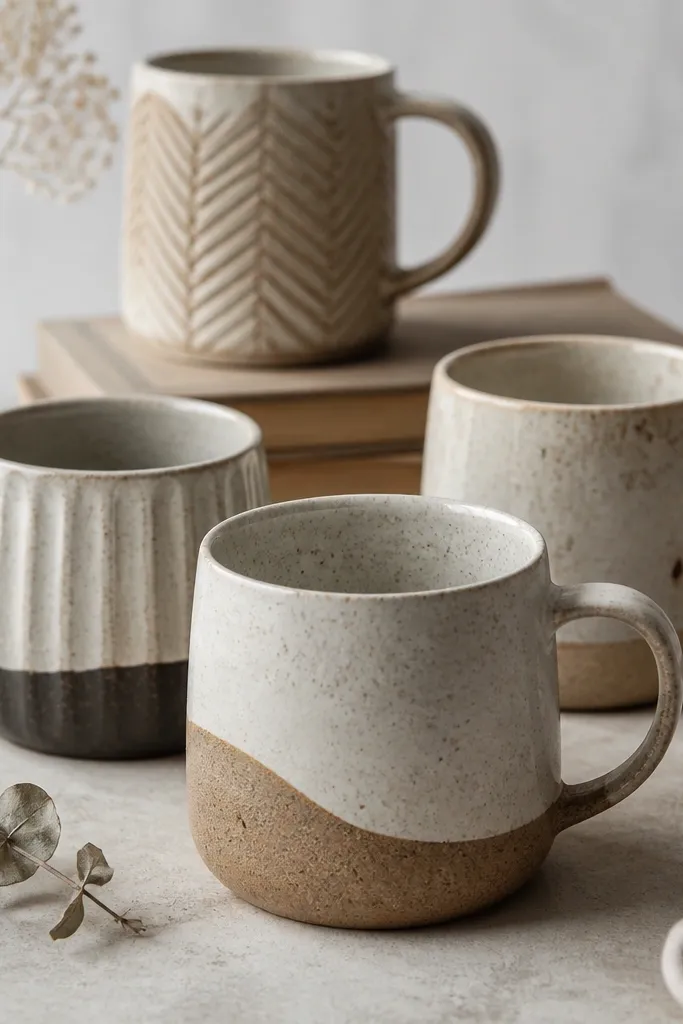
You can mimic a two-tone look by layering a thin sheet of differently colored clay under the outer surface, then lightly blending edges. The clean rim keeps drinking comfort, while the speckling hides tiny drying marks. A slightly darker handle makes the mug feel intentional instead of random.
Keep the rim area smooth and uniform thickness — it’s the first place beginners accidentally make uneven drying cracks.
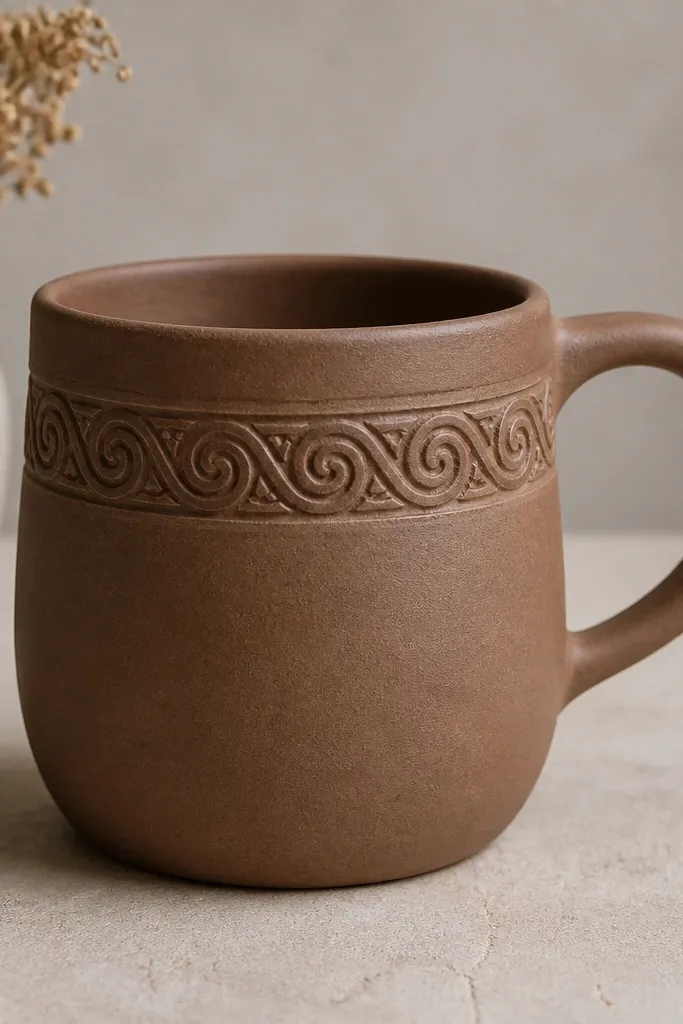
A single raised swirl band gives motion without covering the whole mug, so it’s easier to dry and less likely to warp. Use a rib or tool to press consistent arcs, then blend the edges so the band doesn’t feel sharp. This design reads clearly even from a distance.
Press the band shallow — deep grooves can trap moisture and cause hairline cracks.
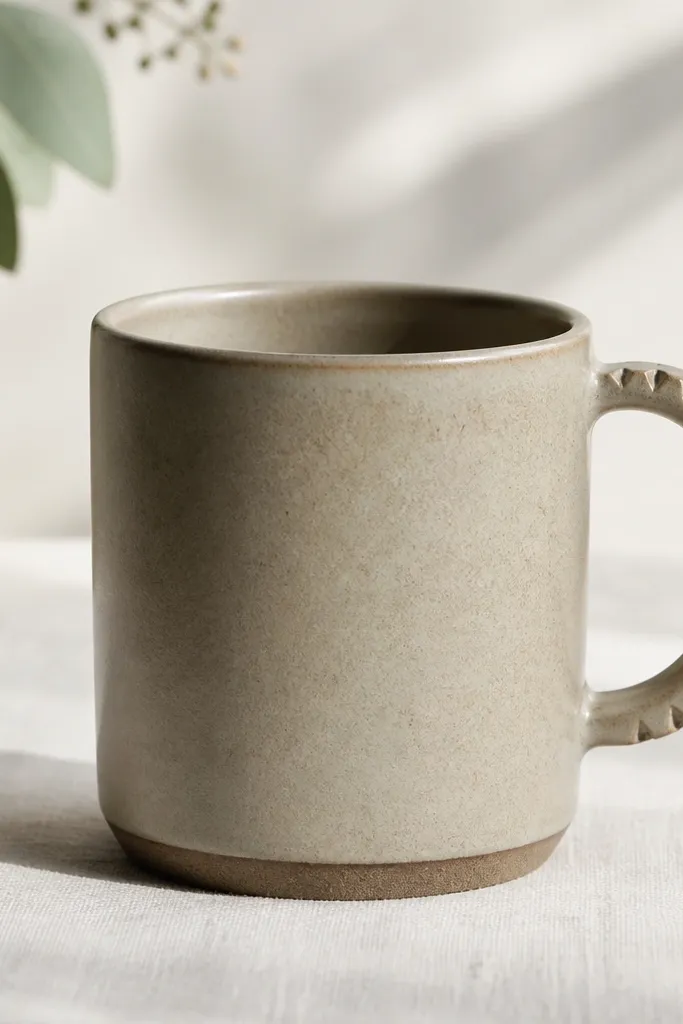
Notches create a modern look and make the handle feel more sculptural. Keep notches only on the outer surface so the inner curve remains comfortable for fingers. The mug body should stay smooth to balance the sharper lines.
Good to knowMake notches shallow and evenly spaced — uneven depth is a common reason handles weaken during drying.
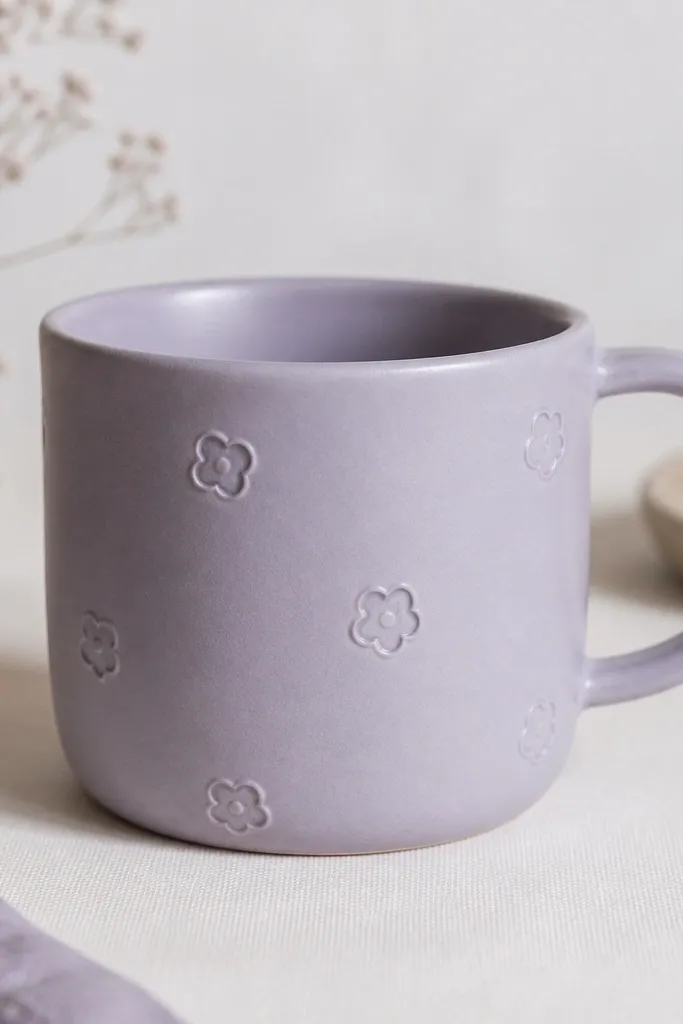
Shallow relief flowers look delicate but are beginner-friendly when you avoid deep petals. Use a needle tool to outline, then lightly carve in petal lines for texture without undercuts. Spacing the flowers around one side keeps the design from fighting the handle silhouette.
Good to knowIf petals feel like they form pockets, smooth them — pockets hold water and increase cracking.
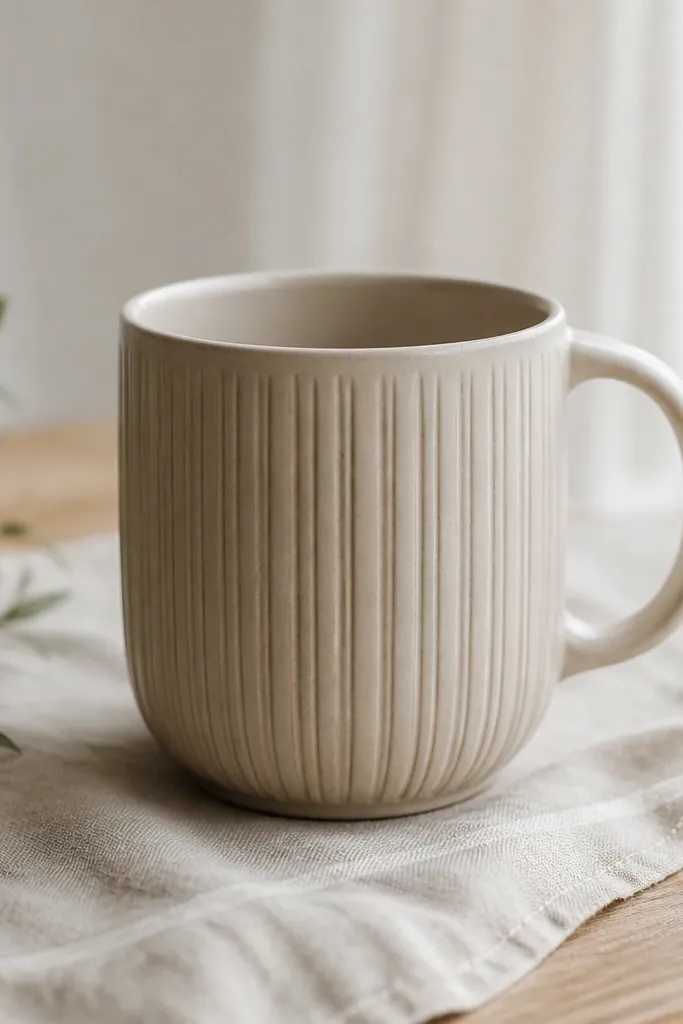
Vertical ribs improve grip and make the mug visually taller. For stability, keep ribs consistent width and avoid sharp transitions near the rim. This texture also hides minor surface imperfections from beginner shaping.
Good to knowStop ribs 1 cm above the base — the bottom dries last and needs the most even thickness.
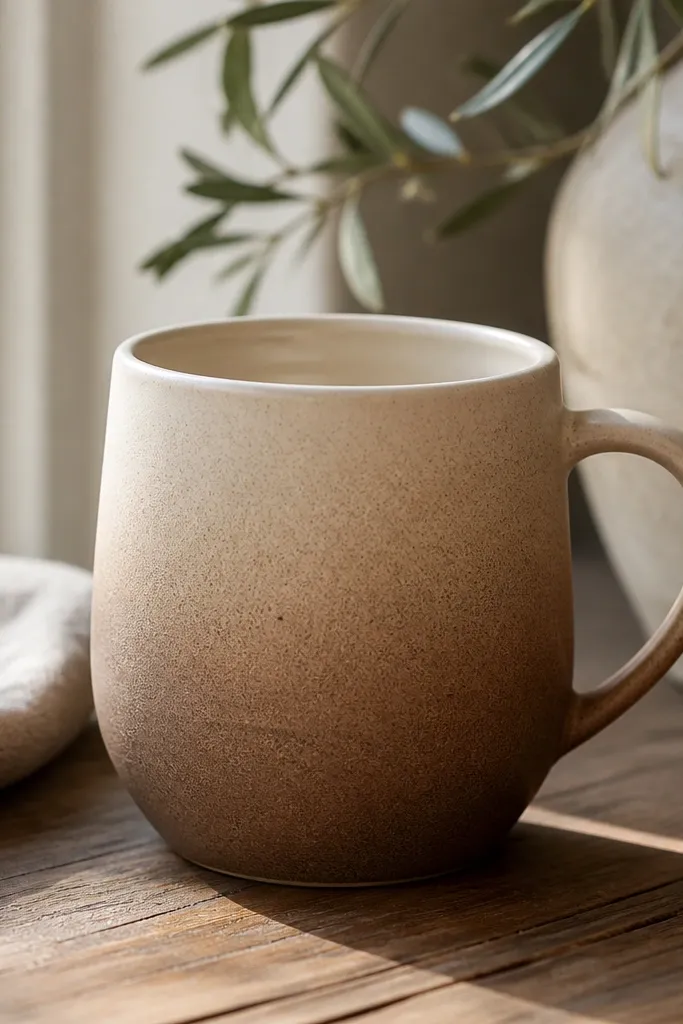
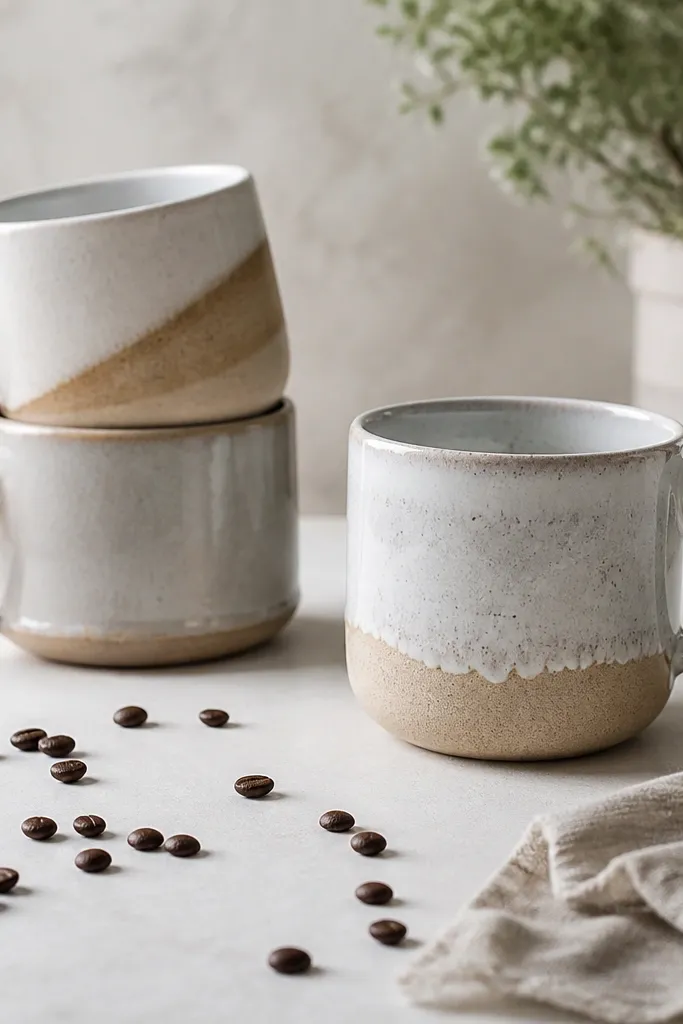
An ombré effect is easiest when you blend two clay colors with a thin overlapping layer. Blend with a damp sponge and rib until the transition feels silky, not striped. The handle can stay a solid color to keep the design readable.
Good to knowBlend while clay is still leather-hard — once fully firm, blending creates ridges instead of gradients.
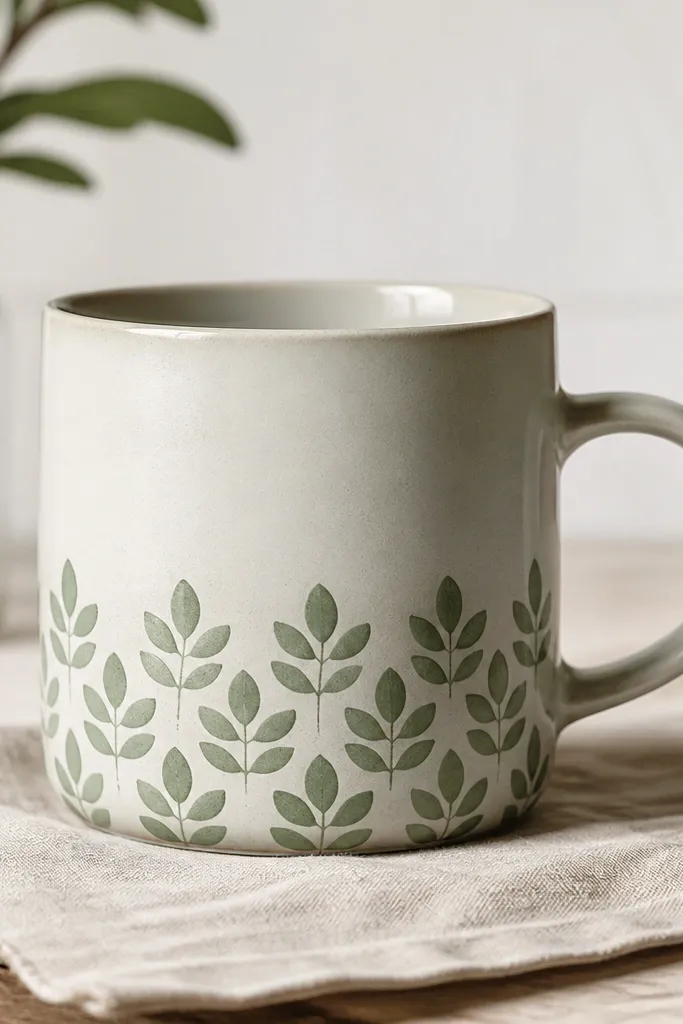
Stamping on the lower third keeps the pattern from interfering with drinking comfort at the rim. Use a firm stamp and press straight down to avoid smearing clay edges. The smoother top helps you blend the rim and reduces drying stress.
Good to knowTest your stamp on a scrap first to check how deep it imprints — aim for shallow, crisp impressions.
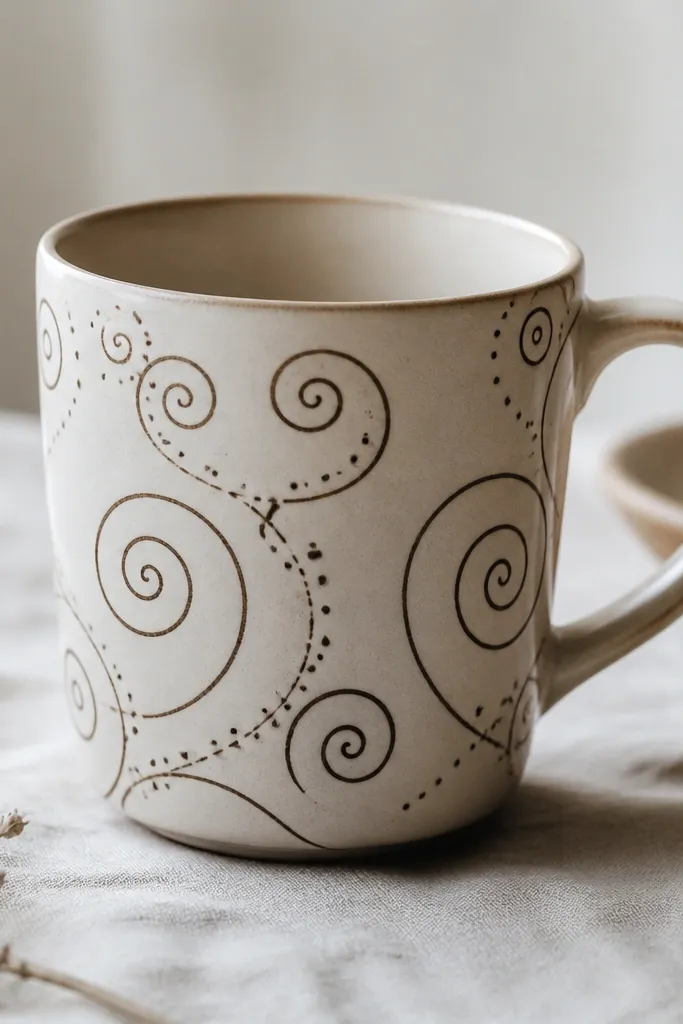
Slip linework adds “handmade” personality without heavy texture. Use a fine brush or squeeze bottle with slip, then let it dry fully before any glaze. The raised feel is subtle but visually high-contrast.
Use a stencil for your first mug so your lines stay even and don’t wobble around the curve.
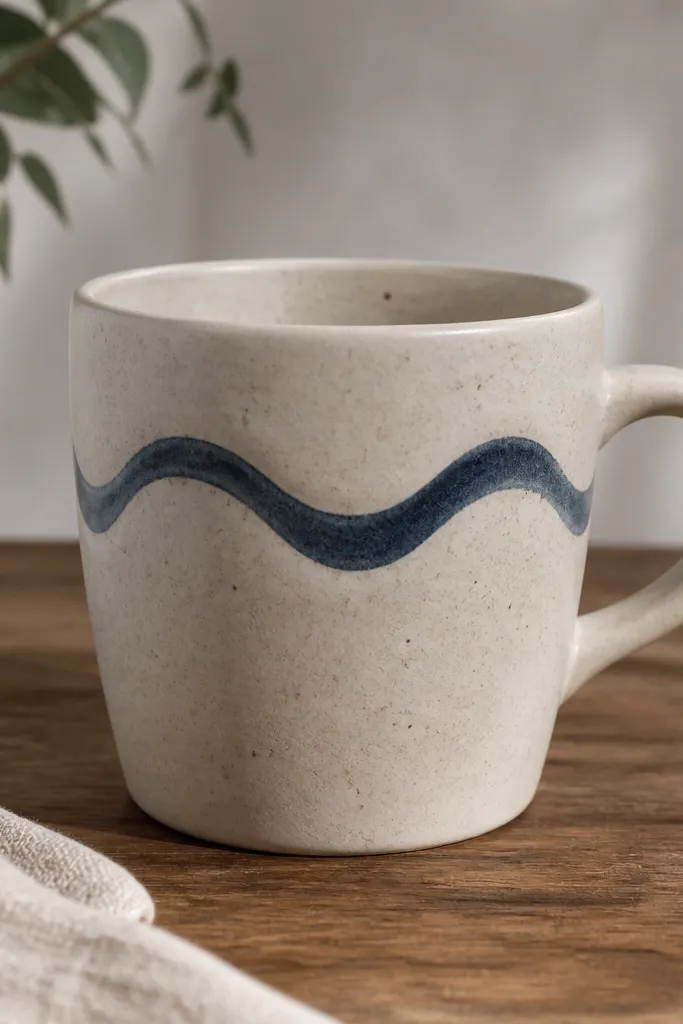
Wave bands look dynamic and pair well with a simple handle. Create alternating arcs using a small rib tool, then lightly blend the ridges to prevent flaking. Keeping the band in one zone makes drying more predictable.
Good to knowRotate the mug while refining arcs so the pattern stays symmetrical around the handle.
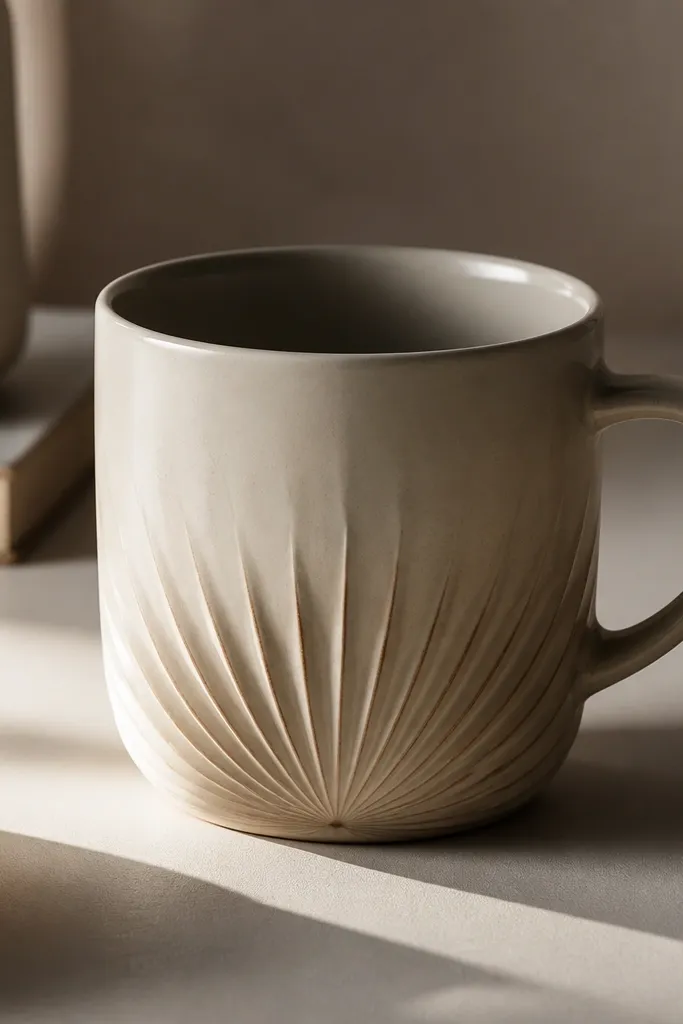
A textured base makes the mug feel special when you set it down, without risking the rim. Create the starburst by pressing small tool tips into the surface in a radial pattern. Smooth sides keep cleaning easier and reduce snagging from texture.
Good to knowKeep texture confined to the bottom third so your fingers don’t brush rough areas while holding the mug.
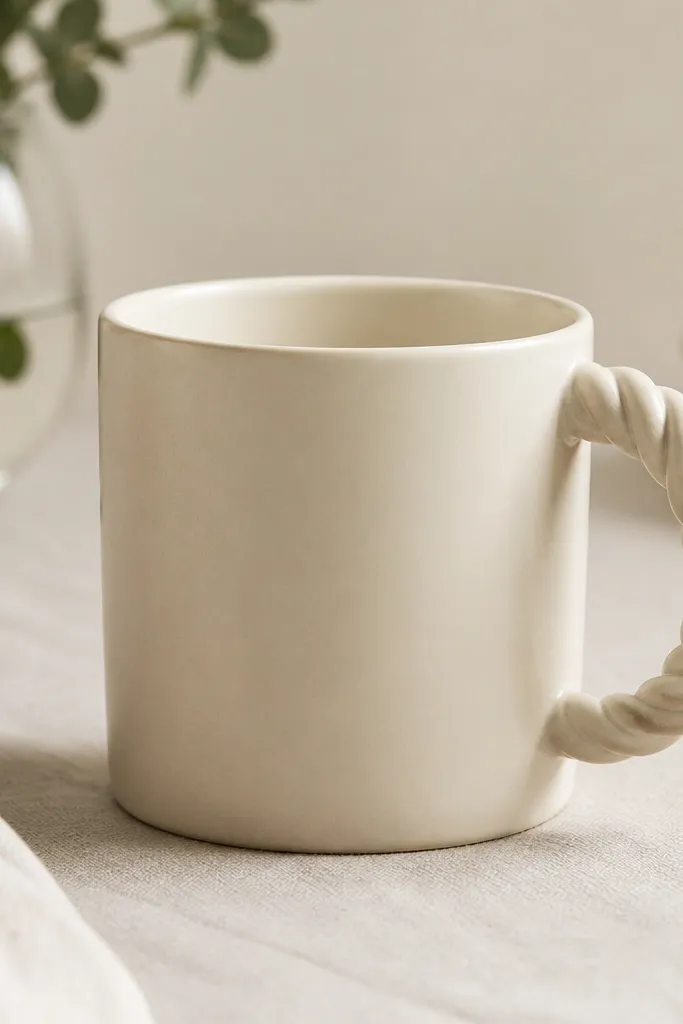
You can fake a rope twist by adding a thin coil “twist” strip along the outer handle curve. Blend edges where the coil meets the handle so it doesn’t peel during drying. This design elevates a simple mug body into something gift-worthy.
Attach the twist strip in short sections and blend each seam immediately to avoid gaps.
Your questions, answered
How long does a handmade clay mug take to dry?
Air-dry clay mugs often take 3-7 days depending on thickness and humidity. For best results, dry covered for the first 24 hours, then uncover gradually and turn the mug once a day.
Will a handmade clay mug last if it’s not fired?
Air-dry clay mugs are usually not food-safe and can degrade with soaking. If you want a mug that lasts, use a kiln-fired clay body and a compatible glaze system.
How much does it cost to design a handmade clay mug?
Expect to spend roughly $10-$30 for basic supplies if you already have basic tools. The biggest variable is whether you need kiln access or buy pre-made firing services.
Where can I get materials for how to design a handmade clay mug?
Look for air-dry clay, slip, and sculpting tools at local craft stores, or buy them from pottery supply shops online. For fired work, you’ll need stoneware clay, glaze, and access to a kiln.
Is this beginner-friendly if I’ve never worked with clay?
Yes, especially if you keep your texture shallow and follow score + slip for the handle. Start with a simple cylinder body and one accent area so you can focus on drying and fit.
How do I care for my handmade mug after glazing or firing?
After firing and cooling, wash gently and avoid sudden temperature changes (no boiling water right after freezing). Use non-abrasive sponges, and skip the dishwasher unless your glaze and clay are specifically rated for it.