1. Thickness Check: The “6-8 mm” Mug Profile
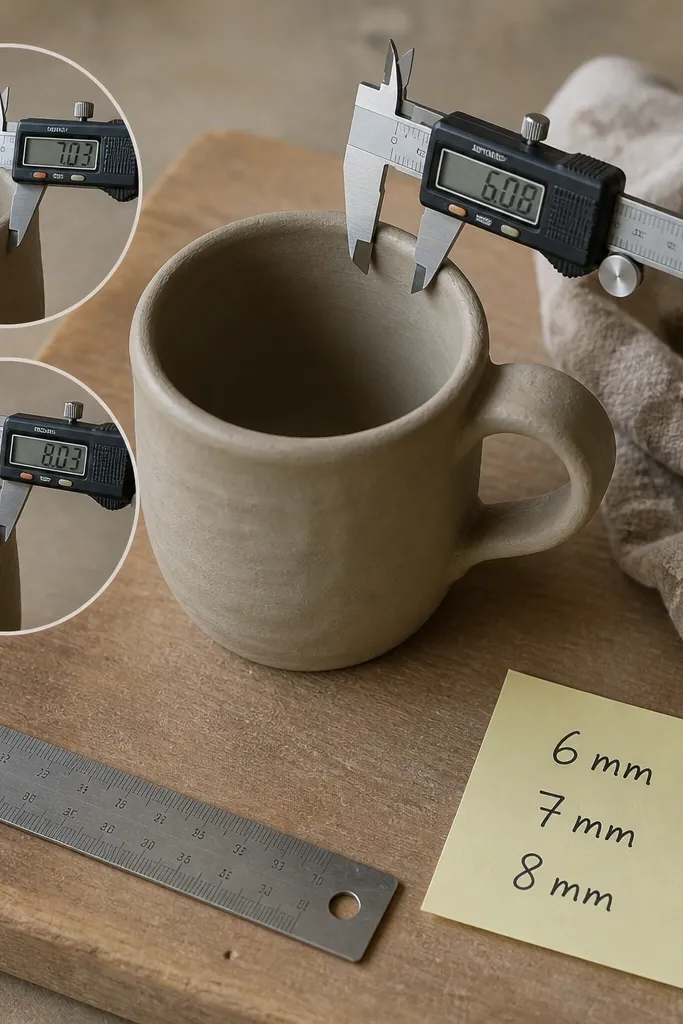
Beginners usually make mugs too thin, then they crack when the clay contracts in the kiln. Aim for about 6-8 mm walls and a slightly thicker base so heat distributes evenly. Use a simple caliper or even a set of craft thickness guides to compare spots around the mug.
Measure 3-4 points around the body before you smooth. If one spot is under 6 mm, add a thin strip of clay and blend it with slip.
2. Cut-and-Score Seam: Joining the Mug Body Without Bulges
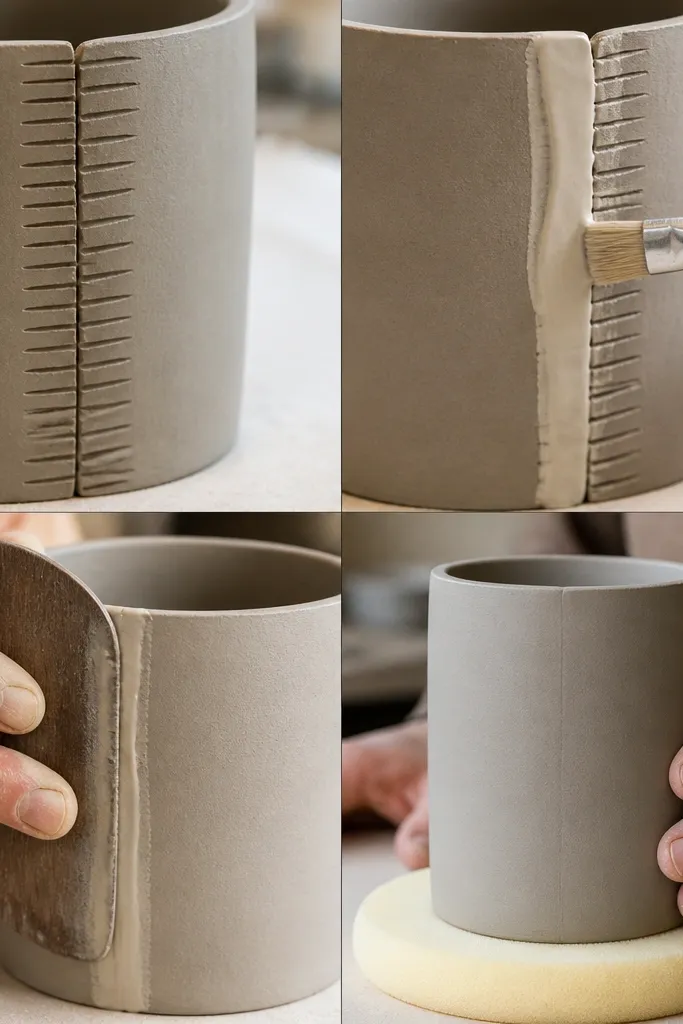
If the seam isn’t properly joined, it can open during drying or firing. Score both edges (light crosshatch) and coat with slip before pressing together. After joining, smooth the inside seam first, then remove any extra clay on the outside so you don’t get an uneven wall.
Wipe away excess slip at the seam. Too much slip can create a weak, bubbly layer that shows up as bumps after firing.
3. Finger-Pressure Smoothing: A Clean Rim in One Pass
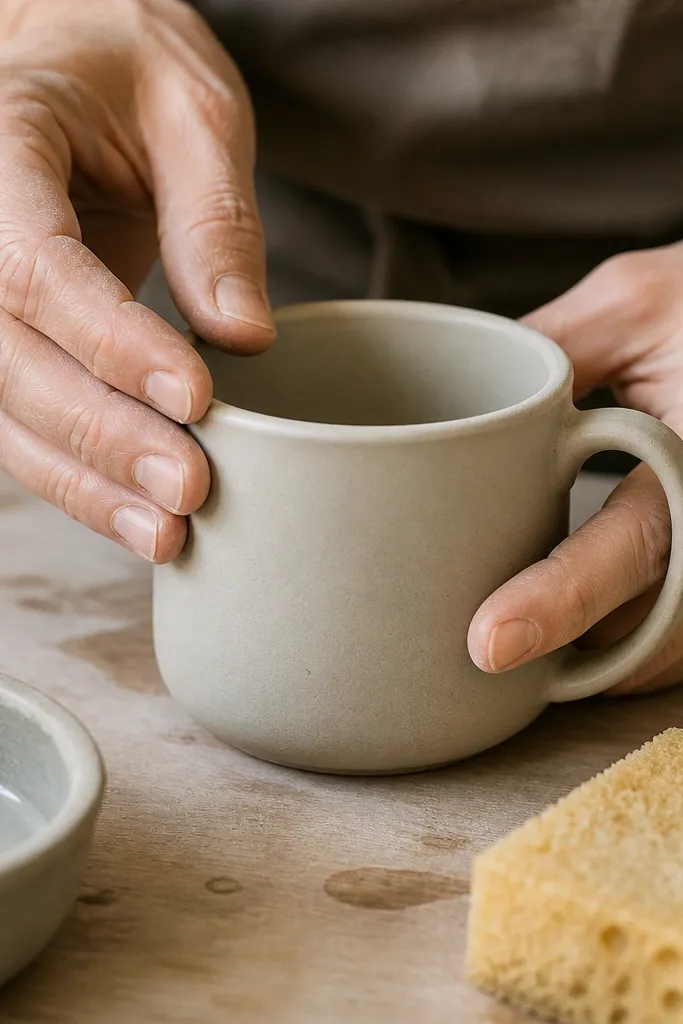
A wobbly rim is the easiest way to make a mug look “homemade in a bad way.” Use gentle, even pressure to smooth the rim while it’s leather-dry. Be consistent: rotate the mug and smooth in a single continuous pass rather than chasing lumps repeatedly.
Good to knowCheck the rim by sighting across it from the side. If it dips, compress it lightly with your fingertips while the clay is still leather-dry.
4. Leather-Dry Timing: When to Trim and When to Wait
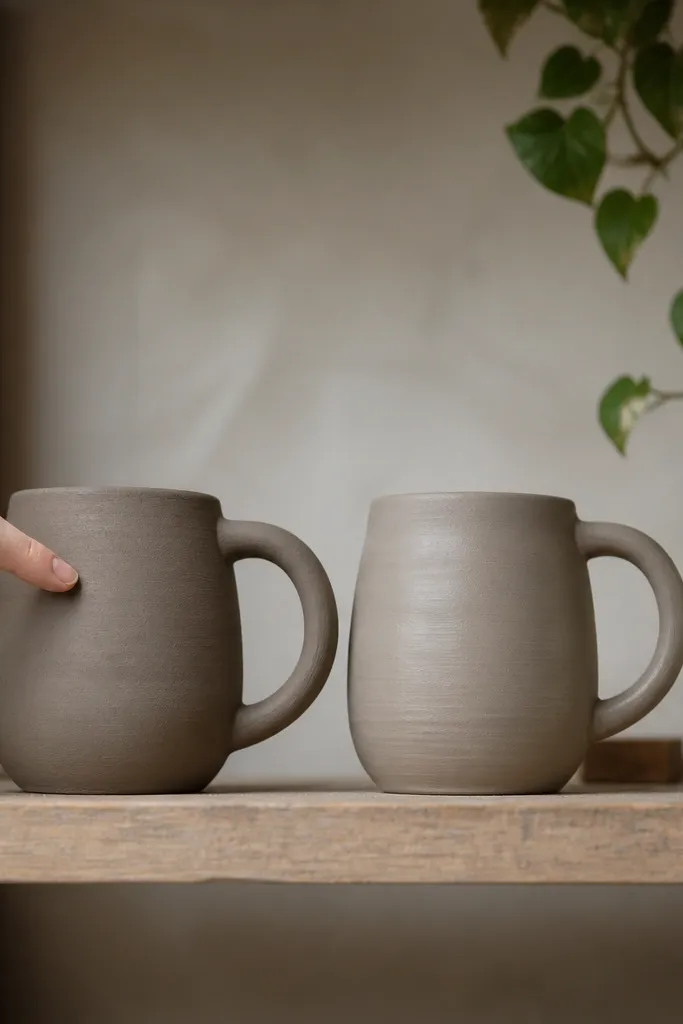
Trimming too early causes edges to slump; trimming too late makes it crumble. Leather-dry clay feels cool and matte, and your fingertip should not leave a dent. This stage is perfect for cleaning the foot ring and refining the mug silhouette.
Good to knowIf you can slightly shine the surface with a fingernail, it’s not ready yet. Wait 30-60 minutes and re-check.
5. Foot Ring + Base Support: Preventing Rocking on Tables
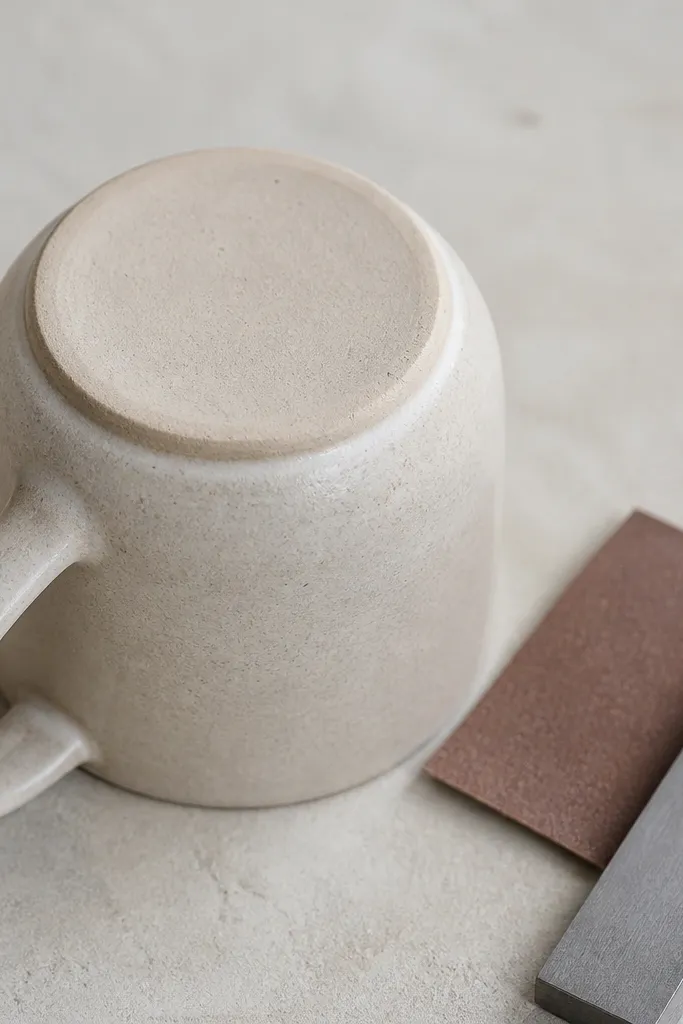
A mug that rocks on a table usually has a uneven base or too-thin bottom. Create a foot ring so the mug sits stable after firing. Trim the bottom flat, then lightly refine the foot so it’s symmetrical and the wall thickness stays consistent near the base.
Good to knowPlace the mug bottom-down on a flat tile. If you see a gap under one edge, mark the high spot and trim in tiny shavings.
6. Handle Template: Keeping It Sized and Centered
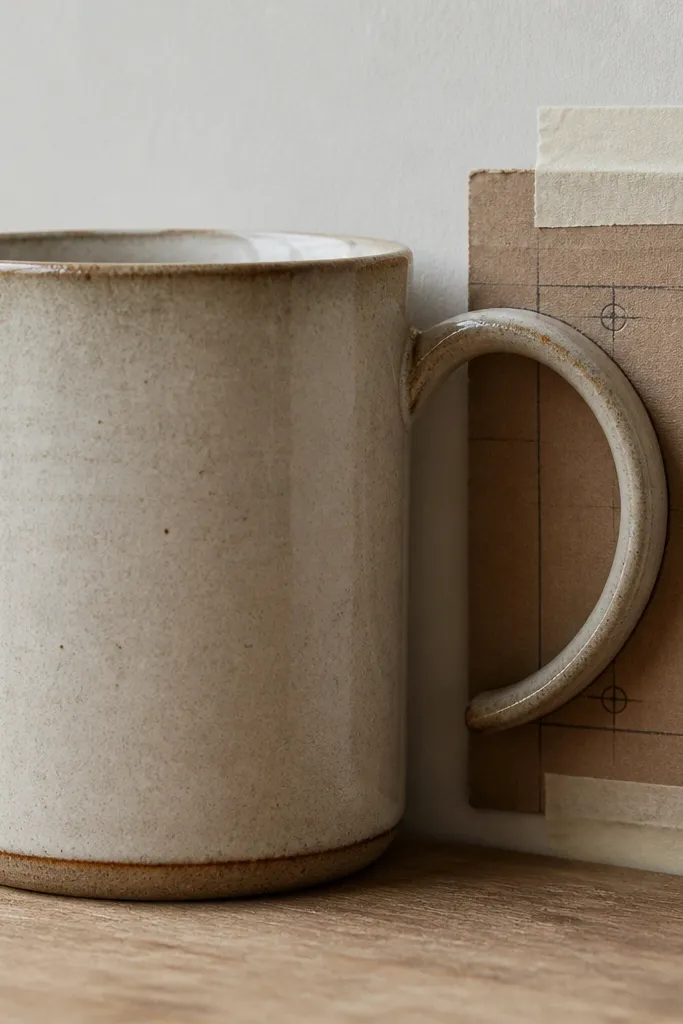
Beginner handles often come out too tall, too low, or off-center. Use a template so both sides match and the handle’s opening sits comfortably. Score and slip where the handle meets the body, then press firmly and blend the join so it looks seamless.
Hang the handle slightly before attaching — it should arc naturally, not fight the mug shape. If it springs back, let it stiffen a bit first.
7. Slip + Burnish: Smoothing Without Overworking
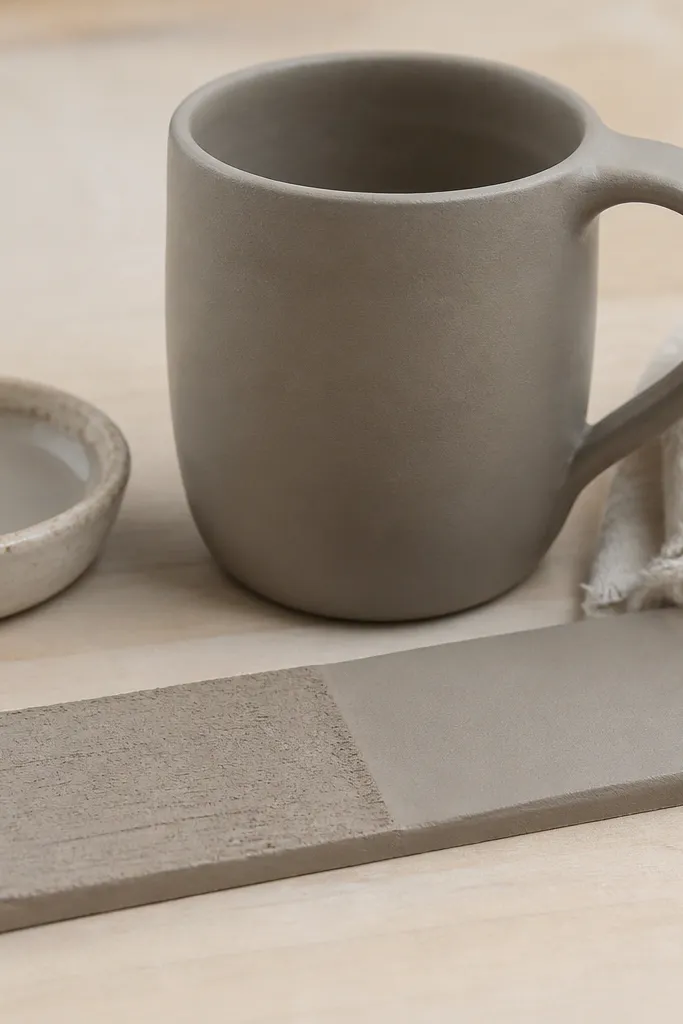
For a crisp, handmade look, you want smooth surfaces without thick tool marks. Apply slip thinly and burnish with a soft cloth or smooth stone when the clay is leather-dry. This can reduce visible seams and help glaze lay down more evenly.
Burnish in small circles, then stop. Overworking can pull moisture to the surface and cause uneven drying.
8. Under-Glaze Design: Clean Bands and Simple Shapes

Underglaze lets you control color while staying beginner-friendly. Use painter’s tape for straight bands, then add small dots or a simple wave near the handle to make it feel intentional. Keep your design away from the rim if you’re not using a food-safe glaze plan from your kiln supplier.
Good to knowLet underglaze dry fully before glazing. If it smears, pause and give it extra drying time so colors don’t muddy.
9. Glaze Layering: Clear Coat Over Color
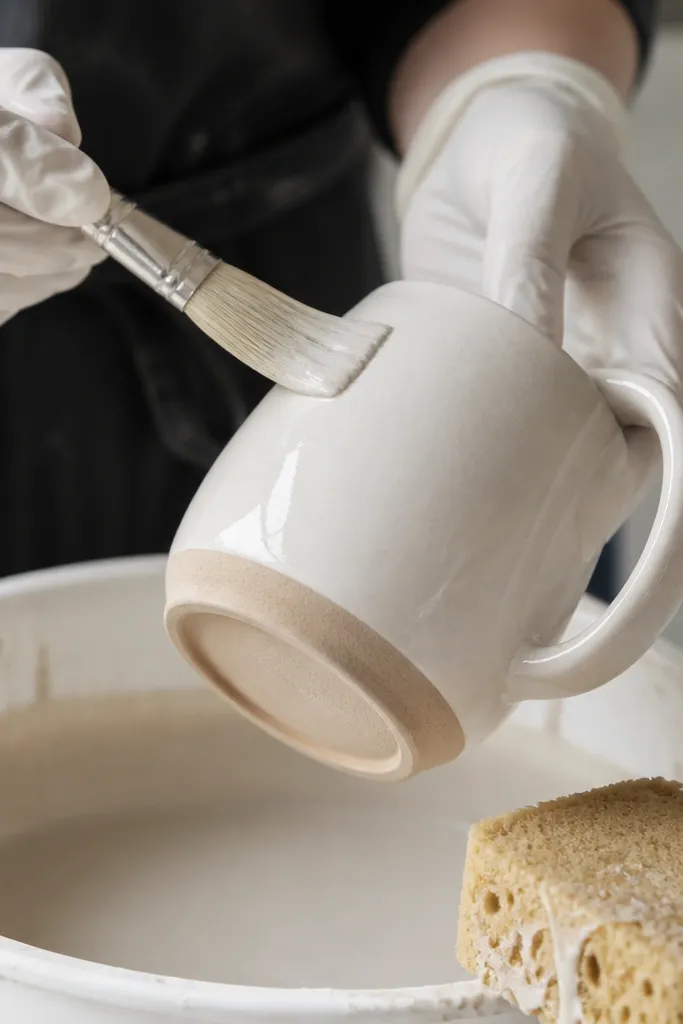
A clear glaze over your underglaze makes colors pop and gives that satisfying glossy finish. Keep glaze off the bottom foot ring so it won’t fuse to the kiln shelf. Apply glaze in thin, even coats to avoid runs, especially around the handle join.
Good to knowDip or brush, then inspect with a flashlight. If you see thick pooling, wipe a small section with a damp sponge before it dries.
10. Kiln Safety Moment: Avoiding Sits-on-Shelf Fusing
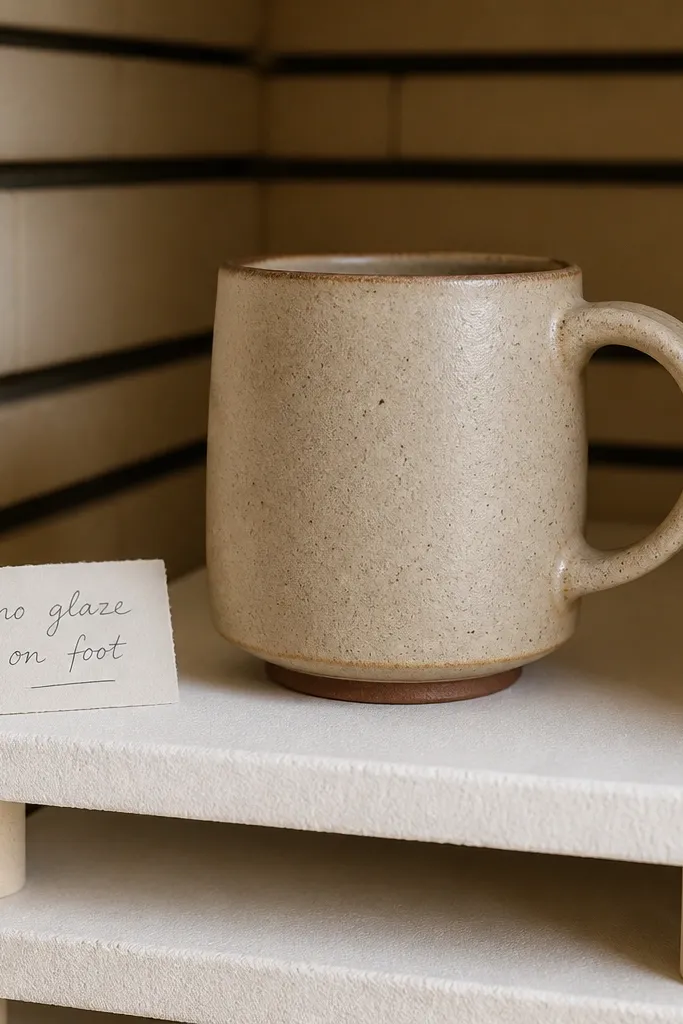
One of the most frustrating beginner failures is a mug stuck to the kiln shelf. This happens when glaze touches the bottom foot ring. Use kiln-safe supports and keep the base unglazed where it contacts the shelf. Double-check before firing that the foot ring is clean and dry.
Good to knowWipe the bottom with a dry cloth right before loading to remove dust. Dust can interfere with proper glaze contact and cause uneven finishes.