If your fall mugs always look “cute” but never feel handmade, these handmade pumpkin mug ideas will fix that fast — you’ll get a cozy, pumpkin-shaped vibe in under 60 minutes. Each design below uses simple craft materials (paint, clay, heat-safe adhesive) so you can transform a plain mug into a fall centerpiece without a pottery studio. No vague inspiration — you’ll get exact color combos, placement tips, and care notes so the finish stays pretty through repeat sipping.
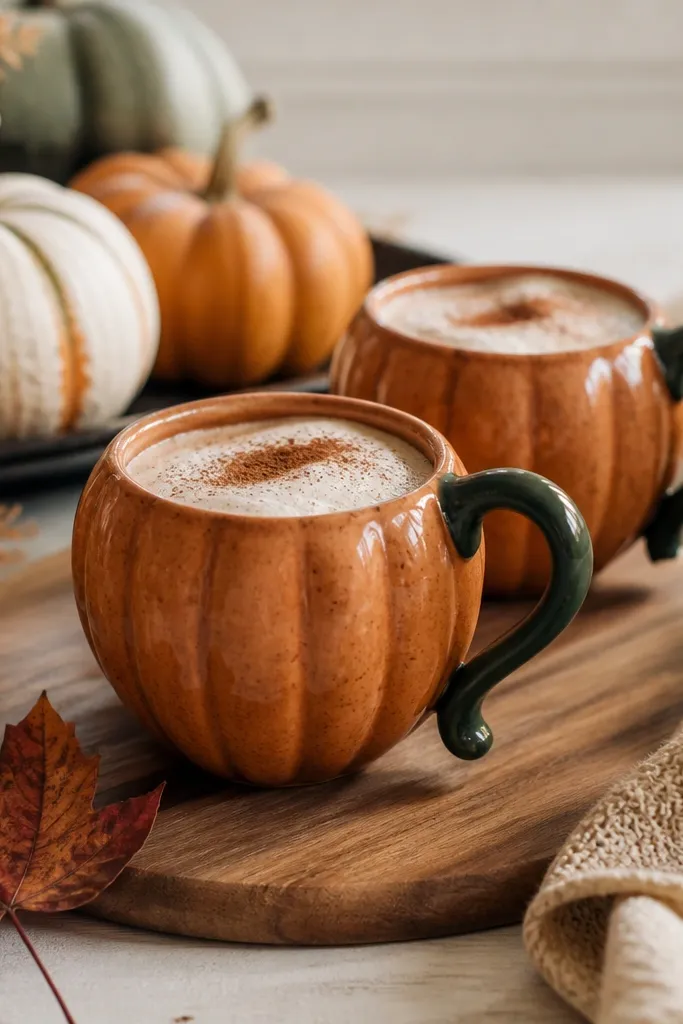
A white ceramic mug painted a matte terracotta orange with 8-10 curved vertical ribs. The ribs look shaded with a darker burnt orange wash, and a small green-brown stem sits on top of the handle side. The finish is not glossy, like clay.Save
Start with a clean, dry ceramic mug and paint an even terracotta base using acrylic made for ceramics or craft paint labeled heat/oven-safe. Add ribs by lightly sketching vertical curves with pencil, then painting them in a slightly darker burnt orange. Finish with a thin wash (burnt umber + a touch of water) so the ribs look dimensional, not flat.
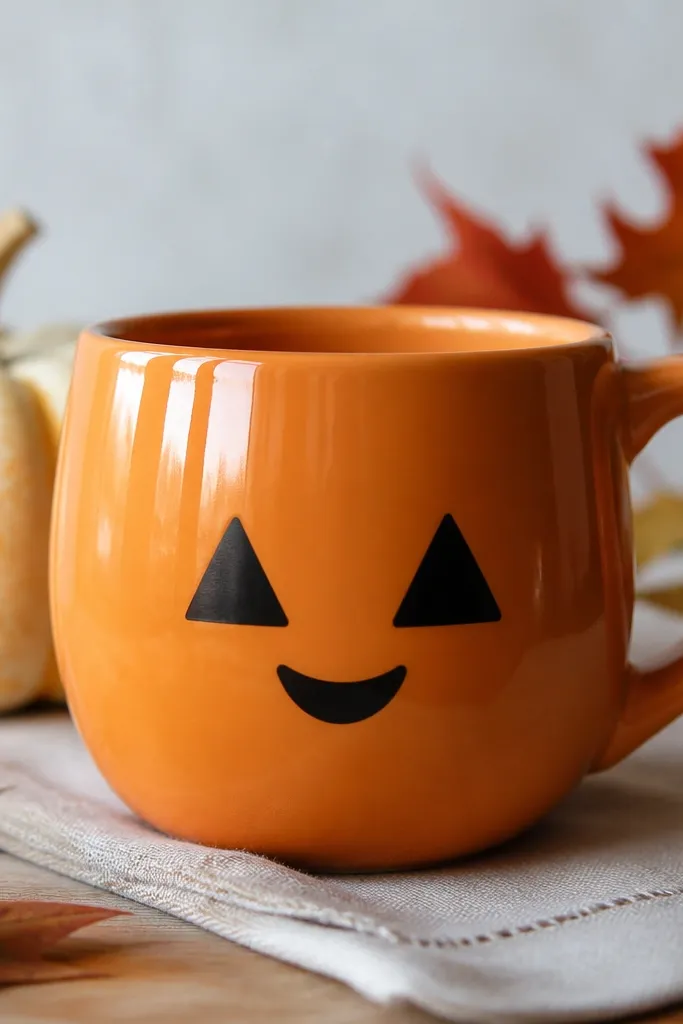
Use painter’s tape or a reusable stencil to place the face so your triangles stay symmetrical. Paint the mug in a bright orange, then stencil black shapes for the eyes and mouth. Add tiny highlight strokes near the shoulder of the mug with a lighter orange or peach to make the pumpkin look “lit.”
A mug covered with small raised vertical ridges made from polymer clay, painted orange with darker grooves between ribs. A curled green stem and a tiny brown curl sit near the top.Save
Roll thin strips of orange polymer clay, press them onto the mug in vertical ribs, and blend the seams with a damp tool or your fingertip. Add a stem by twisting a small green-brown piece and bending it slightly so it looks like it grew there. After baking per clay instructions, paint over with orange acrylic and a darker shading wash for depth.
Ribs should be thin — thick clay can feel rough against lips. Keep the texture away from the rim by at least 1 inch.
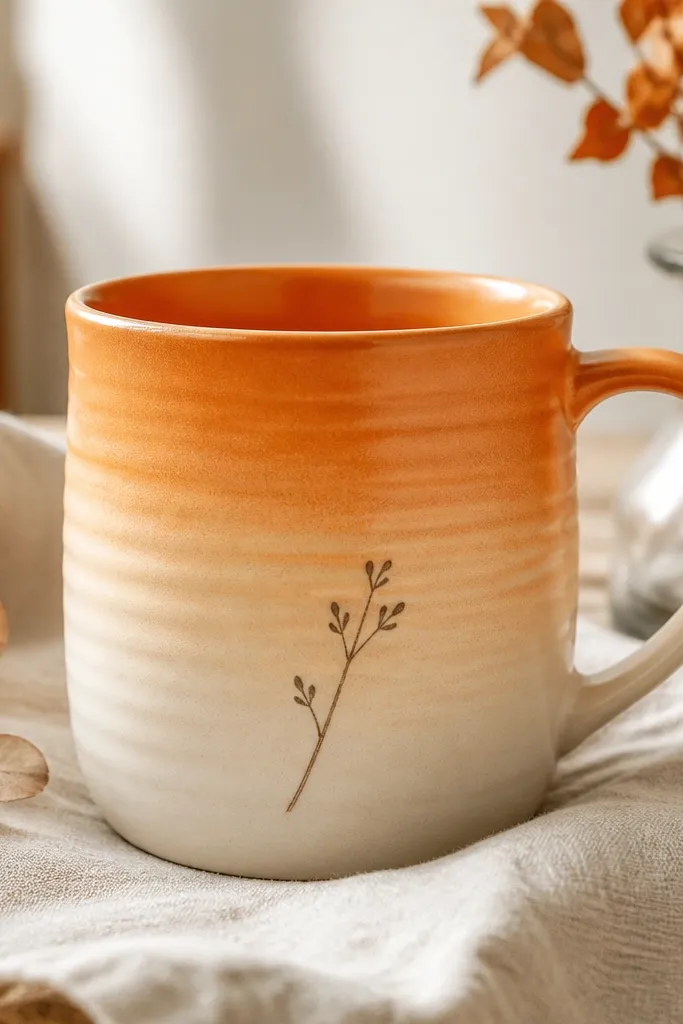
Tape off the rim area, then sponge-paint an ombre from cream to orange using two or three shades (cream, pumpkin orange, burnt orange). When dry, lightly draw a few rib lines with a fine brush — not full ribs, just enough to suggest the pumpkin shape. Finish with a small stem in dark brown and a tiny highlight dot in lighter orange.
Blend sponge layers while still slightly tacky for a smoother ombre — wait too long and you’ll get streaks.
A mug wrapped with patchwork fabric pieces in orange, rust, and cream, like a mini quilt. The seams are visible and stitched-looking, and a felt leaf sits near the top.Save
Cut small fabric squares or curved panels in pumpkin tones and adhere them around the mug using a craft fabric glue that dries flexible. Add faux stitching by outlining seams with a fabric marker or paint pen. Finish with felt leaves or a folded fabric stem for a soft, cozy “pumpkin patch” aesthetic.
Choose cotton or felt fabrics — they hold shape better than silky materials when glued to curved mugs.
6. Gold-Edge Pumpkin Mug (Luxury Fall Accent)
An orange pumpkin mug with a thin metallic gold line tracing the top rim area and a gold stem. The body has subtle vertical ribs painted in slightly darker orange.Save
Paint the mug a warm orange, then add ribs with a darker orange wash. Use a metallic gold paint pen or metallic craft paint to draw a thin line around the top edge (keep it below the drinking rim). Add a stem with gold-brown shading so it looks like a decorative pumpkin ornament.
Good to knowApply gold in two thin coats instead of one thick layer to avoid cracking when the mug is handled.
7. Heirloom Pumpkin Transfer Mug (Vintage Illustration Style)
A mug with a vintage-style pumpkin illustration printed on the front, with muted sepia lines and small decorative text-like flourishes. The background is a faded cream with a light orange wash.Save
Use a printable vintage pumpkin image designed for decoupage or transfer paper compatible with ceramic. Coat the mug with a thin decoupage medium, apply the image, then seal over it with more medium for a smooth surface. Color the rest of the mug with a light orange wash so the illustration pops without looking pasted-on.
Good to knowBurnish the transfer gently with a soft cloth to remove bubbles before sealing.
8. Natural Jute Twine Pumpkin Mug Band (Rustic Wrap)
A mug wrapped with a horizontal band of jute twine around the middle, layered like a thick rope. The mug is painted orange and has vertical rib lines, with a small green leaf glued near the top.Save
Paint your mug orange and add rib lines with a darker shade. Wrap jute twine around the middle in tight loops and secure with heat-safe hot glue or strong craft glue. Leave a small gap for a leaf detail — felt or faux fall leaf works great — to make the twine look like a pumpkin stem belt.
Twine should sit below the rim line so it won’t snag when you drink or wash.
9. Paint-Pen Mini Pumpkin Doodles (Clean + Cute Minimal)
A simple cream mug covered with small pumpkin doodles: tiny faces, small vertical ribs, and one larger pumpkin near the handle. Lines are crisp and drawn with a fine paint pen.Save
If you want an aesthetic without covering the whole mug, use a fine paint pen to draw small pumpkins and rib lines. Keep the palette tight: orange for pumpkins, dark brown for stems, and cream for highlights. Add one larger pumpkin near the handle so it feels intentional, not scattered.
Good to knowOutline first in brown, then fill with orange — you’ll get cleaner edges and less smudging.
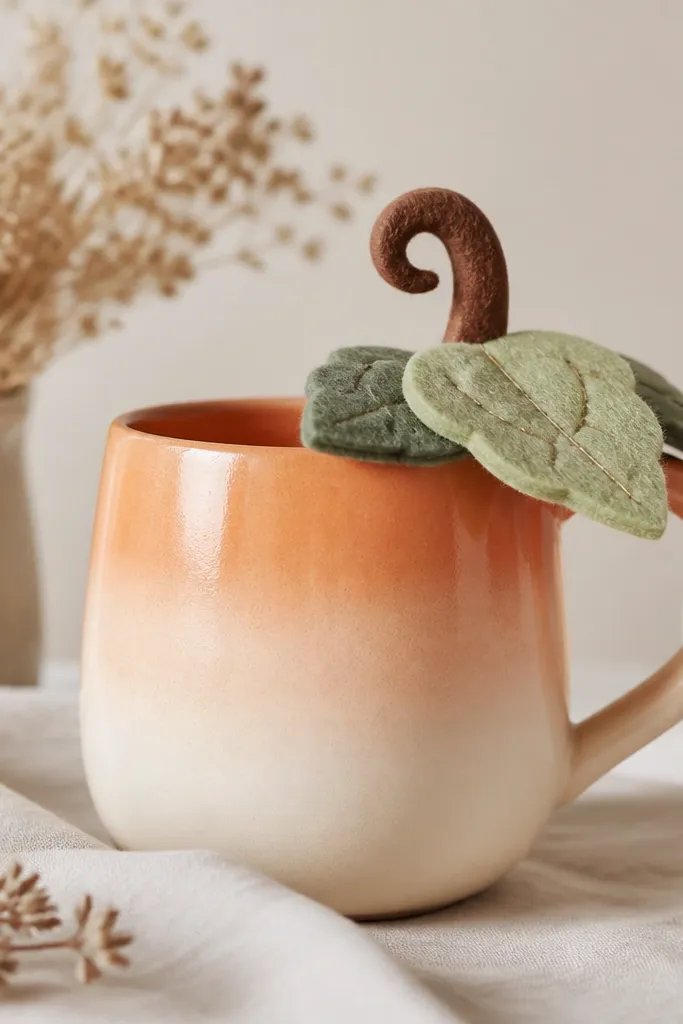
Create the ombre with sponge painting, then make a felt stem by cutting a narrow strip and rolling it into a curl. Glue it on near the top center and add layered leaves in green shades for dimension. This design looks extra cozy because the felt adds a tactile fall vibe without heavy sculpting.
Let glue cure fully before washing — felt edges can lift if you rinse too soon.
Your questions, answered
Do handmade pumpkin mugs ideas hold up in the dishwasher?
Most DIY pumpkin mug finishes should be hand-washed for longevity. If you use ceramic-safe paint and the recommended sealant, it may last longer, but dishwasher heat and detergents can wear details.
How long does a DIY pumpkin mug take to make?
Most designs take 45-90 minutes for painting/assembly plus separate curing time per product instructions. Clay or sealed finishes may need additional time to fully cure before regular use.
What’s the cheapest way to get a pumpkin look on a plain mug?
Ceramic craft paint (orange + brown) and a small paint pen for the stem are usually the lowest-cost combo. You can also use painter’s tape or a stencil to get clean ribs and faces without special tools.
Are these beginner-friendly if I’m not good at drawing?
Yes — stencils, tape guides, and sponge ombre techniques are very forgiving. For beginners, start with simple ribs or doodles and keep the details away from the rim.
Where can I get materials for these pumpkin mug ideas?
Look for ceramic-safe acrylic paint, metallic paint pens, and sealants at craft stores. Polymer clay and decoupage mediums are also commonly sold in the same aisle, and transfer paper is available in paper/craft sections.
How do I care for a sealed painted pumpkin mug?
Wait for full cure before hot drinks. Hand-wash with a soft sponge, avoid soaking, and don’t scrub the painted/ribbed areas. Pat dry instead of air-drying if the finish is textured.