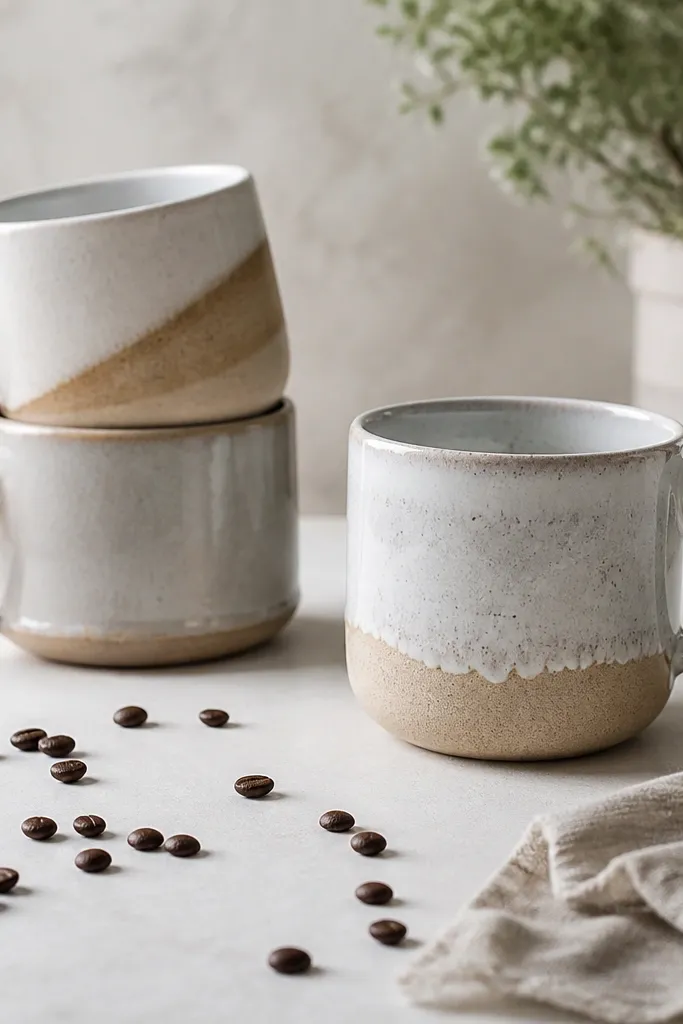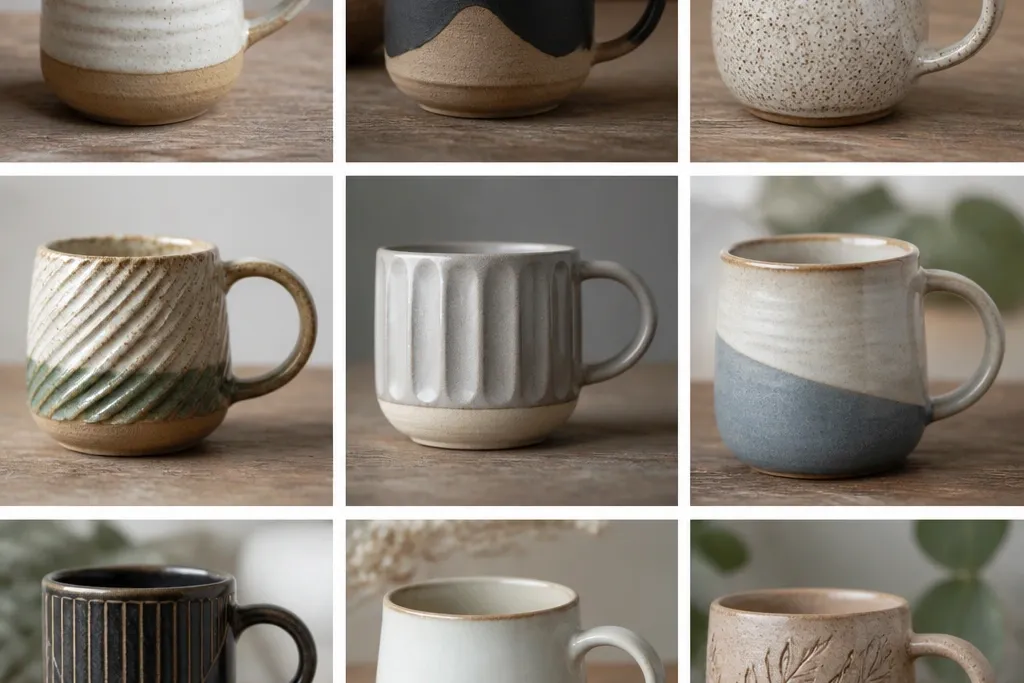
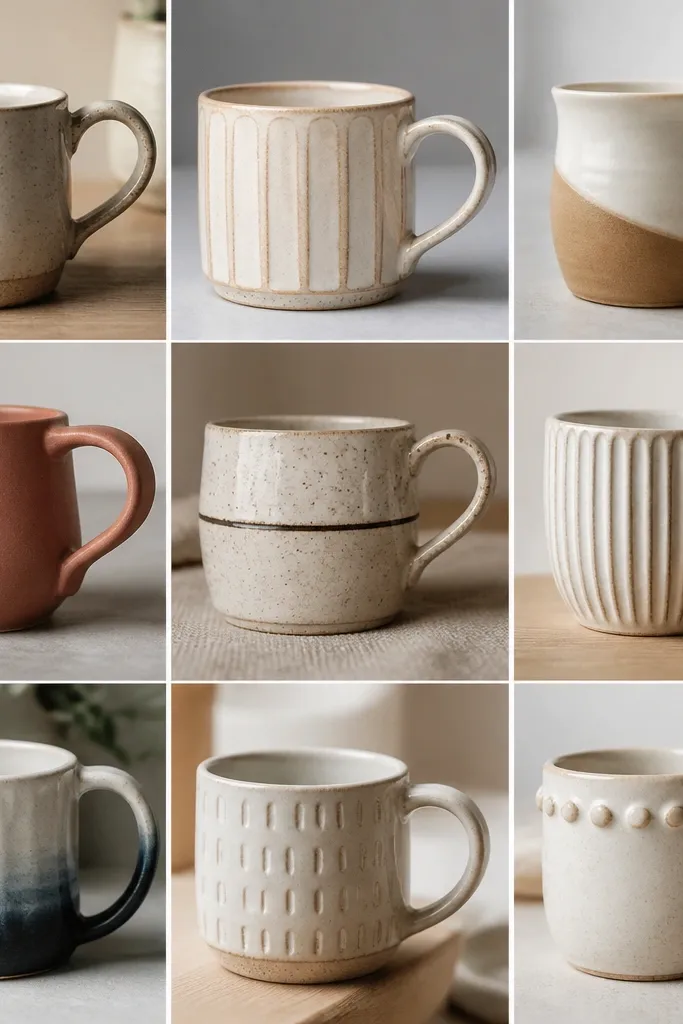
1. Wheel-Route Galaxy Gradient (from old nail polish)

Start with a plain mug and brush on a thin navy acrylic base. Dab old nail polish shades (purple, teal, black) with a makeup sponge in curved arcs, then blend edges with a slightly damp sponge so it looks like a controlled galaxy. Finish with a star-splatter using a toothbrush and white paint for tiny points.
Good to knowSeal for durability with 2-3 thin coats of dishwasher-safe clear sealer meant for painted ceramics, letting each coat cure fully before washing.
2. Upcycled Map Coordinates Ring (paper + Mod Podge)
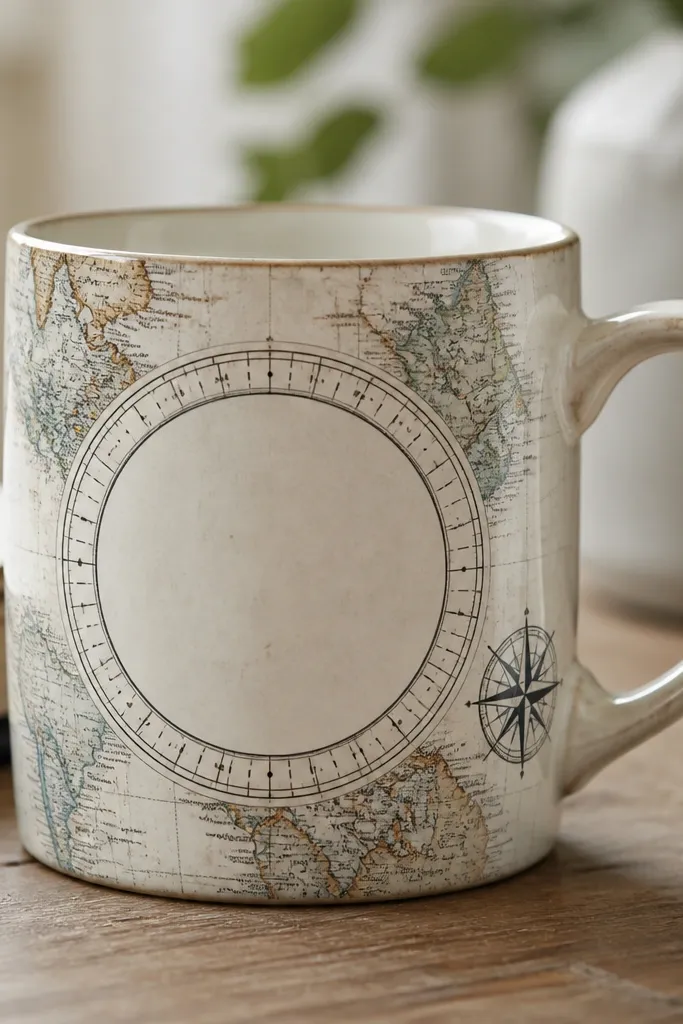
Cut a map strip (from an old atlas) into a band sized to the mug’s circumference. Brush Mod Podge (or a matte decoupage medium) onto the mug, lay the strip, and smooth from center outward to remove bubbles. Add a circular “coordinate” overlay using small printed labels or cut vinyl letters, then seal again over the top.
To make it look like a wheel design, place the ring at the mug’s widest point so the text reads evenly as it wraps.
3. Fabric Scrap Wheel Patchwork Panel
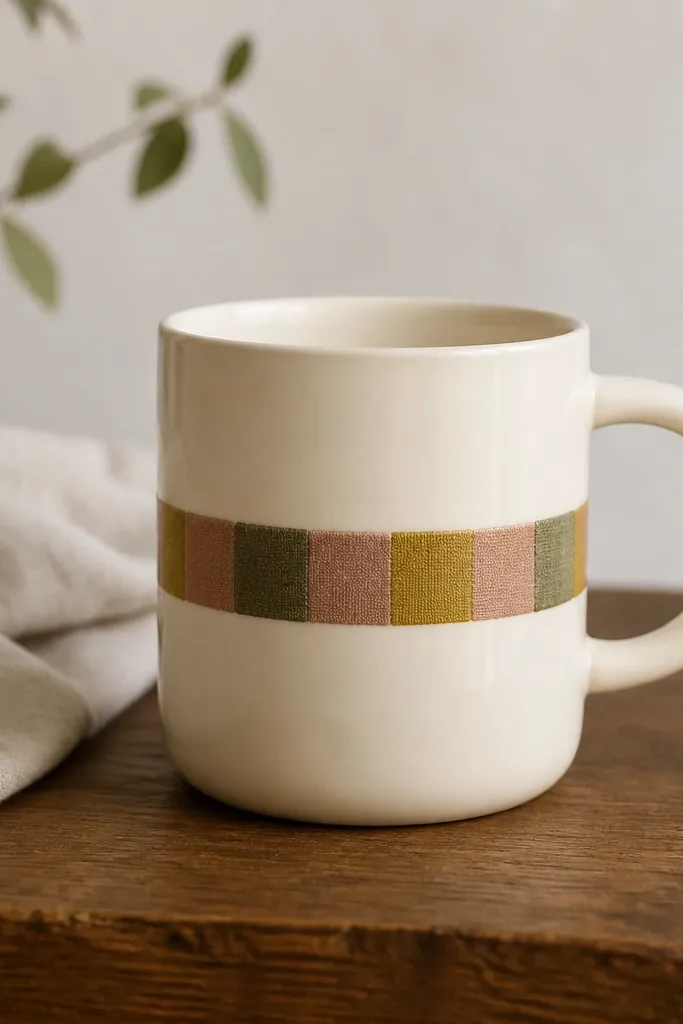
Use cotton fabric scraps and cut them into small squares or wedges. Arrange them into a circular “wheel” band, lightly tracing the layout with pencil before gluing. Apply fabric glue or Mod Podge under and over the fabric, then cover with a clear, flexible sealer so the edges don’t fray.
Good to knowChoose fabrics with tight weaves (no stretchy knits) for cleaner edges and less lifting after sealing.
4. Sticker Wheel Botanicals (clean cut + seal)
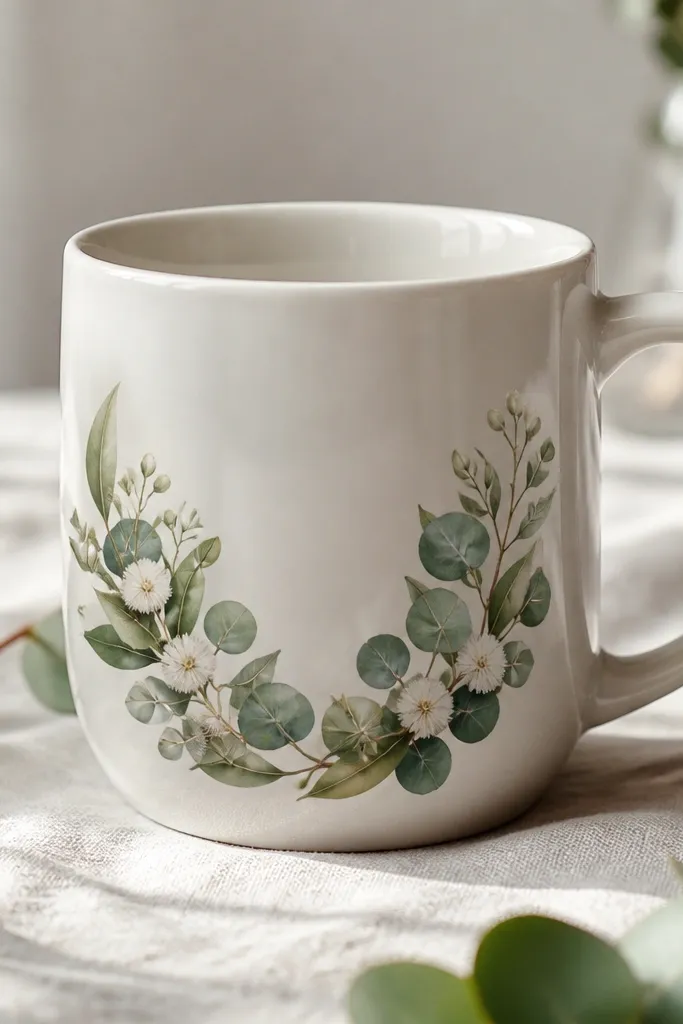
Pick die-cut botanical stickers or fussy-cut paper leaves from old craft packs. Press them onto a clean mug surface and burnish with a flat tool to ensure full contact. Seal with 2 thin coats of clear acrylic sealer, brushing outward carefully to avoid lifting corners.
If your stickers are not vinyl, print on sticker paper and seal the entire mug panel, not just the stickers.
5. Wheel-Style Art Deco Stripes from Cardboard
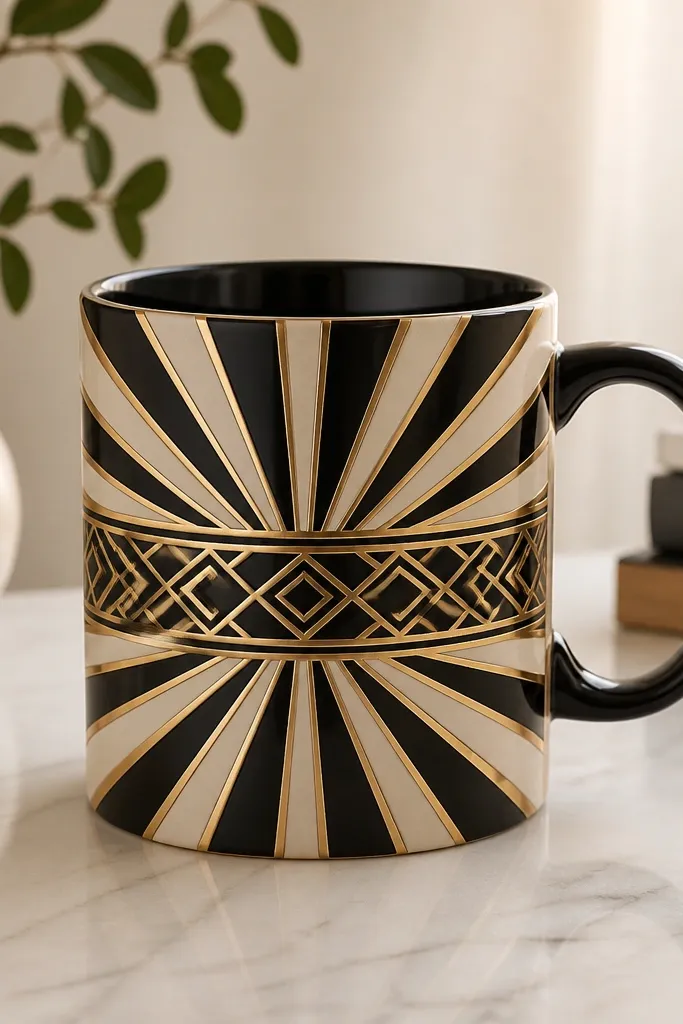
Cut thin strips from repurposed cereal-box cardboard and shape them into a staggered geometric band. Paint strips black, then highlight corners with metallic gold acrylic. Glue the painted pieces onto the mug using a strong craft adhesive, then top with a smooth clear coat to blend edges.
Good to knowKeep strip thickness consistent (about 1-2 mm) so the wheel pattern doesn’t look bumpy.
6. Coffee Sleeve Monogram Wheel (transfer + wipe-clean)

Save a used coffee sleeve or printed takeaway sleeve and use it like a design source. Cut out the monogram and small icon ring pieces, then transfer onto the mug using transfer gel or an acrylic transfer medium, depending on your method. Seal over the top to protect the ink from daily handling.
Good to knowFor a wheel look, wrap the icon ring around the mug’s center so it aligns like a dial, not a random scatter.
7. Crayon Resist Wheel Mandala (kids art, adult polish)
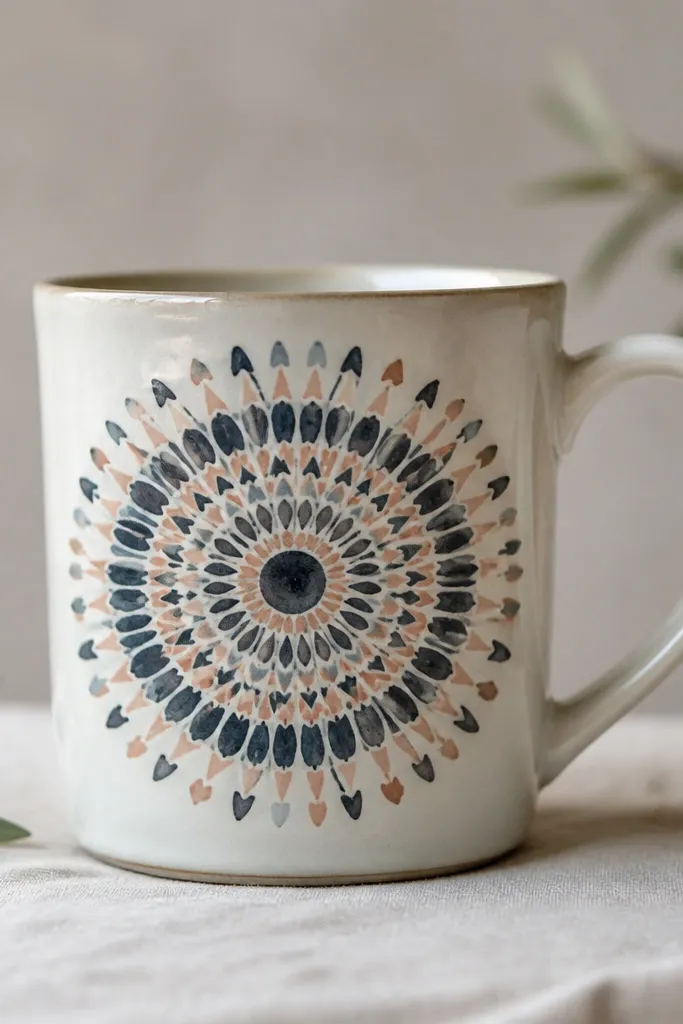
Draw a mandala in crayon (or oil pastel) on plain paper first, then lightly transfer or freehand the center-to-edge wheel lines onto the mug. Paint over with dark acrylic ink or watered-down acrylic for a resist effect where the wax resists paint. Add small dot accents with a white paint pen for crisp highlights.
Use thin layers of paint so the resist lines stay visible; heavy coats blur the wheel pattern.
8. Old Calendar Date Wheel (collage on the curve)
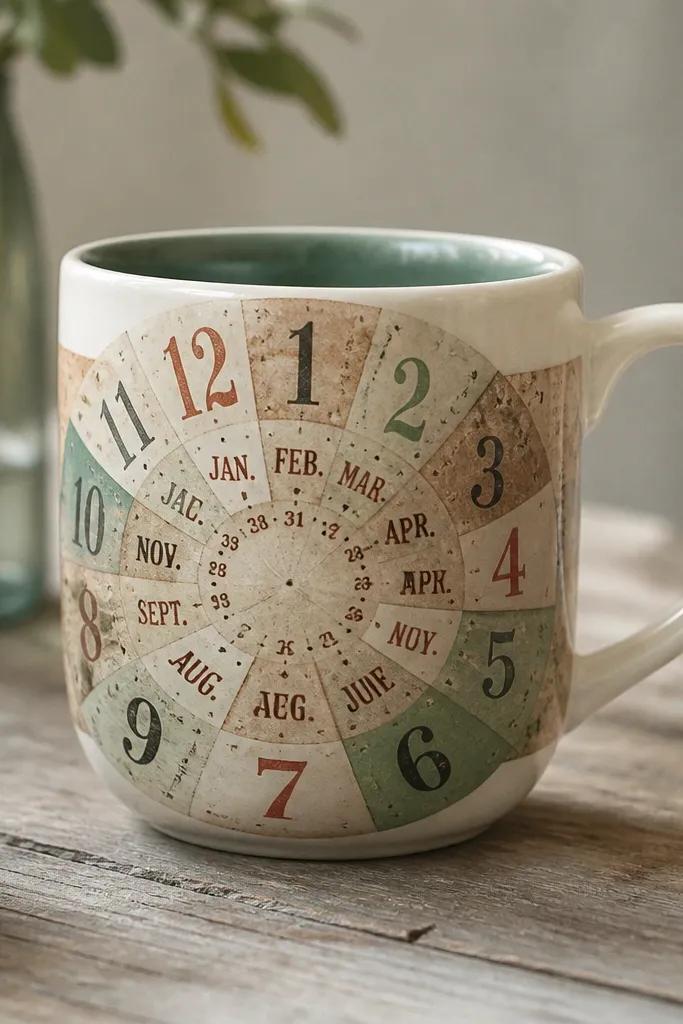
Tear or cut calendar pages into small date blocks. Arrange them around the mug’s circumference in a wheel band, rotating each segment slightly so the typography curves naturally with the mug. Seal with a decoupage medium, then add a final glossy coat for a “printed” look.
Good to knowDry-fit your band by wrapping paper around the mug before gluing so the wheel spacing stays even.
9. Washed Denim Wheel Label (fabric + paint pen)
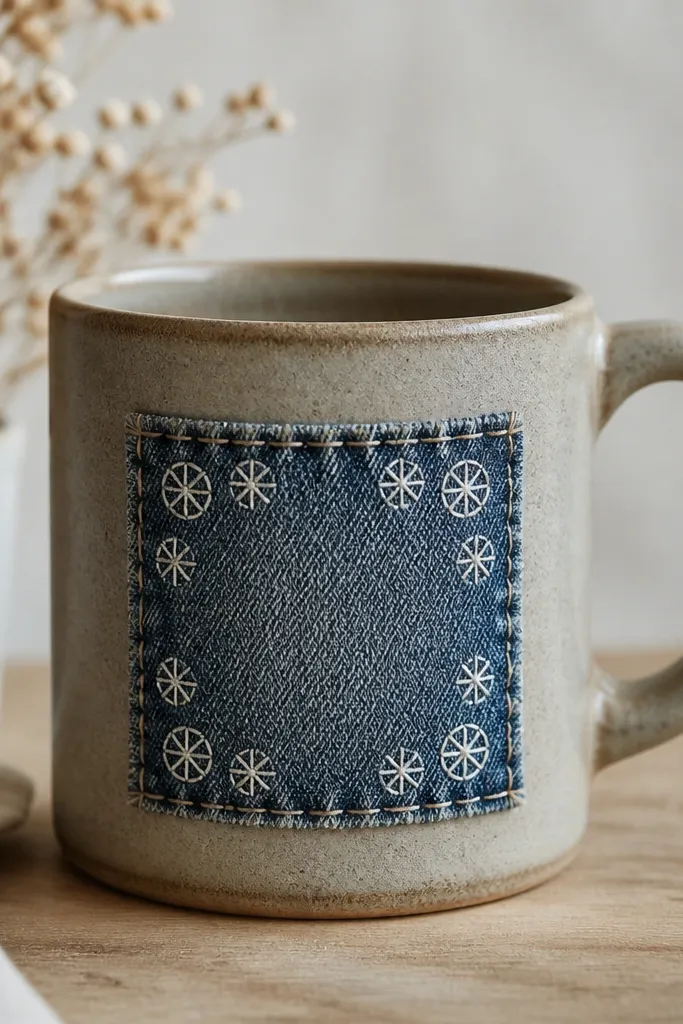
Cut a small denim patch from an old jeans leg and stitch or glue a faux stitched border using white fabric paint. Draw wheel spokes radiating outward around the patch with a paint pen, then lightly dry-brush indigo or gray to unify tones. Seal the whole panel to lock in the ink and protect the fabric.
Good to knowIf denim frays, trim close and seal the edges first so they don’t lift when the mug gets wet.
10. Tie-Dye Wheel Ombre (from tea-dyed paper)

Make tea-dyed paper scraps by steeping black tea, then painting or soaking paper and letting it dry. Tear curved strips and collage them around the mug in a circular “wheel burst” pattern. Seal over the collage to keep the edges from lifting and to make the colors look cohesive.
Good to knowUse a matte sealer if you want the vintage, paper-texture vibe; gloss sealer looks more like a printed transfer.
11. Surgical Tape Wheel Lines (graphic minimal)
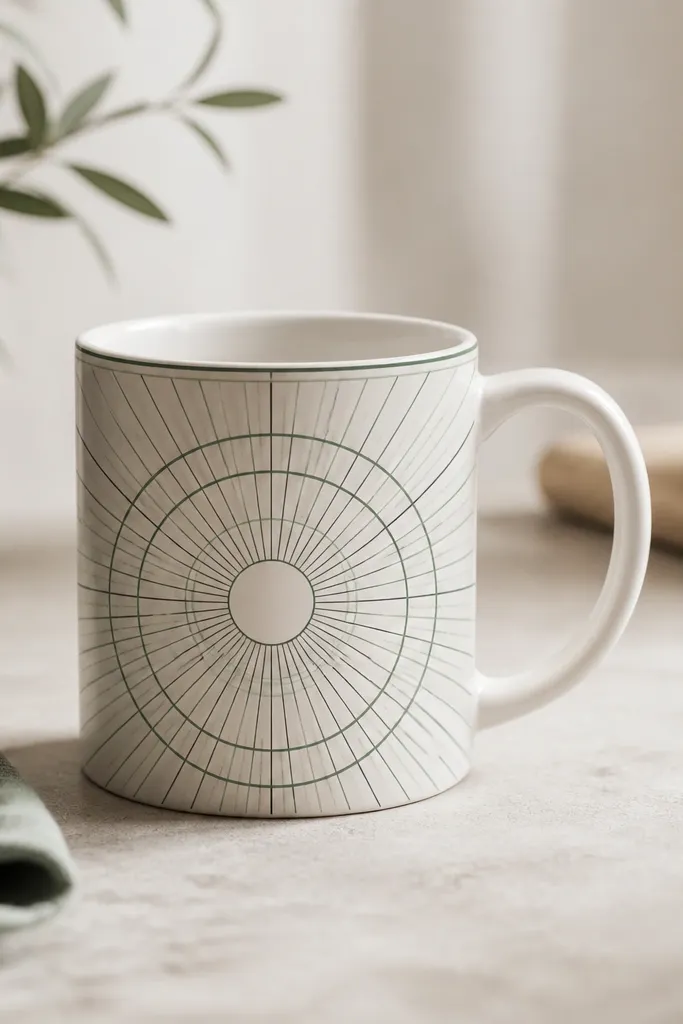
Apply thin strips of removable surgical tape or painter’s tape to map out concentric arcs and radial lines on a clean mug. Paint over with matte acrylic in two muted colors, then remove tape while paint is still slightly tacky for sharp edges. Add a final seal coat to protect the crisp geometry.
Good to knowPlan the wheel spacing first by measuring the mug circumference and marking 8-12 equally spaced points.