1. Cinnamon Stick + Twine “Holiday Wrap” Mug
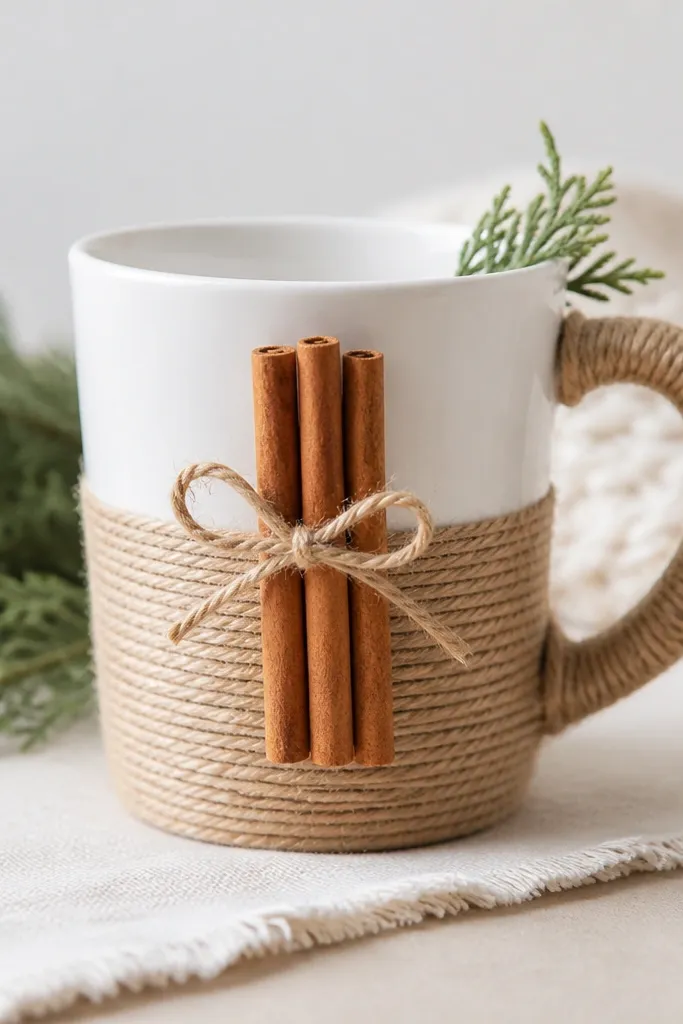
This is an easy upcycle using a thrift mug and pantry-style accents. Twine grips the mug visually and creates texture, while cinnamon sticks add instant holiday scent and a rustic look. Use a neat knot on the handle side so it looks intentional, not messy.
Hot glue the cinnamon sticks to a small fabric ribbon strip first, then glue the strip onto the mug so you can remove it later if needed.
2. Red-White Buffalo Plaid Washi Tape Rim
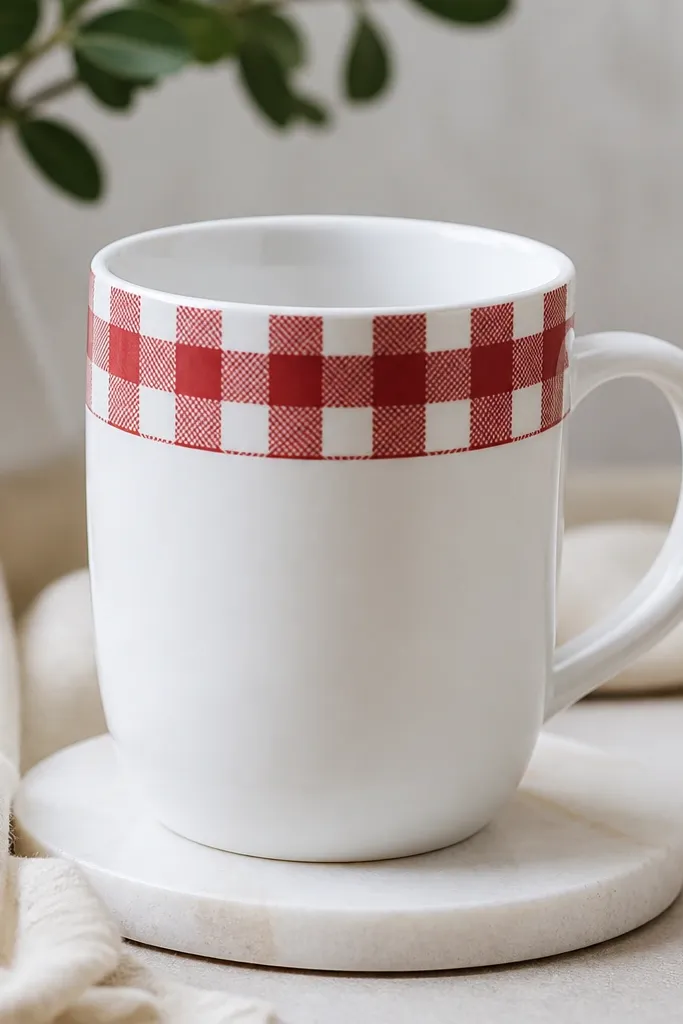
Washi tape is perfect for quick aesthetic upgrades because you can align the pattern in minutes. The rim band frames the drink area and makes the mug look “styled” even if the mug body is plain. It’s also great for beginners because mistakes are easy to fix.
Seal only the tape edges with a clear acrylic sealer (matte or gloss) so the band doesn’t lift during washing.
3. Vintage Card Stock “Snow Globe” Mug Scene
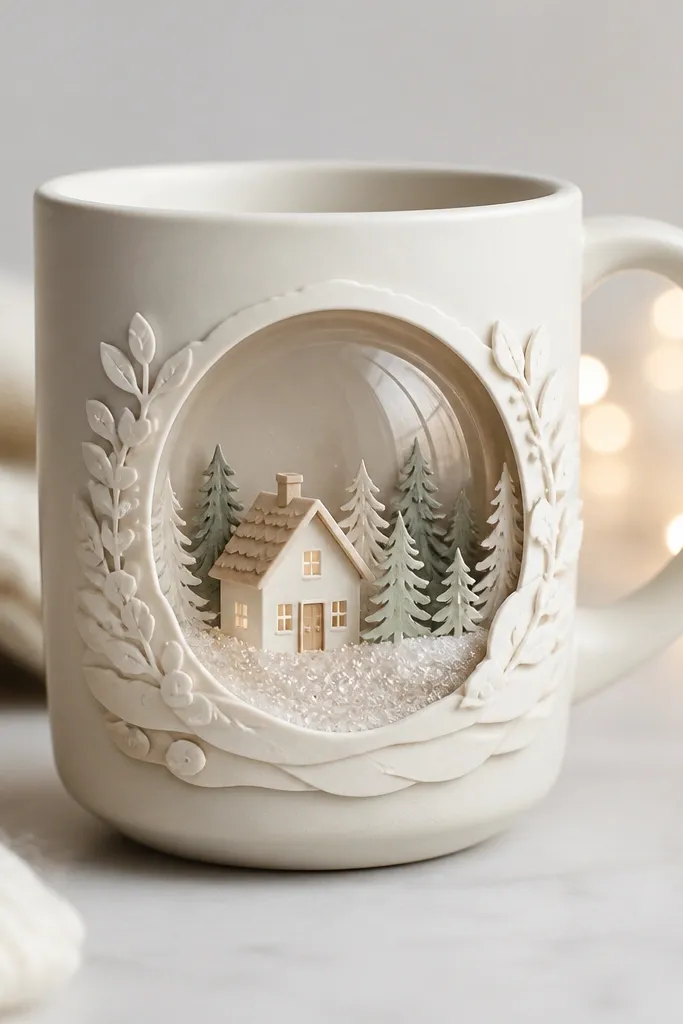
Turn scrap holiday cards into a layered scene using cardstock and foam tape for depth. The dome frame gives a snow-globe vibe without needing a full 3D kit. Choose muted vintage colors (cream, muted red, soft teal) for a cozy, aesthetic look.
Use foam tape behind the trees and house, then coat the front edges with a thin layer of clear glue to reduce paper fraying.
4. Maple Leaf Stencil + Warm Spice Paint
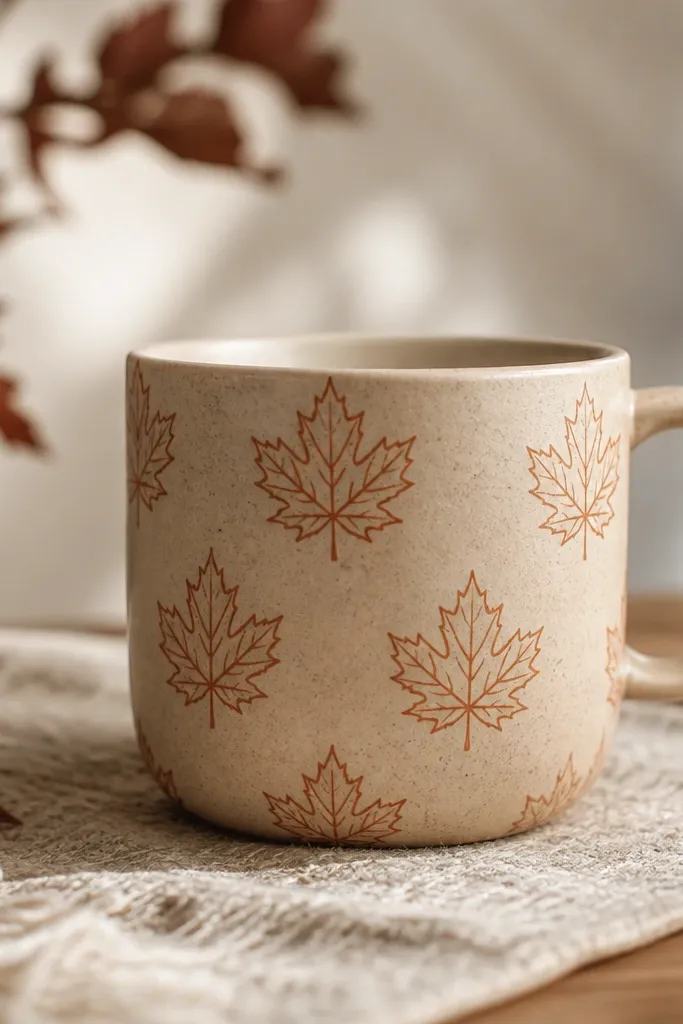
Stenciling makes your design look “designed” instead of hand-drawn. Use a maple leaf stencil or cut one from cardstock, then dab paint with a sponge so the edges stay crisp. Warm spice tones look great for winter and pair nicely with coffee or tea gifting.
Let paint cure fully before sealing — then apply 2 thin coats of dishwasher-safe clear glaze if you plan to use the mug.
5. Thrift-Store Button “Ornament” Mug Front
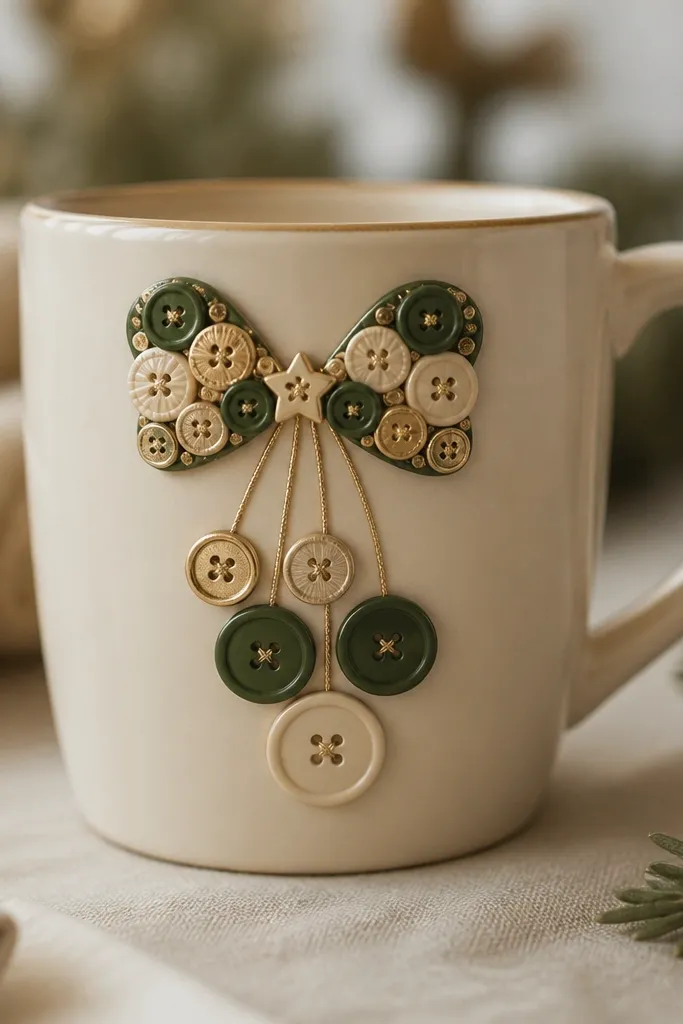
Buttons are underrated for upcycling because they add dimension without bulk. Arrange them like a mini ornament — bow at the top, small “hanging” shapes below. The mug reads festive even from across a room because the texture catches light.
Glue buttons with E6000 or a strong craft adhesive, then reinforce with a tiny bit of clear sealant around the edges for a smoother feel.
6. Heat-Safe Vinyl “Merry & Bright” Window
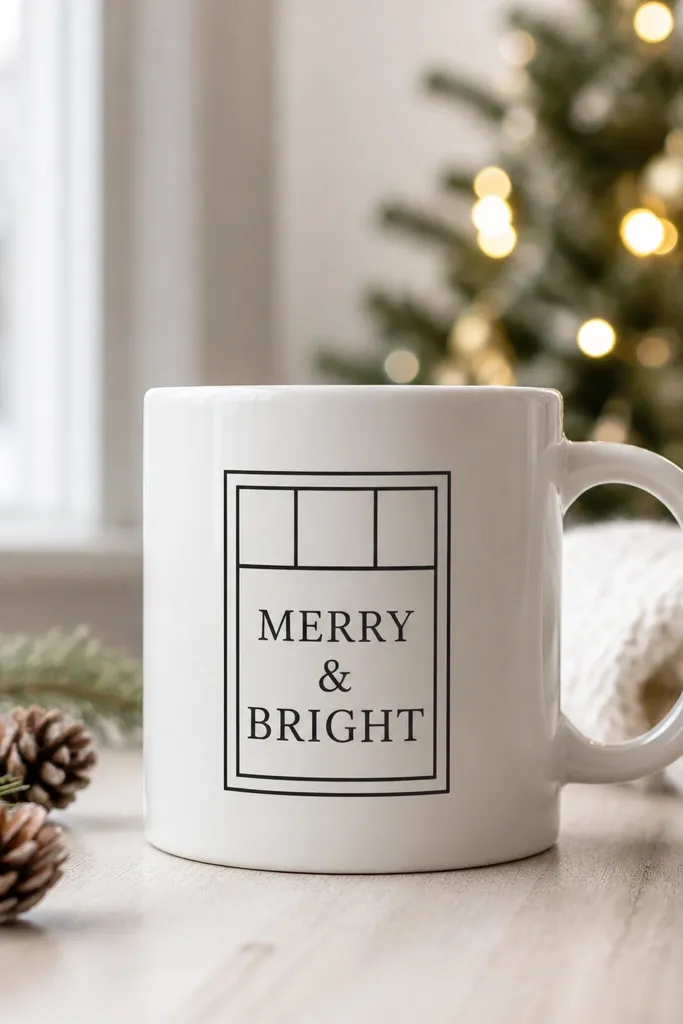
Vinyl gives you that sharp, store-bought look. Cut “MERRY & BRIGHT” or a simple holiday line art from heat-safe vinyl, then apply it smoothly so there are no bubbles around the curve. A window-style frame makes the design feel more intentional and less like a sticker.
Good to knowAfter applying vinyl, use medium heat (per vinyl brand instructions) to help it bond to the ceramic.
7. Resin Glitter Snow Drip Accent
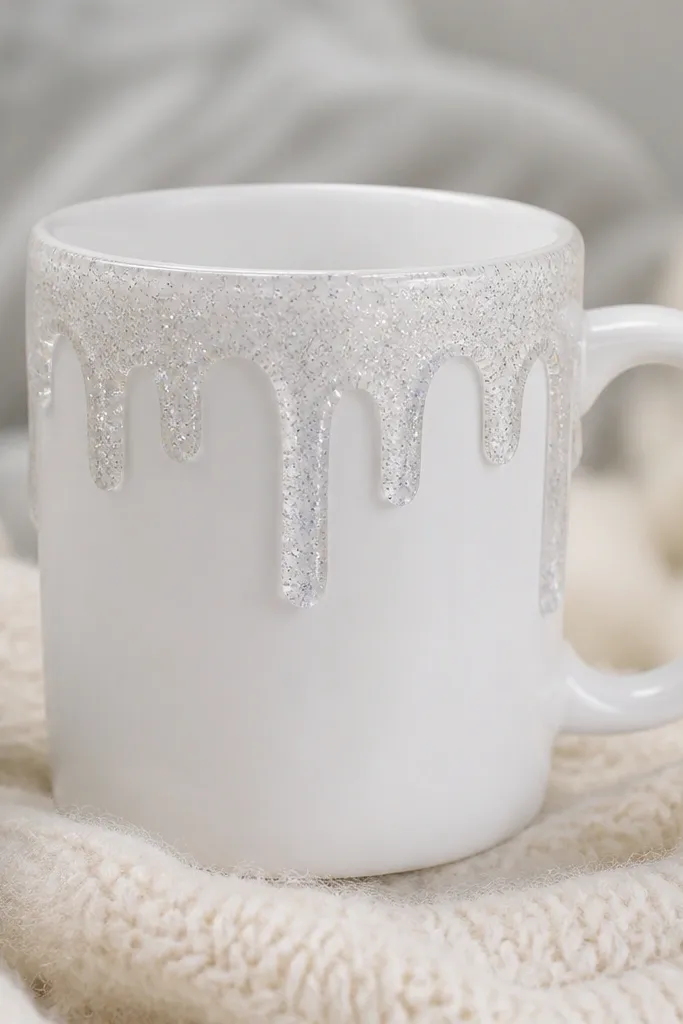
Resin is the secret weapon for a glossy, dimensional snow effect. The trick is controlling drips — start with a small dot near the top, then gently pull downward with a toothpick. Silver glitter looks icy, while clear resin keeps it looking like real “snow” instead of chunky craft glitter.
Seal the mug’s surface with a primer made for resin/ceramic before you pour, and cure fully in a dust-free area.
8. Upcycled Fabric Yo-Yo Pom Mug Cozy
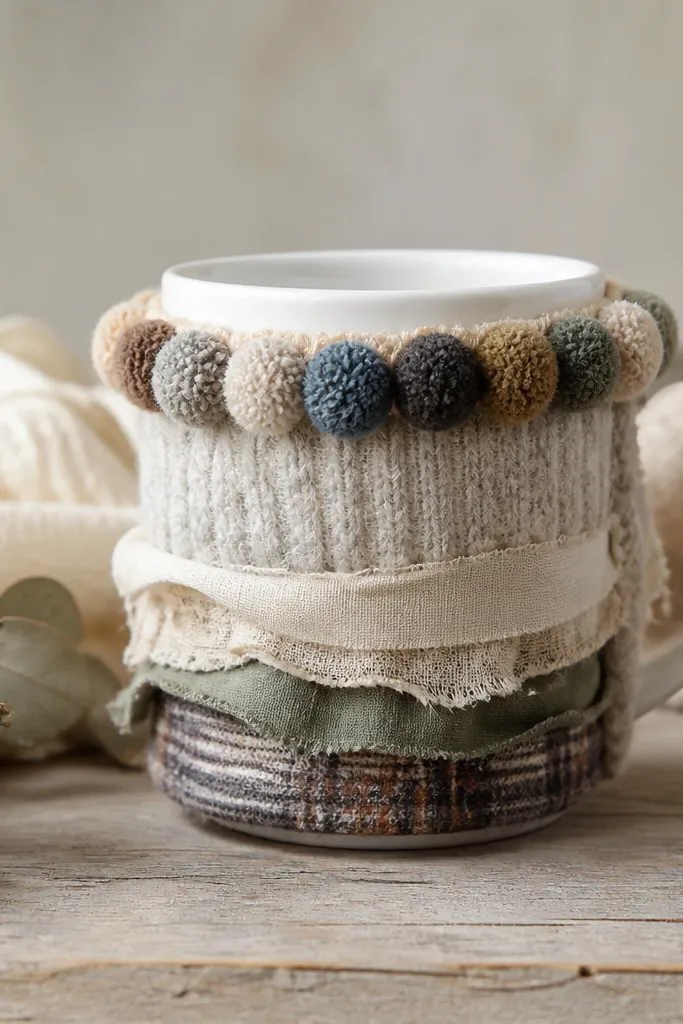
If you want a cozy, aesthetic mug look that feels handmade, make a fabric sleeve. Yo-yos add playful texture and make the mug look dressed for the season. Use felt or cotton scraps, then stitch yo-yos along the top band so they stay evenly spaced.
Make the sleeve removable: attach velcro to the back seam so you can take it off for cleaning.
9. Holiday Wash-Off Paint Marker Ornaments
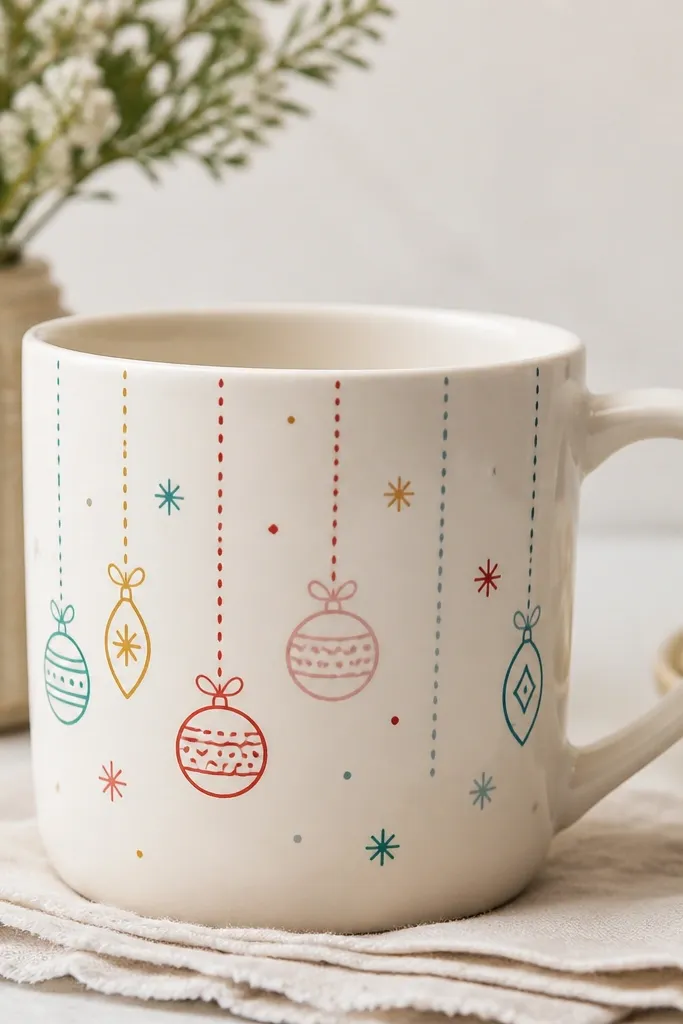
Paint markers let you draw delicate holiday icons without needing fancy tools. Outline ornaments, add dotted “string” lines, and finish with tiny snowflakes for a balanced composition. This works especially well on plain mugs because the marker lines stand out.
Good to knowChoose a marker labeled for ceramic and heat-set it in the oven (per instructions) before washing.
10. Paper Tinsel Garland Handle Wrap
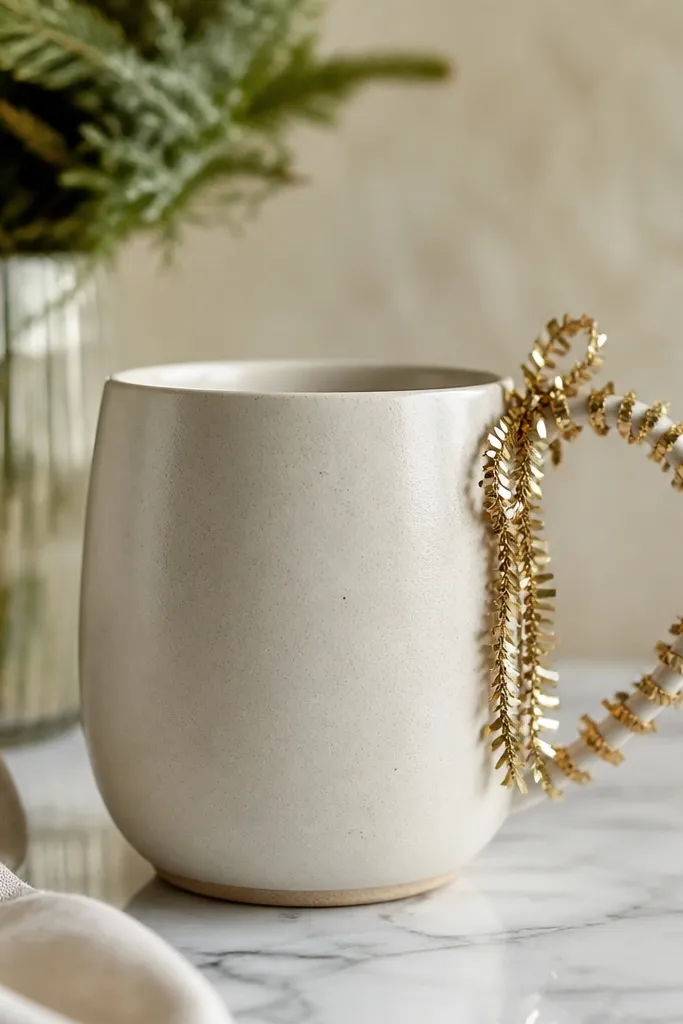
A handle wrap makes the mug feel “themed” without covering the whole surface. Use metallic paper strips or tinsel-look craft ribbon, then wrap in small loops for a layered sparkle. Keep the garland mostly on one side so the design reads clean and modern.
Good to knowSecure ends with a small dab of clear glue under the handle curve so it won’t snag on fingers.