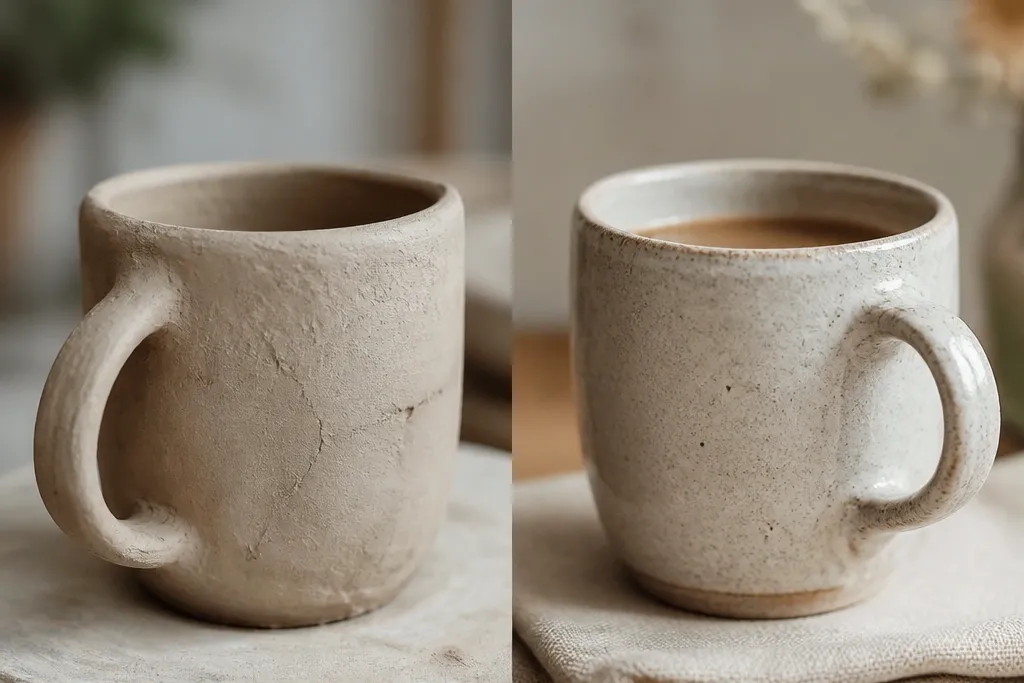
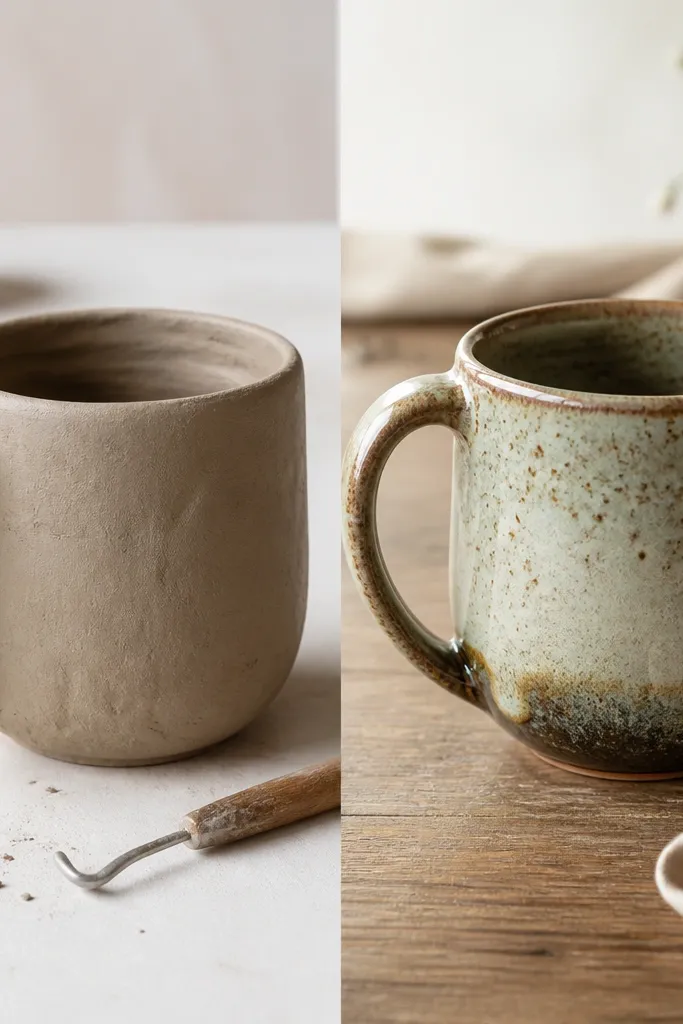
1. Thrift-Mug “Before” - Scratches + Dull Glaze
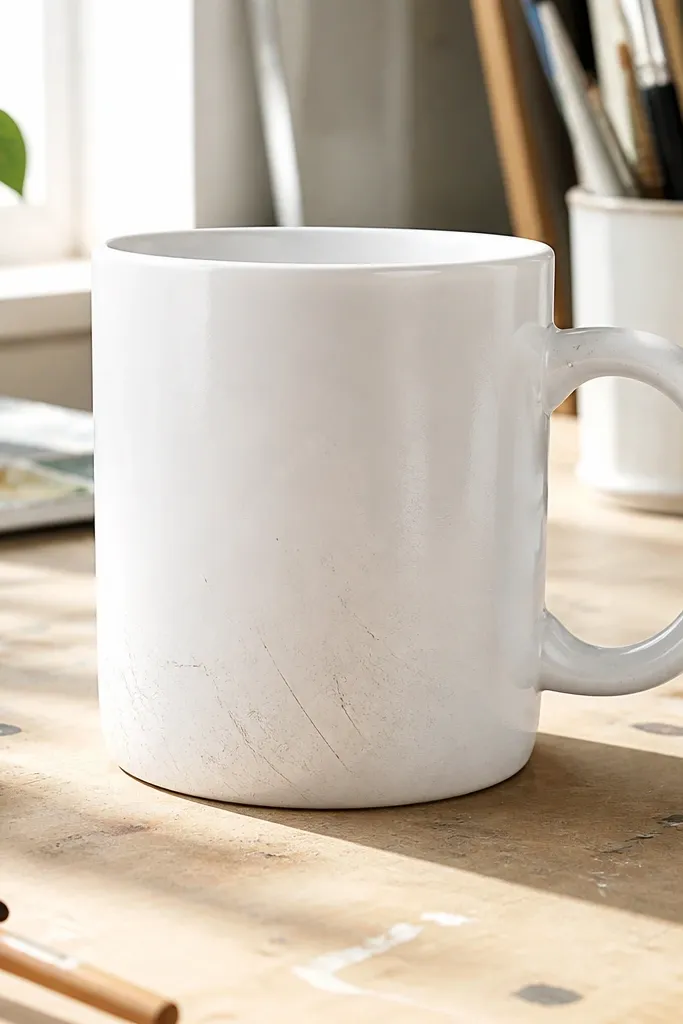
This mug looked clean at first glance, but the glaze had fine scratches that caught light and made the whole piece look tired. The handle also had a faint scuff near the base, which is perfect for testing coverage and adhesion before you commit to a design.
Clean with dish soap, then wipe with 70% isopropyl alcohol so paint grabs instead of sliding on the glaze.
2. Matte Sanding for Paint Grip (No Deep Grinding)
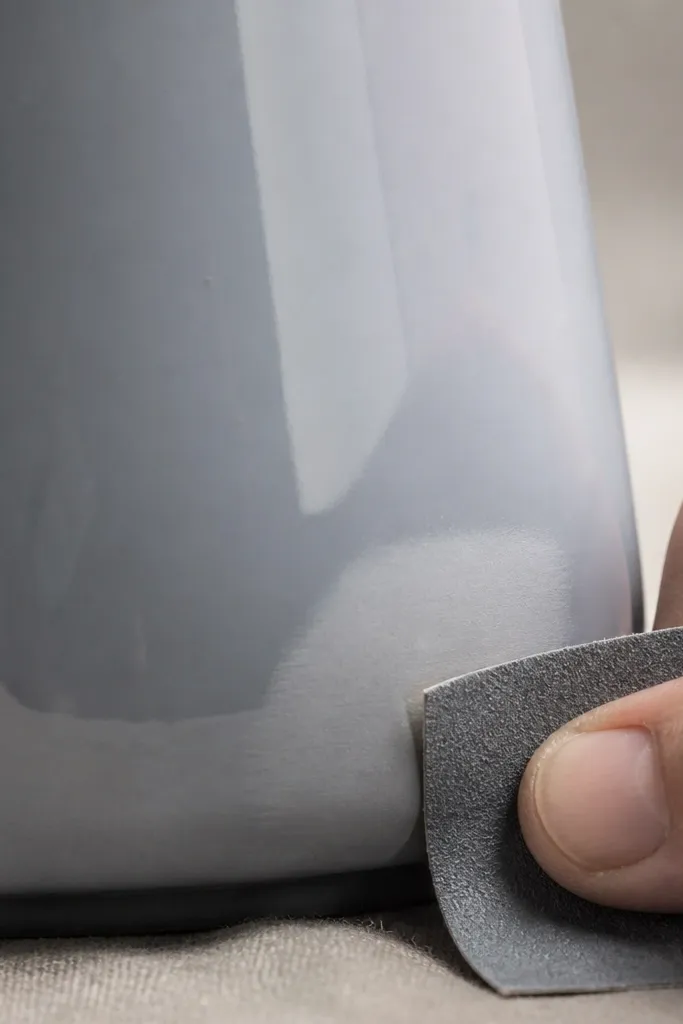
I used very light sanding to dull the shine where paint would go. You’re not trying to remove the glaze — you’re just creating micro-texture so your paint and sealant bond better.
Use 220-400 grit and stop when the surface looks slightly matte, then wipe again with alcohol.
3. Custom Print Transfer - Crisp Botanical Lines
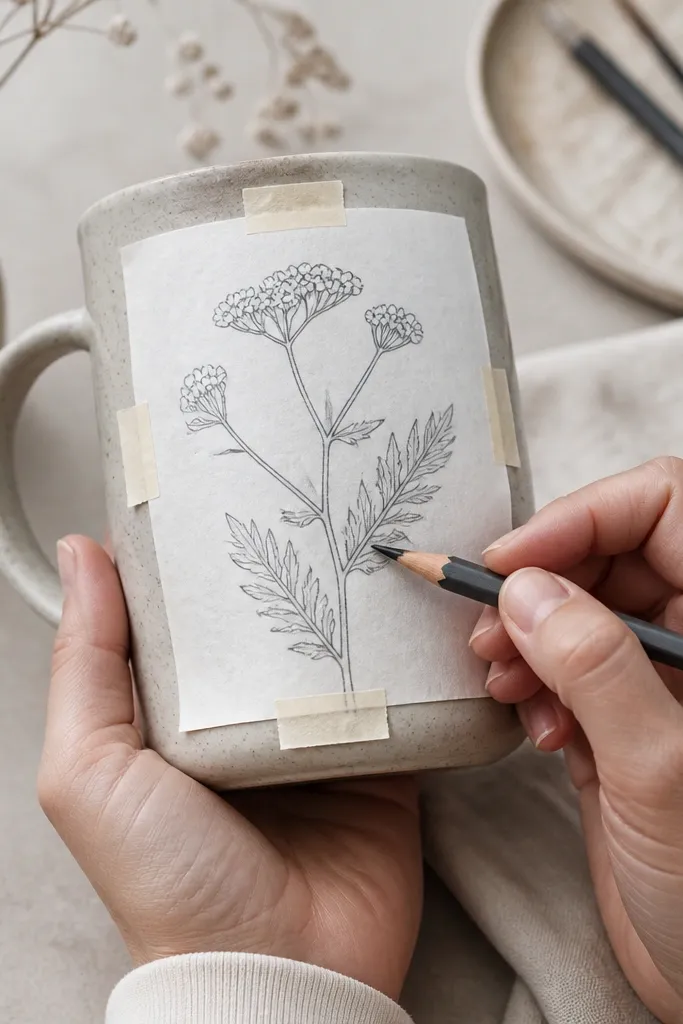
I printed a simple botanical line drawing, taped it snugly, and transferred the lines by burnishing with a pencil. The key is keeping the paper flat so the design doesn’t warp across the mug’s curve.
Tape the paper at the handle side first, then burnish slowly from the center outward to reduce smudging.
4. Acrylic Base Coat - Soft Warm Oat Background
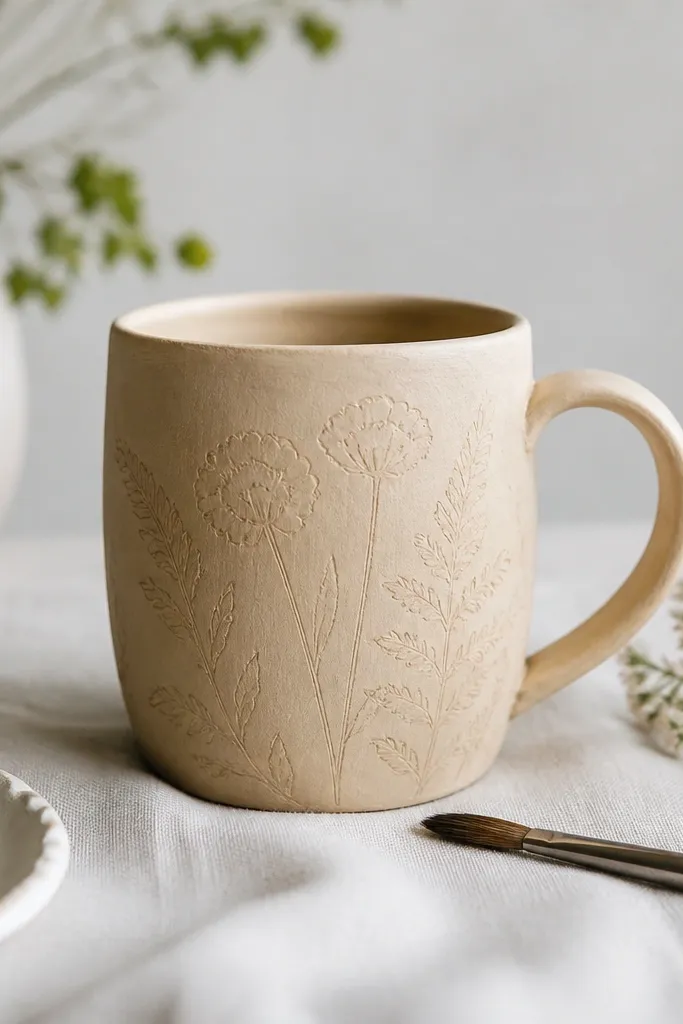
I blocked in a warm oat background so the final colors looked cohesive. Acrylic craft paint works for decoration, but you must use a mug-safe top coat (and cure it correctly) for durability.
Good to knowApply 2 thin coats instead of one thick coat so you don’t get tacky edges.
5. Ceramic Paint Detailing - Deep Green + Terracotta Pop
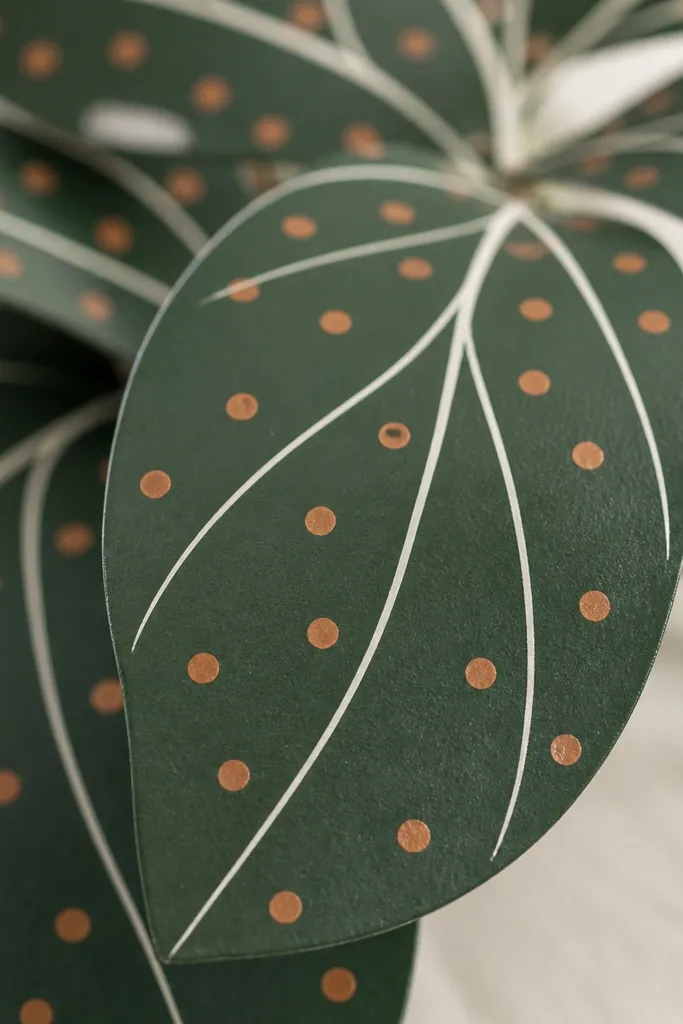
For contrast, I layered deep green leaves with terracotta accents. The trick is letting each layer dry fully before adding dots or line highlights, so the colors stay crisp on curved surfaces.
Use a fine detail brush and load less paint than you think — it prevents blobs on the mug’s curve.
6. Glossy Protective Layer - Clear Food-Safe Top Coat
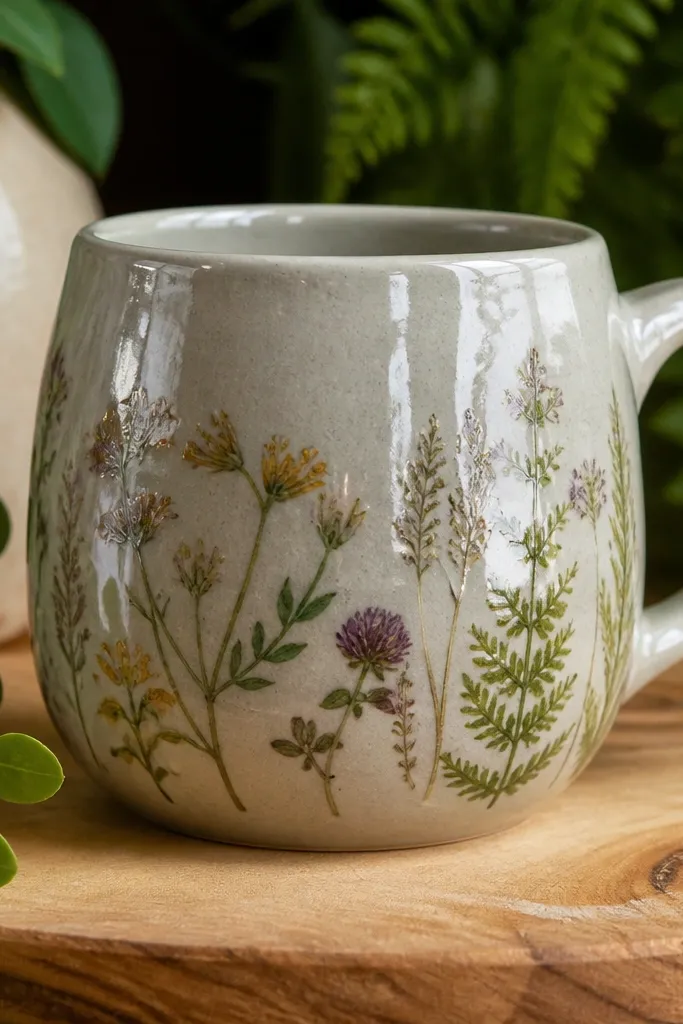
A clear food-safe top coat is what turns a pretty craft into a mug that can handle real life. The glossy layer also helps even out tiny brush texture so the design looks “manufactured,” not hand-dabbed.
Good to knowBrush in one direction, then lightly re-pass only once — too many strokes can create streaks.
7. Heat-Cure Step - Stronger Bond, Less Peeling Risk
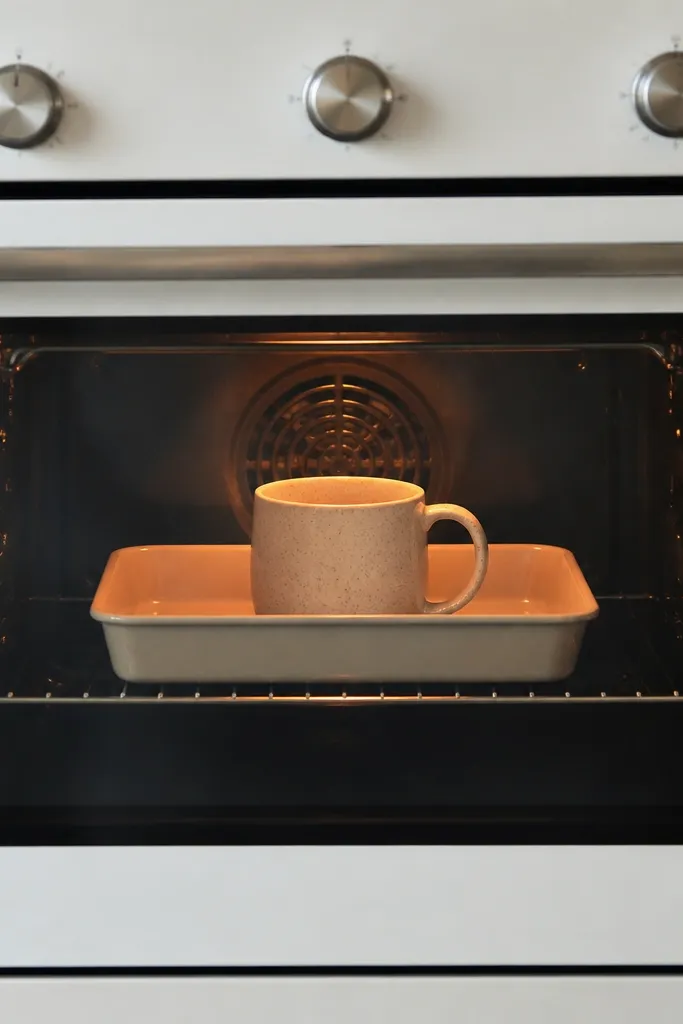
Some ceramic paints and top coats require baking to fully cure. This step helps the coating harden so it won’t feel gummy or flake when washed.
Good to knowFollow the brand’s temperature and time exactly, and let the mug cool inside the oven to avoid thermal shock.
8. Handle Edge Cleanup - Smooth, No Sticky Spots
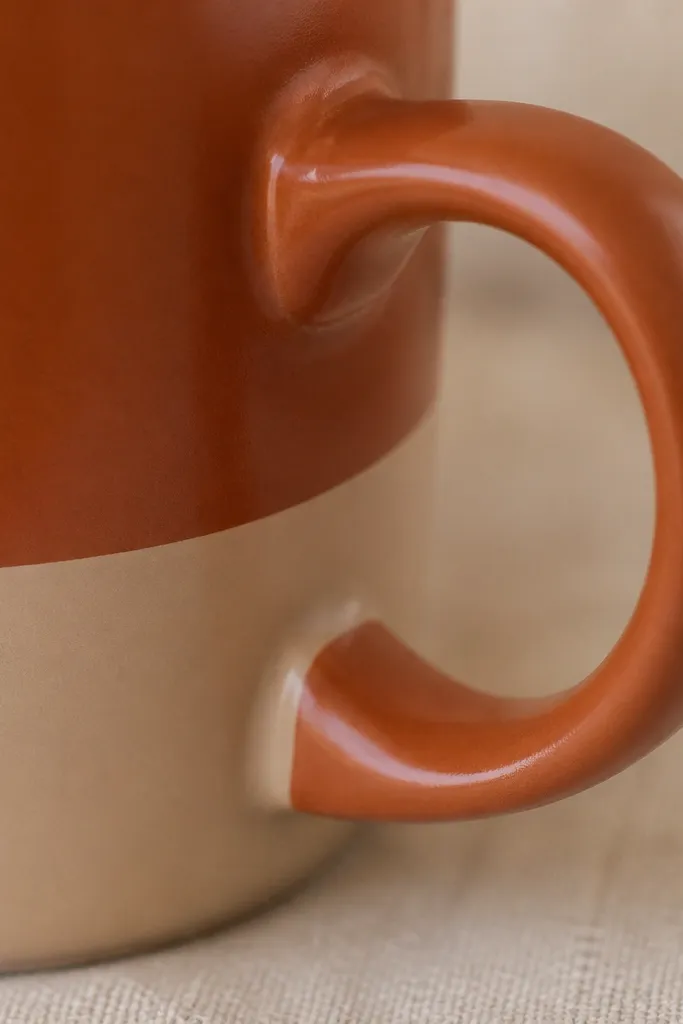
The handle is where drips and accidental smears love to hide. I carefully cleaned edges with a damp microfiber cloth right after coating, then touched up any missed spots after the first dry stage.
Good to knowKeep a cotton swab dampened with rubbing alcohol nearby for quick cleanup before the paint sets.
9. “After” Reveal - Gallery-Worthy Botanical Mug
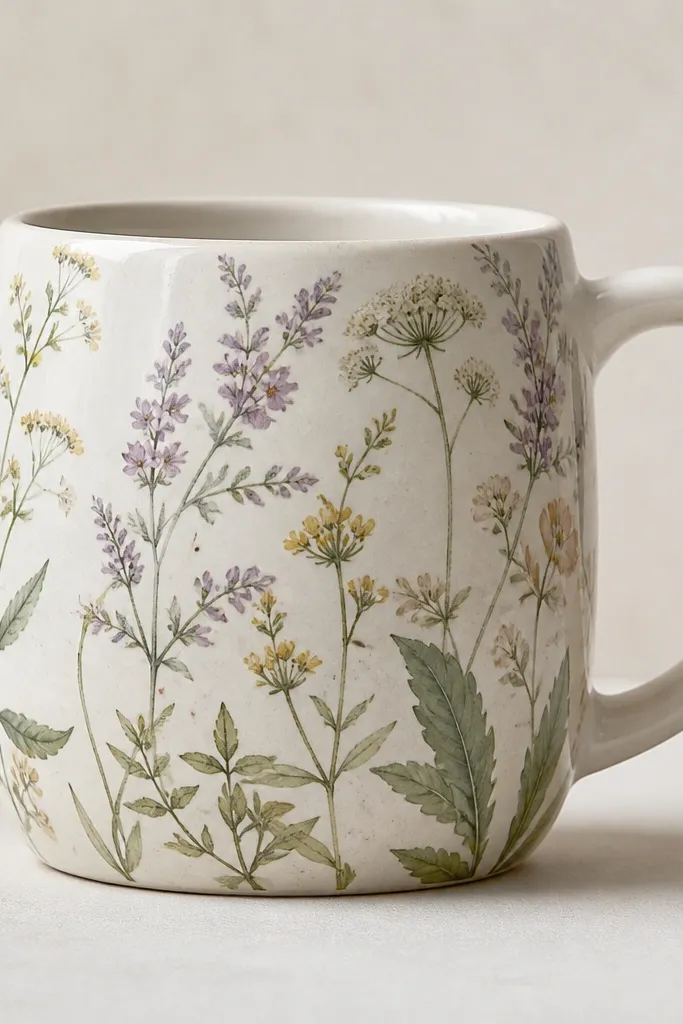
The transformation is obvious: scratches are gone, the design looks crisp, and the finish catches light smoothly. It reads like a custom studio mug because the top coat levels the surface and protects the artwork.
Take a final photo in indirect window light — it hides minor brush texture and shows the gloss.
10. Durability Test - Quick Wash + Dry Check
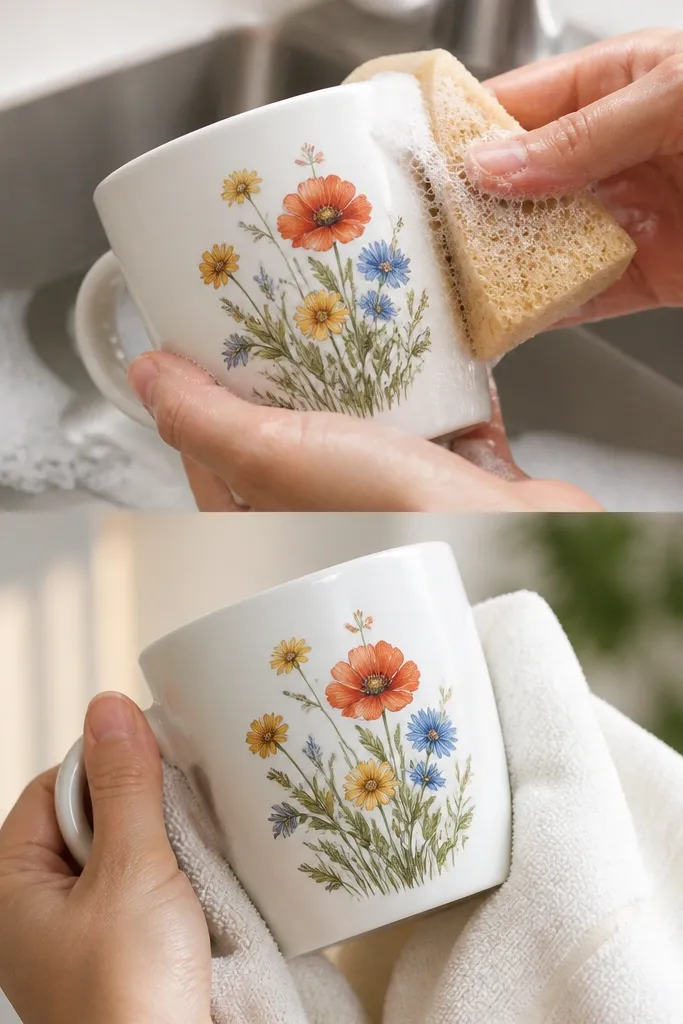
Before using it daily, I did a gentle hand-wash test to confirm the coating isn’t tacky and the design isn’t lifting. A quick check helps you catch issues early, before you’ve committed to a gift or a full set.
Good to knowAfter curing, wait at least 24 hours before the first wash, then use a soft sponge and avoid soaking.