1. Photo Frame Card + Sliding Storage Sleeve
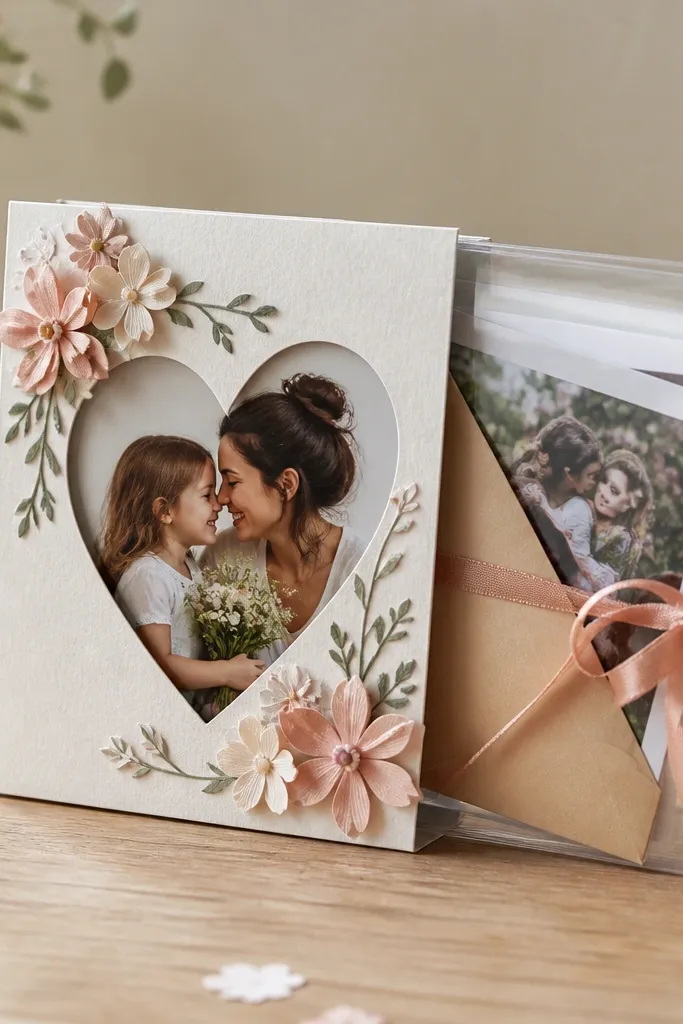
This combines a greeting card with a built-in storage sleeve so the kids can tuck in a photo, note, or mini drawing for Mom. Use cardstock as the frame base, then attach a pocket/sleeve from clear, flexible plastic so it slides smoothly. Add a ribbon pull so little hands can open it without tearing.
Good to knowUse a craft knife only for cutting the sleeve opening; kids can decorate while you prep.
2. Keepsake Blossom Jar (Labeled Mini Compartments)
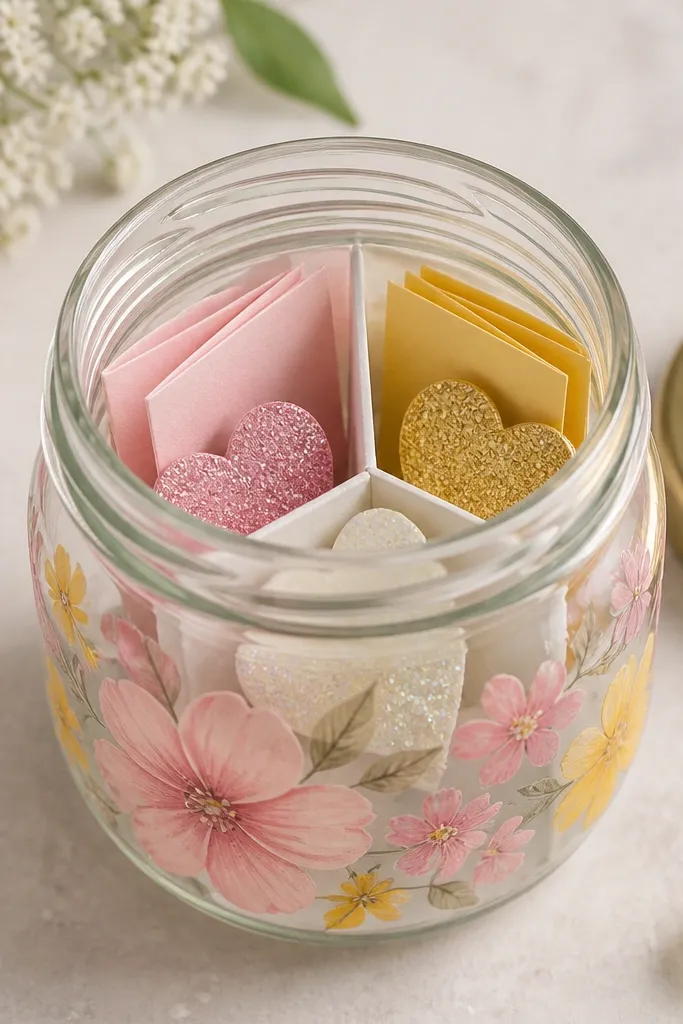
A jar is the easiest storage win for Mother’s Day crafts because it keeps small pieces contained. Build dividers from cardstock (cut to jar height) and glue them so the jar becomes sections for notes, pressed petals, or tiny “I love you” messages. Decorate the outside with tissue paper blossoms or painted flower dots.
Good to knowHot glue the dividers only at the top edge so the jar stays removable for refills.
3. Mother’s Day Memory Box (Drawer-Style Lid)
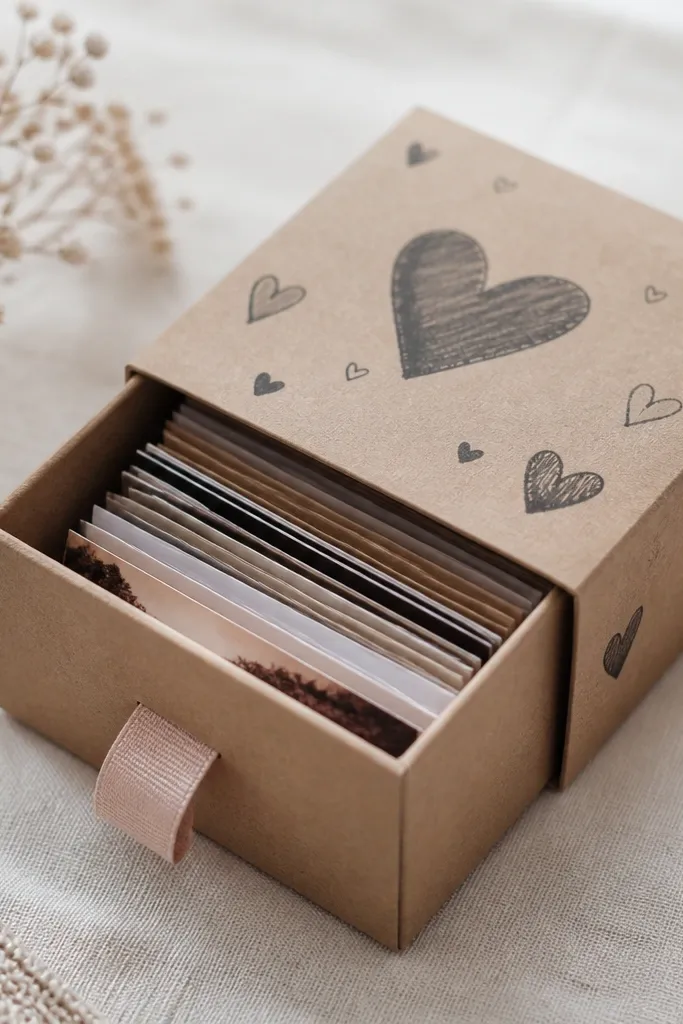
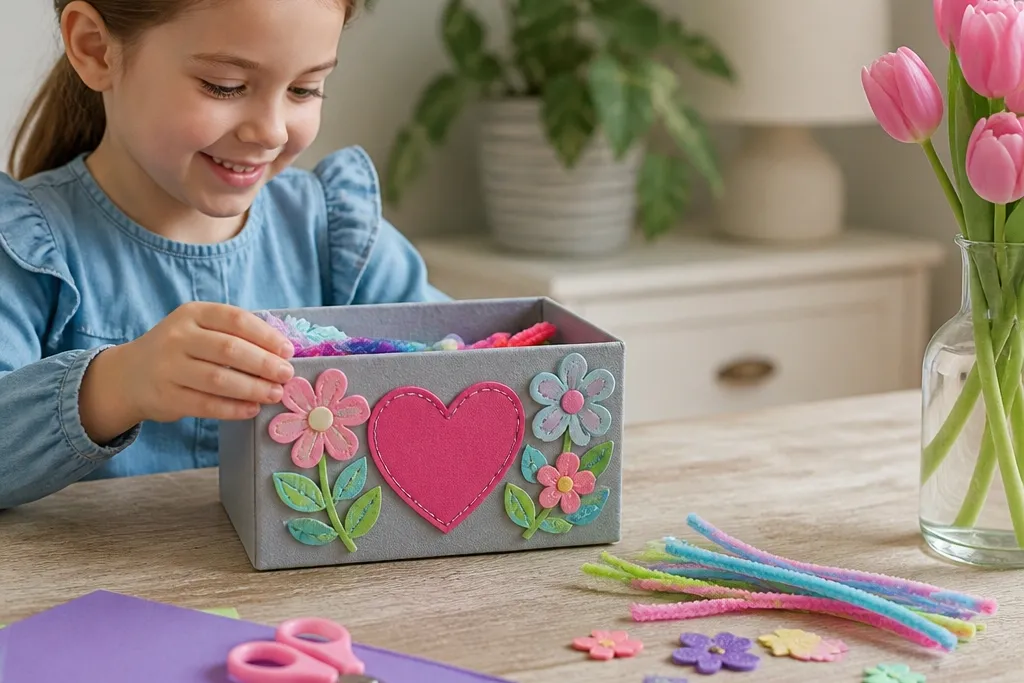
Turn a shoebox-sized cardboard box into a memory organizer with a drawer-style top so it’s easy to open and close. Cover with patterned paper, then add interior dividers so kids can store mini letters, photo strips, and ticket-style notes without tangling. The drawer pull makes it feel like a real treasure chest.
Line the inside with scrap paper or contact paper to make cleanup spills easier.
4. Stamp-Decorated Pencil Cup + Seed-Heart Tags
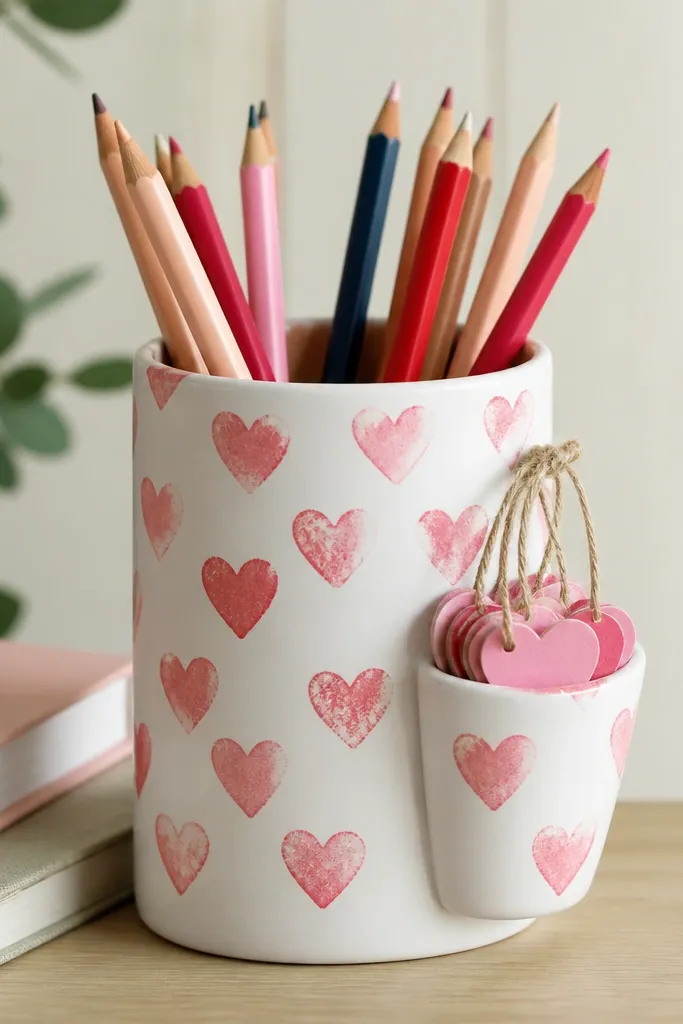
Kids can stamp hearts on a sturdy cup, then store the extra heart tags (and a few pencils or crayons) in a side pocket. Use foam stamps or sponge stamps with washable paint. For the tags, cut hearts from cardstock, punch a hole, and string them together so they’re ready to gift.
Good to knowLet paint dry fully before sealing with a clear matte spray to prevent smudging.
5. Ruffled Paper Flower Organizer Wallet
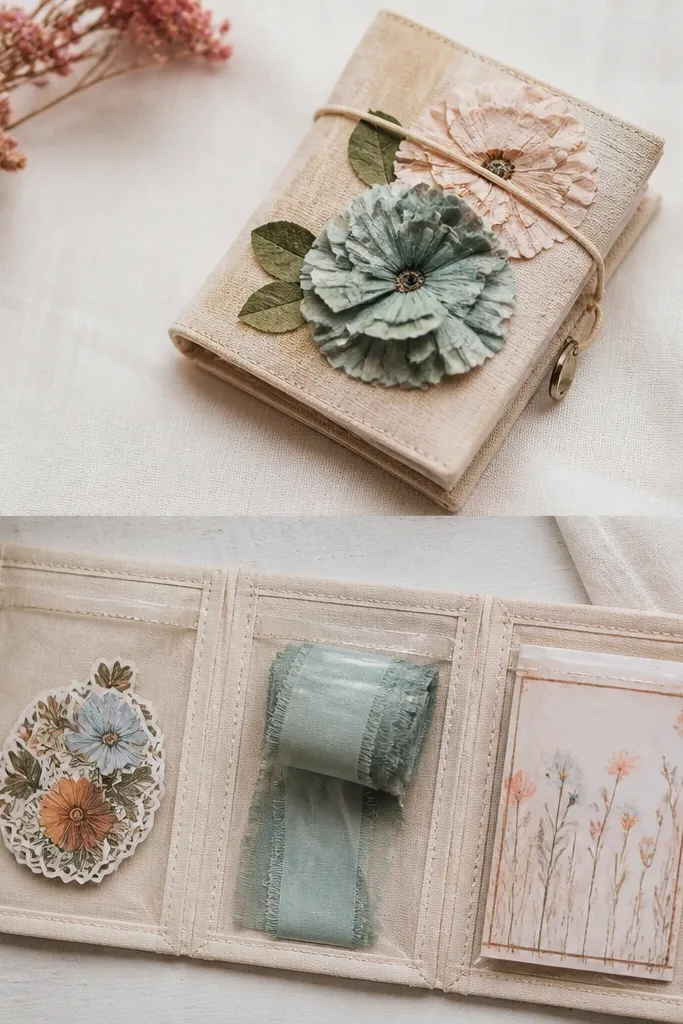
This is a craft wallet that stores supplies and the final gift in one place. Cover a folded cardstock wallet with decorative paper, then add clear pockets made from plastic page protectors. The ruffled flower front keeps it Mother’s Day themed while the pockets hold embellishments, a message, or a photo strip.
Attach pockets with double-sided tape so kids can open and close without the seams ripping.
6. Magnetic Ribbon Board (Fold-Up Storage Panel)
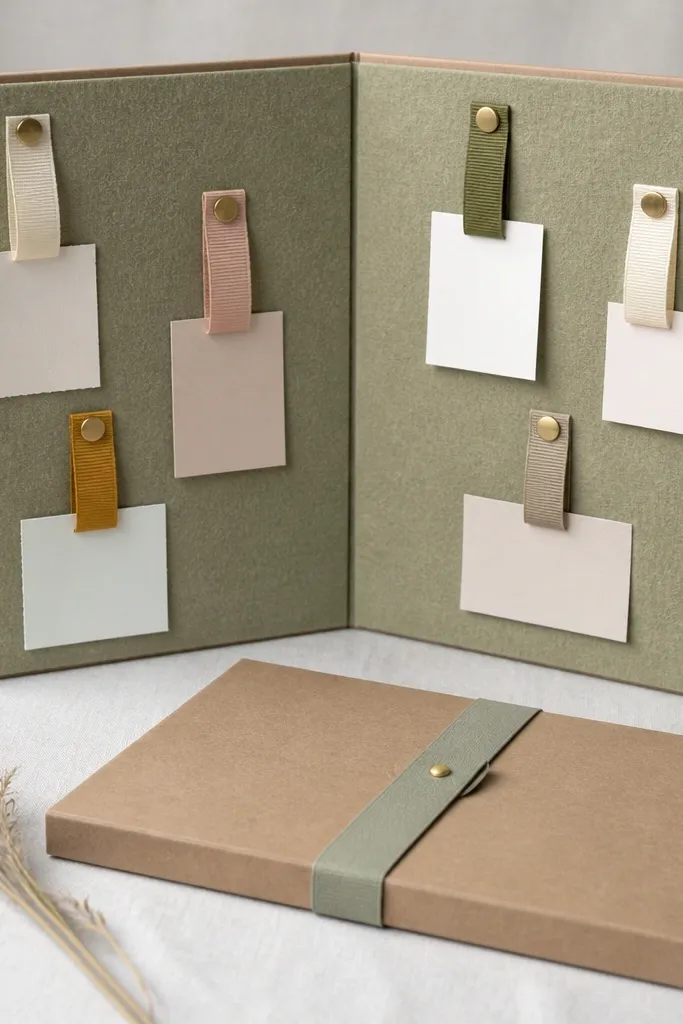
A felt board with magnets is great for kids because pieces stick without glue mess. Create a fold-up panel using cardboard and felt, then add magnets behind ribbon loops or paper clips attached to tags. When the craft is done, fold it closed and store it flat so ribbons don’t tangle.
Good to knowUse large, strong magnets and keep magnet pieces inside pockets to avoid kids swallowing tiny parts.
7. Labeled Drawer Tray Collage (With Hanging Note Pocket)
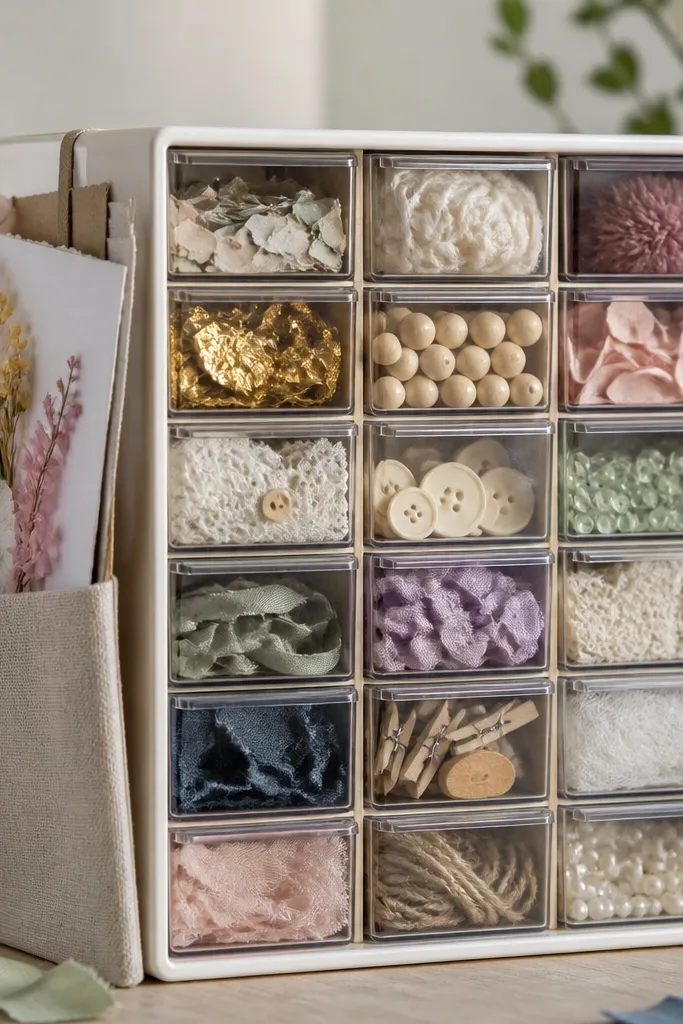
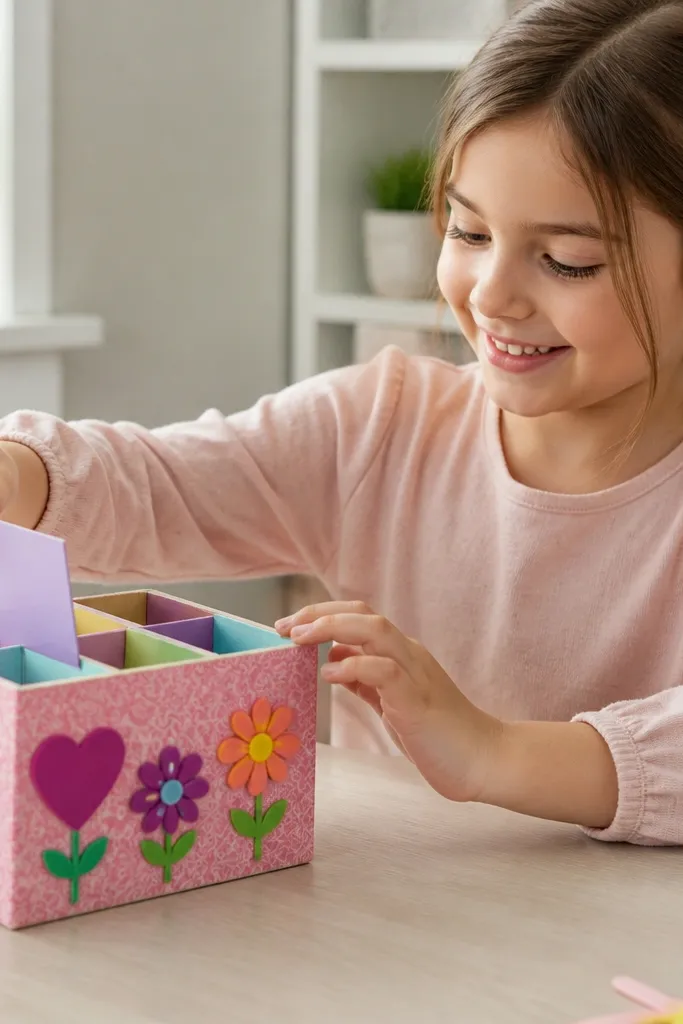
Use a small multi-drawer organizer as both the craft station and the storage unit. Each drawer gets one component — tissue paper squares, heart cutouts, ribbon scraps, and a photo strip — so everything stays separated while kids build a collage. Finish by adding a pocket for the final note that slides out when Mom opens the gift.
Good to knowLabel drawers with a thick marker and include a photo of the “finished layout” so kids can replicate it later.
8. Popsicle Stick Frame with Stackable Mini Envelopes

This project keeps messages organized without losing them. Build a simple popsicle stick frame, then glue mini envelopes along the back so the kids can slide notes inside. Decorate the frame with paint or patterned washi tape, and add a heart theme so the storage feels intentional, not like “extra parts.”
Use cardstock envelopes sized to fit the frame opening so they slide in cleanly every time.
9. Clear Bin “Love Coupons” Craft Kit (Pre-Pack + Finish)
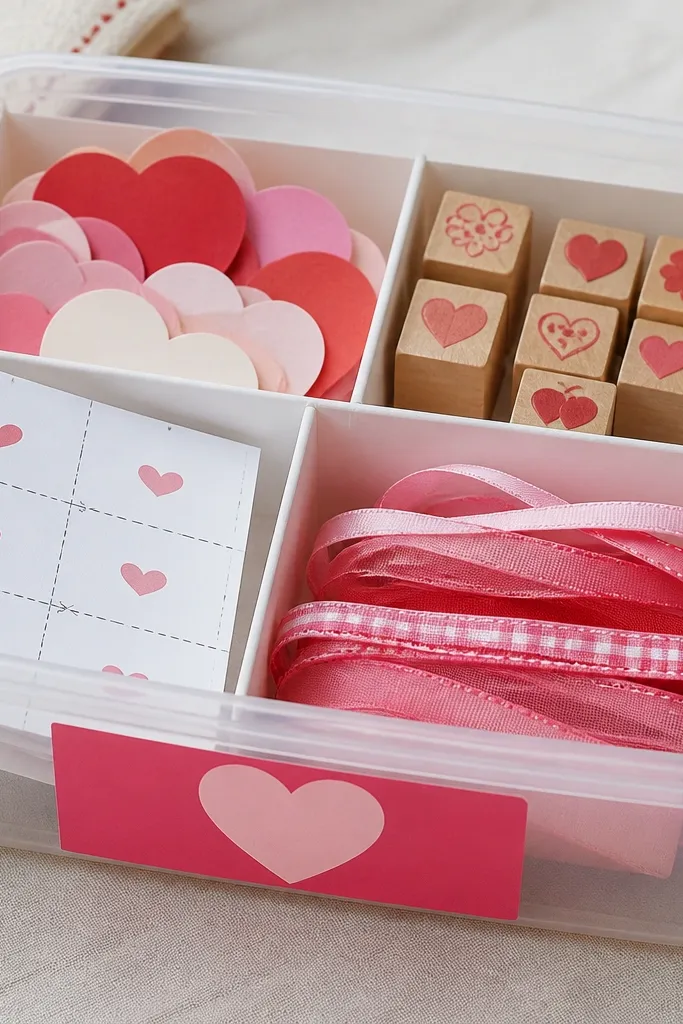
Instead of waiting for supplies to spill, pre-pack the entire Mother’s Day coupon craft into a clear bin. Add dividers for cut hearts, stamp/marker pieces, and blank coupons, then kids assemble and sign them. Because the bin is see-through, kids can find what they need instantly and store leftovers until next time.
Good to knowWrite “Step 1 / Step 2 / Step 3” on the inside of the lid for independent cleanup.