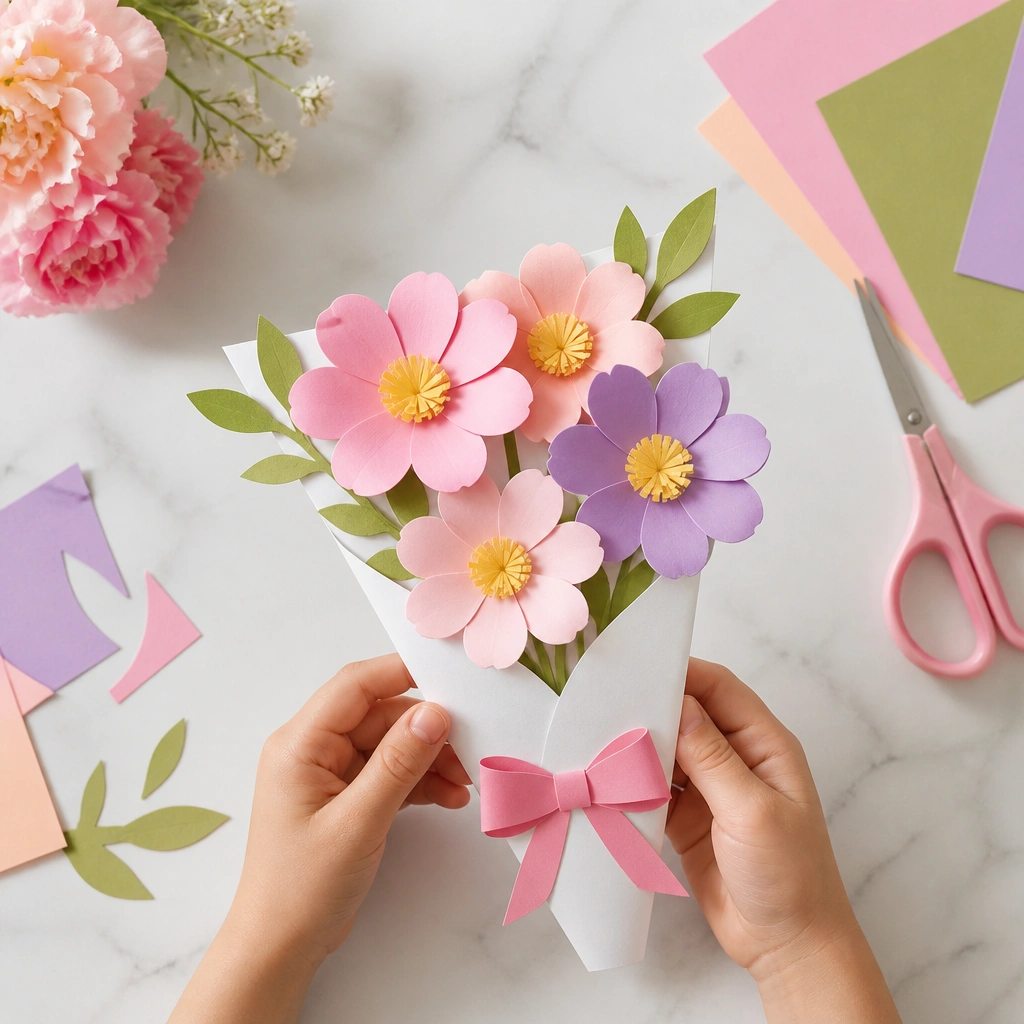
1. Fingerprint Flower Card with Washable Ink Pads
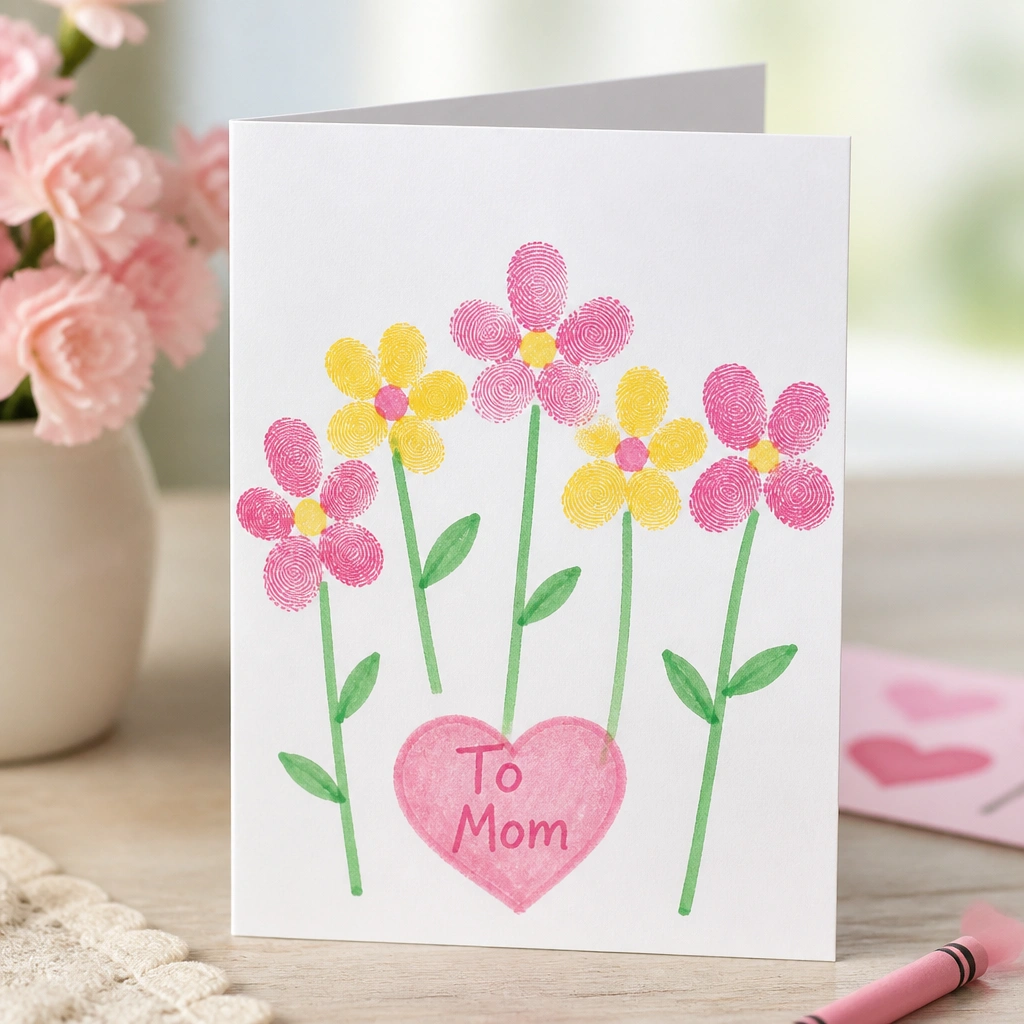
Kids press fingertips onto washable ink pads to stamp petals, then use a green marker to draw stems and leaves. The card looks layered without complex cutting, and the mess is limited to ink pads and a single paper surface. Choose thicker cardstock so the fingerprints don’t bleed through.
Lay down a sheet of scrap paper under the card and keep a damp washcloth nearby to wipe fingers every 2-3 stamps.
2. Paper Plate Sunflower Bouquet (No-Glue Petals)
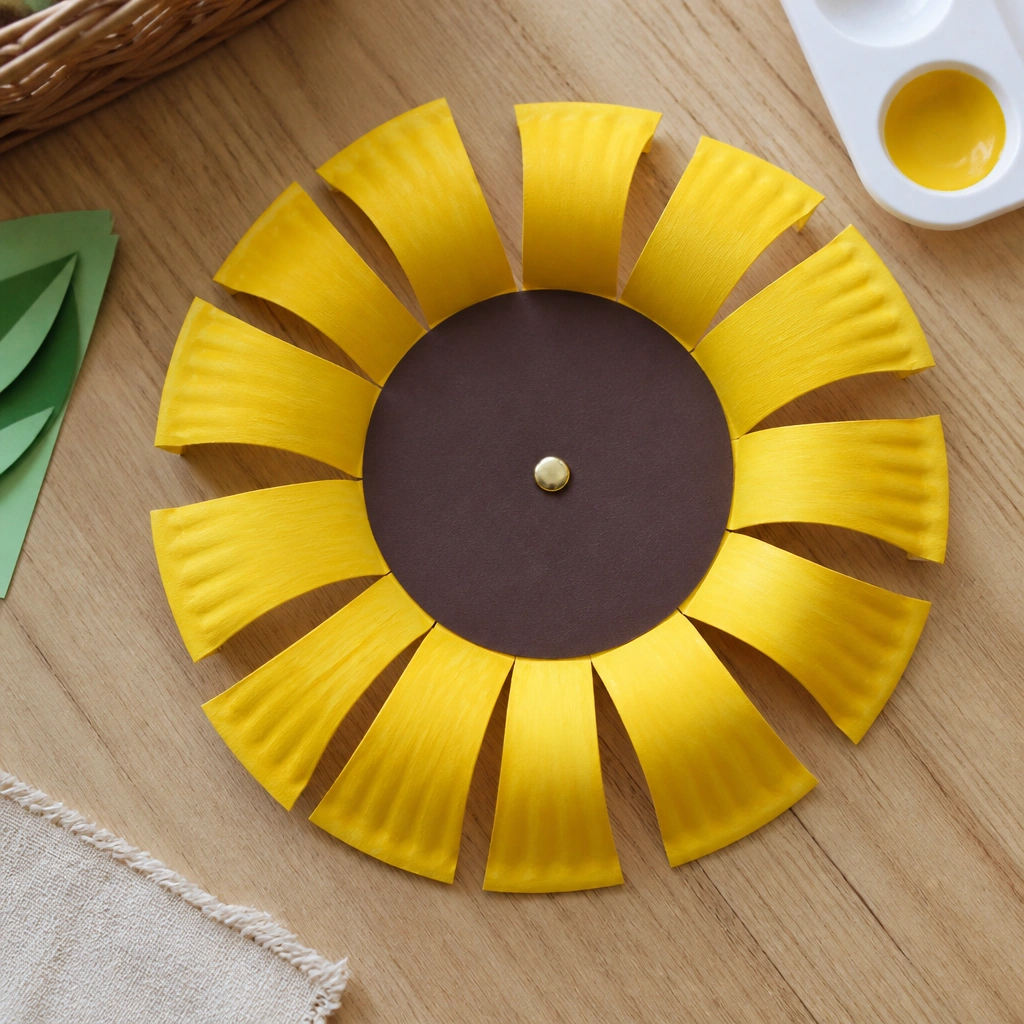
Cut a paper plate into a ring and attach curled yellow strips as petals using brads instead of glue. The center is a brown paper circle with a few glue dots for a textured look (optional). This makes assembly fast and cleanup easy because there’s no glue stringing.
Use brads plus a hole-punch — pre-punch holes in advance to avoid wrestling with scissors mid-craft.
3. Sock-Style “Mom” Flower Pot with Watercolor Dirt
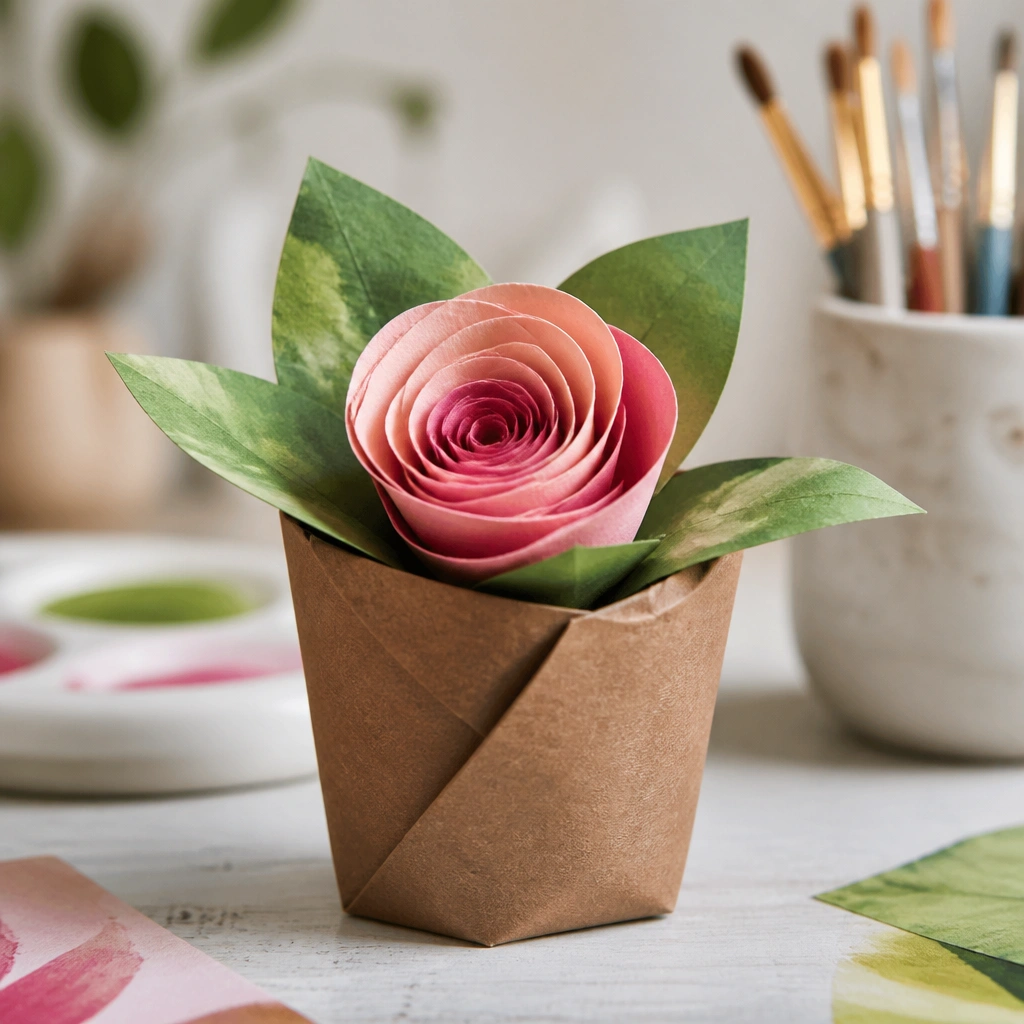
Wrap a small cup or cardstock circle with brown construction paper to form a pot, then let kids paint “dirt” dots with watered-down brown watercolor. Add a rolled flower (easy spiral from a strip of paper) and green leaf shapes. Watercolor stays controllable when you use a shallow palette and light layers.
Mist the paint lightly with a spray bottle instead of adding lots of water — it reduces drips and puddles.
4. No-Mess Sticker Collage Keychain (Kid-Designed)
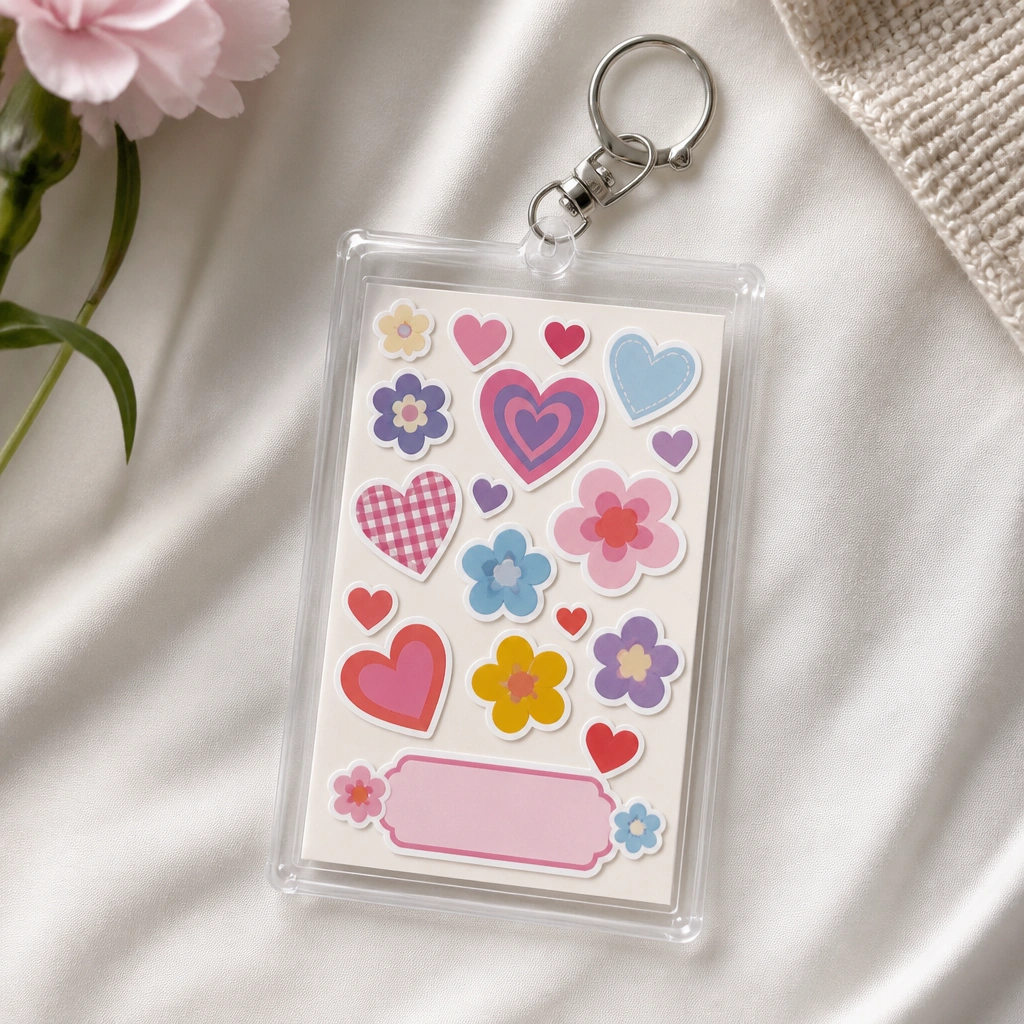
Let kids design inside a clear keychain sleeve using stickers and small pre-cut shapes. Because stickers are already self-contained, there’s almost no mess — no cutting required and no glue residue. Use a cardstock base for sturdiness and a hole punch for the keyring.
Good to knowChoose matte stickers to reduce glare in photos, and press down each sticker firmly with a dry fingertip.
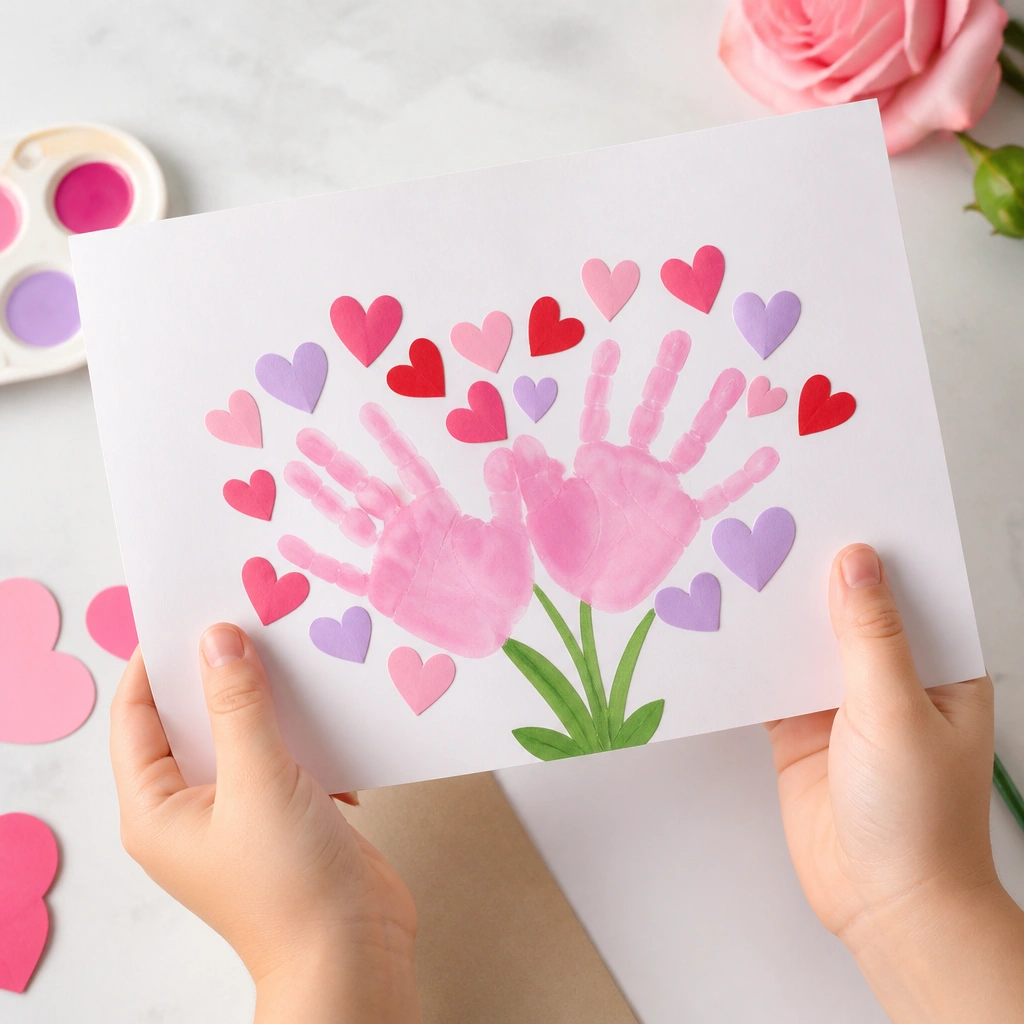
5. Handprint Tissue Paper Heart Wreath Card
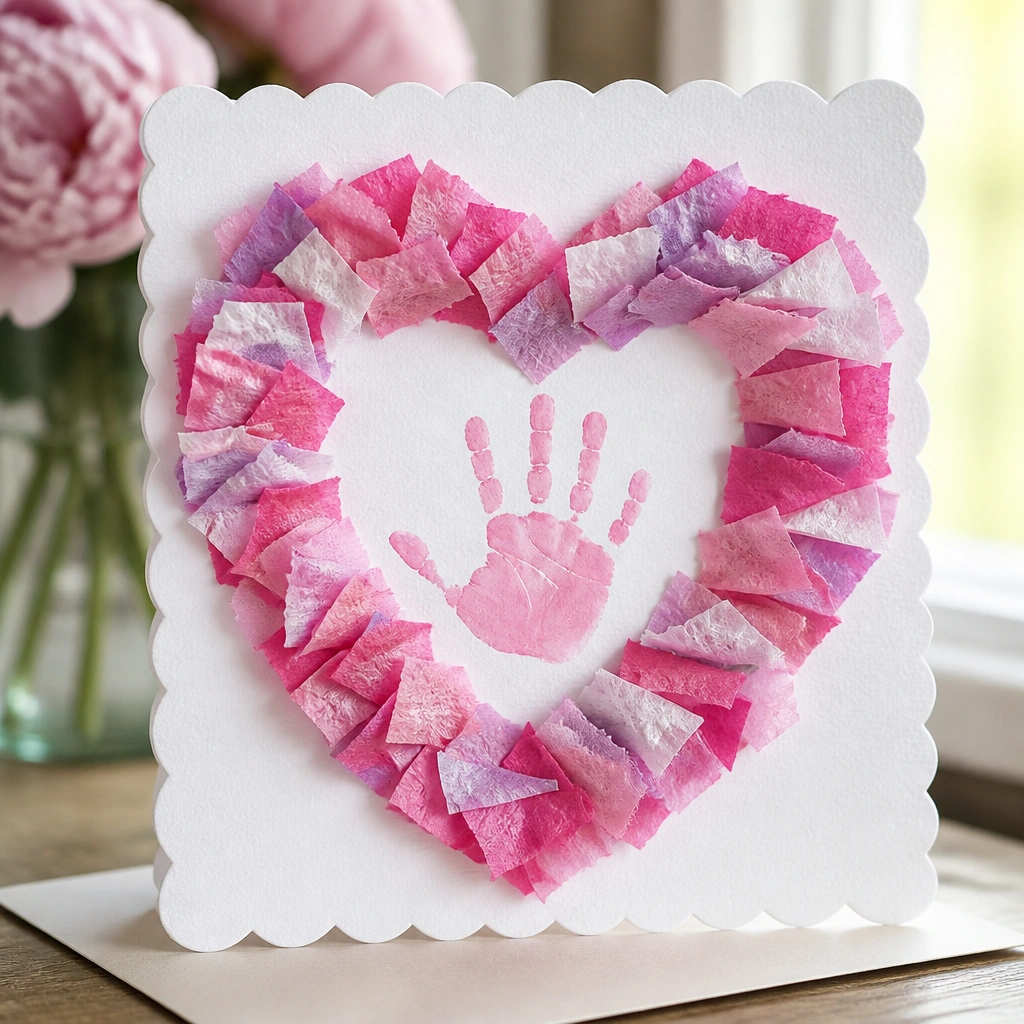
Kids make a simple heart wreath by layering tissue paper strips (pink/red/white) and pressing them into place with a glue stick on paper. The handprint center gives the craft a keepsake feel without needing fine detail. Tissue paper looks fluffy and forgiving, so minor misalignment still looks good.
Use a glue stick instead of liquid glue — it prevents soaking and speeds up drying.
6. Crayon Resist “Mom” Butterfly Bookmark
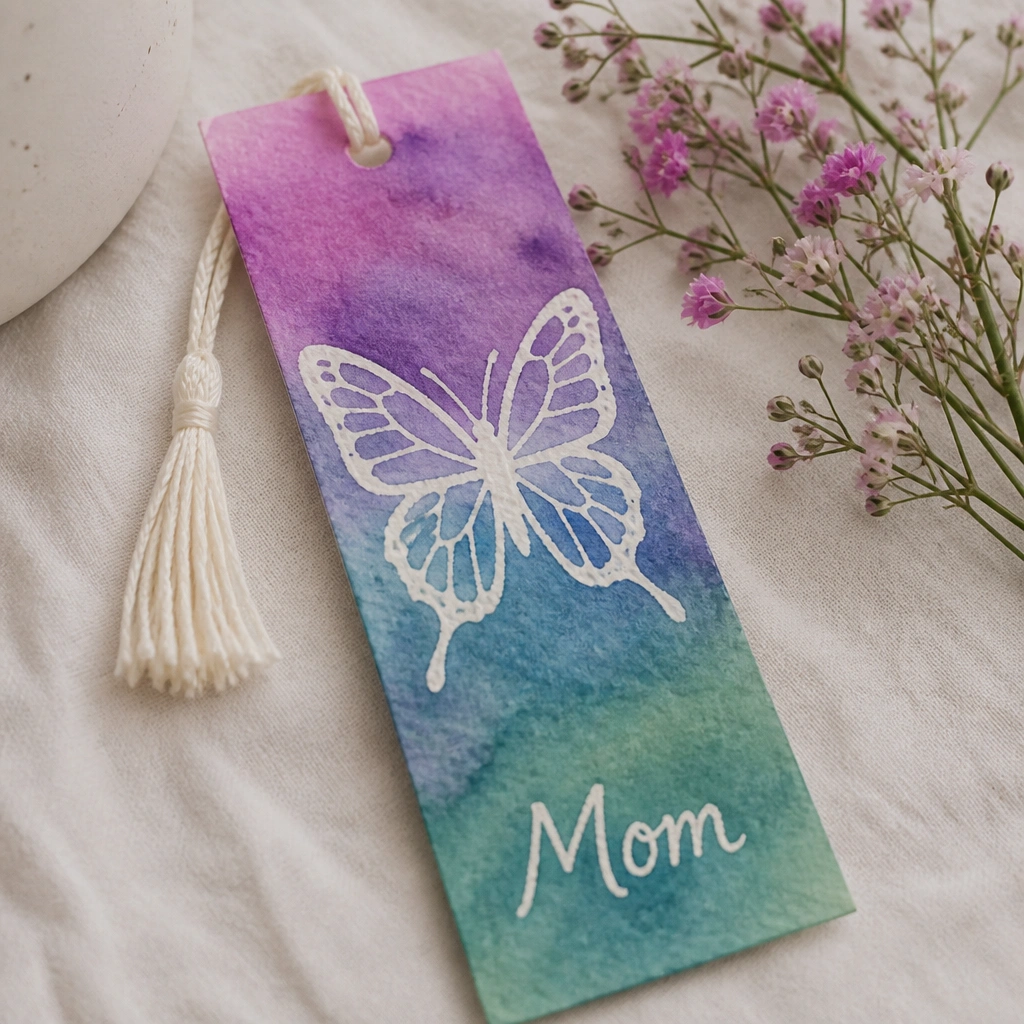
Kids draw a butterfly (or simple heart-butterfly) with white crayon on bookmark cardstock, then paint over with watercolor. The painted layer reveals the resist design, creating a wow effect without complicated skills. It’s low cleanup because it’s mostly brush-on paint over a single piece.
Good to knowTape the bookmark edges to a tray or paper towel to catch drips and keep the rest of the workspace clean.
7. Pipe Cleaner Floral Bracelet (Snap Together)
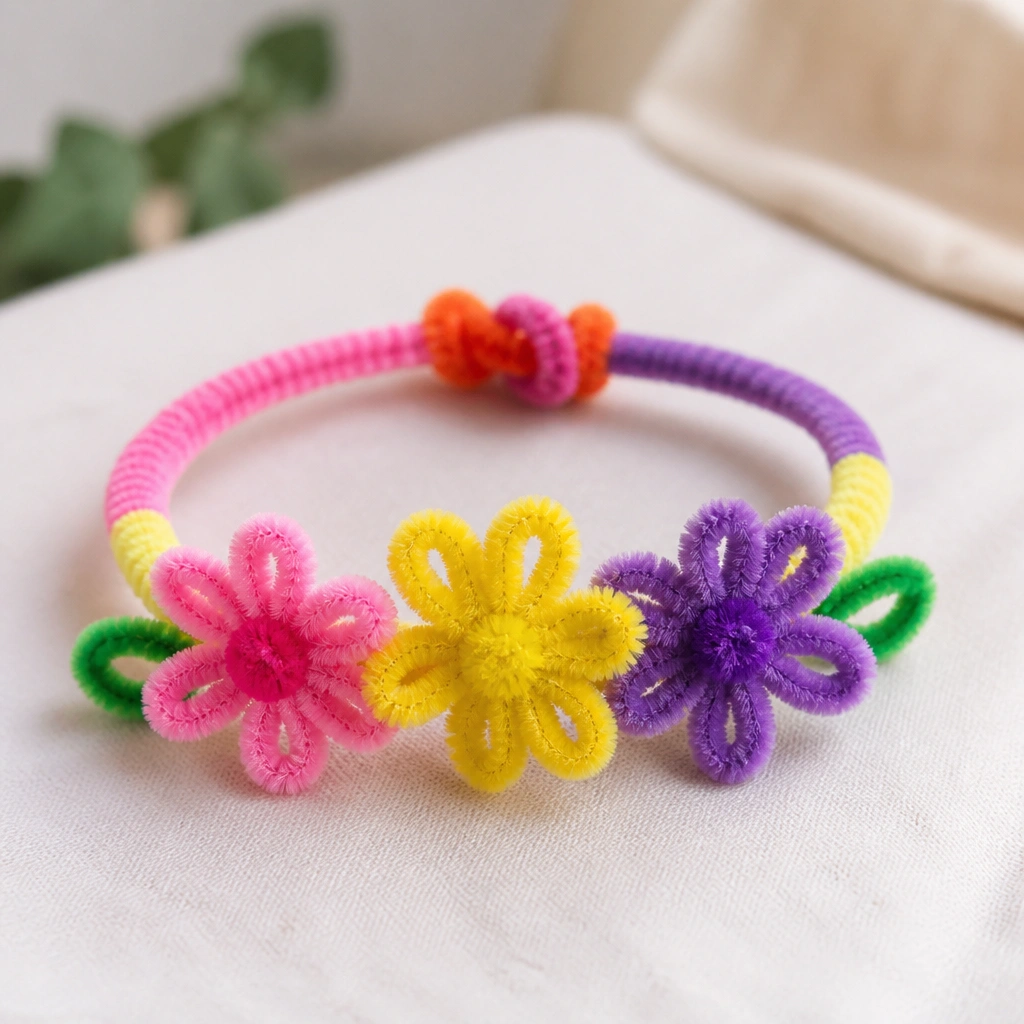
Use chenille stems to create quick flowers by twisting loops around a center bead or paper dot. Make a bracelet band by wrapping and twisting ends — no hot glue needed. It looks festive and is comfortable for kids to wear for a Mother’s Day photo.
Good to knowPre-measure bracelet length by looping the pipe cleaner around the child’s wrist once, then twist a small overlap for the final fit.
8. Photo Frame Cardboard “Mom Desk” Mini Easel
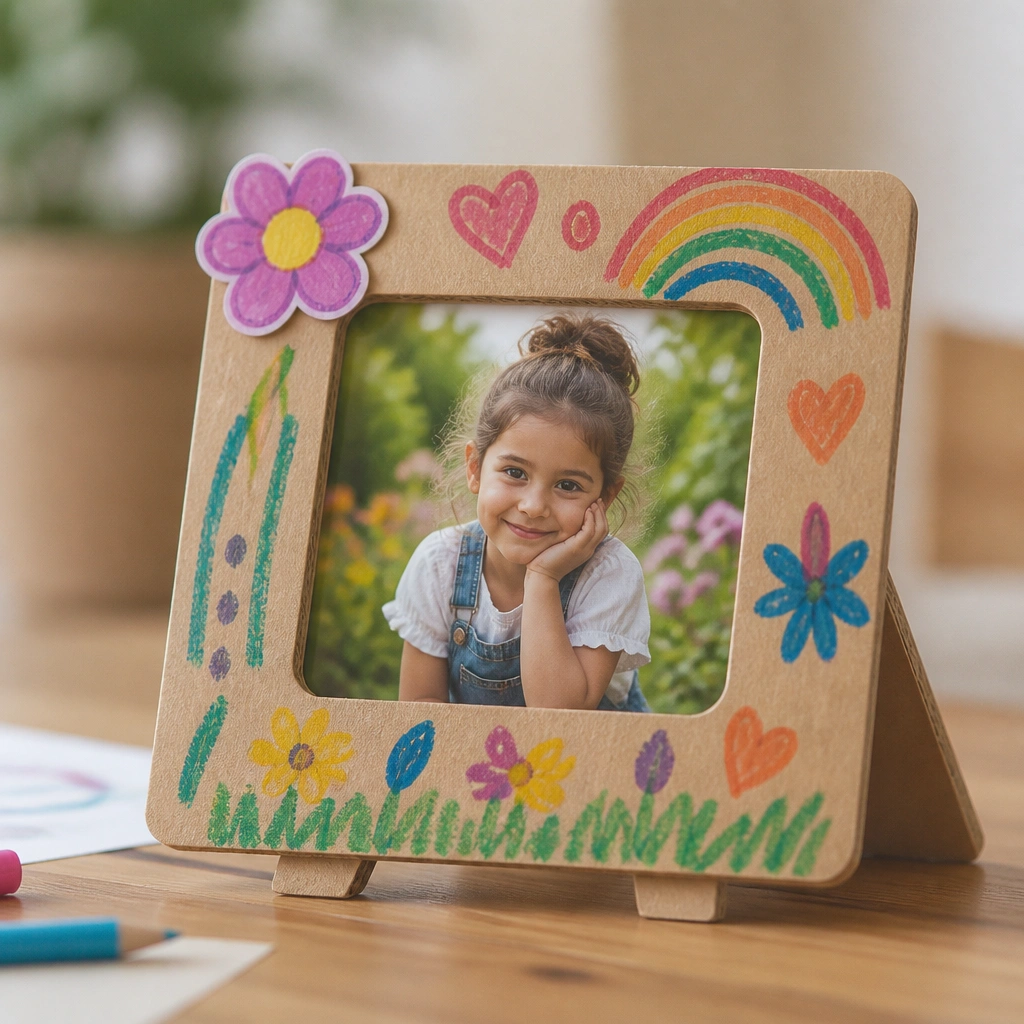
Fold a small piece of cardboard into an easel (like a simple picture holder) and attach a photo or drawing on a front panel. Kids decorate with markers and stickers — no glue dots required if you use sticker accents. This turns the craft into something Mom can actually display on a desk or shelf.
Cut a sturdy back panel one inch taller than the front so the easel stands firmly without collapsing.
9. Washable Paint Sponge “Bouquet” Wrapping Paper
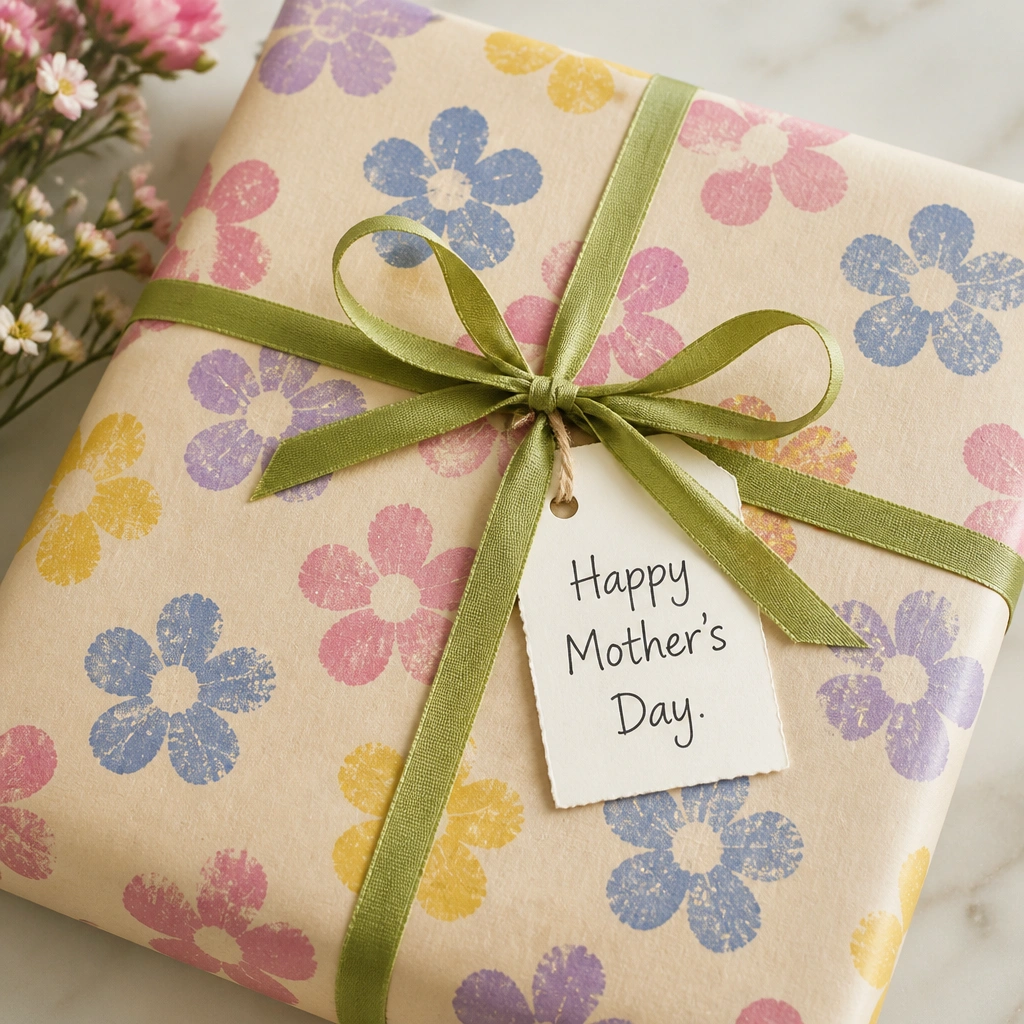
Cut a sponge into flower shapes (or use craft sponges) and stamp a bouquet pattern using washable paint. Kids can stamp quickly because each press makes a complete petal cluster. This doubles as gift wrap or a backdrop for a card photo, and cleanup is manageable because everything stays on one paper sheet.
Good to knowUse a shallow plate for paint and swap to a fresh paper towel when the paint gets thick.