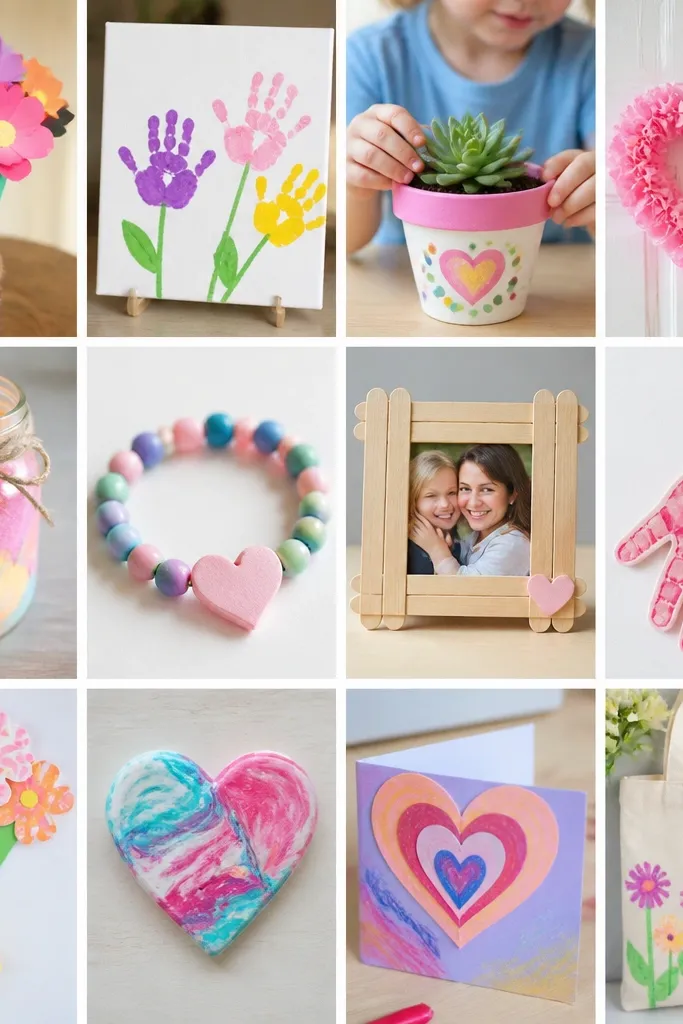
Quick Mothers Day Crafts for Kids can be finished in 30 minutes, even if you only have paper, glue, and a few scraps. If you’re racing the clock, these weekend-ready projects use simple supplies and have built-in “wow” details like layered hearts, stamped florals, and photo frames that stand up on their own. You’ll get clear steps, exact measurements to cut, and easy personalization so your kid’s craft looks intentional, not rushed.
Step by step
Pick your “30-minute” project. Choose one craft from the list below based on what supplies you already have — paper flower, handprint card, photo frame, or heart bookmark. If you’re short on time, start with the easiest build that still looks layered.
Prep your cuts in batches. Cut all base shapes first: card rectangles, heart outlines, and any strip pieces for layering. Having pieces ready prevents the “waiting around” that stretches projects past the 30-minute mark.
Layer the focal design. Build the main look using double-sided tape or small glue dots so layers pop off the page. Keep glue only where you need it — it reduces mess and helps paper stay flat.
Add the mom-specific detail. Write a short message on the inside or add a name/initial to the front. For photo projects, tape the image at the edges so it stays centered and doesn’t wrinkle.
Make it display-ready. Add a small stand (folded paper tab) or a hanging loop with ribbon. This turns a flat craft into something mom can actually use right away.
Let it set fast and clean up. Press down layers for 30-60 seconds and set the craft on a flat surface. Clean as you go by wiping glue drips immediately with a damp paper towel.
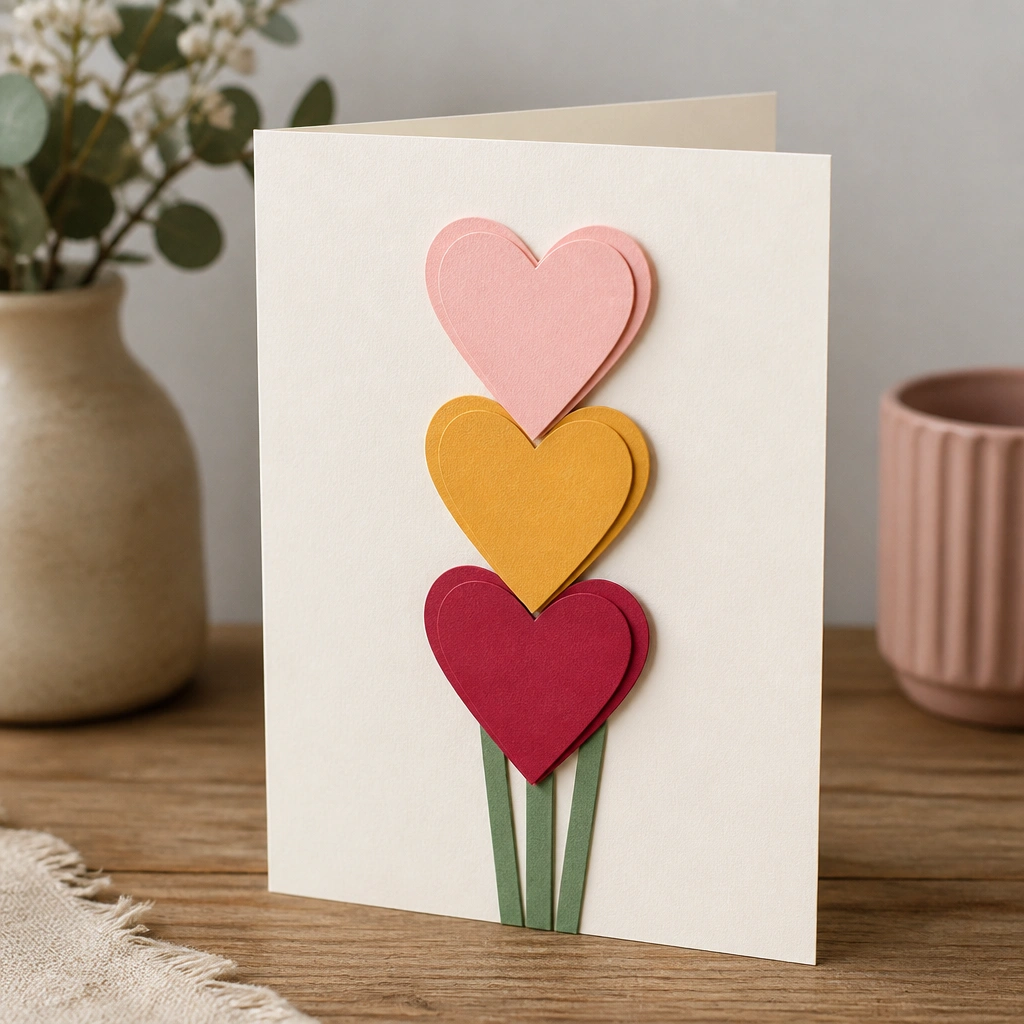
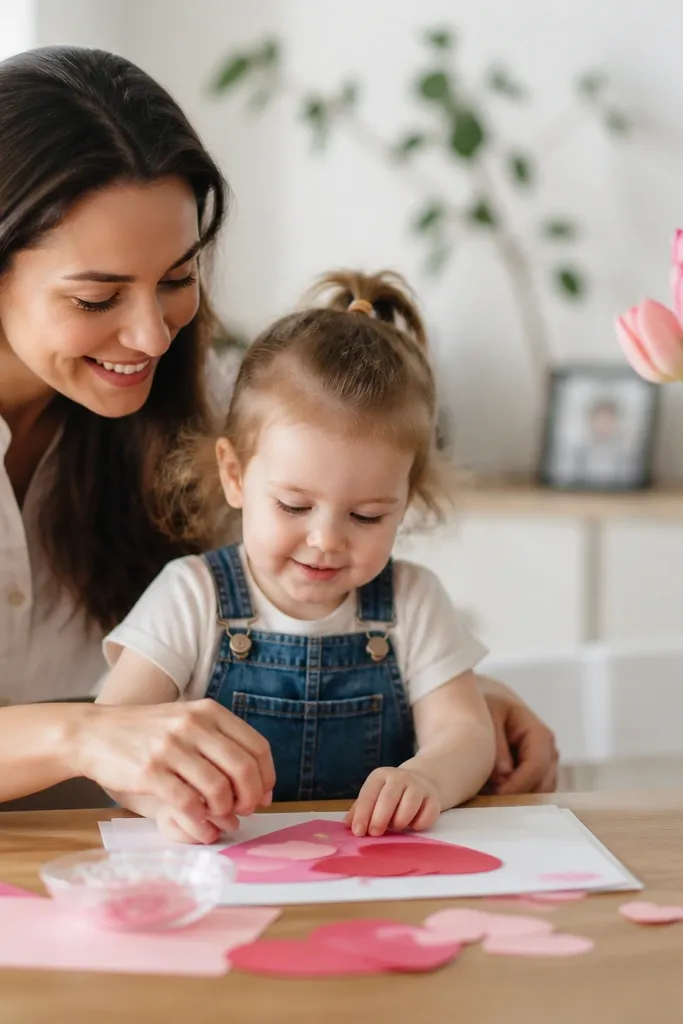
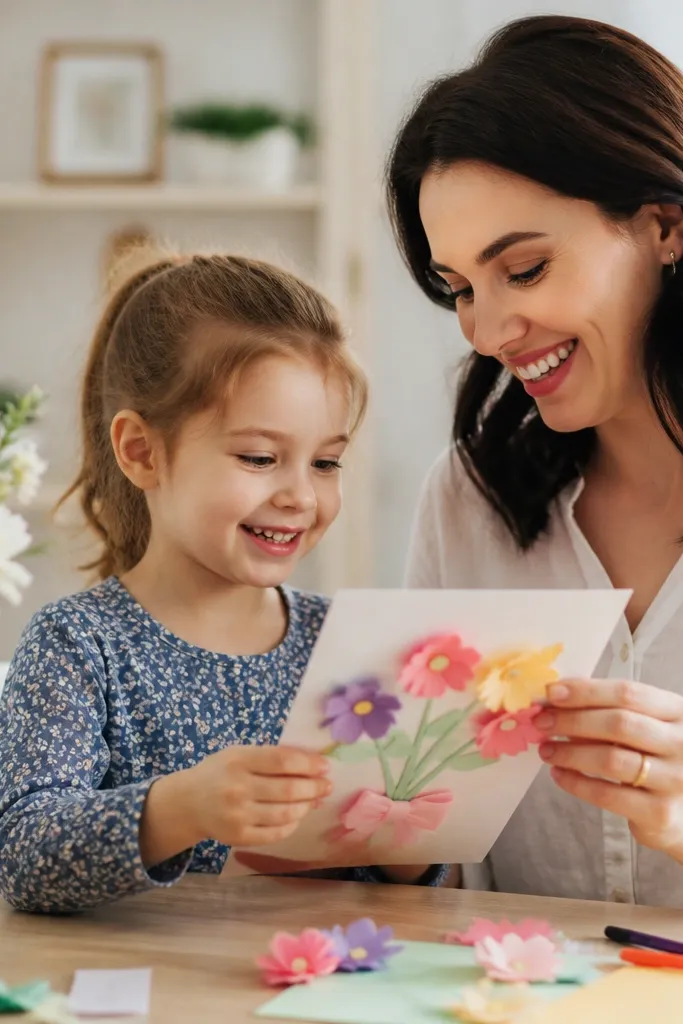
Fold cardstock into a standard card (about 5x7 inches). Cut 3 hearts per flower in two sizes — use one solid heart for the base and two smaller hearts layered on top so it looks like a bouquet without painting. Add 3 short green paper strips behind the hearts to mimic stems.
Offset the top hearts by 1/8 inch so the color layers peek out — that’s the “store-bought” look.
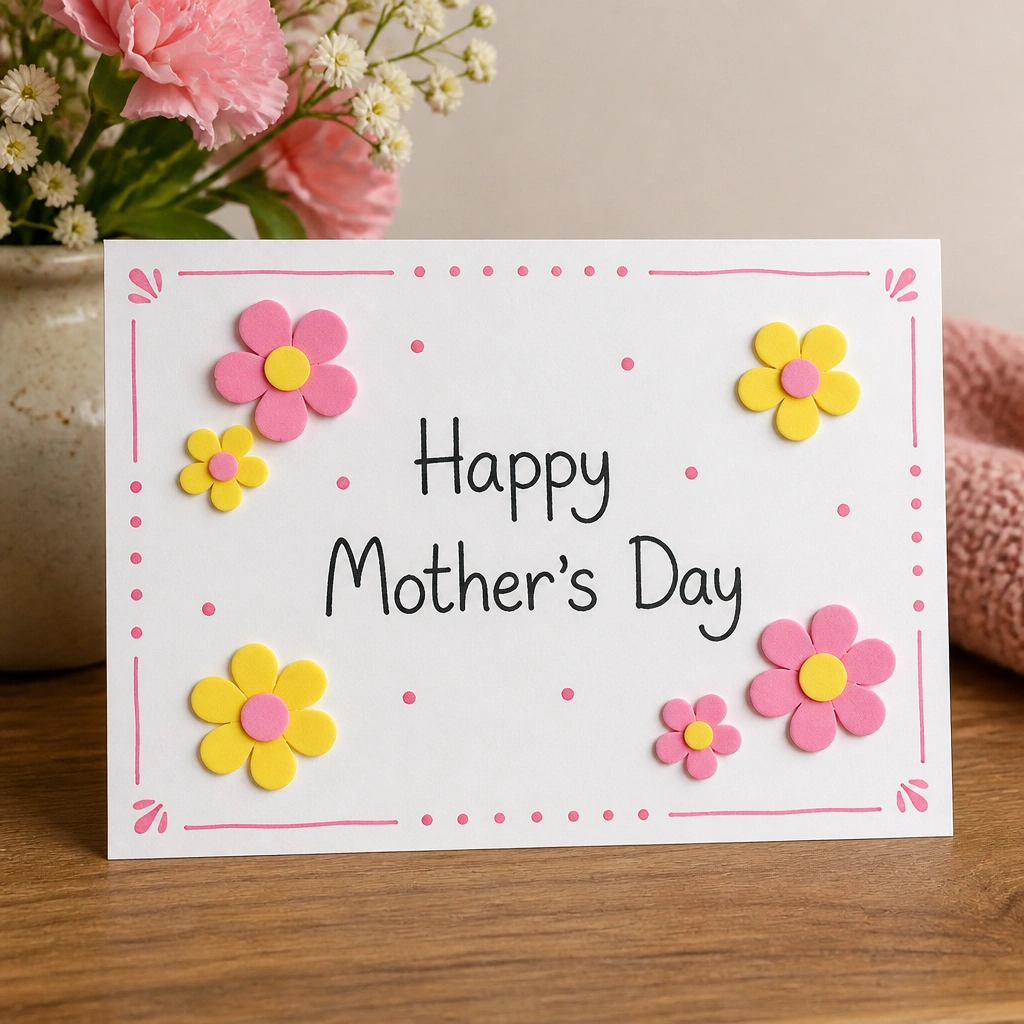
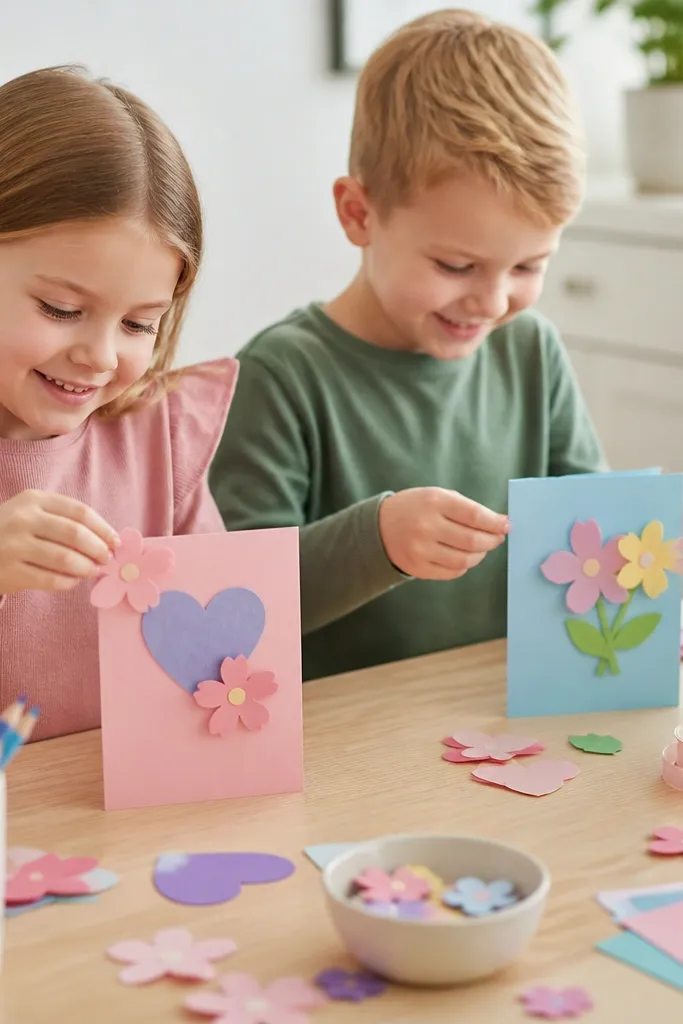
Use a blank cardstock panel (about 4x6 inches) and place foam flowers where you want the main focal point. Add a border with a thin marker line and finish with a short handwritten note — kids can write “You make me feel loved” or “Thanks for everything.” The stickers create texture instantly.
Press each foam sticker for 10 seconds to prevent edges lifting later.
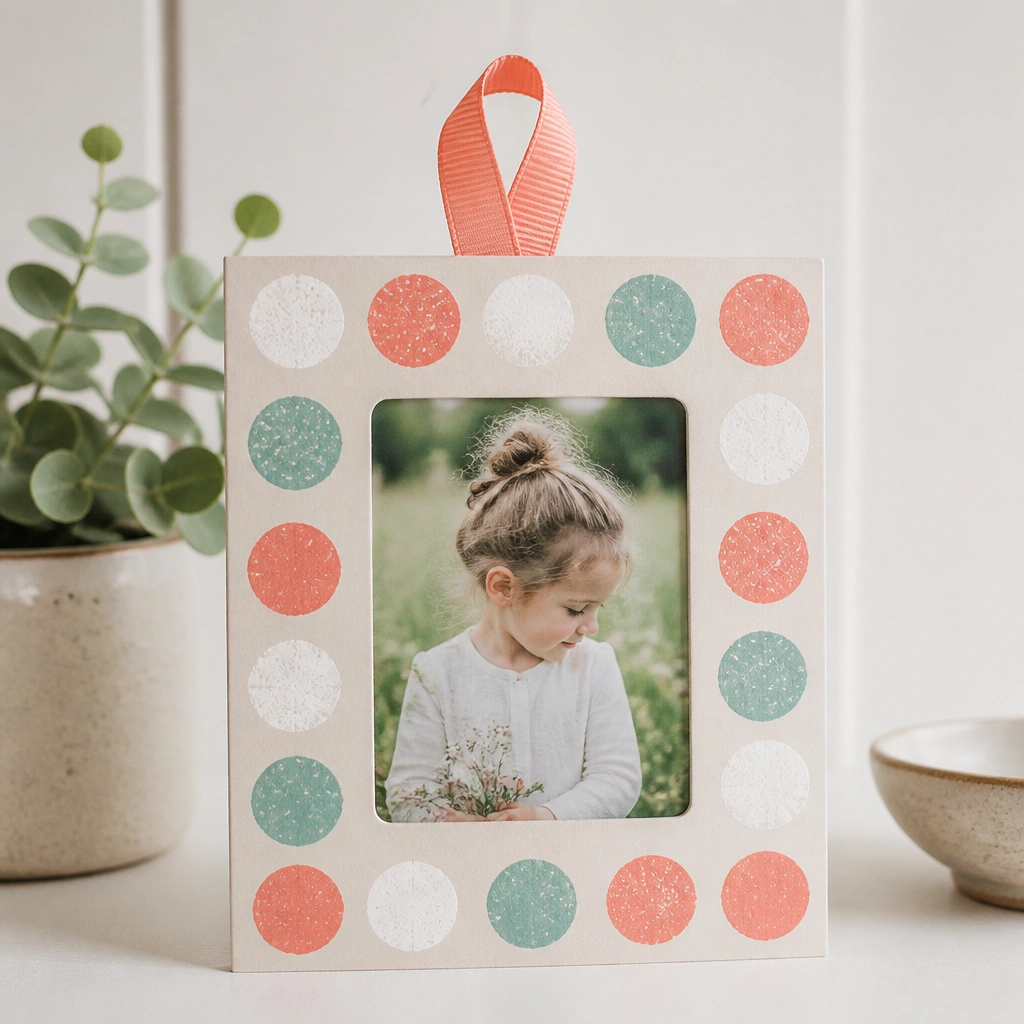
Create a frame from cardstock by cutting an inner rectangle (about 3x3.5 inches for a small photo). Use a cotton swab or potato stamp to dab paint in dots around the edge. Let it dry briefly, then tape in a photo and add a ribbon loop so it can hang.
Use thick paper for the border so the frame stays sturdy even with paint.
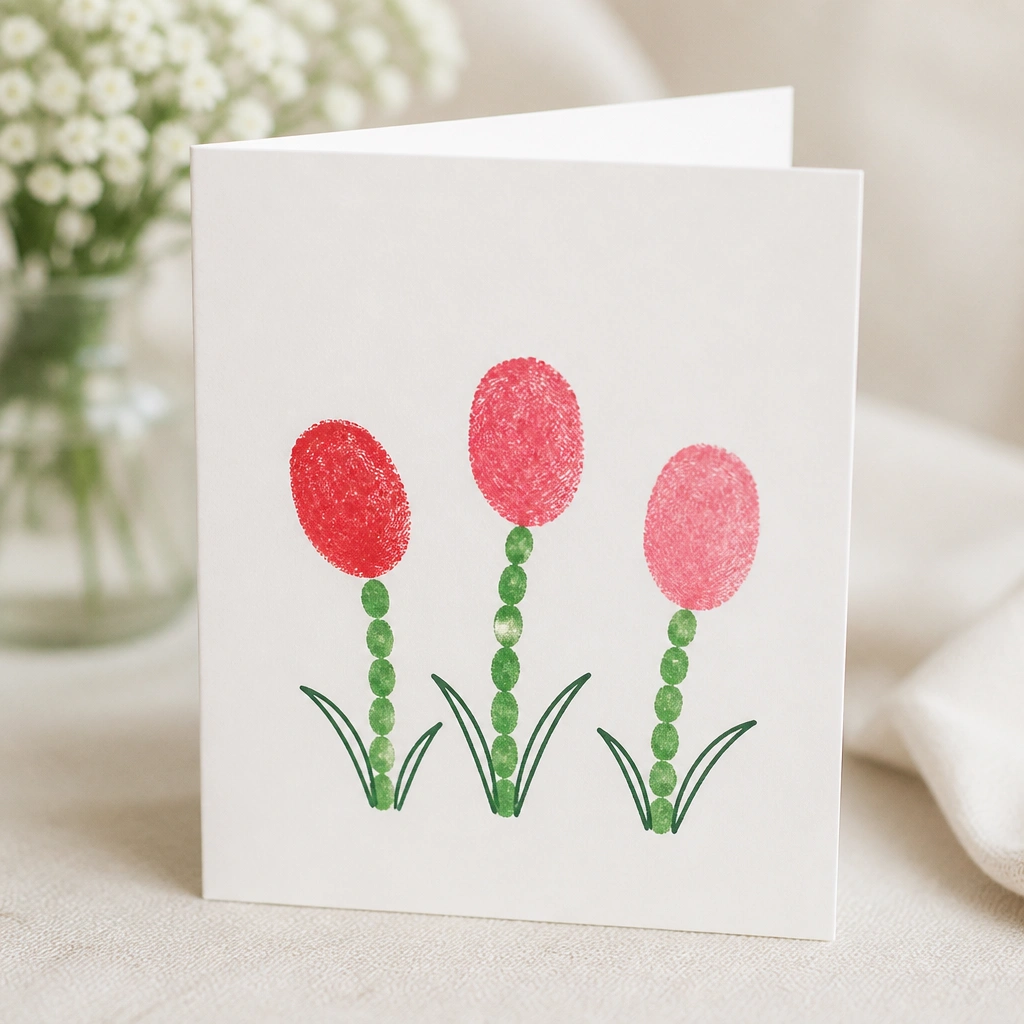
Dip a thumb lightly in washable paint for each tulip bloom and press onto the card front. Use a small paintbrush or marker to add leaf details, then add 3 stems with green paint. This is quick but looks extra meaningful because it’s literally “kid-made.”
Good to knowWipe excess paint off the thumb before each press to keep the thumbprints clean and round.
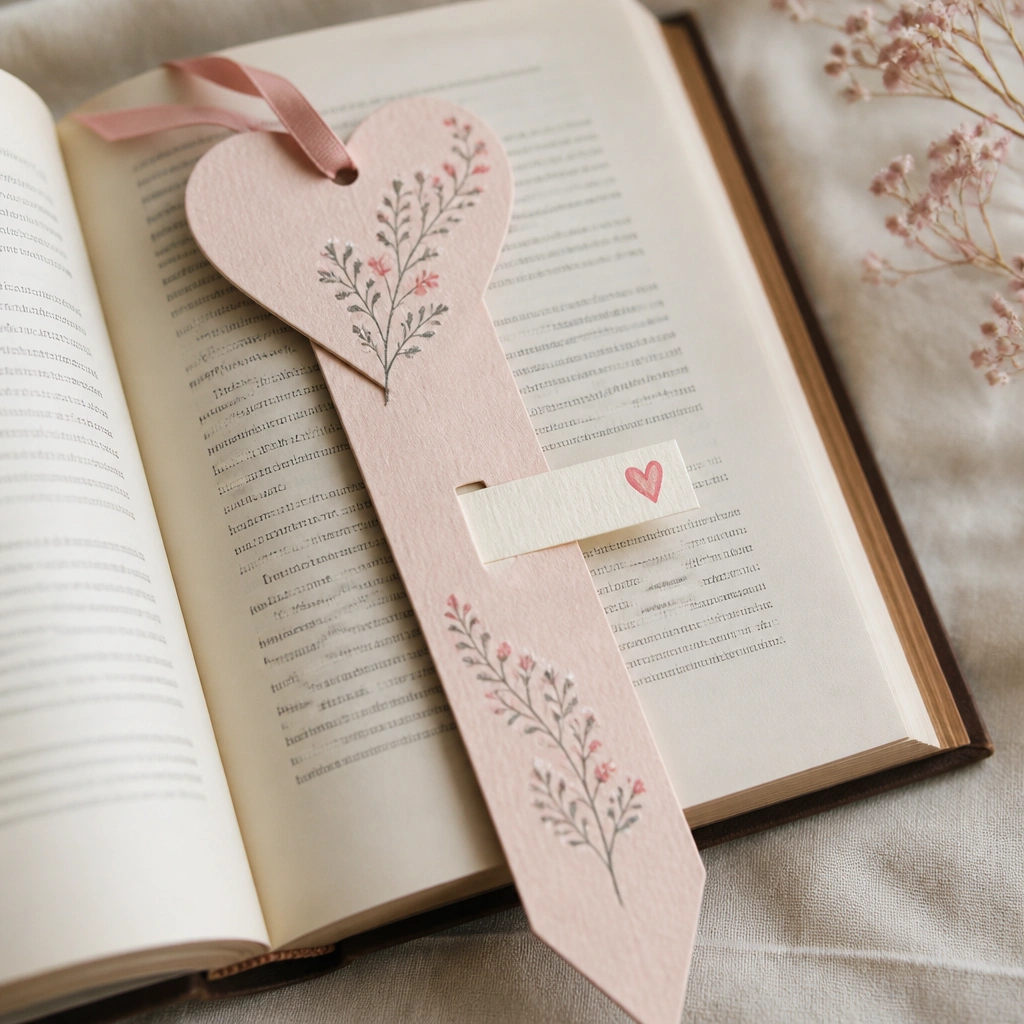
Cut a bookmark strip about 2 inches wide and 7-8 inches tall. Make a heart-shaped top and a pointed bottom. Add a narrow inner strip (like a pull-out) with a short message — “Love you always” — so it feels like a secret note.
Good to knowLaminate with clear tape over the bookmark to protect it from page moisture.
6. Crayon-Melted Marbled Flower Card (No Oven Method)
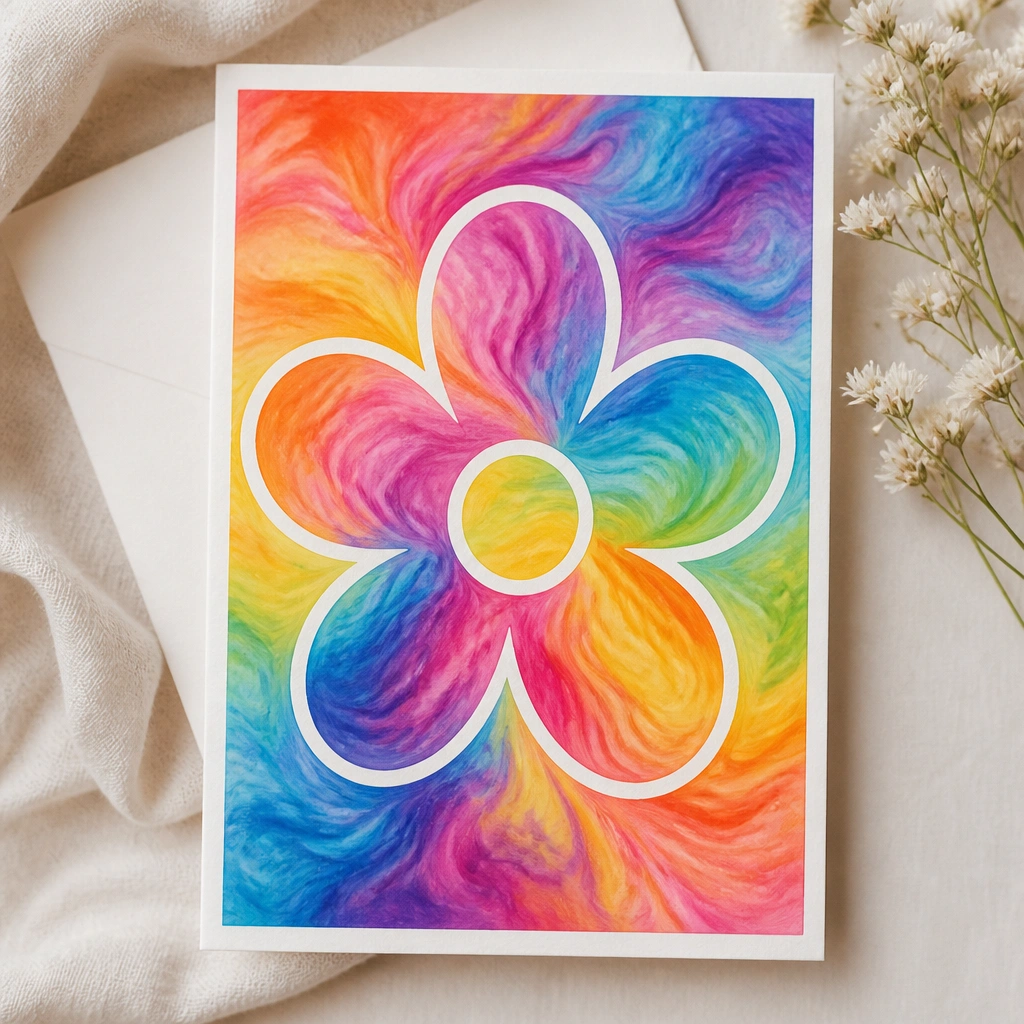
Grate or break crayons into small pieces, then sprinkle on wax paper cut to a flower outline. Place another sheet of wax paper on top and use a warm iron (adult only) briefly to melt and swirl. Once cool, peel the wax-marbled flower onto cardstock and add a handwritten “Thanks for being my sunshine.”
Good to knowKeep the iron moving in 2-3 second bursts — don’t overheat or the paper will warp.
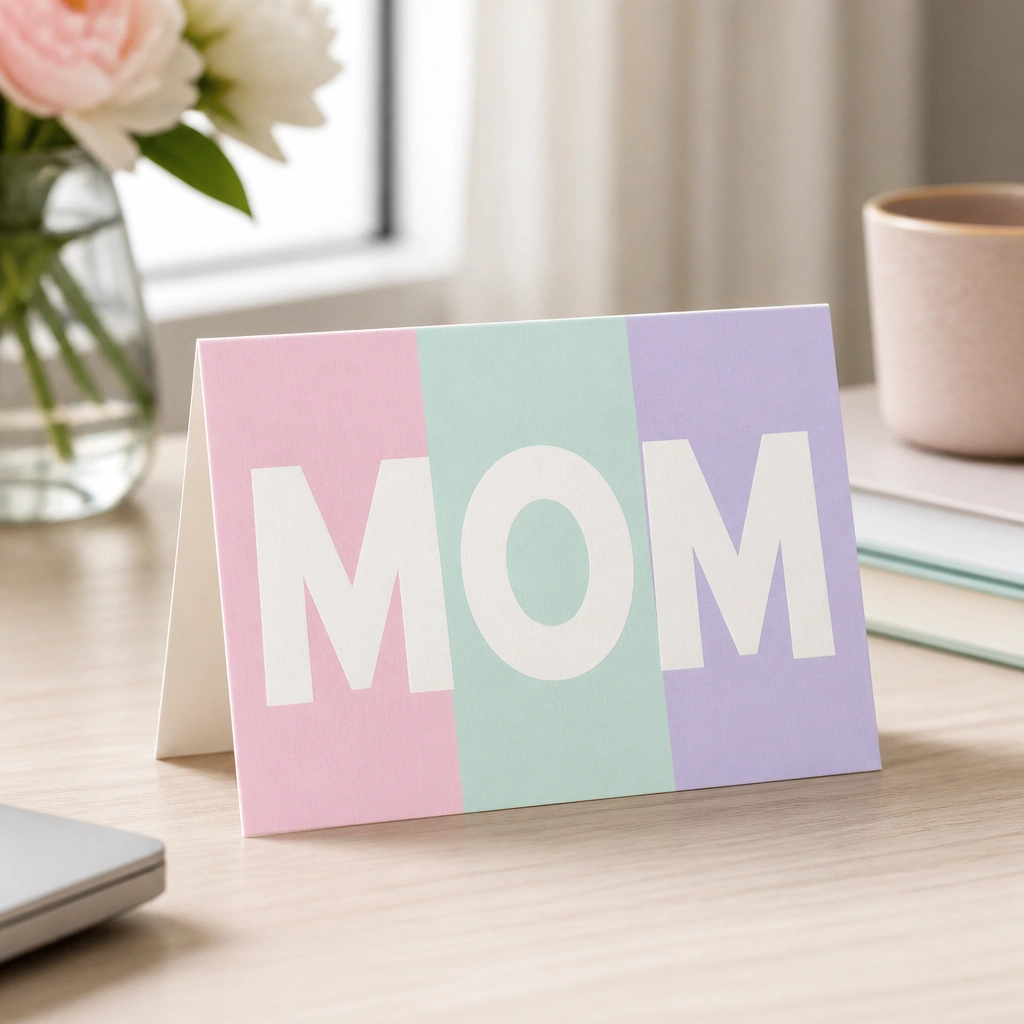
Cut a rectangle about 5x7 inches and draw “MOM” in thick block letters. Fill behind each letter with separate color blocks so it looks designed, not scribbled. Make a simple stand by folding a 1-inch tab at the bottom back.
Trace letters lightly first, then go over with a thicker marker for crisp edges.
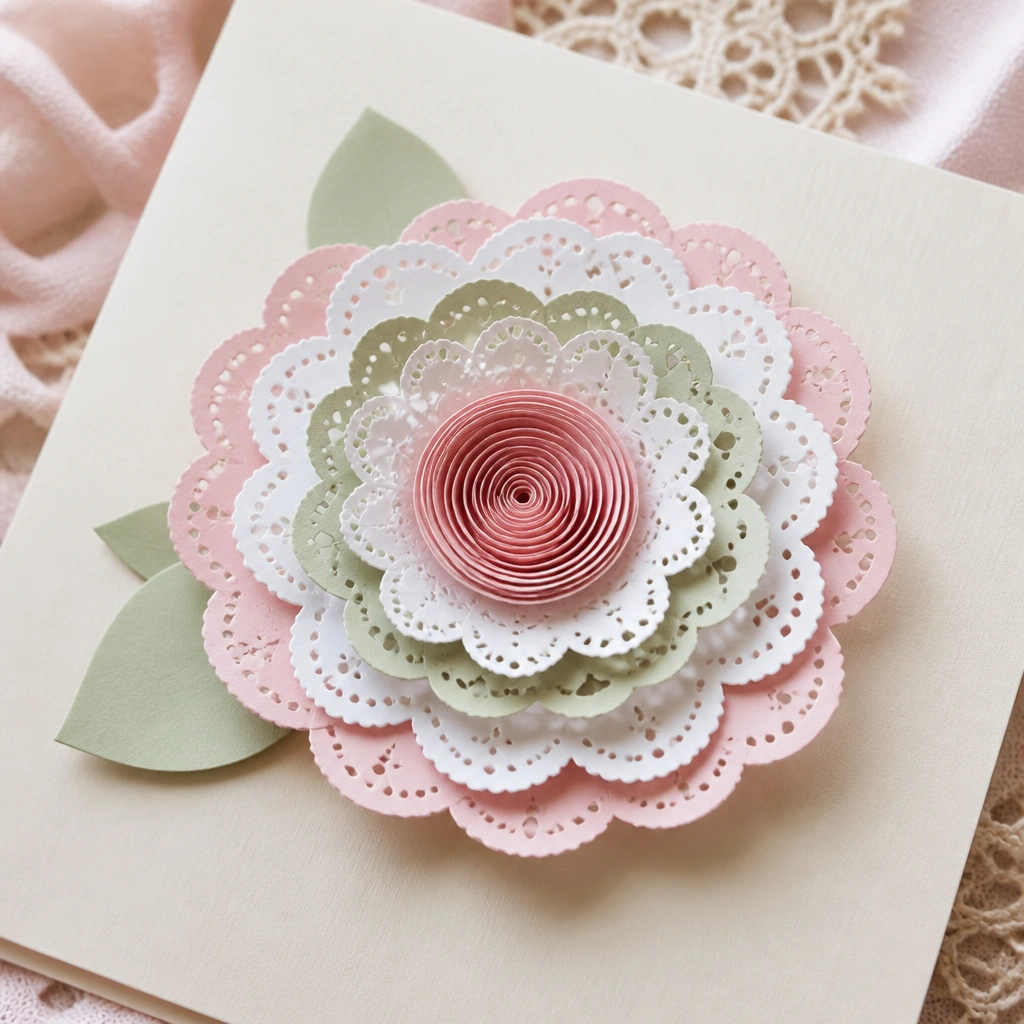
Cut 3 scalloped circles from paper in different sizes (use a paper punch or draw scallops with a template). Layer them like a flower skirt. For the center, roll a narrow strip of paper tightly and glue the end, then press it in the middle for a 3D look.
Good to knowRoll the center before assembling the petals so it stays tight and doesn’t uncoil.
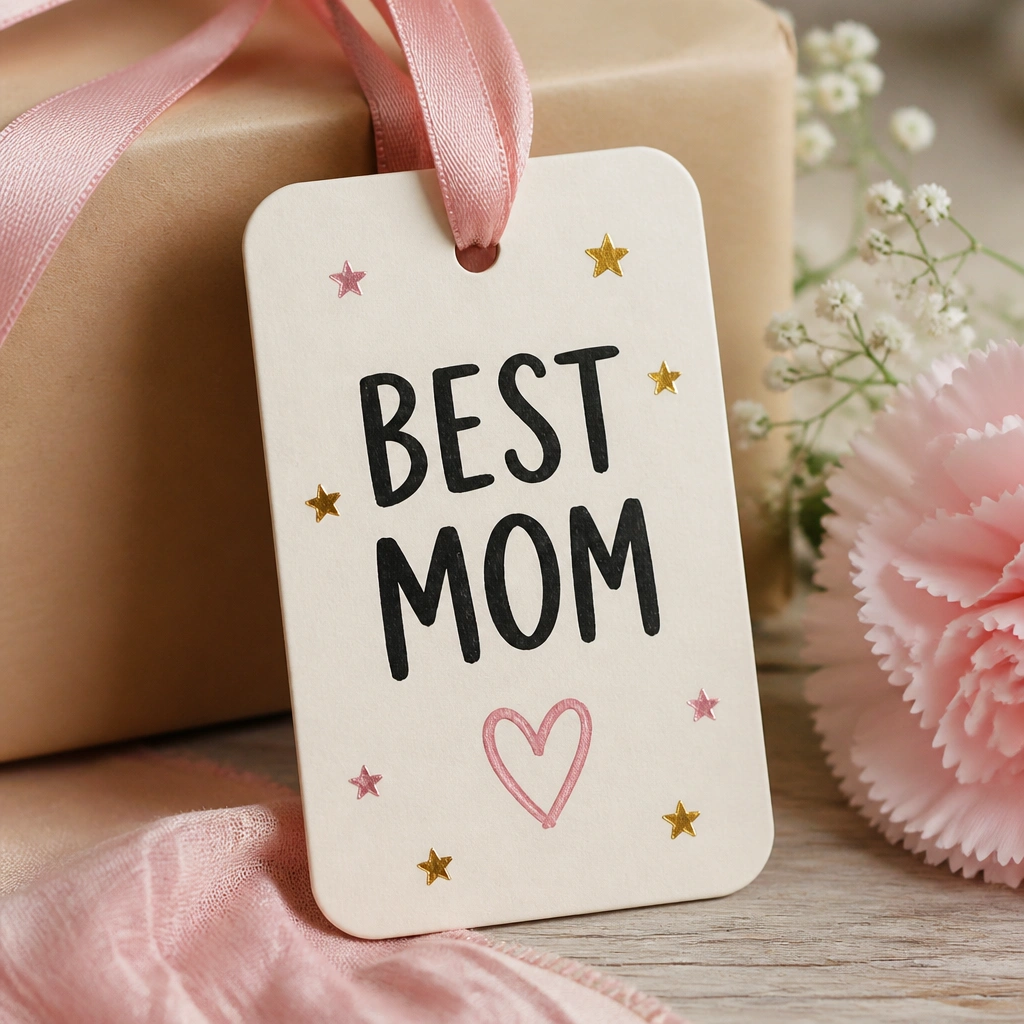
Cut a tag (about 3.5x5 inches) and round corners with scissors. Add bold lettering and a few small sticker accents. Punch a hole at the top and thread ribbon through for a hanging gift mom can place on a hook or bag.
Use a black marker outline around letters to make them pop against pastel backgrounds.
10. Simple Origami-Style Heart with Message Pocket
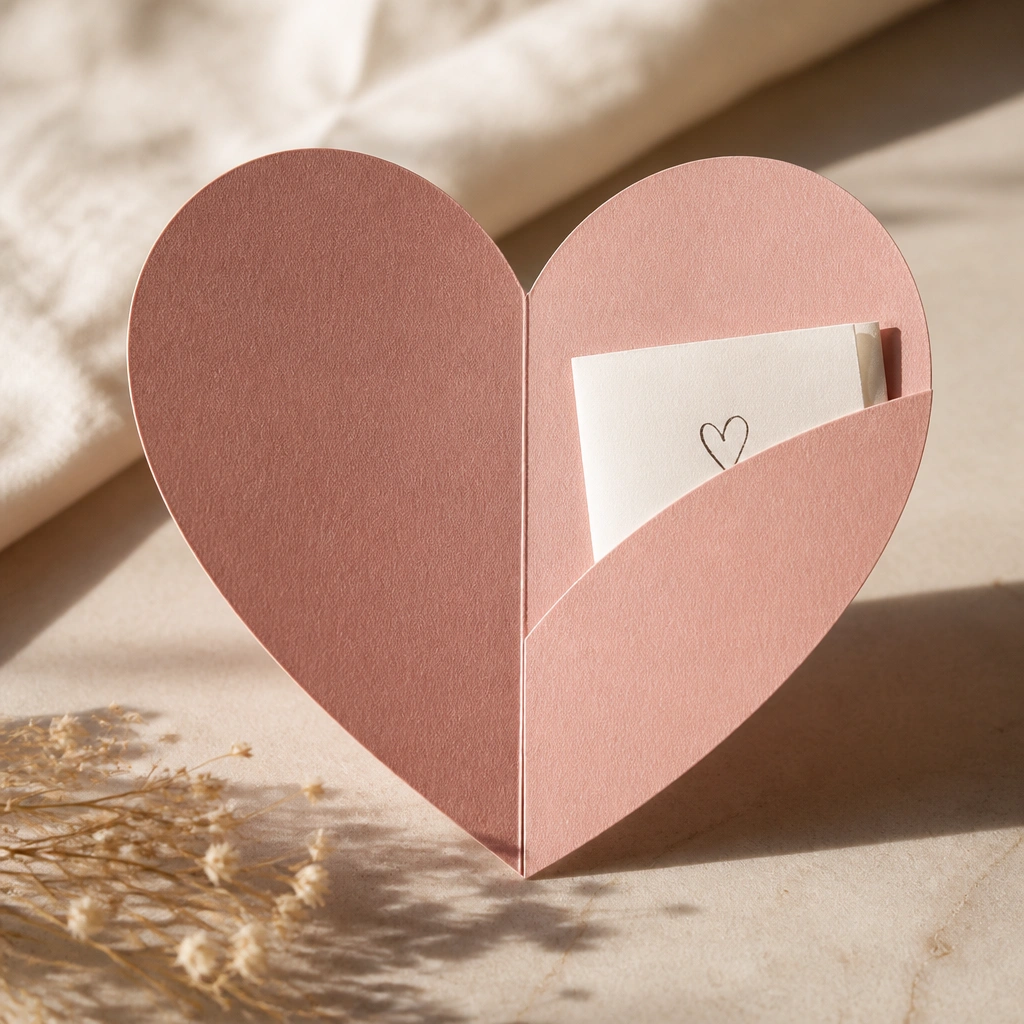
Use a square of paper (about 6x6 inches) and fold into a heart shape with basic creases. Glue the sides lightly to form a pocket, leaving the top open. Slip in a short message and write “To the best mom” on the front.
If the paper is thin, reinforce the heart folds with a strip of tape on the inside.
Your questions, answered
How long do these Quick Mothers Day Crafts for Kids take?
Most projects are designed for 30 minutes or less from start to finish. Crafts using paint may need 10-20 minutes to dry, but you can keep them drying while you assemble the message or photo.
What’s the total cost per craft?
If you already have paper, scissors, and glue, the cost is usually under $3 per craft. The biggest variable is paint or foam stickers, which can be reused for multiple projects.
Where can I get the supplies quickly?
Most items are at discount craft stores, big-box retailers, or online craft packs. For same-day options, check local grocery stores for foam stickers and ribbon, and use printer paper/cardstock from home if you’re in a pinch.
Are these beginner-friendly for kids?
Yes — the designs rely on simple cutting, layering, and gluing. For younger kids, prep the cut shapes ahead of time and let them handle decorating, stamping, and writing.
How long will the crafts last after gifting?
Paper crafts last best when stored flat and kept dry. If you use clear tape over bookmarks or frame edges, they handle normal desk-shelf use for months.
How should I care for a paint or crayon craft?
Let it fully cool or dry before wrapping. Avoid direct sunlight for long periods to prevent fading, and keep it away from wet surfaces.