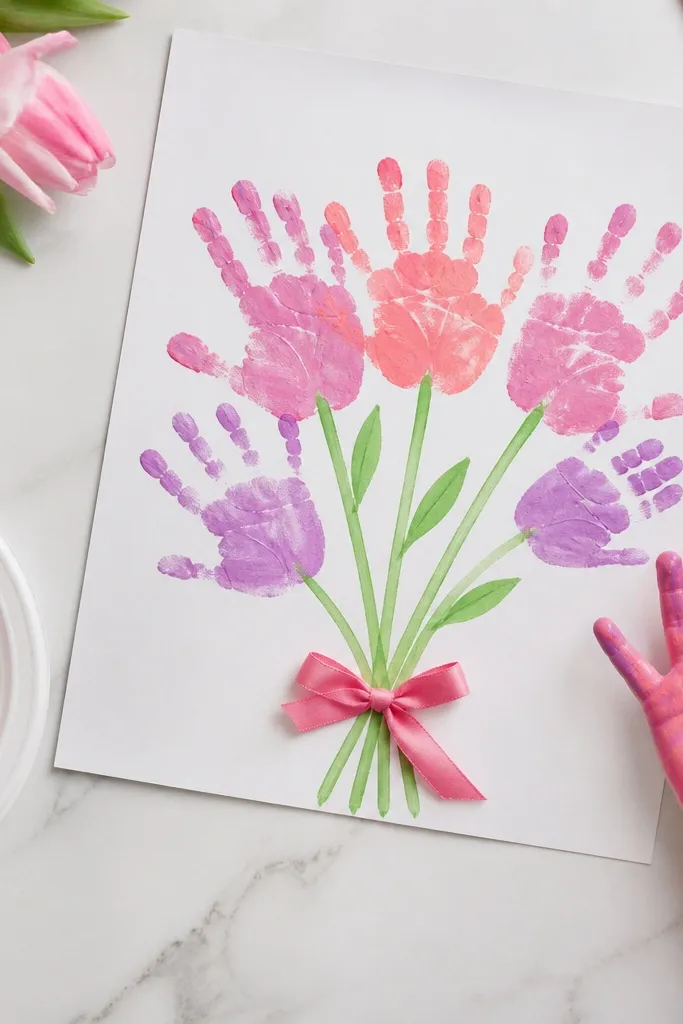
1. Fingerprint Flower Bouquet on Watercolor Paper
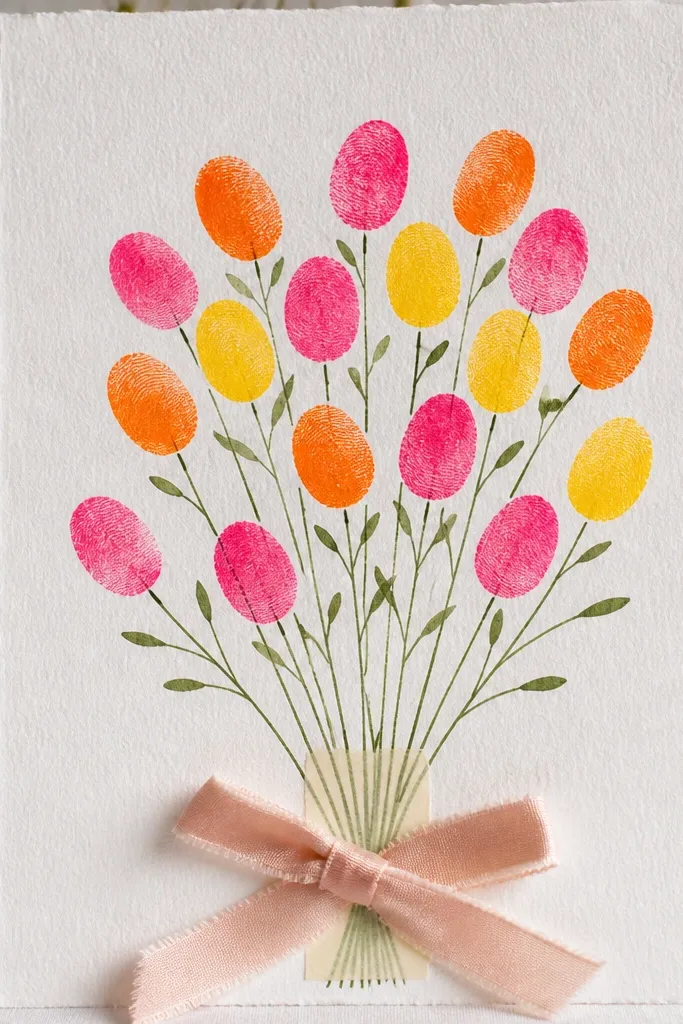
Use washable paint on fingertips for quick blooms. Kids press fingerprints in clusters, then add stems and leaves with a green marker or thin paintbrush. Watercolor paper makes the colors look soft and painterly instead of flat.
Mix a little dish soap into paint for smoother fingerprints and less smearing, then let dry flat for at least 45 minutes.
2. Heart-Layered Paper Photo Frame with Crayon Resist
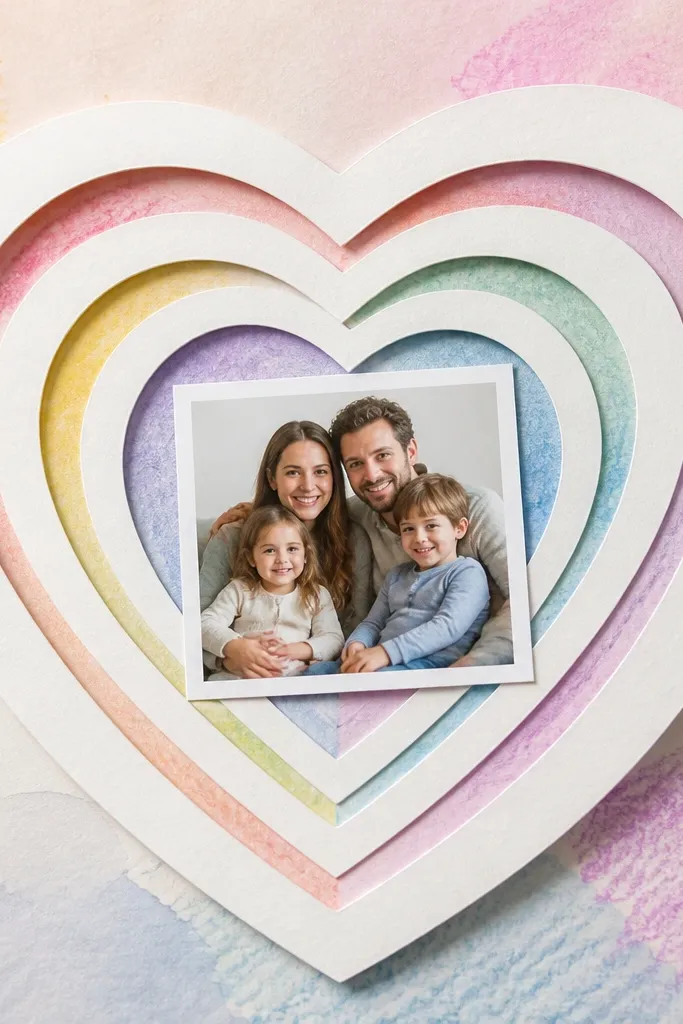
Trace a heart outline on thick cardstock, cut a window for a photo, and layer smaller hearts behind it. Kids scribble crayon inside the window area, then paint over with watercolor so the crayon resists and shows a subtle pattern. The result looks artsy and expensive.
Seal with a clear glue stick on the back only (not over the photo area) to avoid warping; use a 4x6 photo or print smaller and trim.
3. No-Sew Felt Mother’s Day Bookmark with Stitched Edge
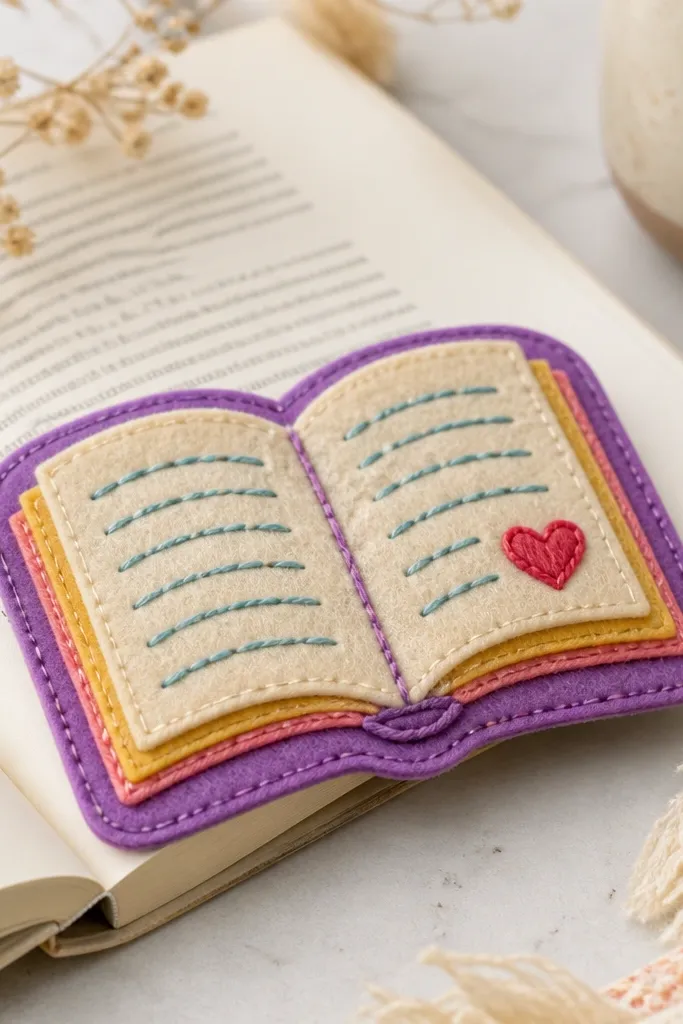
Cut two matching bookmark shapes from felt, then add a decorative “stitched” border using yarn and fabric glue. Kids can glue small felt shapes (heart, flower, or “Mom”) for a cozy handmade look that’s durable for daily use. Felt bookmarks don’t need sewing machines and hold up well.
Use fabric glue and press with clothespins for 10 minutes so the felt layers bond firmly.
4. Thumbprint Butterfly Keepsake Card
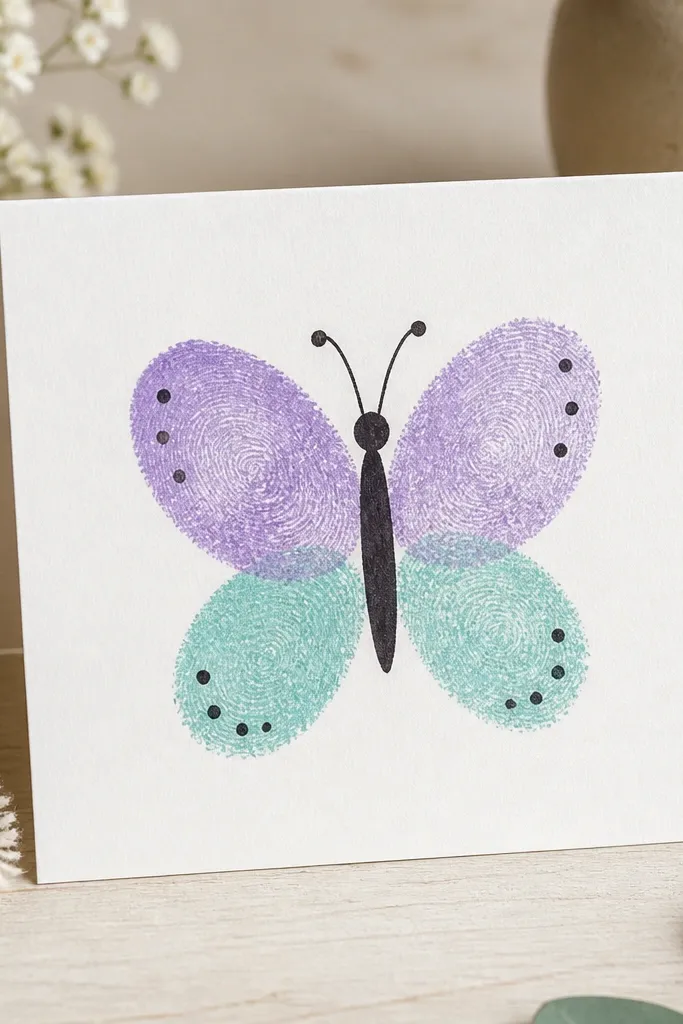
Fold cardstock and use thumbs as wings, then add a body and antennae with a fine-tip marker. Create symmetry by placing the second thumbprint to mirror the first. Kids can add tiny dot details around the wings to make it feel whimsical.
Good to knowHave kids practice on scrap paper first so the thumbs land cleanly before committing to the card.
5. Salt Dough Handprint “Mom” Ornament
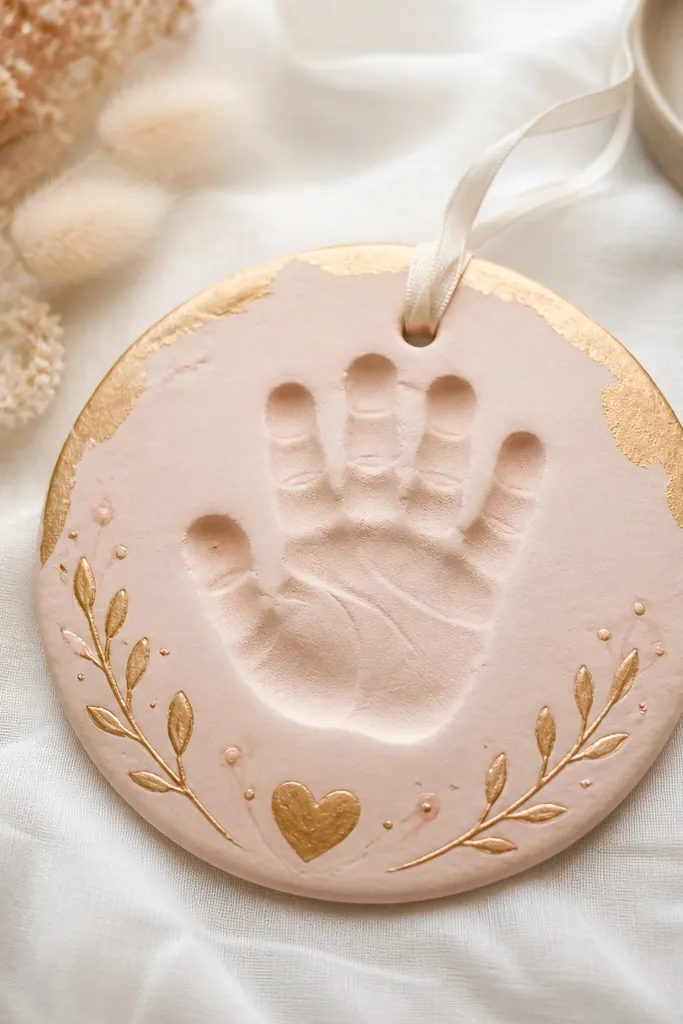
Salt dough is a classic keepsake that looks beautiful as an ornament or tag. Press a small handprint (or larger with a sibling) into the dough, bake until hard, then paint. Add a ribbon loop and a protective clear coat for a glossy, gift-ready finish.
Bake fully until the center is hard (usually 2-3 hours at low heat) to prevent later cracking.
6. Paper Plate Daisy Crown
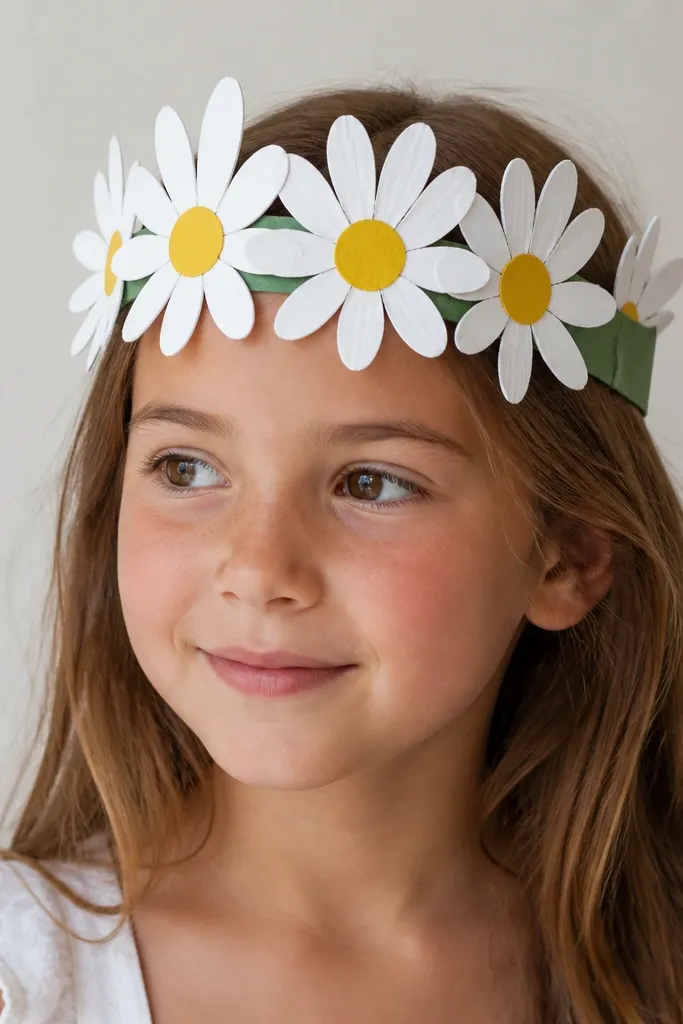
Cut a paper plate into a headband strip and punch or cut petal shapes around the edge. Kids paint petals white, add a yellow center circle, then glue small green leaves between flowers for a garden vibe. It’s perfect for pictures and easy to wear.
Use a glue gun only for the base seam; let kids glue petals with school glue for safer handling.
7. Rainbow Tissue Paper Bouquet in a Jar
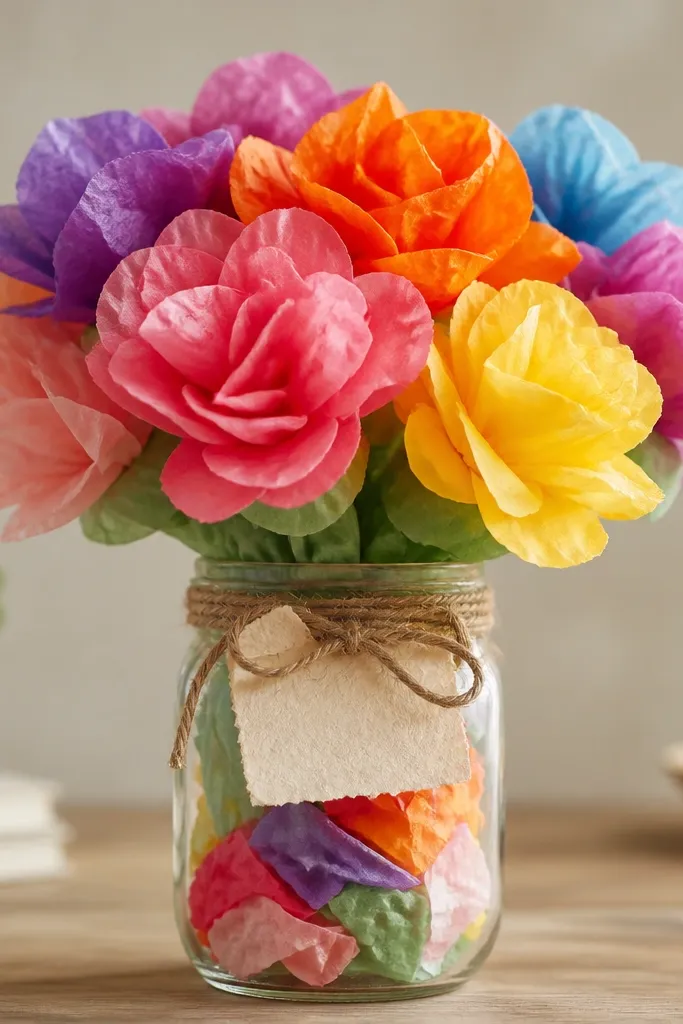
Crumple tissue paper into small buds and wrap each with green pipe cleaner stems. Arrange in a jar so the colors stack and look full from the front. The jar makes it feel like a real bouquet while staying kid-safe.
Cut a circle of cardboard to fit inside the jar as a base so stems stay upright.
8. Mother’s Day “Kindness Coupons” Scratch Card
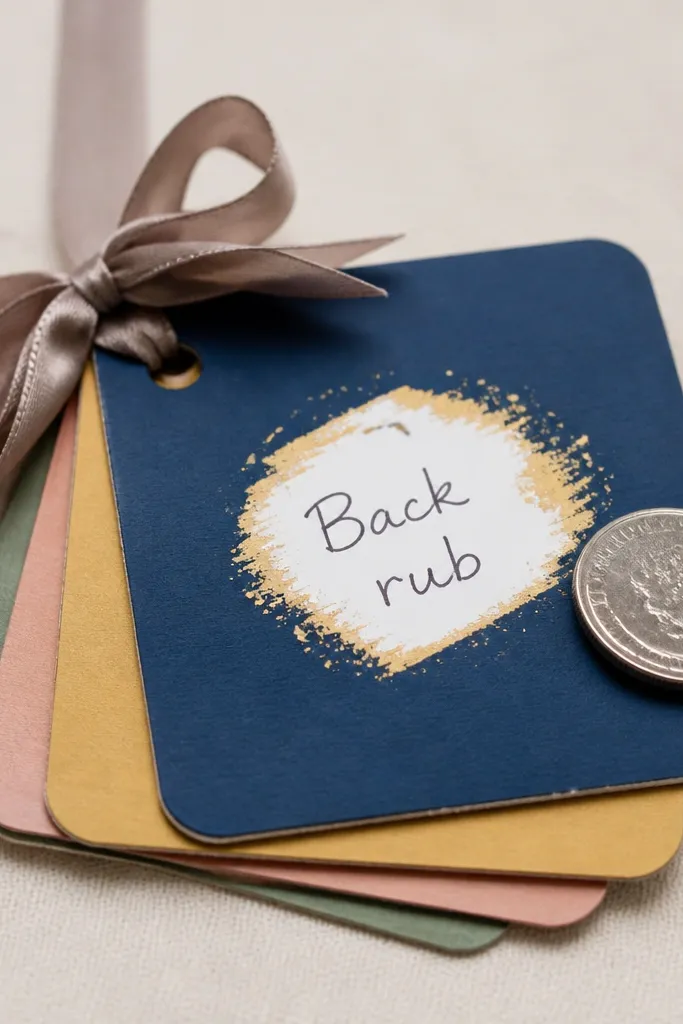
Write kindness promises on small strips, then cover with a scratch layer (like crayon plus black marker or a simple craft coating). Kids scratch to reveal the message, turning a gift into an interactive keepsake. Add a bow to make it feel special.
Use bold handwriting and large letters so the messages are readable even after scratching.
9. Cupcake Liner Bloom Wall Art
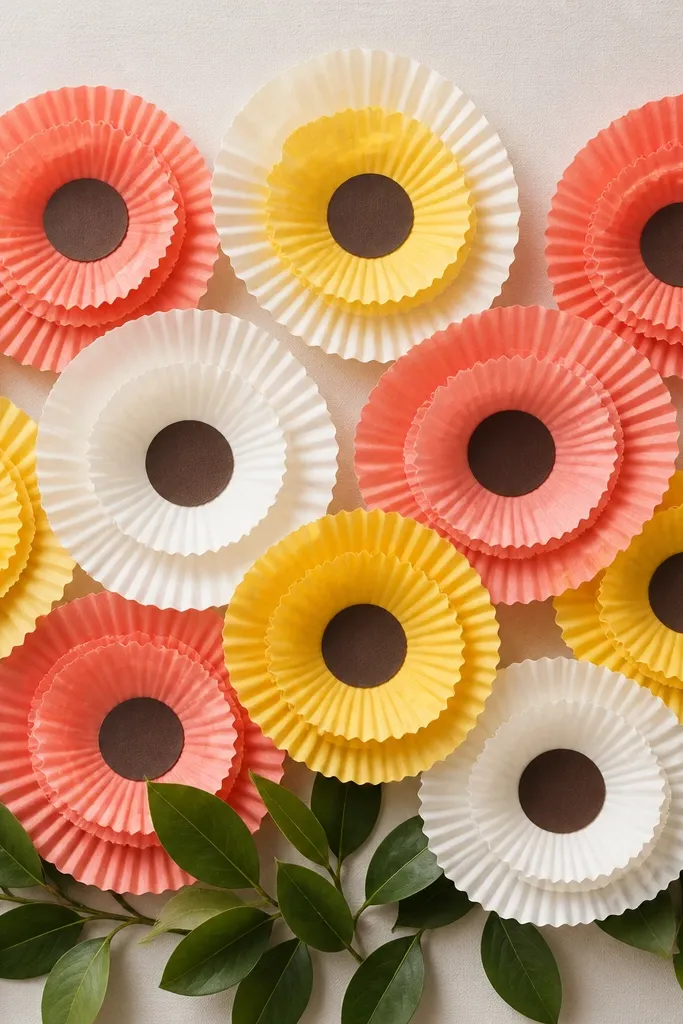
Cupcake liners naturally create petals, so kids can stack and glue them quickly. Layer two liners per flower for dimension, then glue a paper circle in the center. Finish with green leaf cutouts for a bright spring look.
Let kids press the glued stack for 20 minutes under a heavy book for flatter, cleaner petals.
10. Thumbprint Flower Pot with “I Love You Because…”
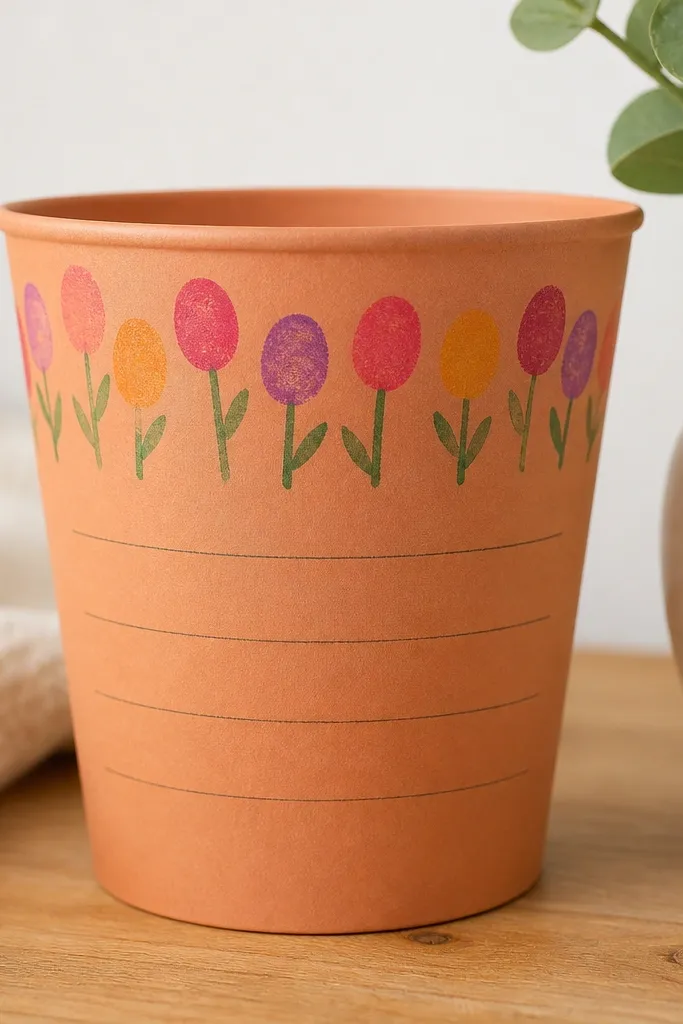
Make a simple pot shape from construction paper and add thumbprints as blossoms. Then write a few “because” prompts around the bottom so kids can personalize the message. It’s heartfelt and still visually bright for photos.
Use a thicker black marker for the “I love you because” line so it stays legible once the craft is framed or held.
11. Pop-Up Origami-Style Heart on Card
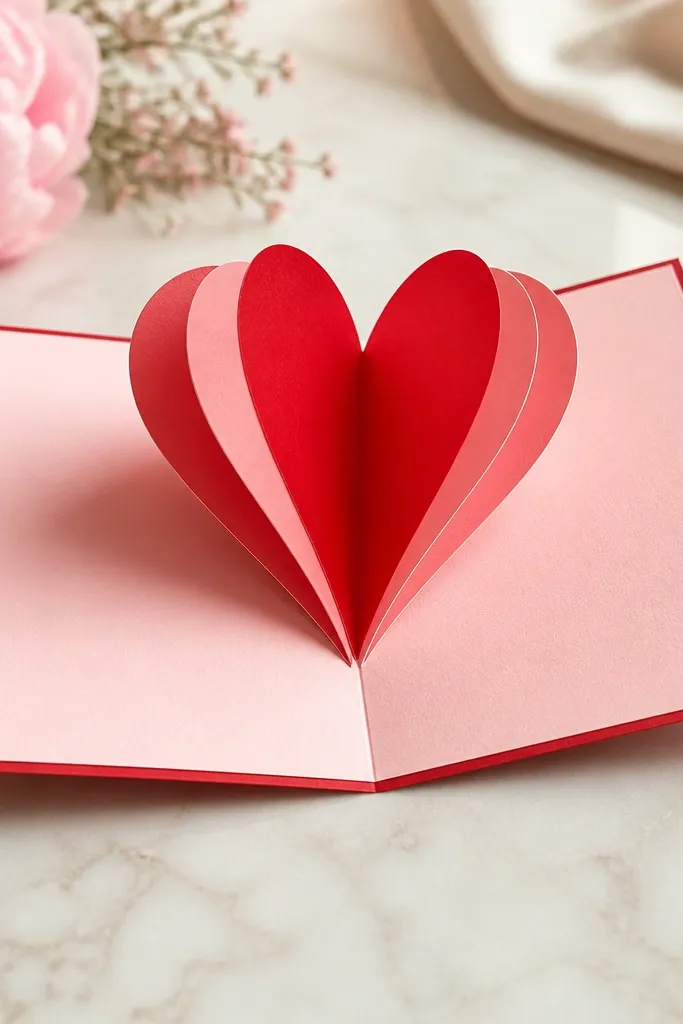
Even without true origami, you can create an origami-inspired pop-up heart using simple folds and cutouts. Kids can color both sides and add small sparkles for a festive look. The 3D effect makes it feel more “grown-up” than a flat card.
Score folds with the back of a butter knife for crisp edges that pop cleanly.
12. Beaded Bracelet with Sticky-Back Patterns (No Stringing)
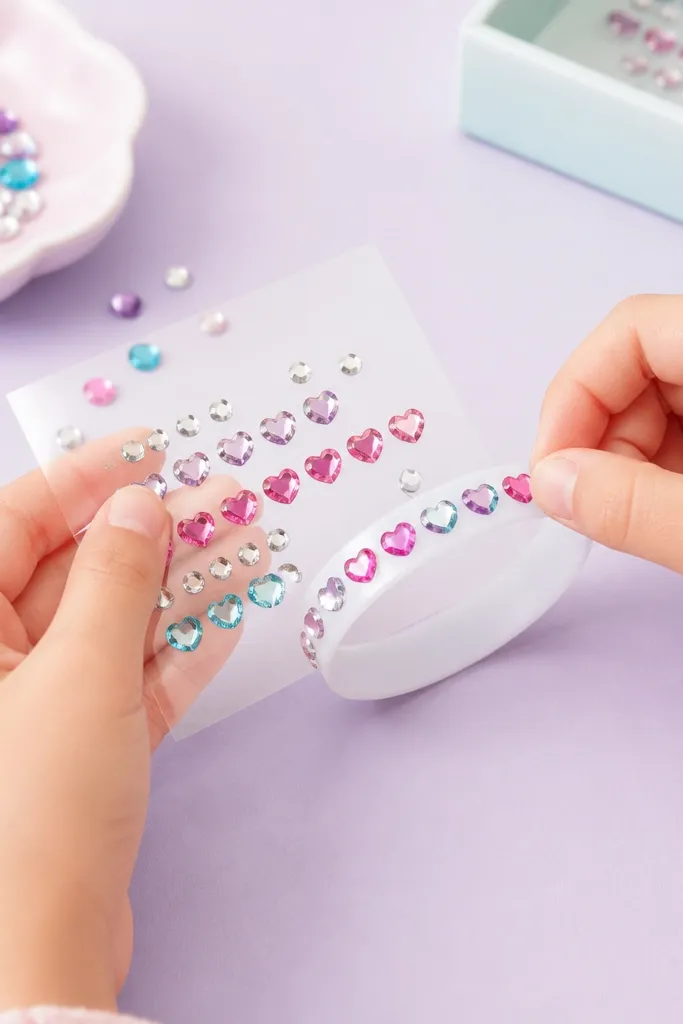
For younger kids, use sticker beads or rhinestone stickers arranged on a template. Press onto a flexible bracelet band or a strip of clear tape backed by cardstock so the design holds. It’s a quick wearable that doesn’t require fine motor stringing.
Choose larger beads (or sticker jewels) for toddlers and preschoolers to avoid frustration.