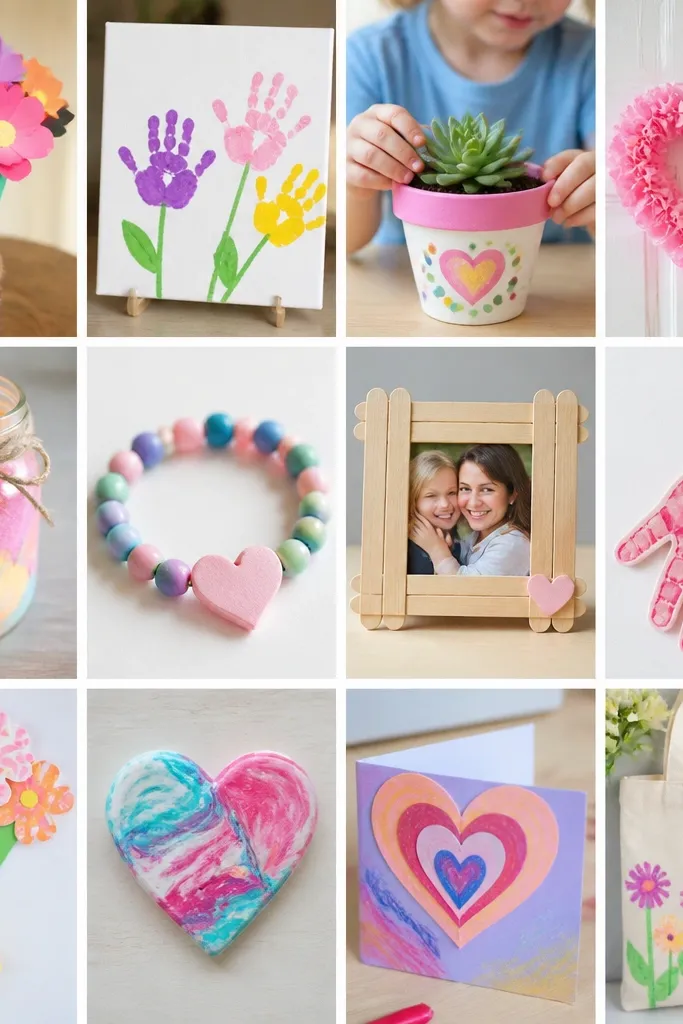
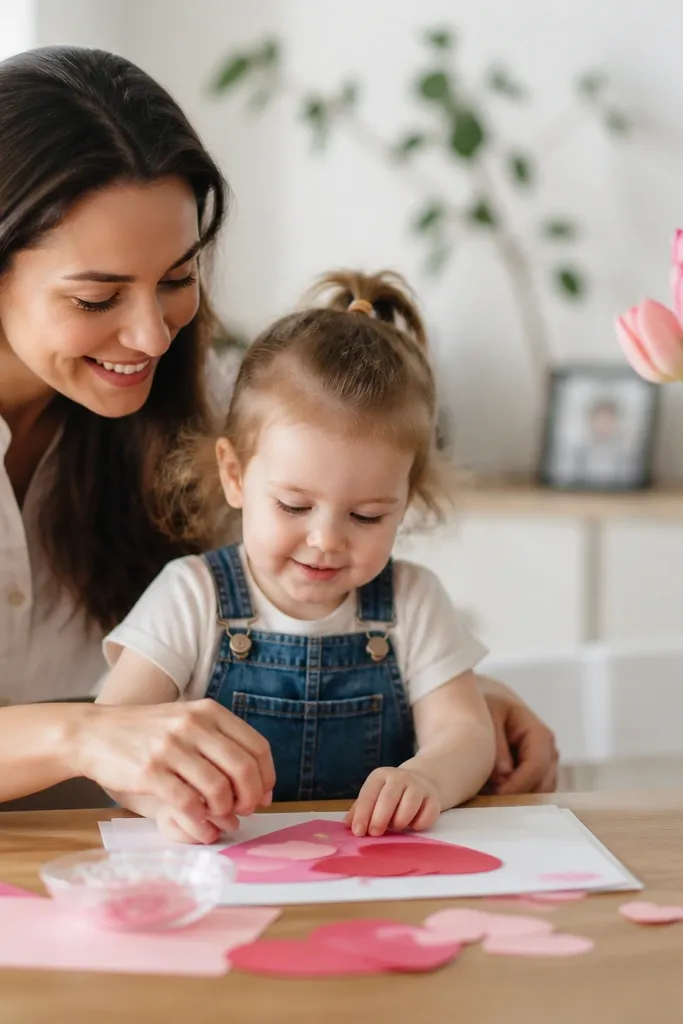
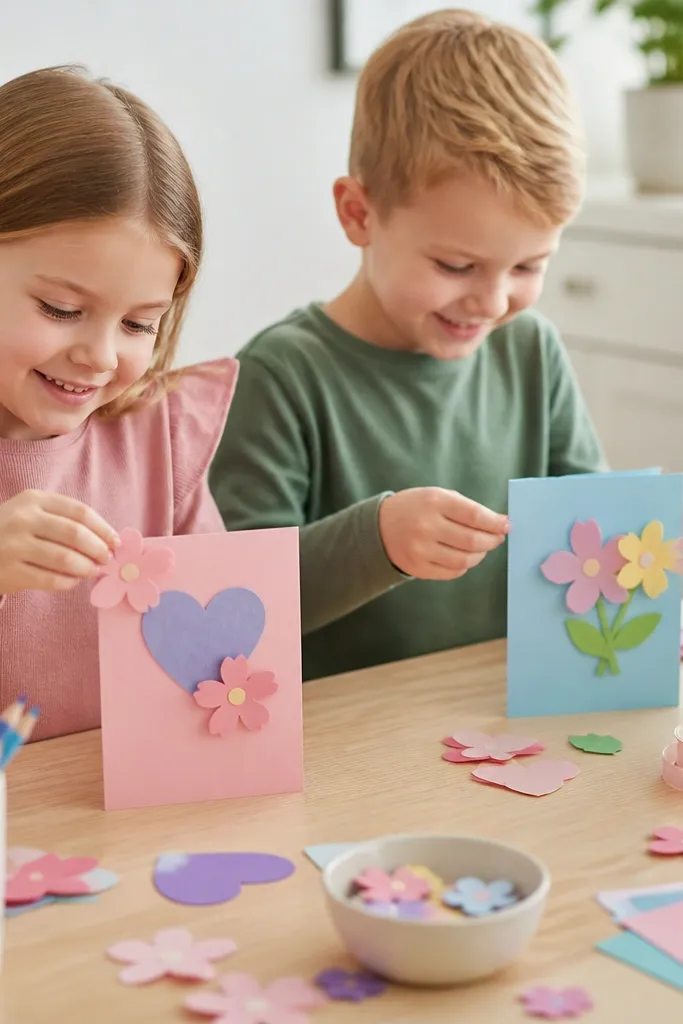
DIY Mother’s Day Crafts Kids Can Make at Home in under 30 minutes — no craft-store scavenger hunt required. You’ll get 6 kid-friendly projects that use everyday supplies (paper, glue, markers, and a few extras) and turn into heartfelt gifts kids can actually finish in one sitting. If you’ve got a picky-maker kid who hates “waiting for glue to dry,” these crafts build in quick-dry steps so you’re not stuck babysitting drying time.
Step by step
Pick one project by your time. Choose a craft that matches your schedule: paper cards take 15-20 minutes, while keepsake ornaments take closer to 30 minutes. If your kid gets impatient, start with a card or a simple “thumbprint bouquet.”
Prep a small “craft station”. Set out only what that project needs — for example, for a card: one sheet of cardstock, markers, glue stick, and a small strip of ribbon. This prevents the “I need everything” problem mid-craft.
Do the quick-dry parts first. Start with drawing and cutting, then glue only small sections. For projects with glue, apply it in thin lines so pieces bond faster.
Assemble and add the personal touch. Layer shapes, then write a short message on the inside (or back) right away before the craft gets crowded. Add one “signature” detail like a heart, a name banner, or a tiny handprint.
Let it set and finish the packaging. Let flat paper crafts sit 10 minutes, then wrap with a simple ribbon or place in a gift bag. For layered or 3D crafts, place them on a flat surface while they set.
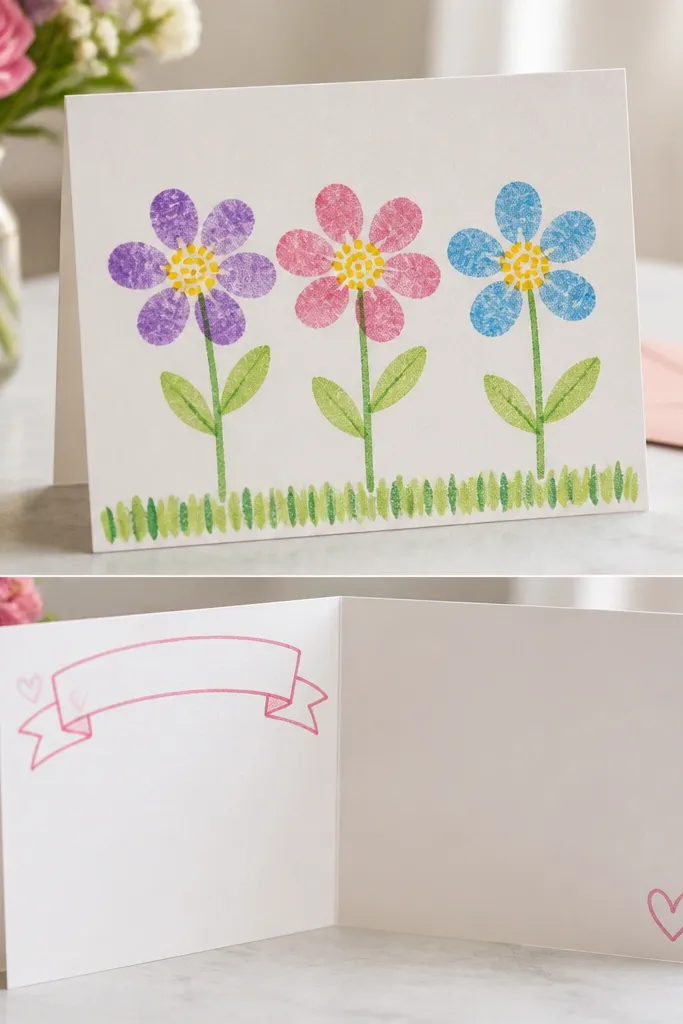
1. Thumbprint Flower Card with “I Love You Because…”
Use washable paint or thick marker to make thumbprints as petals, then draw a small yellow circle for each flower center. The card front looks cheerful and dimensional even though it’s mostly flat. The inside prompt makes it easier for kids to write a meaningful message without pressure.
Do the thumbprints first on scrap paper to test pressure, then transfer to the card so petals look consistent.
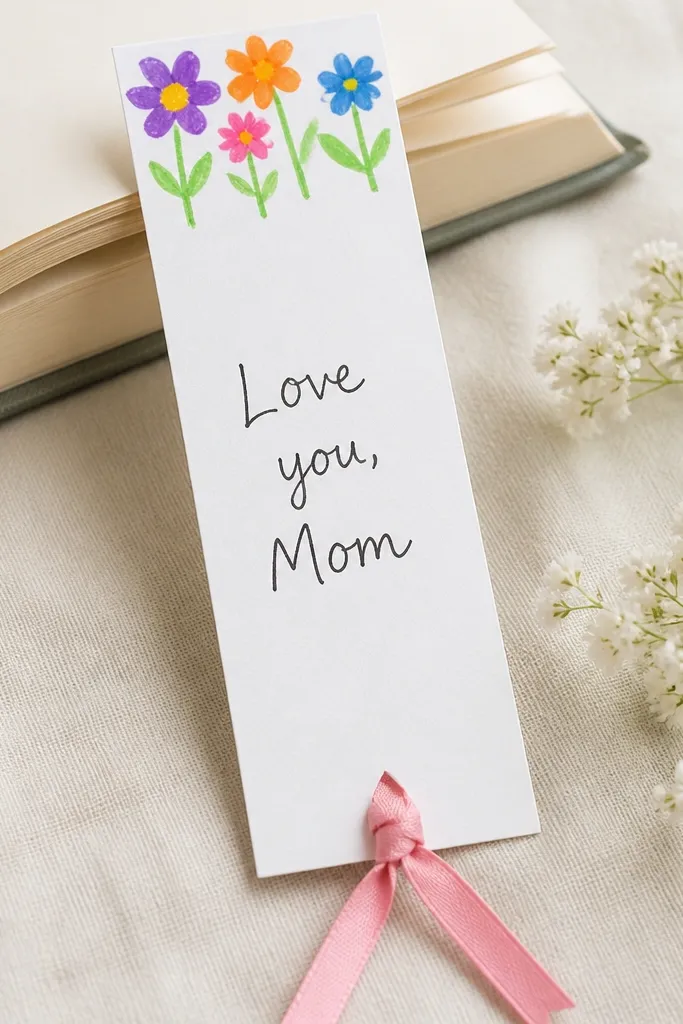
2. Hand-Drawn Bouquet Bookmark (No Cutting Needed)
Fold or trim cardstock into a bookmark shape and decorate the top like a bouquet using simple flower doodles. This gift is practical and stays useful long after the holiday. Ribbon at the bottom adds a “real gift” feel without extra supplies.
Laminate with clear packing tape if Mom reads a lot — it helps the bookmark survive repeated use.
3. Paper Plate Sunflower Keepsake (Kid-Stamped Texture)
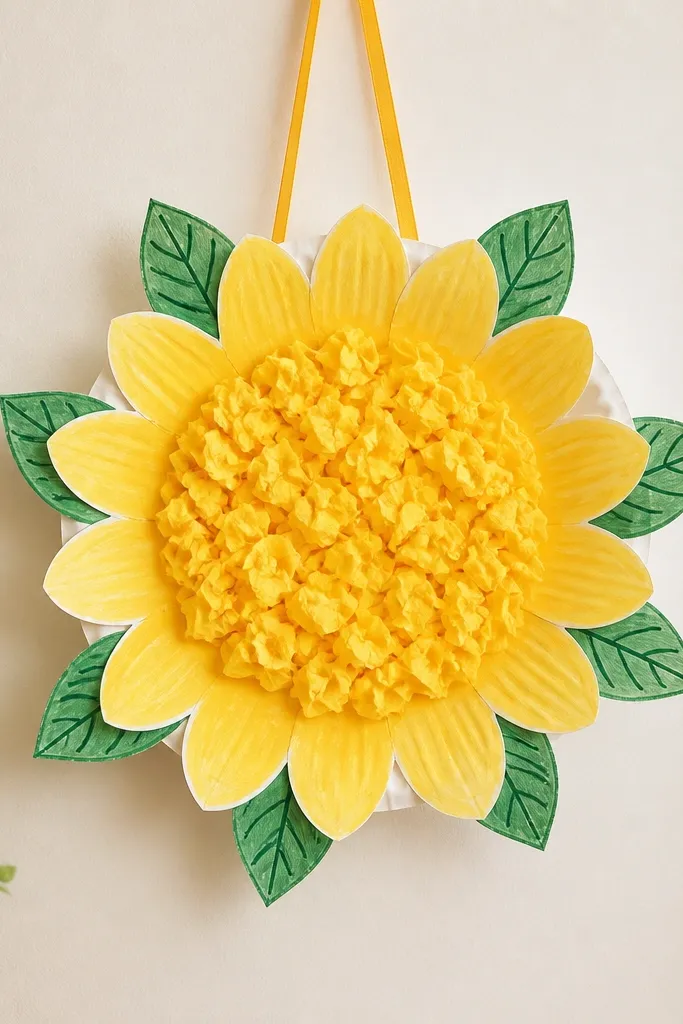
Cut a paper plate into a sunflower outline, then fill the center with crumpled yellow paper for a textured look. Kids love the tactile crumpling step, and the sunflower shape is instantly recognizable. The hanging ribbon turns it into a wall decoration or door hanger.
Glue the crumpled paper in small clumps so the center looks full instead of patchy.
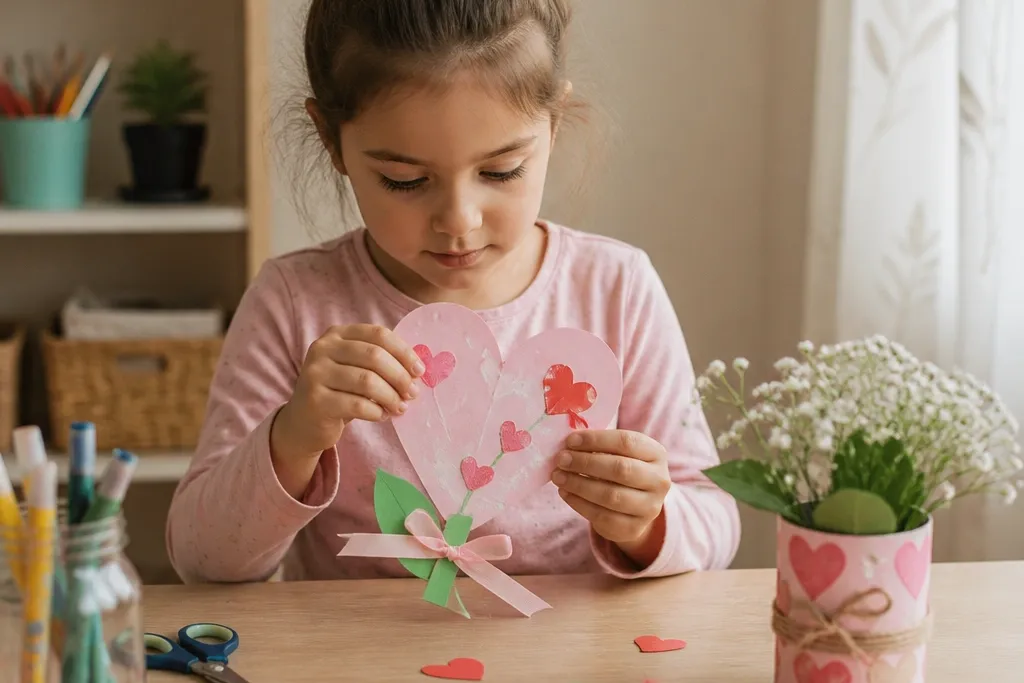
Cut a large heart from cardstock and glue wax paper behind the opening to create a soft “window” look. Add a short message strip (like “Thanks for being my safe place”) so the gift feels interactive. Wax paper catches light beautifully and hides glue lines.
Good to knowPress wax paper flat before attaching so it doesn’t wrinkle and blur the message.
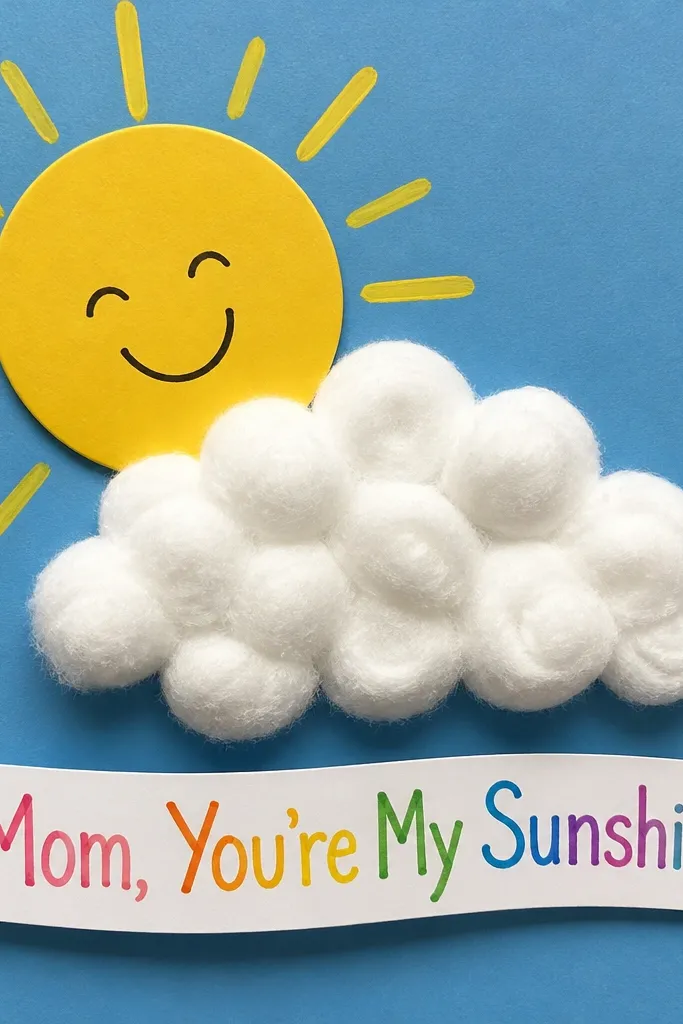
Glue cotton balls onto a blue background for a fluffy cloud texture, then draw a bright sun with bold rays. Kids can personalize the banner text with markers, making it feel like a one-of-a-kind poster-card. It’s simple but visually “wow” because of the texture contrast.
Use a glue stick for the cotton ball edges first, then spot-glue the center so it stays puffy.
6. Felt or Foam “Mom” Flower Pin with Sticky-Back Option
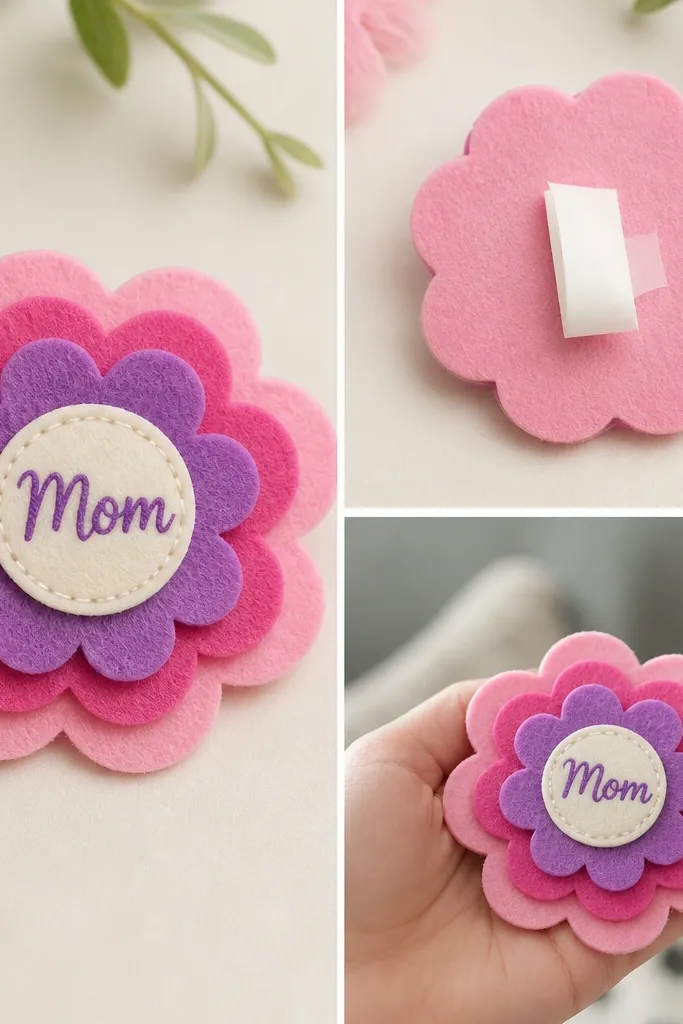
Layer felt or foam petals to make a dimensional flower, then add a small circle center with “Mom.” This craft works great for kids who like decorating because it’s mostly cutting and placing. Use a sticky-back fastener or tape patch on the back for an easy “pin-like” feel.
Good to knowIf you’re using tape, keep it on the back only and test on a scrap of fabric first.
7. Salt-Sprinkle “Grateful Heart” Card
A folded card with a large heart outlined in glue. Over the glue, white salt is sprinkled to create a sparkling texture. Inside the card, glittery marker handwriting says “Grateful for you.”Save
Outline a heart with glue, then sprinkle salt for a textured, sparkly look. Kids can write a short “grateful for you” note inside, turning it into a heartfelt mini-essay. The salt texture makes the card feel more special than plain paper.
Shake off excess salt over a trash can so it stays neat and doesn’t make the card messy.
8. Yarn-Wrapped “I Love You” Frame (Quick Wrap Strips)
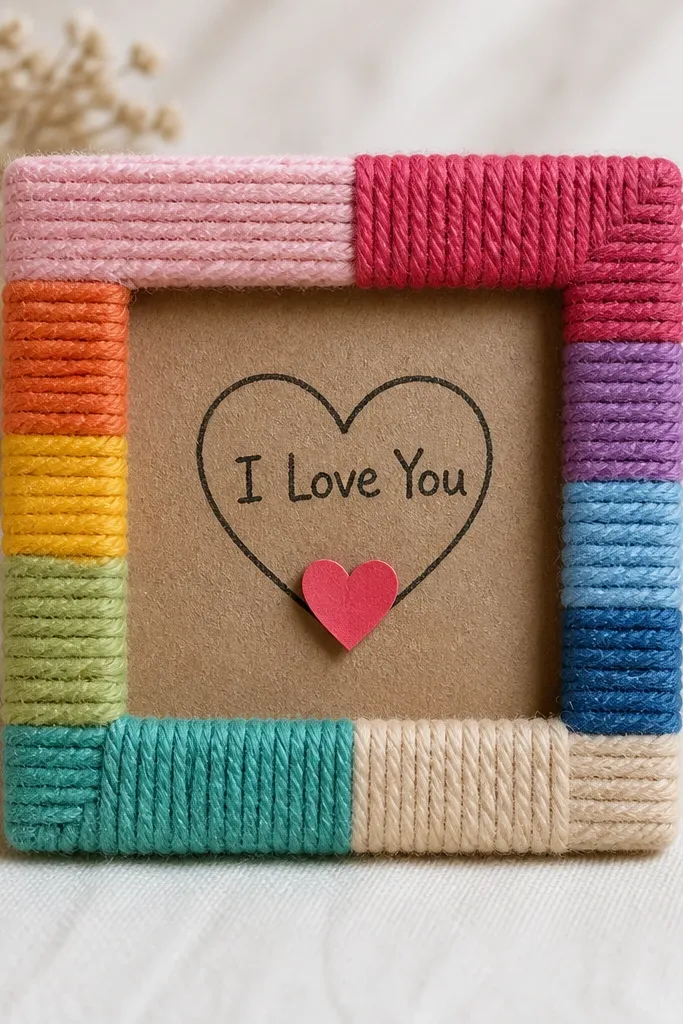
Wrap yarn around a cardboard frame in short, straight bands for an easy pattern that doesn’t require perfect spacing. The center message keeps it sweet and readable from across the room. This craft looks more advanced than it is because the yarn texture does the heavy lifting.
Good to knowGlue the yarn ends first, then wrap with light tension so bands lie flat.
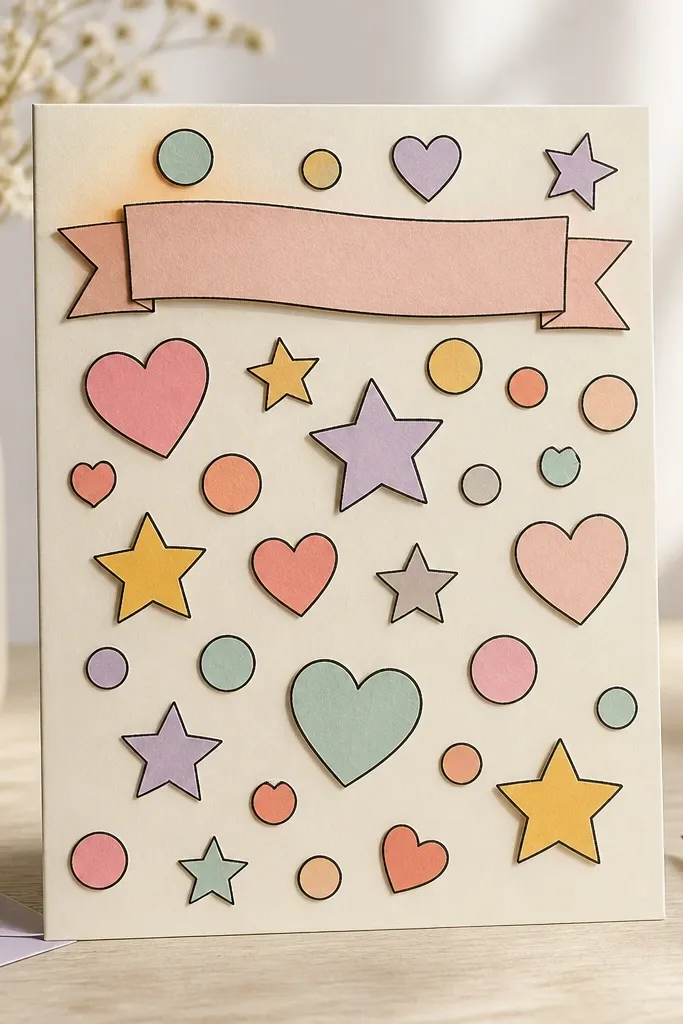
Kids can cut simple shapes from paper and outline them with a darker marker to mimic store-bought stickers. It’s fast because shapes are small and the collage style hides tiny imperfections. The “Thank You” banner gives structure when kids aren’t sure what to say.
Outline shapes before gluing them — the outlines look cleaner and you won’t smear glue lines.
Your questions, answered
How long do these DIY Mother's Day Crafts Kids Can Make at Home projects take?
Most paper-based crafts take 15-25 minutes. The yarn-wrapped frame and 3D sunflower keepsake usually take closer to 30 minutes, depending on how detailed your kid gets.
What’s the approximate cost per craft?
If you already have paper, markers, glue, and scissors, most crafts cost about $1-$3 in extras. Optional upgrades like felt, ribbon, or wax paper may add a little more.
Where can I find materials if I’m missing something?
Dollar stores and big-box craft aisles are great for ribbon, felt/foam sheets, and embellishments. For wax paper and cardstock, check grocery stores with baking supplies or office supply sections.
Are these beginner-friendly for younger kids (ages 4-6)?
Yes, especially the bookmark, cotton ball cloud, and stickerless collage. For younger kids, pre-cut shapes and handle any glue-heavy steps while they place pieces.
How long do the crafts last, and how should I store them?
Flat cards last for months if stored in a dry place. Keep 3D crafts flat while they set, then store in a box with tissue paper so cotton and yarn textures don’t get squished.
How do I care for crafts that use salt or glue textures?
Salt cards should be handled gently and kept away from moisture. If you laminated the card with clear tape, it will last longer and be easier to wipe clean.