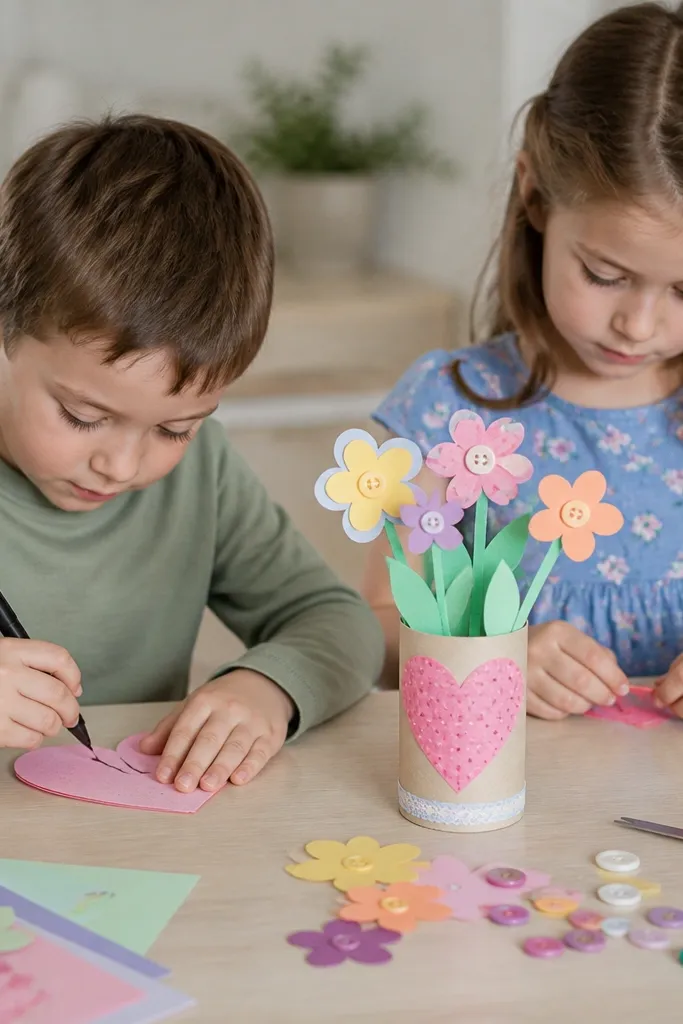
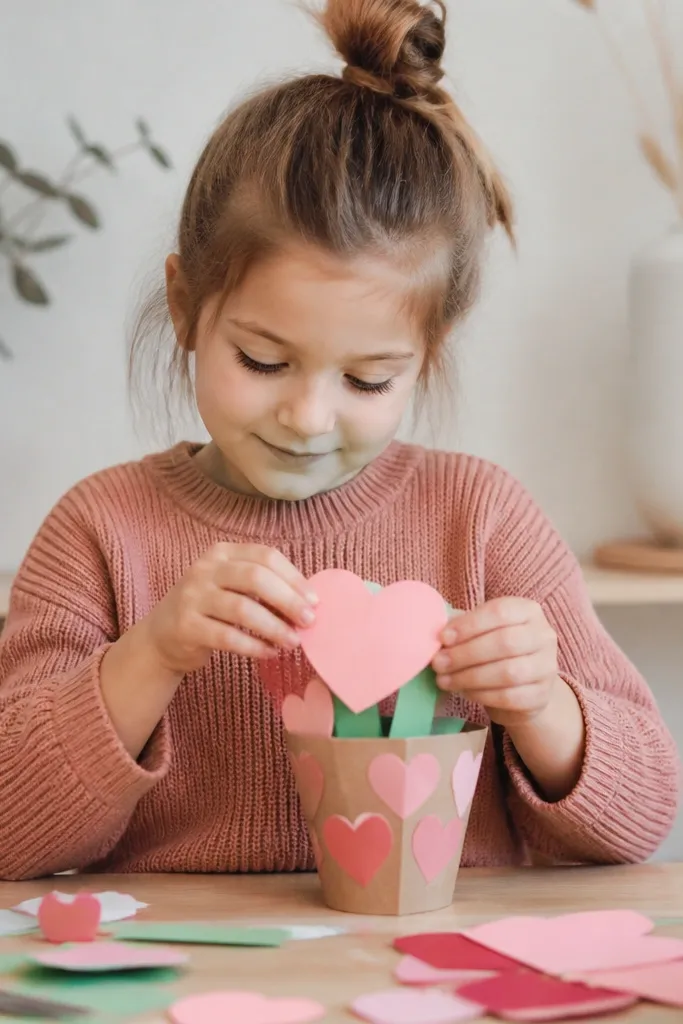
1. Mini Paper Flower Bouquet in a Mason Jar Pinch-Pot
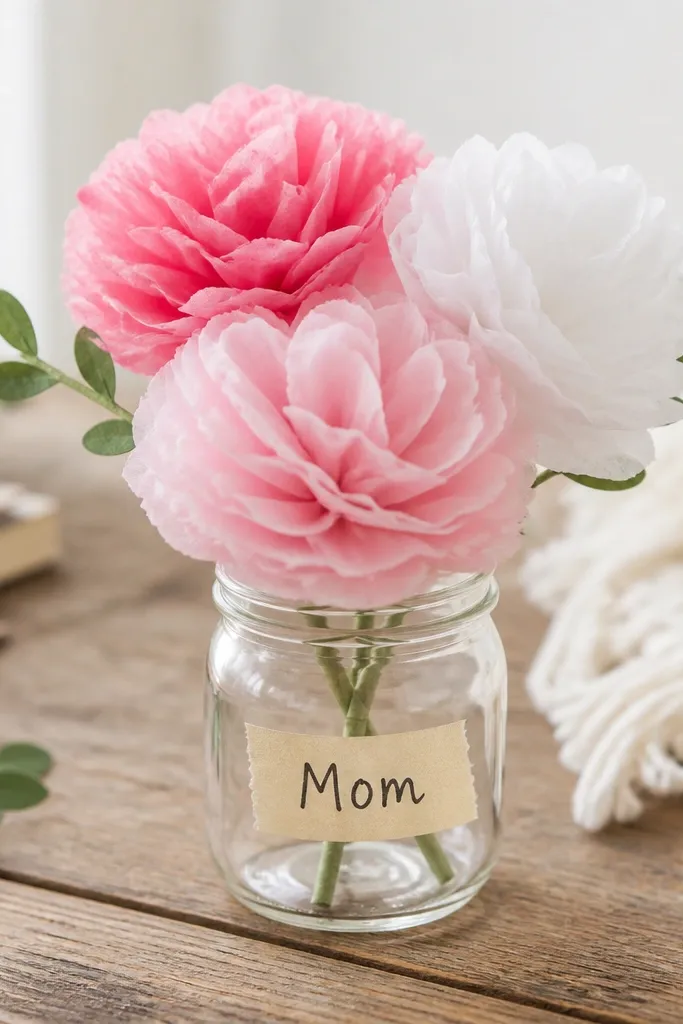
Kids tear or cut tissue squares into petals, then layer them around a small paper circle center. Use a jar that fits on a windowsill — no vase needed. The masking tape label makes it feel personalized without printing anything.
Set a “petal station” on a tray: tissue, scissors, glue stick, and a scrap bin — it keeps mess in one zone.
2. Button-Heart Keychain Card (No-Craft Table Needed)
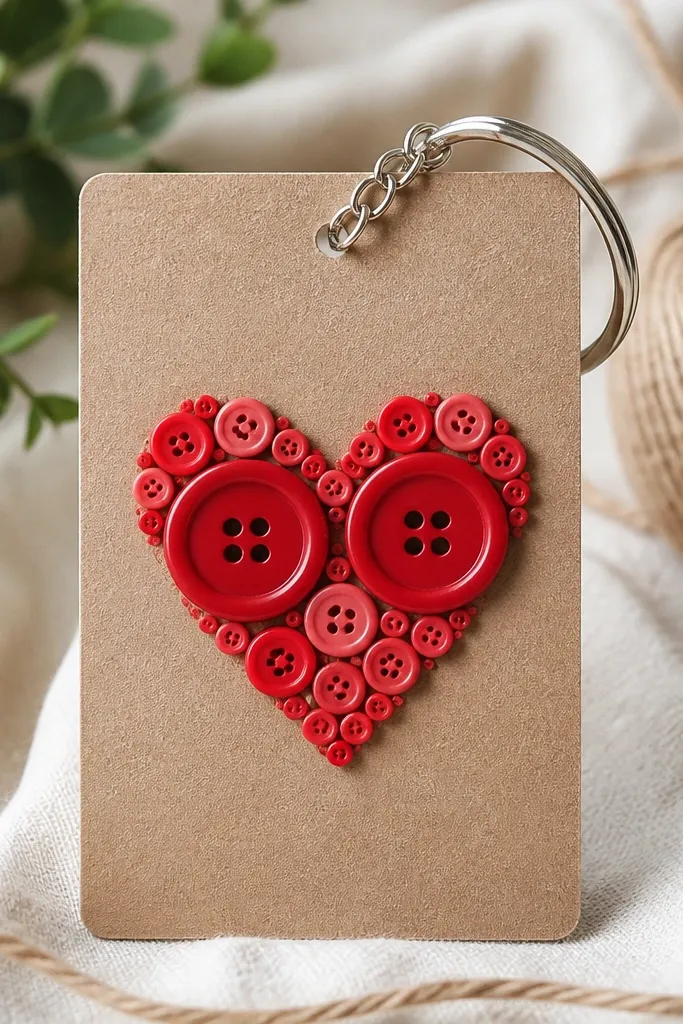
This is a gift that doubles as a keepsake. Kids glue buttons in a heart outline on cardstock, then attach a jump ring so Mom can clip it to keys or a bag. Use a hot glue-free option: craft glue for buttons and let it dry overnight.
Good to knowPre-sort buttons by size in separate cups so kids can build the heart without digging.
3. Sticky-Note Rainbow “You’re My Sunshine” Window Art
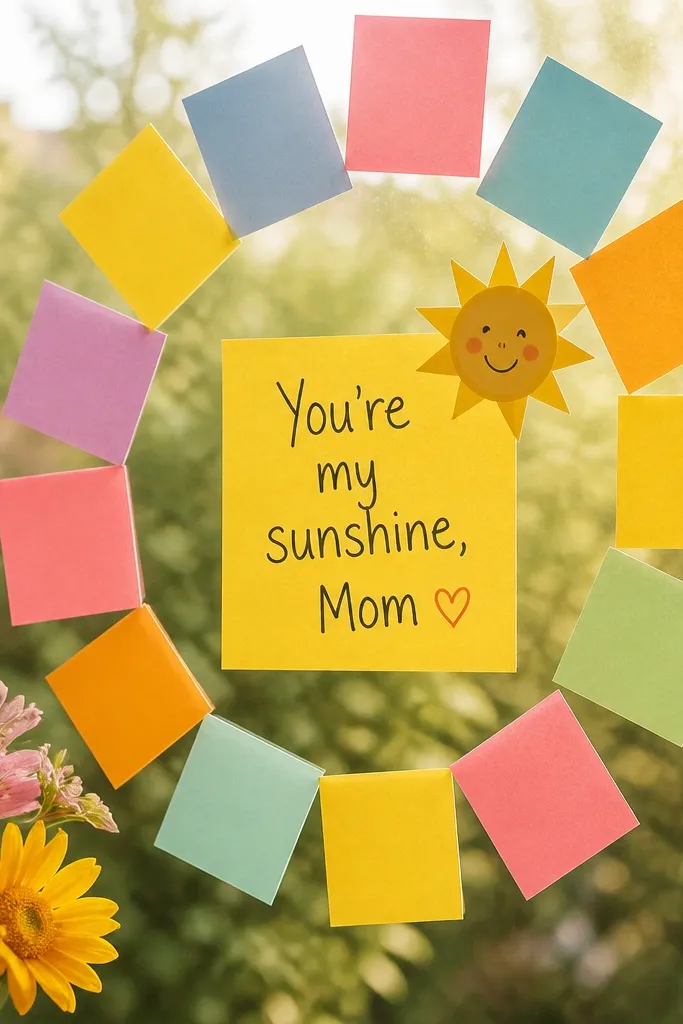
This craft uses the window as the display, so you don’t need shelf space. Kids place sticky notes in concentric rainbow arcs around a paper sun center. It’s bright, temporary, and perfect for apartments with limited counter space.
Good to knowUse low-tack removable sticky notes and test on a corner first to avoid residue.
4. Toilet Paper Roll “Flower Pop” Buddies
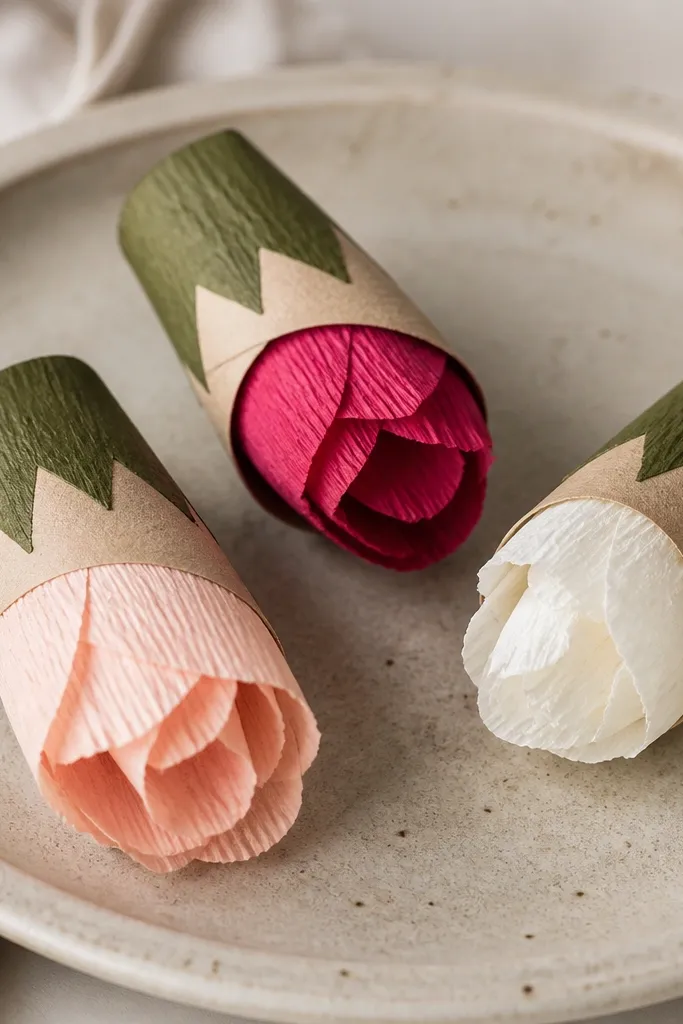
Flatten a toilet paper roll, cut petal shapes, and fold them outward like a blooming flower. Kids paint the base green and add crepe paper strips for texture. It’s compact, sturdy, and you can store finished flowers in a small box.
Cut rolls in advance into 3-inch sections — it speeds up the build and keeps edges neat.
5. Paper Cupcake Liner “Handprint” Bouquet
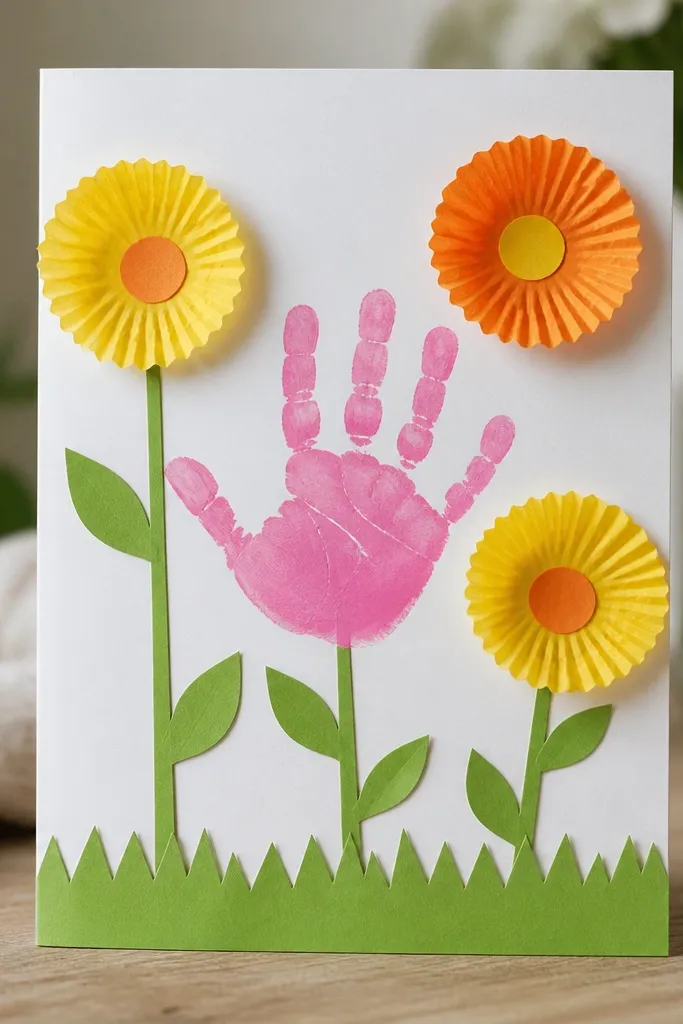
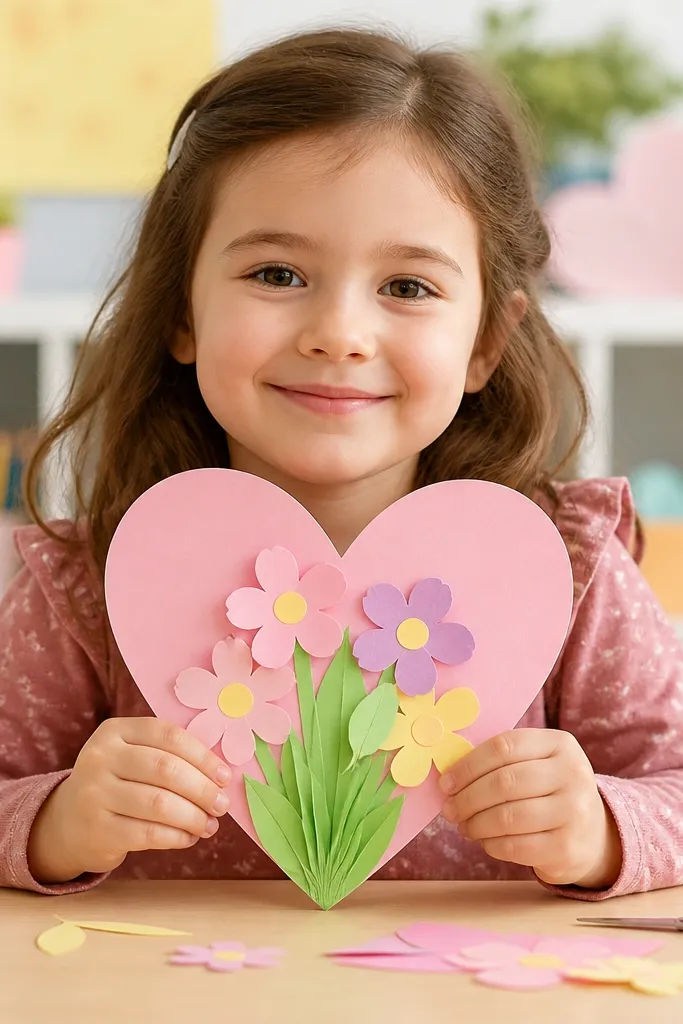
Use the child’s handprint as the bouquet center, then surround it with cupcake liner petals. This works great in small spaces because the whole project fits on a single card and dries flat. Choose a simple palette — pink, yellow, and green — for an instant spring look.
Press handprint firmly and lift straight up for clean lines; place a sheet of scrap paper under the hand to protect surfaces.
6. Crayon Shaving “Sun Rays” Mini Frame
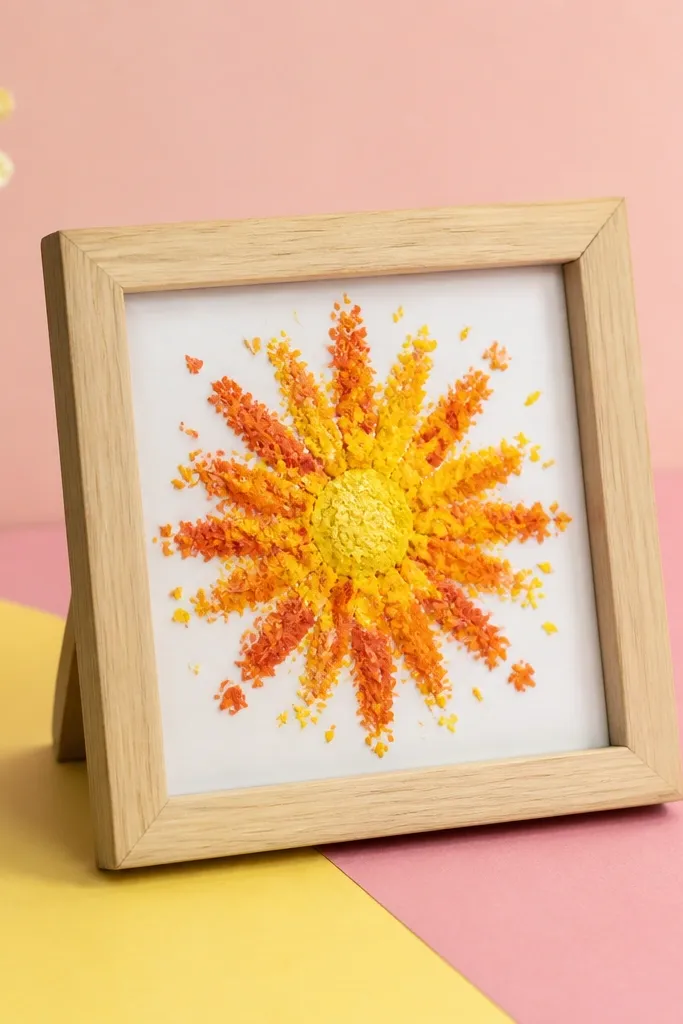
Kids peel crayons into small shavings and sprinkle them inside a frame over cardstock. When heated gently (adult-only), the shavings melt into glossy rays. It’s visually striking and compact, but it uses a small frame instead of a big canvas.
Good to knowUse a hairdryer on low from 8-10 inches away for a safer adult-assisted melt than an oven.
7. Sock-Puppet Mom on a Stick (Desk-Friendly Gift)
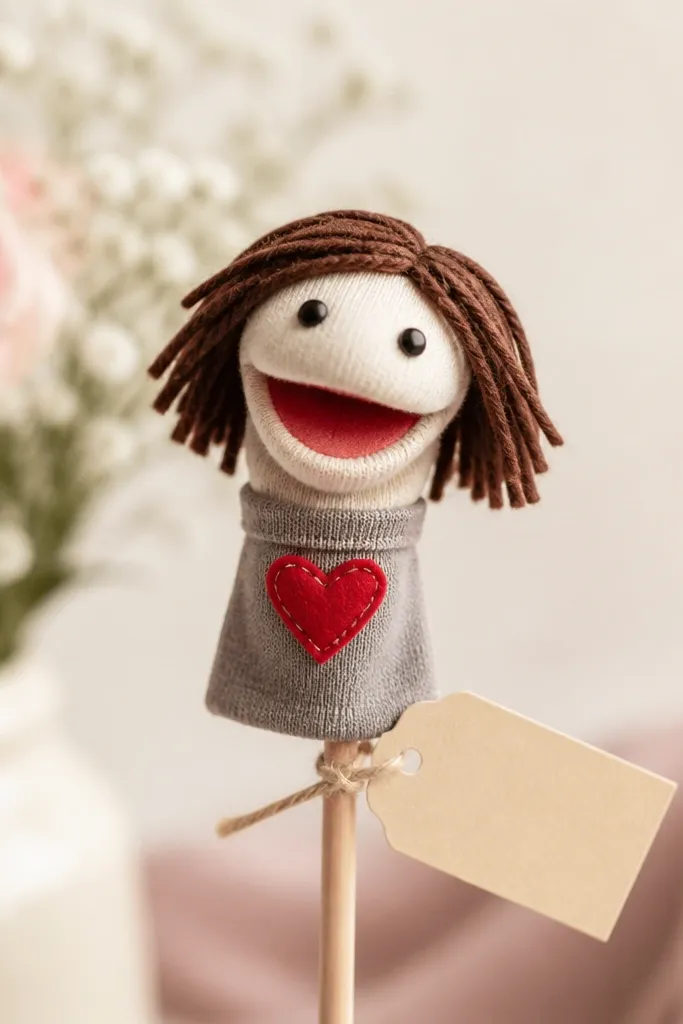
Turn a small scrap sock into a mini puppet and glue or sew a felt heart on the front. Add a wooden skewer handle so it can stand in a cup like a desk plant. The puppet format is perfect for apartments — no bulky display needed.
Good to knowDraw a simple face template on paper first; then kids trace it onto felt to speed up assembly.
8. Clipboard Photo Magnet “Mom Moments”
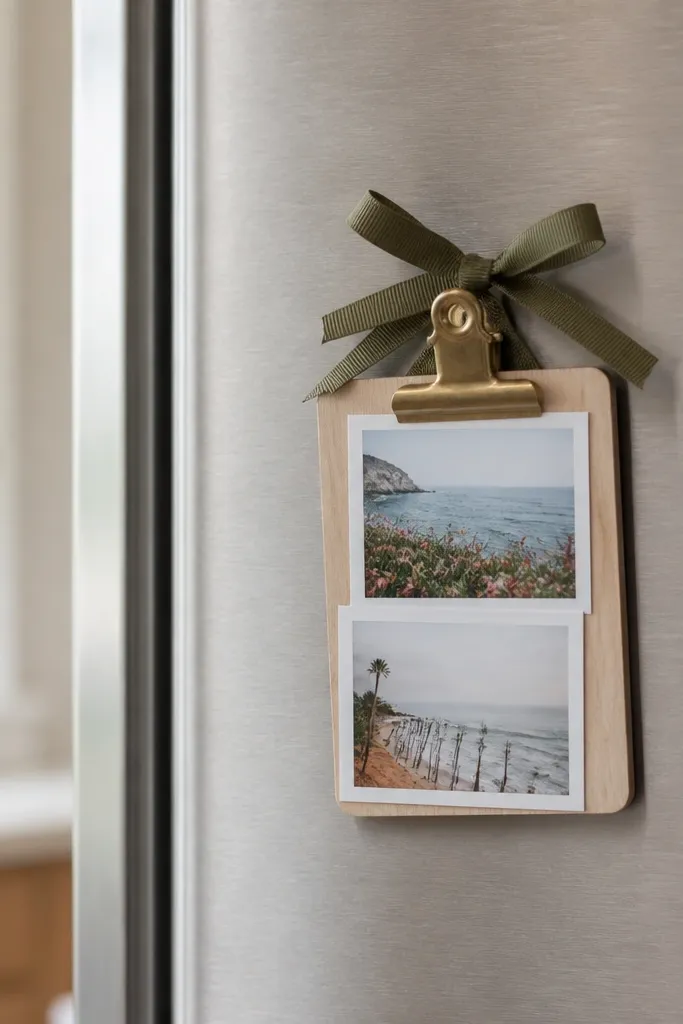
Kids decorate a tiny wooden or cardboard clipboard with stickers and a short message. Attach a magnet to the back so it hangs on the fridge without taking shelf room. Add two mini photos — one from this year and one older — for a sweet, personal touch.
Good to knowChoose photo prints no larger than 2x3 inches so the clipboard stays lightweight and magnet-friendly.
9. Cardboard “Love Notes” Pocket Banner (Fold-Flat Storage)
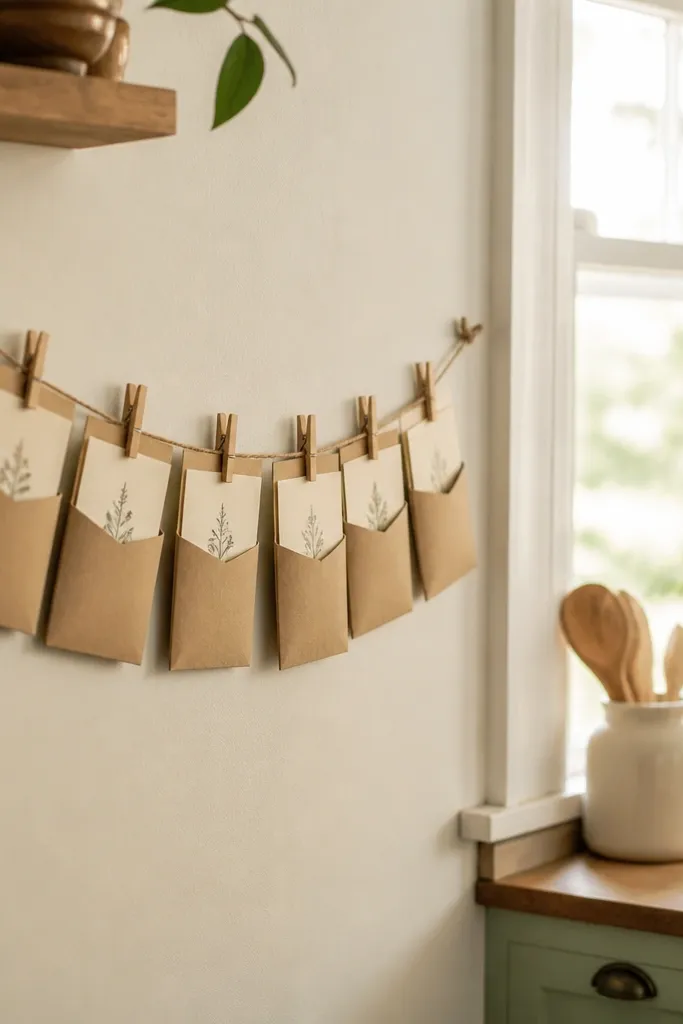
Create pockets from thin cardboard strips and staple one side to make a fold-flat banner. Kids write short love notes (one per pocket) and clip them closed with tiny clothespins. It’s a banner for walls, but it stores flat between uses.
Good to knowUse a ruler to keep pocket spacing even — it makes the banner look store-bought.
10. Pipe Cleaner Heart Garland in a Jar Lid
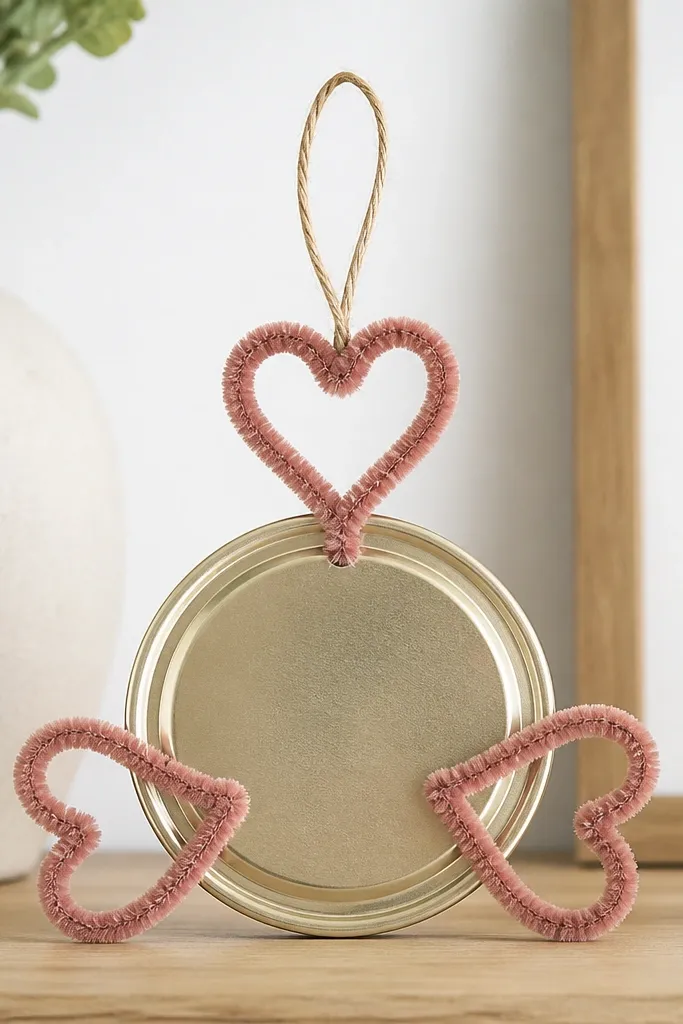
Bend pipe cleaners into small hearts and attach them around a jar lid using glue dots or craft glue. Add a loop so it hangs from a hook or sits on a narrow shelf. It’s lightweight, colorful, and doesn’t require cutting lots of paper.
Good to knowTwist pipe cleaners tightly at the ends to prevent snagging on clothing or furniture.
11. Recycled Crayon “Message Tag” for a Plant Pot
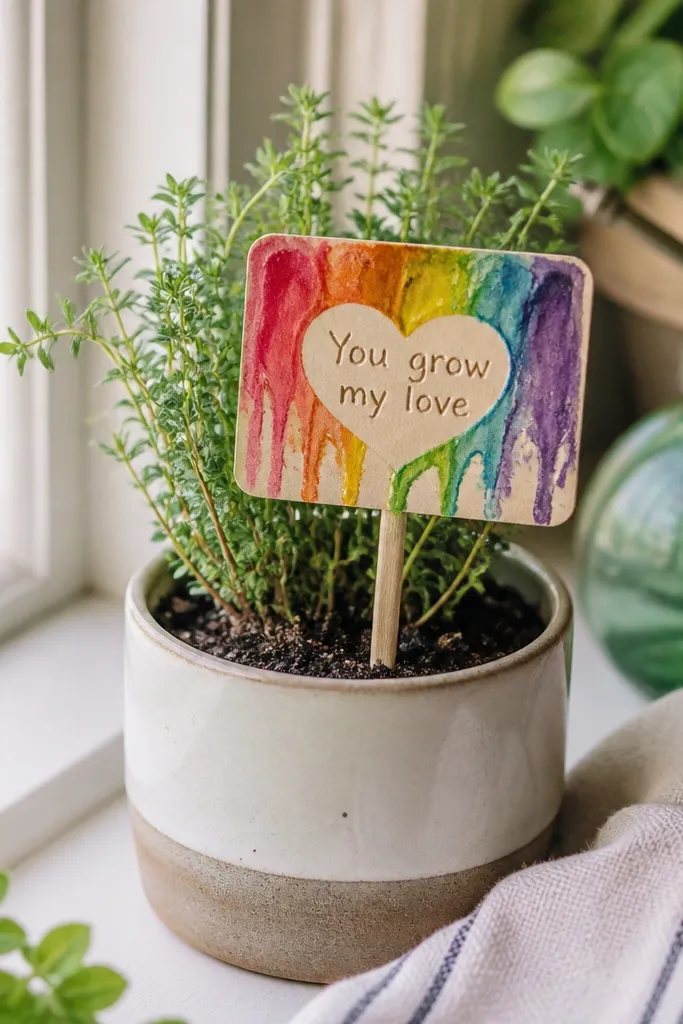
Kids write a short message on cardstock, then color over the letters with broken crayon pieces. Melt with an adult hairdryer so the letters look glossy and bold. It’s small, useful, and perfect for apartments because it turns a windowsill plant into a gift display.
Good to knowUse waterproof marker first, then add crayon color so the message remains readable.