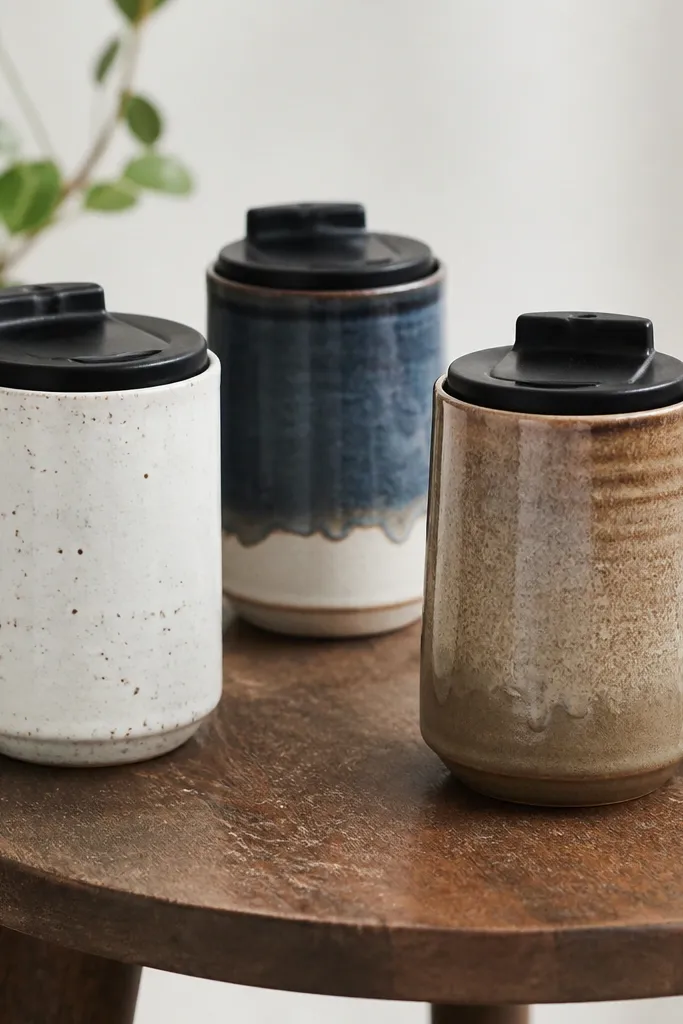

1. Thrift Mug White-Over-Gray Color Block (No-Pattern Minimal)
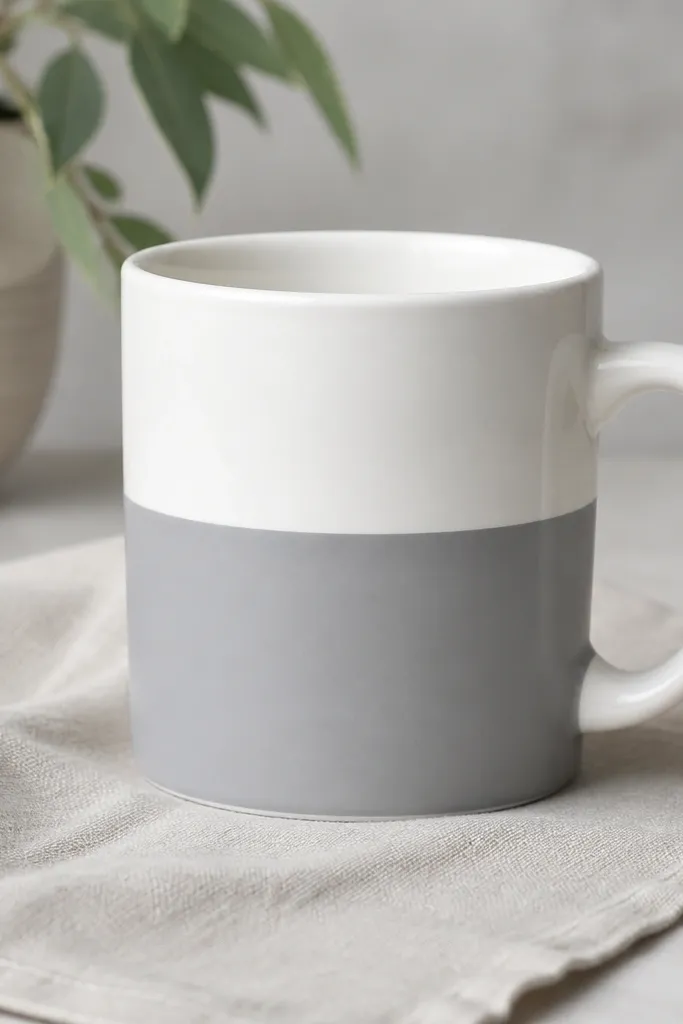
Start with a thrift mug that already has a subtle gray tone or gently paint the base with light gray. Mask one straight horizontal band using painter’s tape, then apply two thin coats of matte white acrylic paint made for ceramics (or acrylic + ceramic medium). The minimal impact comes from sharp edges and only two colors.
Good to knowLet each coat dry fully and remove tape while the paint is still slightly tacky to keep the line razor-straight.
2. Single-Line “Contour” Mug: One Continuous Black Stroke

Use a fine-tip paint marker or acrylic ink pen to draw one continuous contour line around the mug. Keep the line weight consistent by resting your hand on a folded towel and rotating the mug slowly. This design looks modern because it uses negative space and only one element.
Practice the line on scrap paper first — the goal is one uninterrupted stroke to avoid “minimal” looking patched.
3. Book Page + Coffee Stain Ombre (Vintage Minimal Mix)

Tear a small strip of old book page and soak it briefly in hot water, then blot until it’s flexible. Brush a thin layer of matte Mod Podge (or craft decoupage medium) on the mug bottom and press the page strip so the text sits mostly near the base. Finish with a gentle coffee-stain wash diluted with water to blend the edge upward.
Seal with 2-3 thin sealant coats to prevent the paper from lifting when washed.
4. Scrap Wood Transfer Label Look (Tiny “Tag” Minimal)
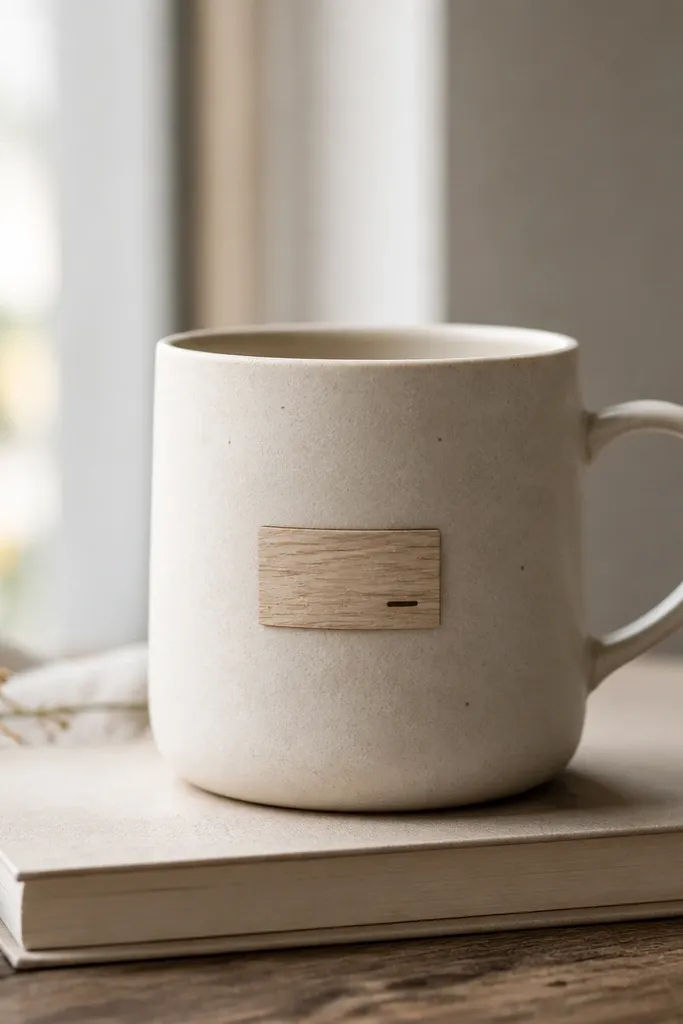
Cut a tiny rectangle from a scrap of thin wood veneer or decorative paper with woodgrain print. Apply it like a label using decoupage medium, then add a simple label using a stencil and black paint (one or two words max). The key is scale — small, centered details read modern and intentional.
Use a clear acrylic sealer over the woodgrain to protect from steam and regular rinsing.
5. Matte Sage with Micro-Dots Border (Quiet Modern)

Paint the entire mug matte sage green using thin coats. For the border, use a dotting tool or the back end of a small paintbrush to place micro-dots in a single row. Keep the dots evenly spaced and only at one location (near the top) to maintain that clean, modern vibe.
Good to knowLet the base cure longer than you think — at least 24 hours before dotting and sealing.
6. Washi Tape Negative Space Frame (Removable Look)
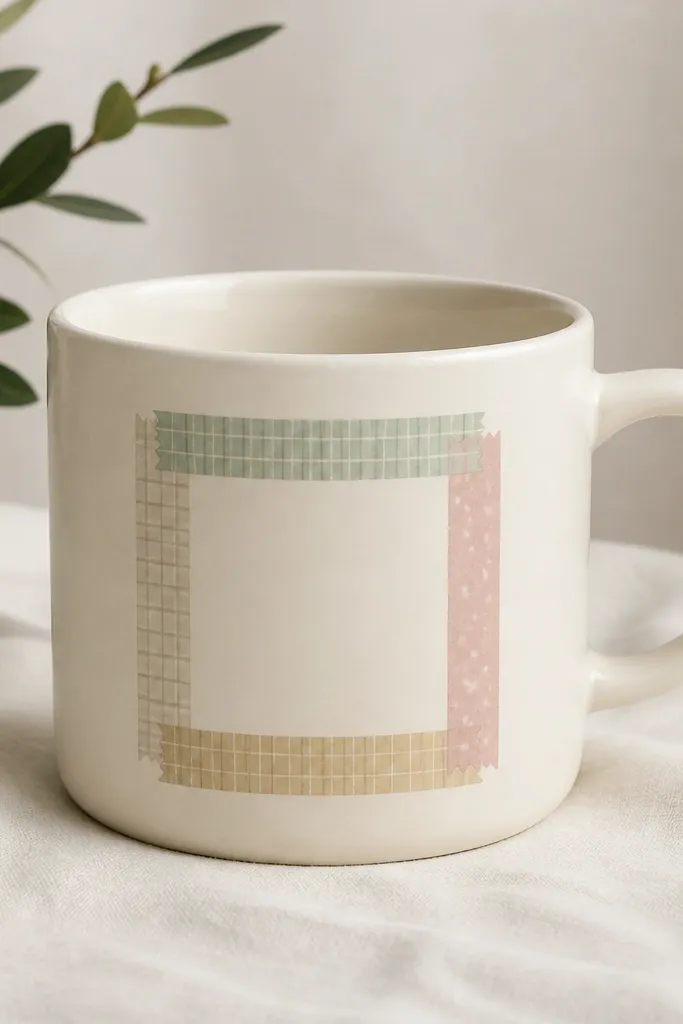
Apply washi tape in a perfect rectangle or thin frame shape. Paint over the exposed area with a light neutral (warm gray or soft black). When dry, remove the tape to reveal a crisp “window” of negative space. This works beautifully for minimal designs because the taped edges create structure.
Seal with a clear dishwasher-safe sealer only if the mug will be hand-washed — many craft sealers aren’t truly dishwasher-safe.
7. Metallic Rim Upgrade Using Upcycled Foil Tape
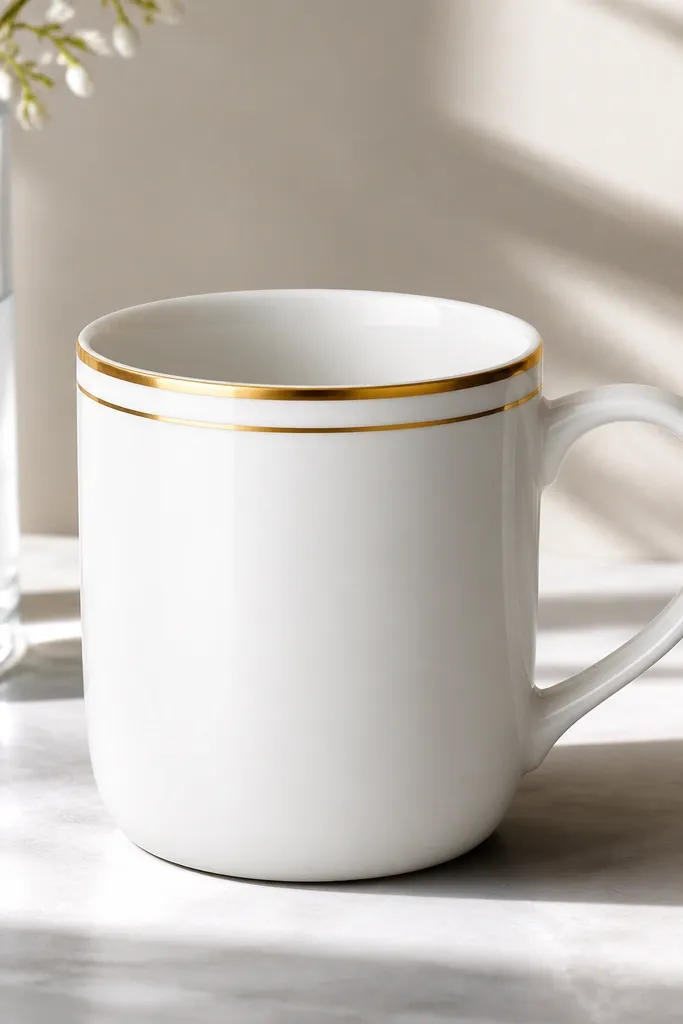
Use upcycled gold foil tape (or craft foil tape) to add a refined rim detail. Press a single thin band around the top edge and optionally add a second line 1-2 cm below for depth. Keep the rest of the mug blank so the rim becomes the focal point, which reads modern and luxe.
Good to knowClean the rim thoroughly with rubbing alcohol before applying foil tape for better adhesion.
8. Concrete-Effect Speckle Bottom Half (Industrial Minimal)
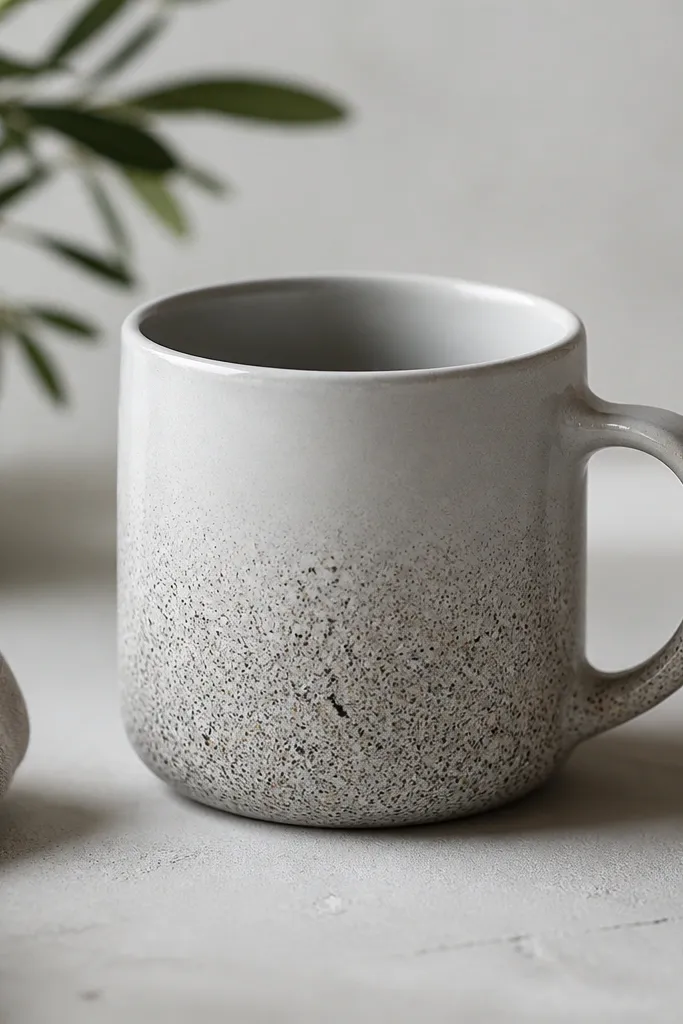
Paint the mug top a smooth matte light gray or off-white. For the bottom half, use diluted paint with a stiff brush to flick tiny speckles, then layer a second speckle color (charcoal or slightly darker gray) for realistic depth. The modern look comes from texture contrast without adding shapes or clutter.
Mask the fade line with tape and feather the edge by lightly dabbing a dry brush while paint is wet.
9. Stenciled Coordinates: Latitude-Line Minimal Text
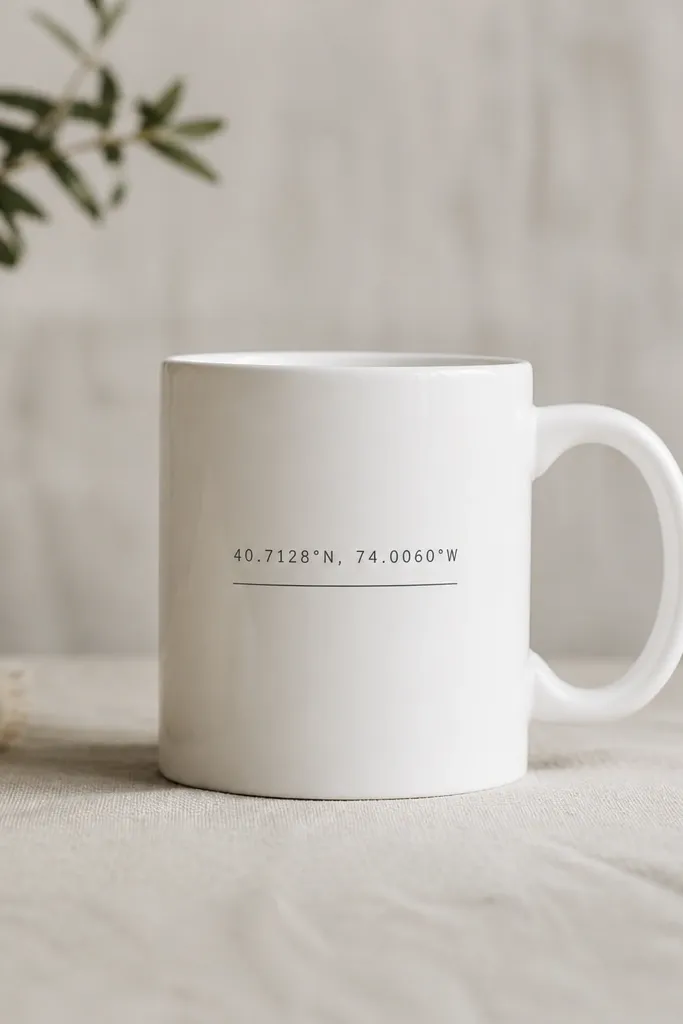
Use a number stencil or tiny label stencil and paint one centered line of coordinates (or a simple “42°N / 71°W” style layout). Add a thin line above or below to ground the text. This design feels modern because it’s typographic, symmetrical, and uses plenty of blank ceramic.
Secure the stencil with painter’s tape so it doesn’t shift — press edges flat before dabbing paint.
10. Monochrome Photo Transfer: One Tiny Square Only
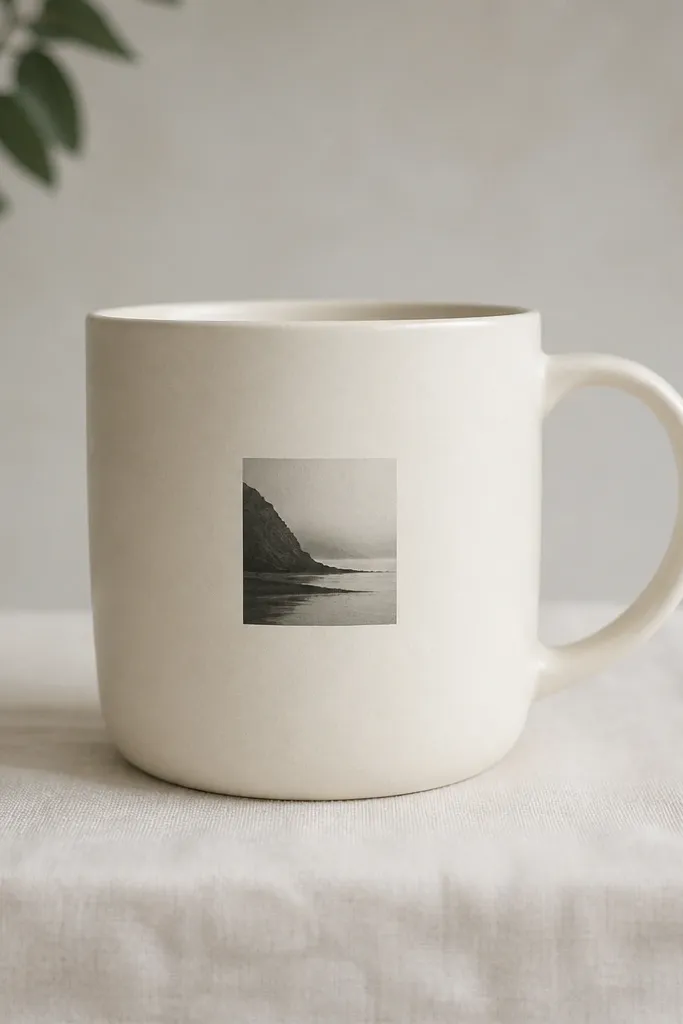
Select a high-contrast black-and-white image and print it for transfer medium. Use a photo transfer method (gel medium or decoupage transfer) to place just a small square on the mug. The minimalist rule here is strict: one image, small size, no extra elements.
Choose an image with strong shadows — the transfer stays crisp and modern-looking after sealing.
11. Upcycled Fabric Decal: Linen Texture Patch on Glossy Mug
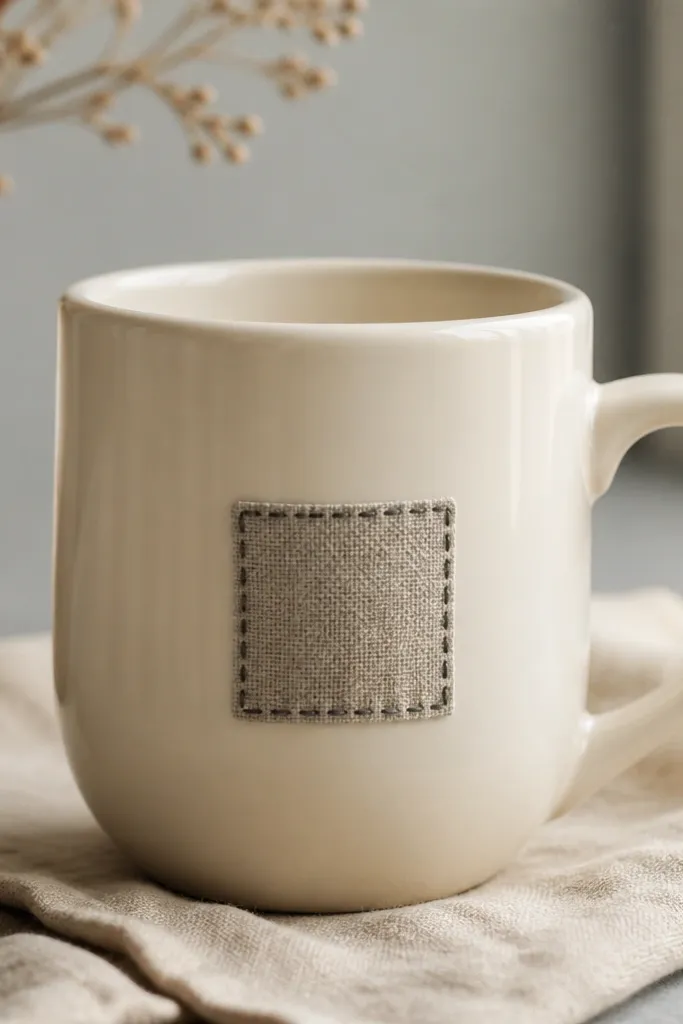
Cut a small rectangle from scrap linen or canvas. Brush decoupage medium onto the mug and press the fabric patch in place, smoothing wrinkles outward. Add painted “stitched” edges with a thin liner brush to make it intentional. Texture plus a neutral palette reads modern instantly.
Good to knowTrim fabric edges neatly before applying — frayed edges can lift unless sealed very thoroughly.