1. Pegboard Mug Rail With Mini Storage Bins
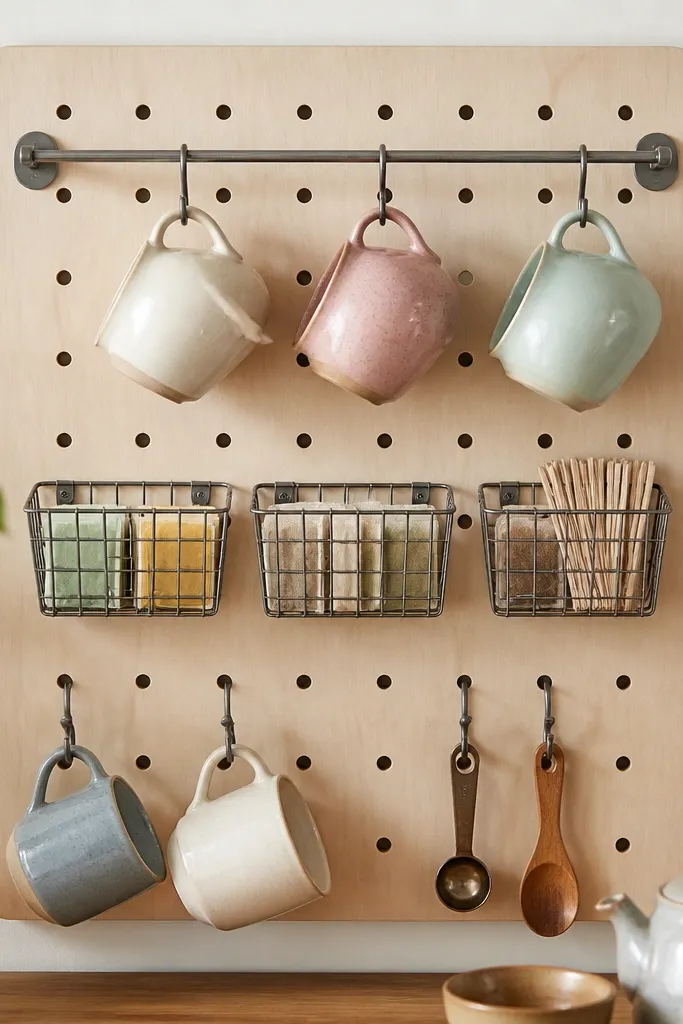
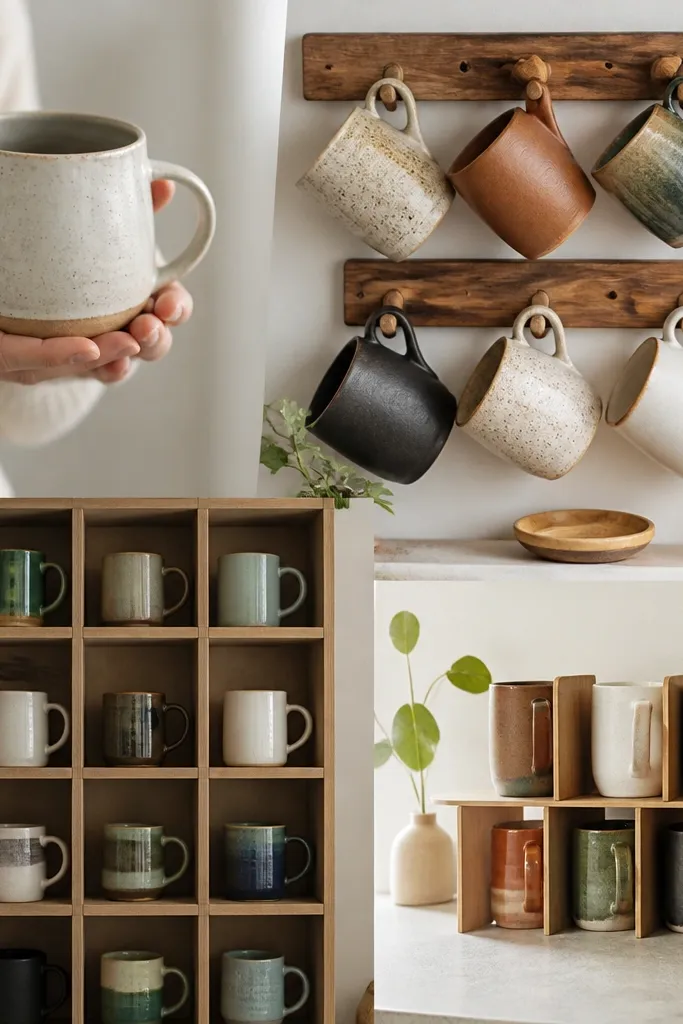
This build uses a pegboard and a simple mug rail so you can hang mugs by the handle without stacking. Add shallow wire bins under the rail for tea packets, coffee filters, or sugar packets — it turns “display” into “grab-and-go.” Thrifted mugs with matching rim colors look cohesive even when the body styles vary.
Good to knowScrew the pegboard into studs, then test spacing by hanging one mug first so handles don’t bump and chips don’t happen.
2. Cabinet Door Mug Organizer With Spice-Tin Insert
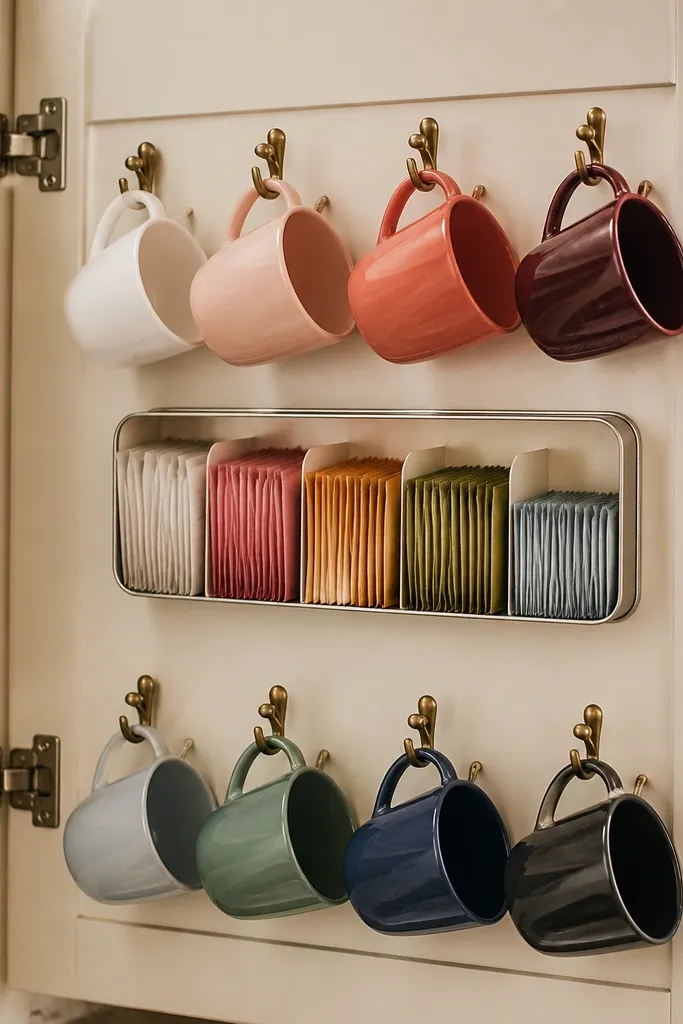
Mount hooks on the inside of a cabinet door to store mugs where they’re still visible but not taking up counter space. The spice-tin insert adds storage for small essentials so you don’t open cabinets multiple times. Use a durable cabinet paint and seal the wood edges so cleaning doesn’t ruin the finish.
Good to knowUse rubber-capped hooks or add a thin felt strip where the handle touches to prevent scratching and chipping.
3. Upcycled Crate Wall Shelf With Hanging Mug Hooks
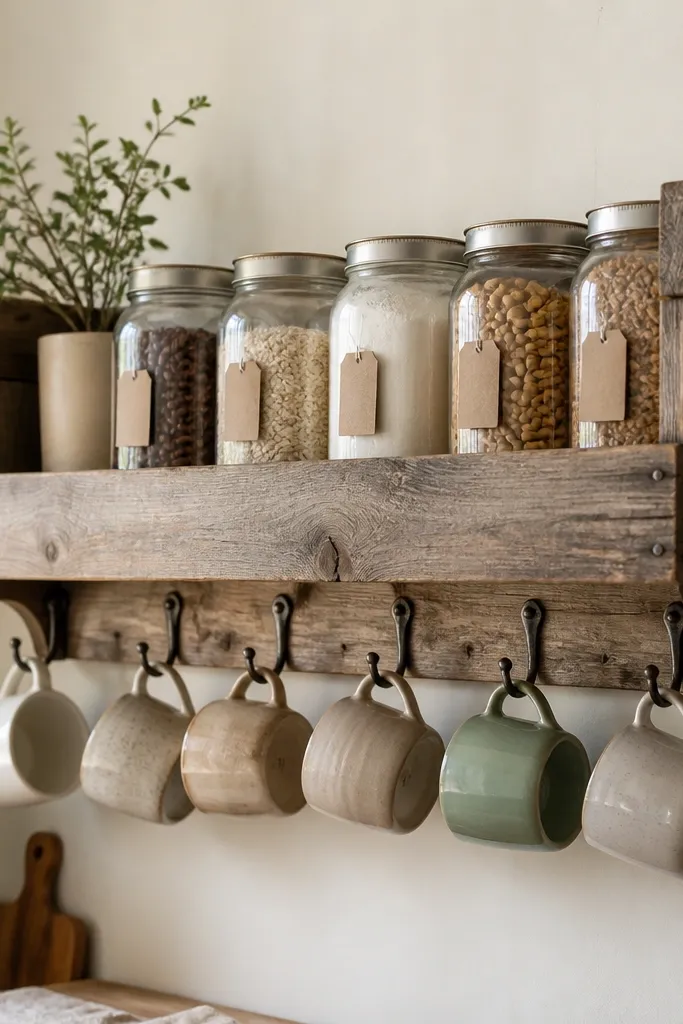
A wooden crate gives you instant shelf depth, which makes it perfect for a mug-and-small-storage combo. Hang mugs from hooks mounted under the crate so they don’t block the shelf. The crate can hold jars for cocoa, loose tea, or even a small stack of coasters.
Sand the crate edges smooth and seal with a food-safe clear coat to handle occasional wipe-downs.
4. Corner Shelf Ladder With Mug Perches and Basket Drawer
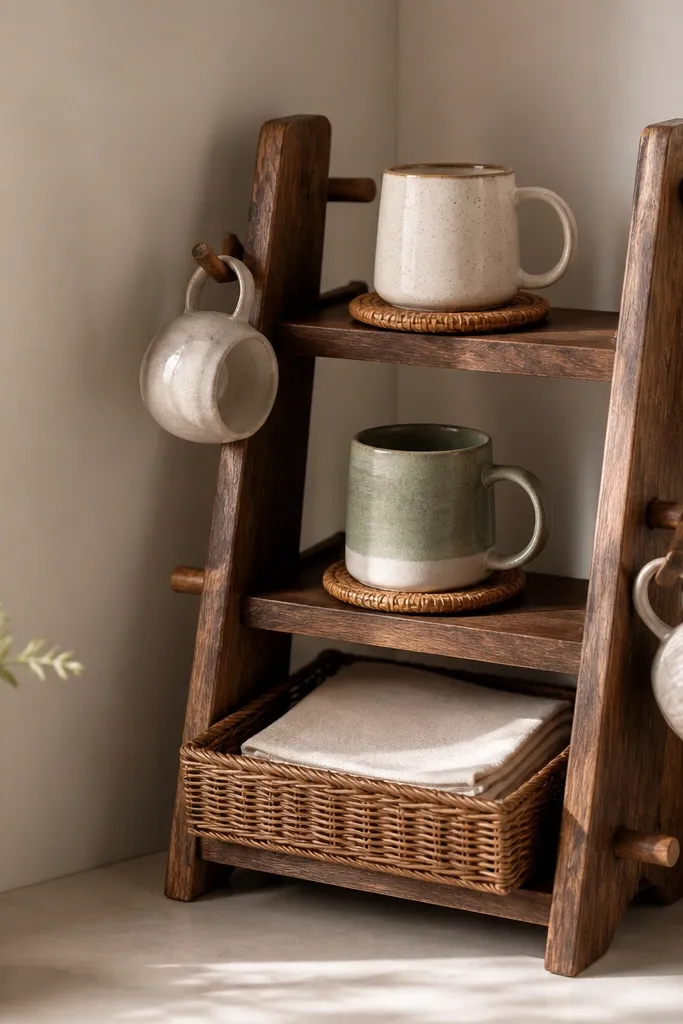
Corners are prime real estate for storage-friendly displays. A ladder shelf keeps mugs at eye level while the bottom basket holds napkins, stir sticks, or extra coasters. Choose rung placement so mug handles don’t scrape the wood; a simple felt pad per contact point works wonders.
Measure one mug diameter and spacing — leave at least 1 inch between mug handles so you can grab without knocking others.
5. Repurposed Spindle Window Frame With S-hook Mug Line
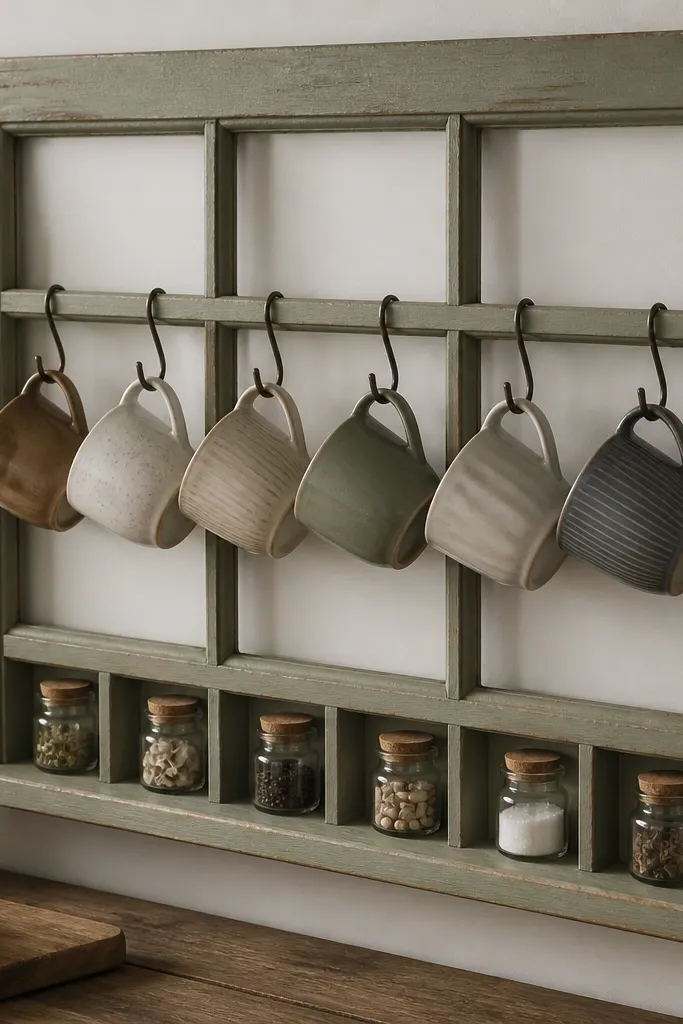
Turn a thrifted window frame into an organized mug “gallery” using S-hooks attached to the inner crossbars. The frame naturally limits how far mugs swing, which helps prevent chips. Add a narrow bottom shelf (or repurposed tray) for storage like cinnamon sticks or tea tags.
Good to knowReinforce the frame with corner brackets behind the hooks so the display stays sturdy when you pull a mug forward.
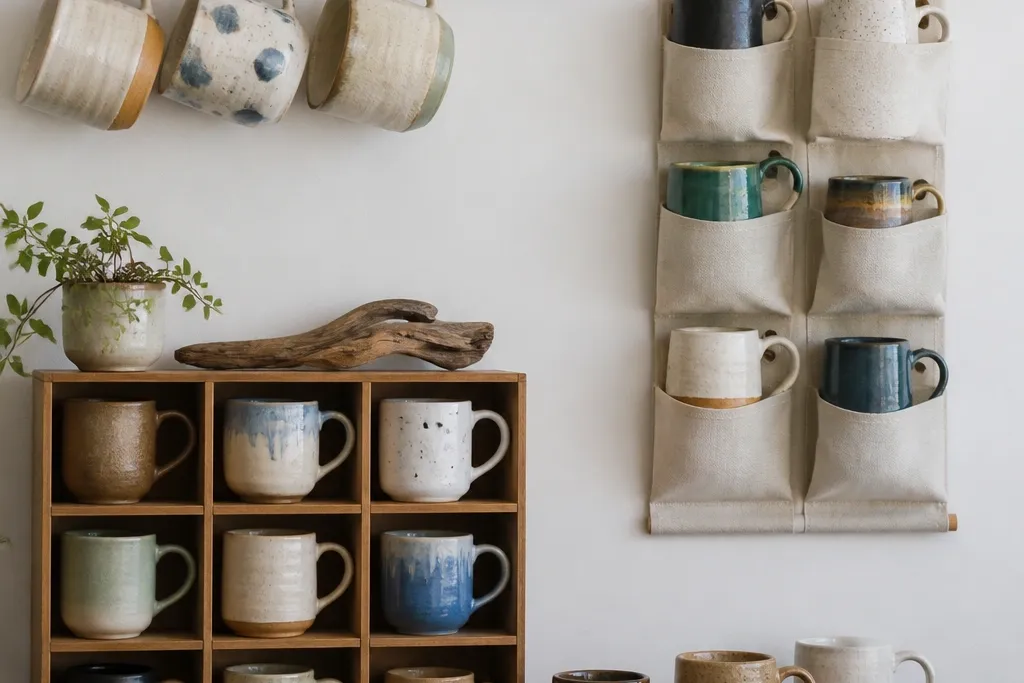
6. Wall-Mounted Hanging Rail With Under-Rail Coffee Accessory Pocket
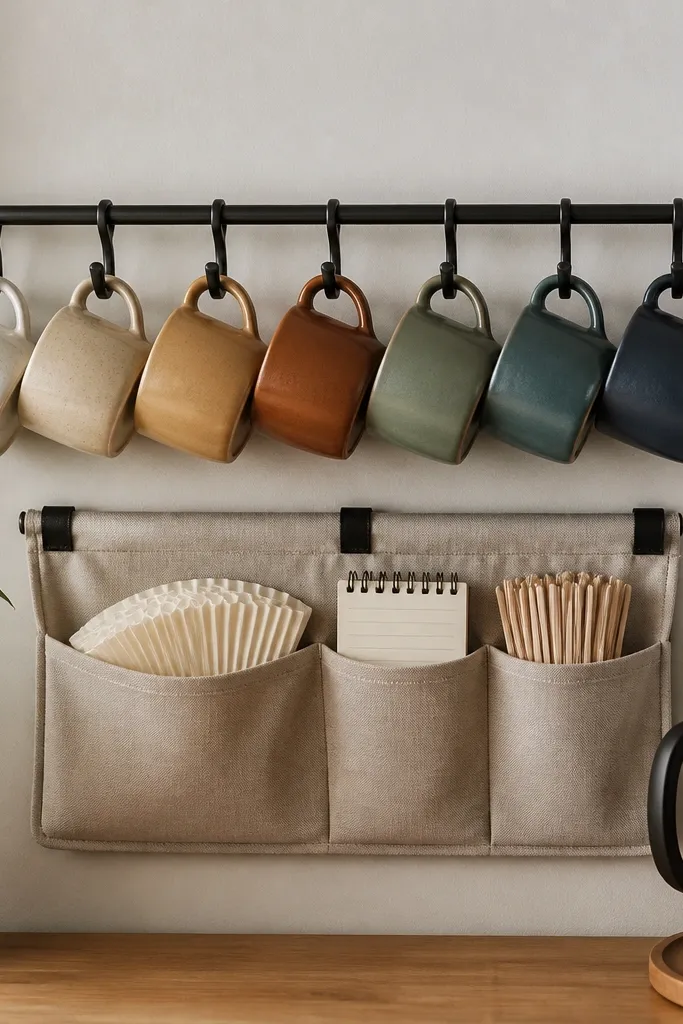
A wall rail keeps mugs visible and easy to rotate, and the space under it is usually wasted. A fabric pocket organizer repurposed from an over-the-door style gives you quick storage for filters, sweeteners, and a mini scoop. Because fabric is flexible, it absorbs minor impacts if a mug is nudged.
Good to knowUse a washable fabric pocket and attach it with removable clips or screws so you can take it down for cleaning.
7. Thrifted Tool Pegboard Turned Mug + Utensil Organizer
A tool-style pegboard looks great in a DIY kitchen and is perfect for mixing mugs with accessories. Use longer hooks for mugs and shorter hooks for spatulas or bottle openers, then add a tiny shelf for spoons. This setup works especially well if you rotate mugs by season or mood.
Pre-plan hook heights by marking the board with painter’s tape — it’s faster than re-drilling and keeps everything level.
8. Floating Shelf With Pegboard Backing for Behind-Storage
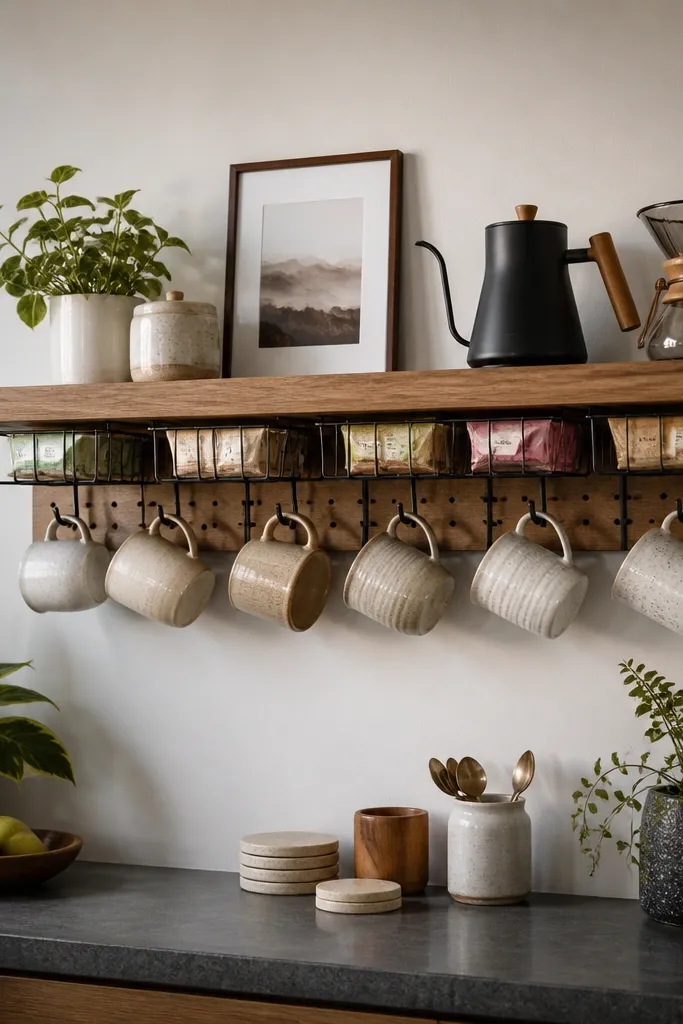
This idea gives you a clean “floating shelf” look while still delivering storage. The pegboard backing lets you hook mugs from behind, so you don’t need bulky brackets visible on the wall. Hanging baskets under the shelf lip keep small items tucked in the same visual zone, which makes the display feel curated.
Good to knowUse a shelf depth of at least 6 inches and place coasters slightly forward so you can lift mugs without tipping.
9. Repurposed Drawer Front Display With Handle Hooks and Slot Storage
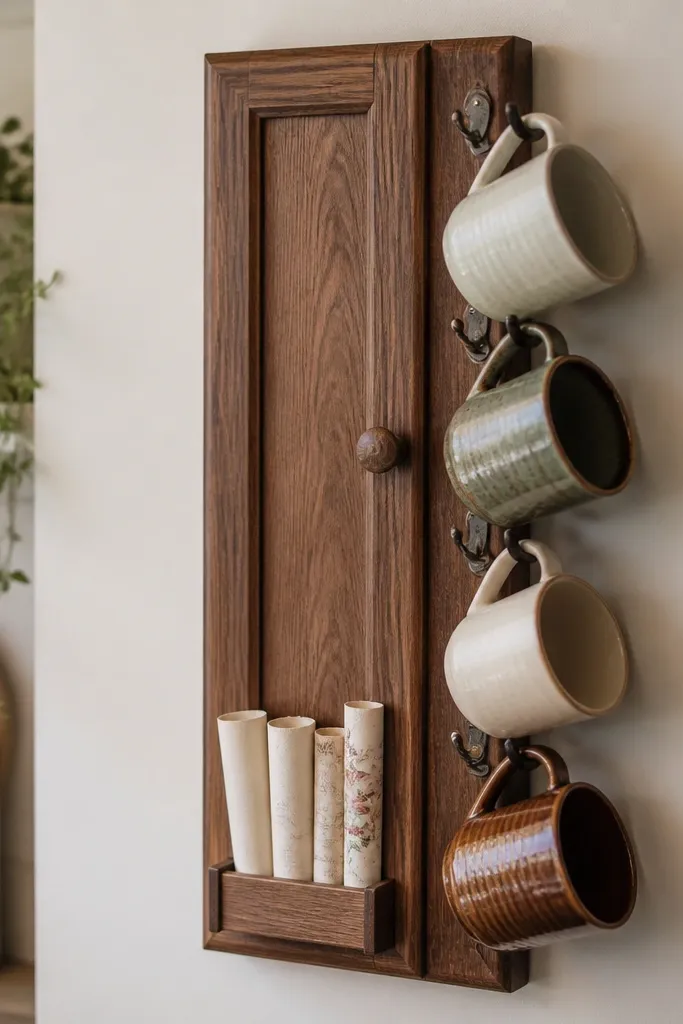
A drawer front is a sneaky way to create a dedicated mug zone without building a full cabinet. Mount hooks to the drawer face for mugs, then use the remaining space for storage like recipe cards, tea sachets, or mini coaster stacks. Because the piece is already framed, it helps your display look intentional even with mismatched mugs.
Good to knowSeal the drawer front after sanding and use screws that match the thickness of the wood so hooks don’t loosen over time.