1. Countertop “Mug Garden” with Wall-Mounted Peg Rail
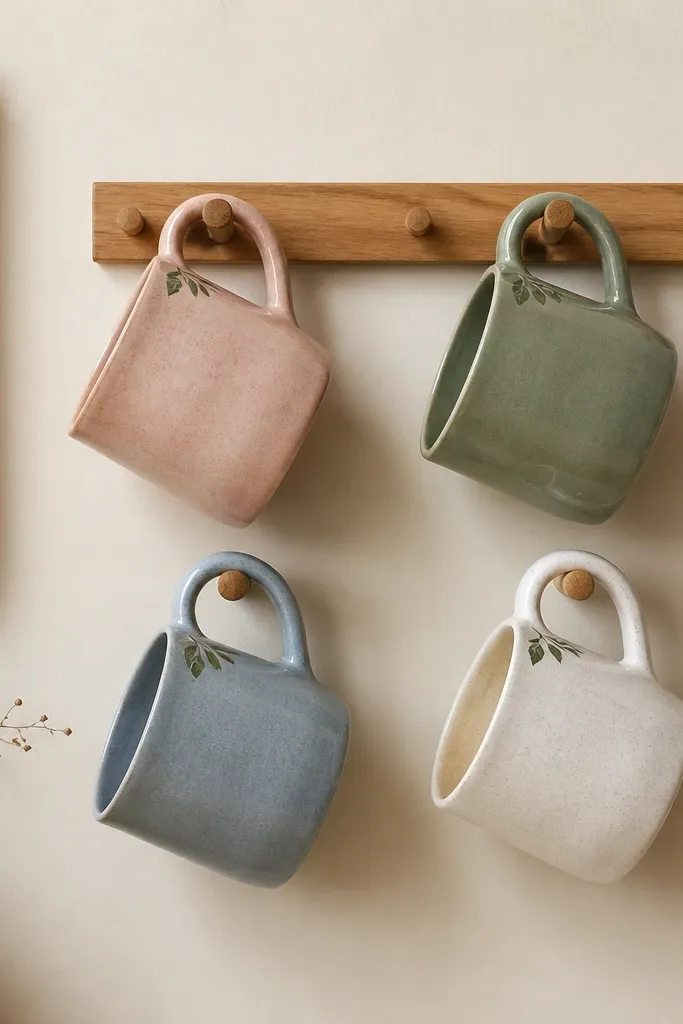
This idea uses a narrow peg rail so mugs hang vertically, keeping counter space clear. Paint your thrifted mugs in matte colors (sage, terracotta, cream) and add a small leaf decal near the handle so each mug reads clearly even from a distance.
Good to knowMount the rail with 2 studs or heavy-duty anchors, then hang mugs by the handle for the most stable, space-efficient layout.
2. Yarn-Wrapped Handle Cozy (No-Sew Slip-On)
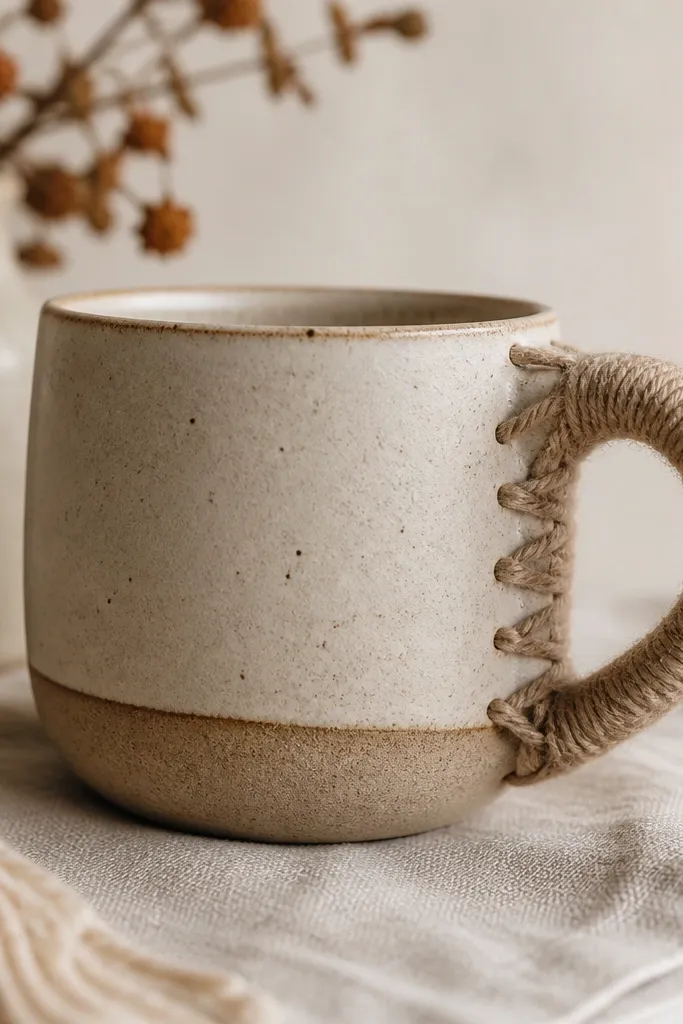
Wrap the mug handle with thick yarn using hot glue dots only on the handle exterior (not on the drinking rim). The cozy makes the mug feel custom and helps you spot it quickly when you’re juggling a small space.
Use acrylic yarn and seal the hot-glue area with a thin clear matte sealant to reduce lint transfer.
3. Mod Podge Map Tile Mug (Travel Scrap Accent)
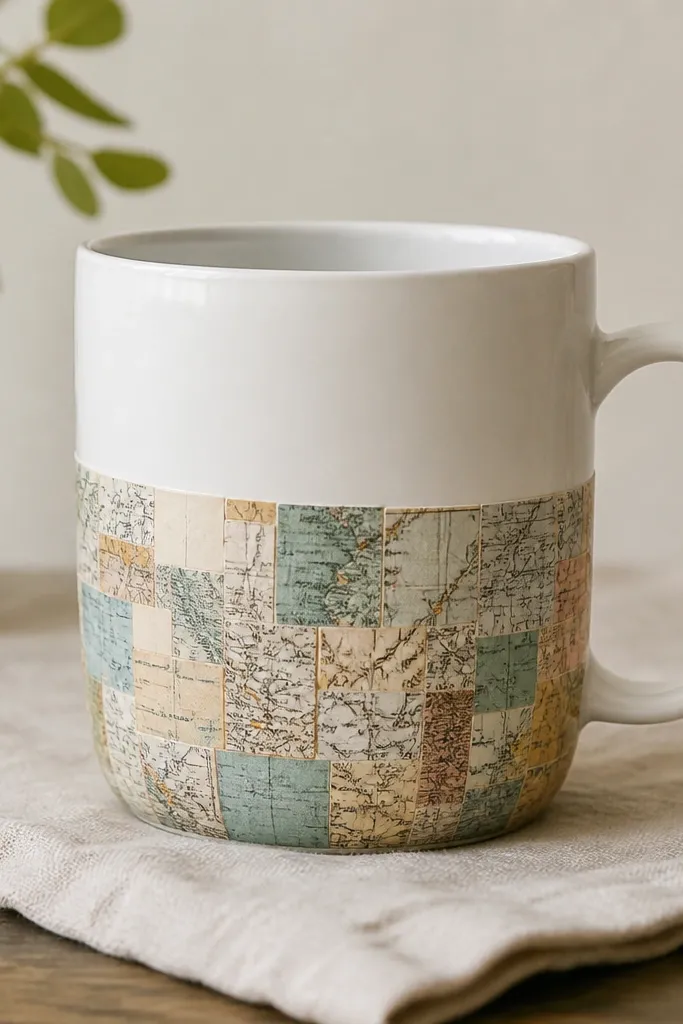
Cut map scrap into small rectangles, then layer them in a mosaic pattern on only the lower third. Seal with multiple thin coats of dishwasher-safe sealant (not regular craft glue) so it doesn’t lift when washed.
Good to knowKeep the mosaic away from the rim and inside lip — aim for the lower half only, so the surface stays durable.
4. Fabric Scrap “Collar” Mug with Heat-Set Adhesive
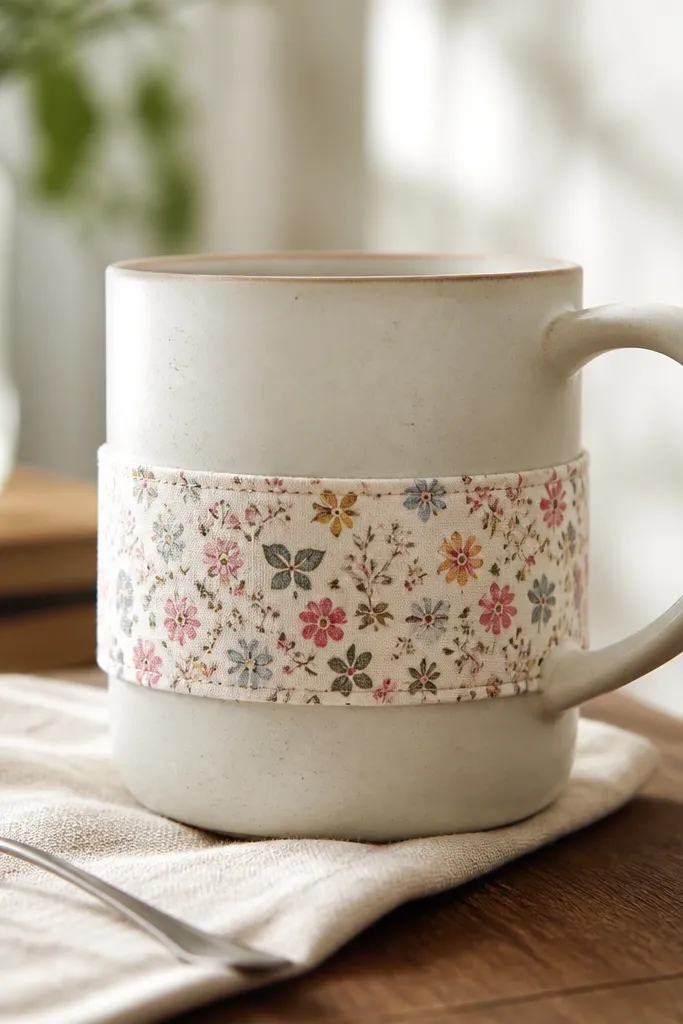
Create a fabric collar that visually frames the mug without covering the inside. Use heat-set adhesive or iron-on interfacing on the back of your fabric strip, then adhere around the outer surface and finish with a clear protective topcoat.
Good to knowChoose cotton or linen scraps and keep the collar width to 1.5-2 inches for a tidy, small-space look.
5. Painted “Ombre Shelfie” Mug (Three-Color Fade)
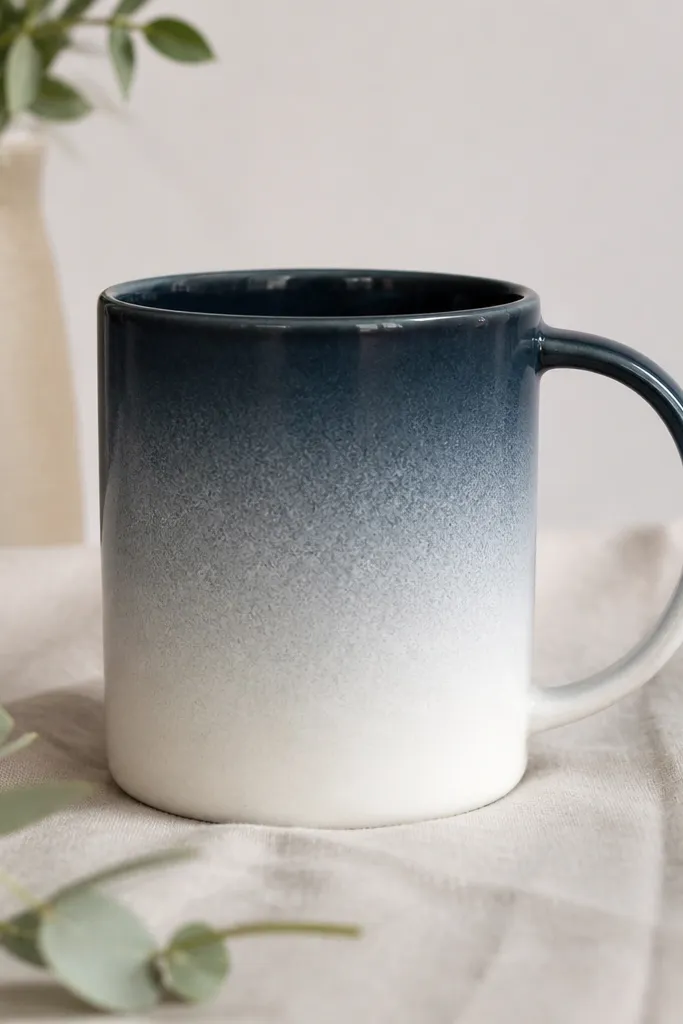
Ombre makes a mug look styled even when you only own one or two. Use ceramic paint and blend three colors vertically, leaving a clean margin near the handle so it doesn’t feel crowded in small displays.
Good to knowApply paint in thin layers and let each color dry fully before blending — thick paint blurs the fade.
6. Thrifted Mug “Monogram Band” with Vinyl + Bake Seal
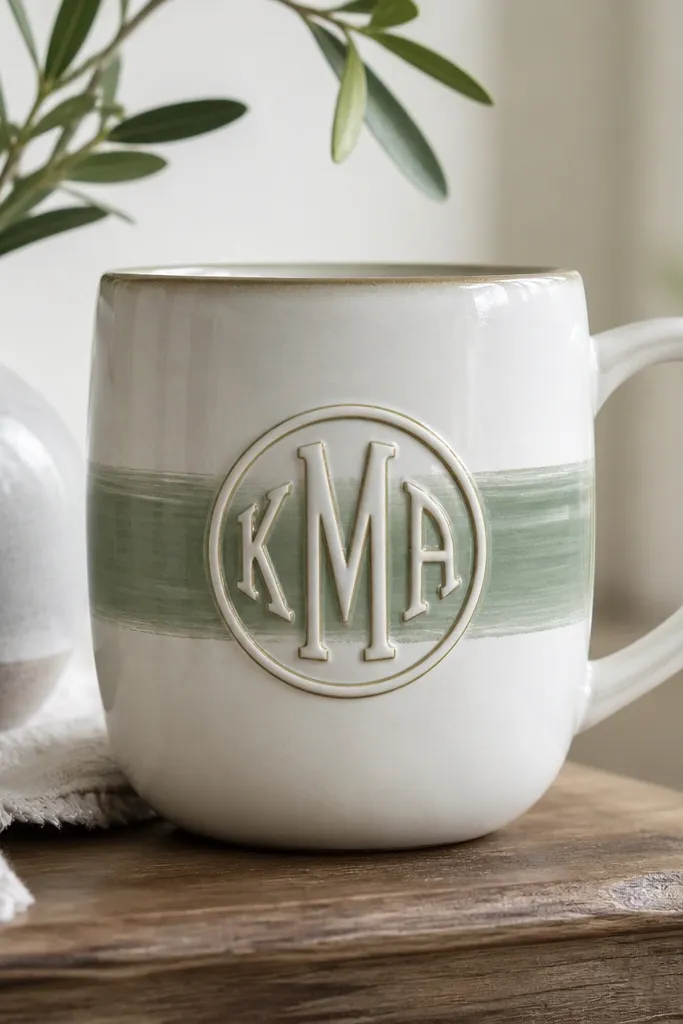
Use vinyl as a mask to paint a clean monogram band, then seal. This gives that polished handmade look without hand-painting letters, and it photographs beautifully in tight shelf shots.
Pick a mug with a flat, smooth surface for the best vinyl adhesion and crisp edges.
7. Cork-Coaster Accent Mug (Tiny Cork Base Patch)
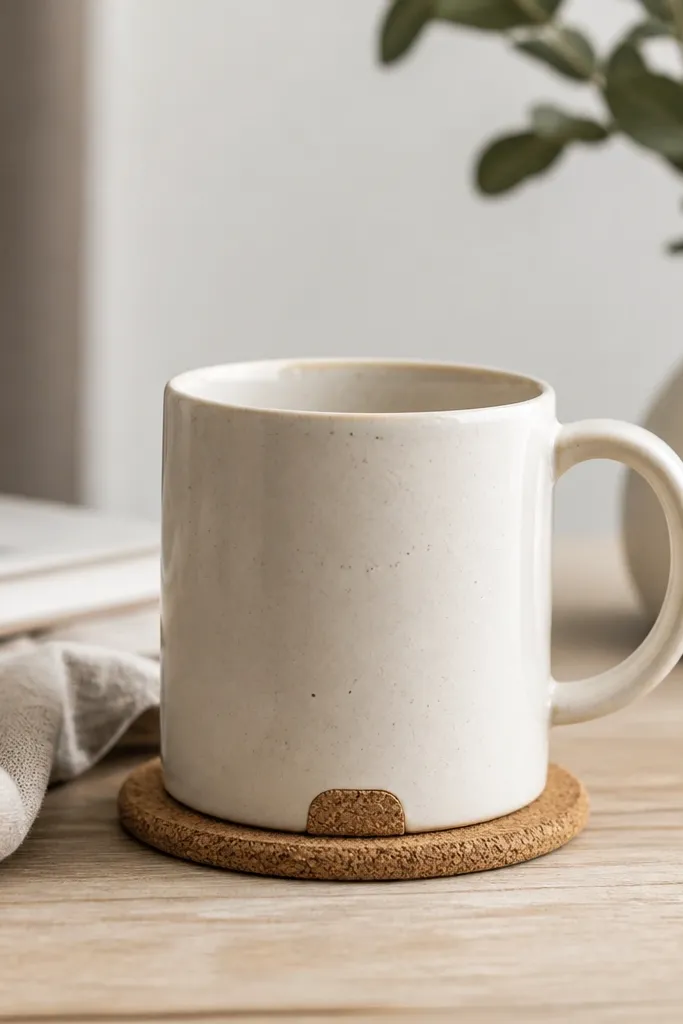
If your small space has limited counter protection, add a cork patch to the mug base so it’s gentler on surfaces. Style it with a matching mini coaster you can stack under the mug when not in use.
Good to knowUse a flexible craft adhesive and press with a flat weight for 20 minutes to prevent curling.
8. Chalk-Pen Label Mug for “Grab-and-Go” Corner
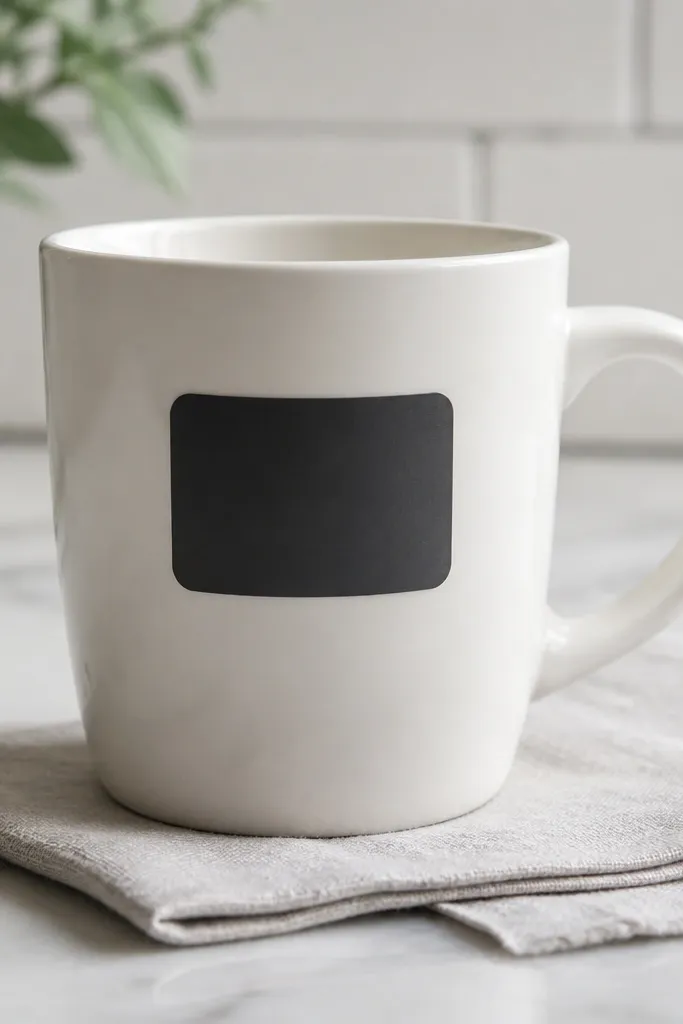
Paint a small rectangle with chalkboard paint or apply a chalk label sticker, then write flavors or names. In small spaces, labels reduce clutter because you’ll actually reach for the right mug instead of hunting through storage.
Good to knowUse a fine chalk pen or chalk and re-seal the label (if using paint) so it doesn’t smear over time.
9. Riveted Tin-Handle Charm Display (Mug Wall Hook Style)
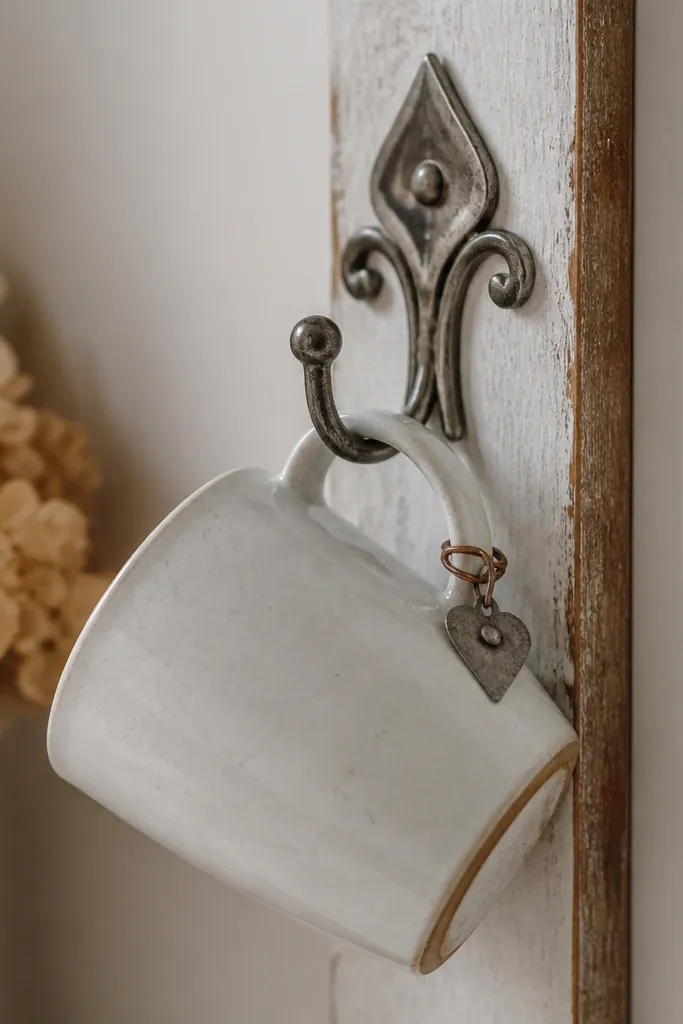
Build a tiny display board with a single hook and hang one “hero mug” at eye level. Upcycle a scrap tin strip into a charm and attach it near the hook so the whole setup reads like intentional décor, not storage.
Good to knowSecure the board to a stud and keep the display to one or two mugs per wall section so the corner stays breathable.
10. Heat-Transfer Photo Mug (One Small Image, Big Impact)
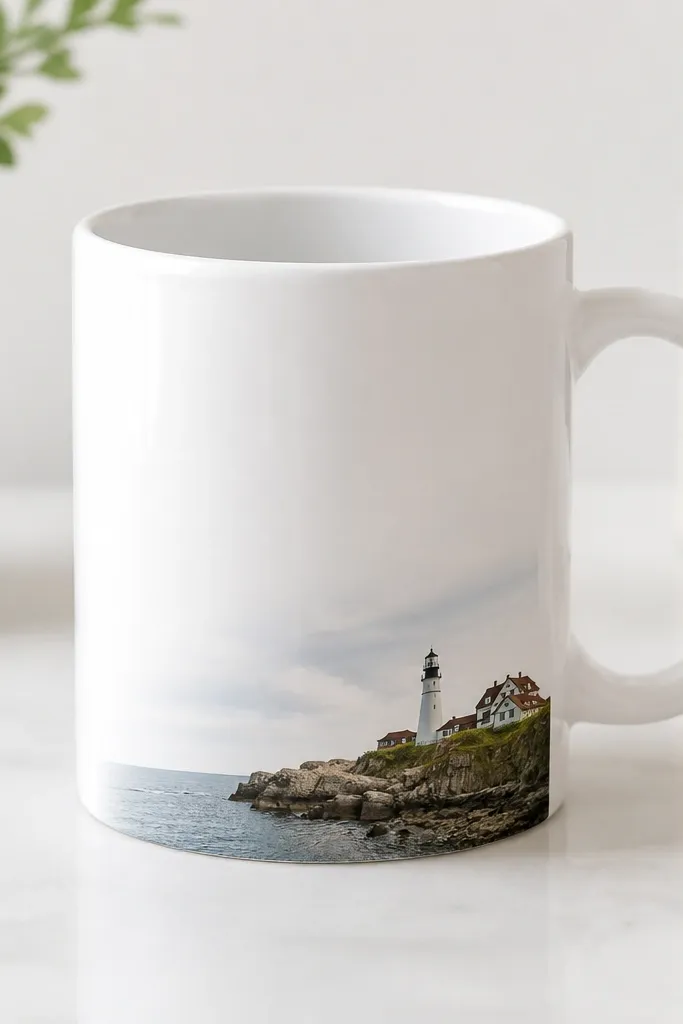
Choose one small photo (a plant, a cat illustration, a city skyline) and keep it centered on the lower third. Heat-transfer paper + proper sealing makes the design more durable than random craft prints, and one image keeps the mug visually calm in tight spaces.
Good to knowUse a gloss or ceramic-specific sealant and cure fully before the first wash to prevent fading.