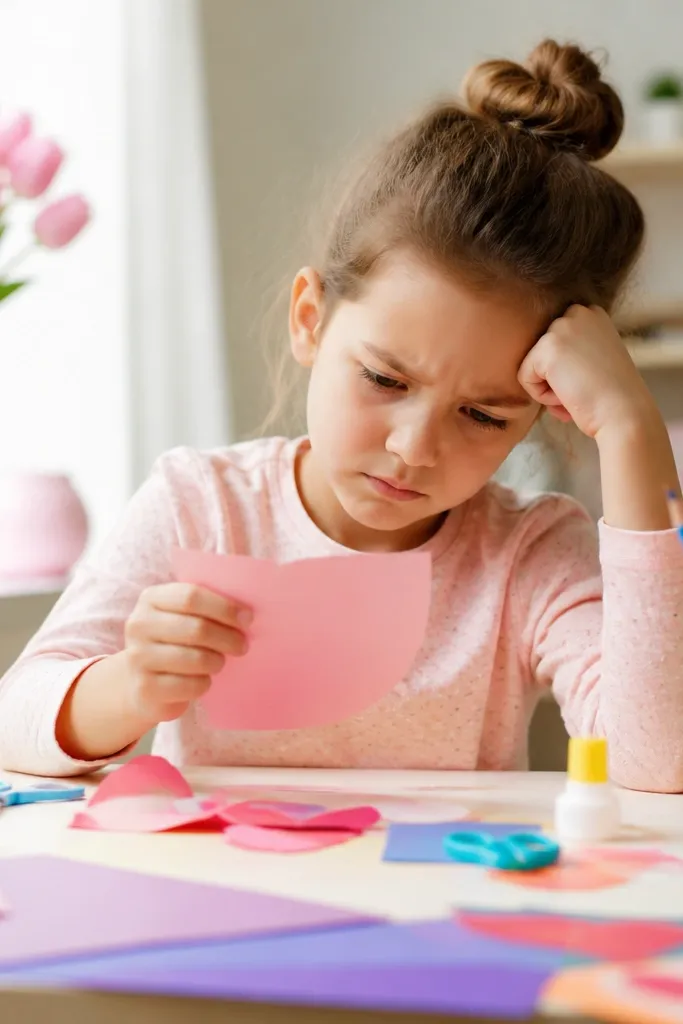
1. The “Glue-Over-Cardboard” Handprint Test
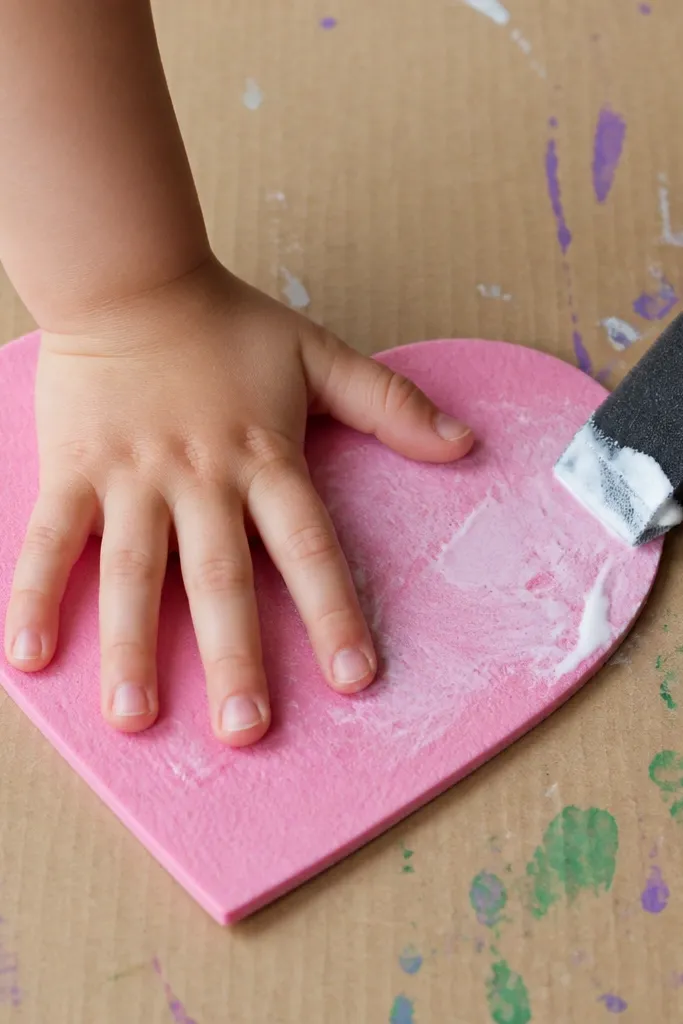
Instead of pressing directly onto a table, you place a layer of cardboard or a silicone mat under the project. That way, any glue squeeze-out or paint transfer stays on the protector, not your floor or countertops. Use washable paint and a foam heart or cardstock that can handle light moisture without warping.
Do a 10-second “practice press” on scrap paper first so kids learn pressure — then move to the final heart.
2. Photo-Corner Mounts That Don’t Bubble
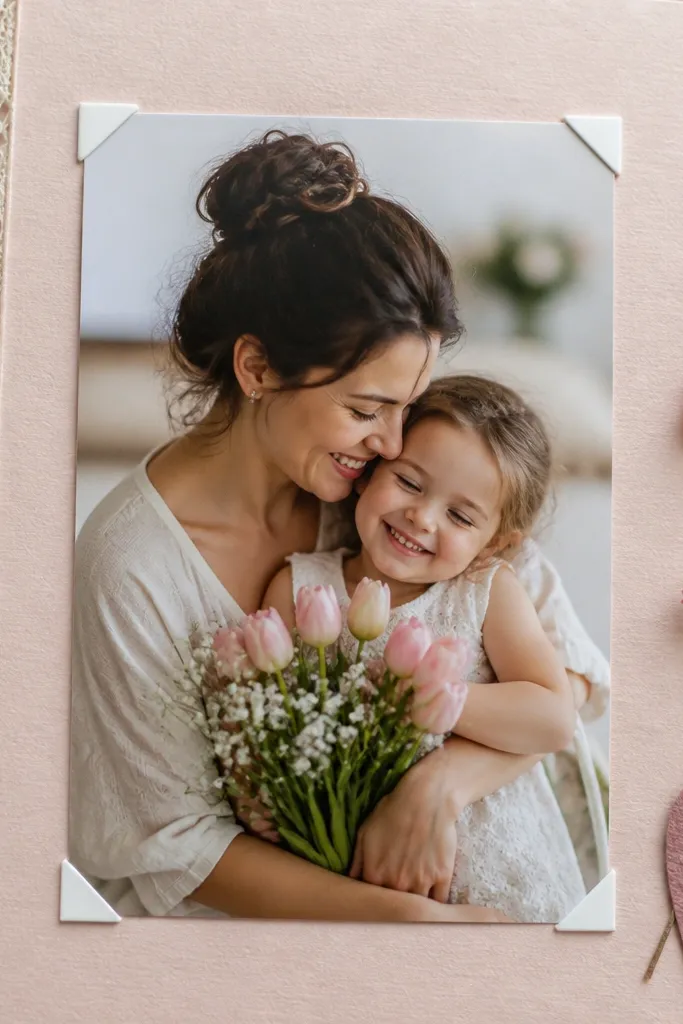
One common UGC mistake is using too much liquid glue on the back of photos — it can ripple paper and create bubbles. Corner adhesive squares keep the photo secure while letting it stay flat. Pair them with thick cardstock so the card closes without bending the photo.
Good to knowIf you’re attaching a photo, use corner squares or double-sided tape — skip glue sticks and craft glue for photo mounting.
3. Glitter Control With Tape Edges
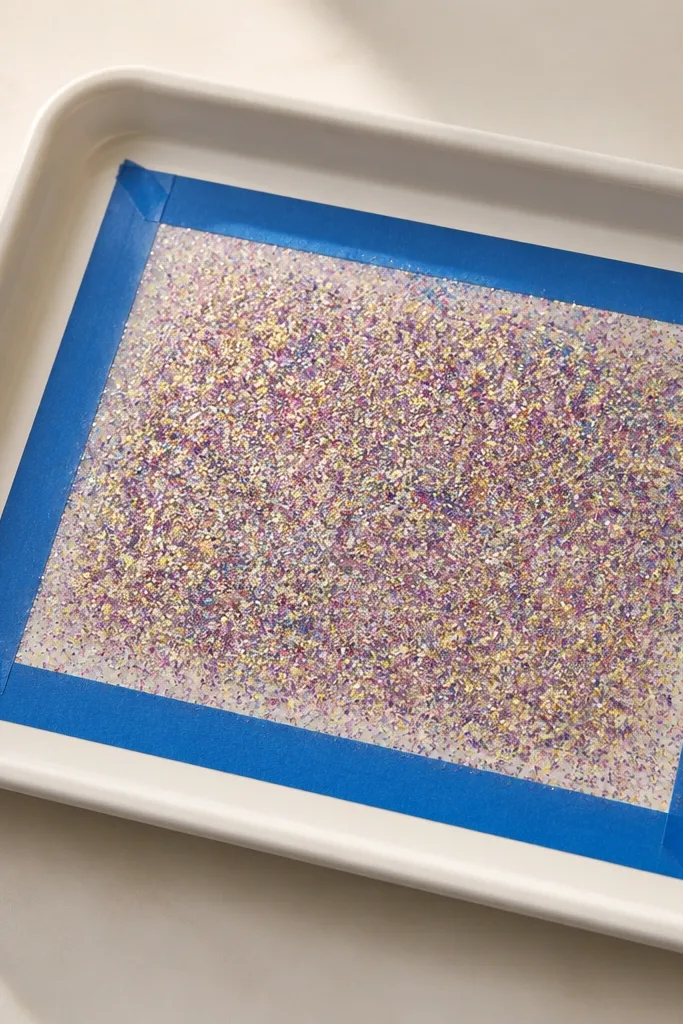
Glitter is fun until it migrates across your house. A taped border creates a “glitter zone” that’s easier to clean and prevents stray sparkles from sticking to kids’ socks. Use fine glitter for paper crafts and a glue pen only where you want sparkle.
Press the tape down firmly, sprinkle lightly, then lift the tape after the glue sets — it peels off glitter that’s trapped inside.
4. Dry-Flat Strategy for Paper Flowers

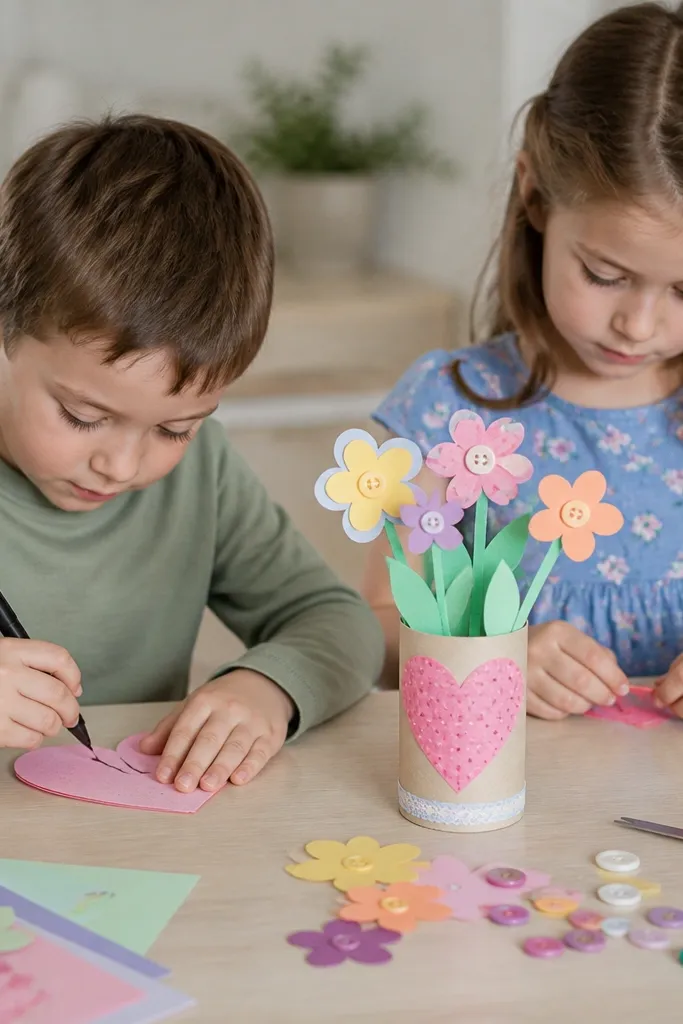
Paper flowers warp when petals are glued while still wobbly. Build petals in layers, then press them under books or a flat board while the adhesive dries. For a neat look, use liquid glue sparingly at the center and let edges stay free for shaping.
Make flowers 1-2 days ahead and store them flat in a folder so Sunday assembly is quick and doesn’t crack.
5. Marker Smear Fix: Outline First, Color Later
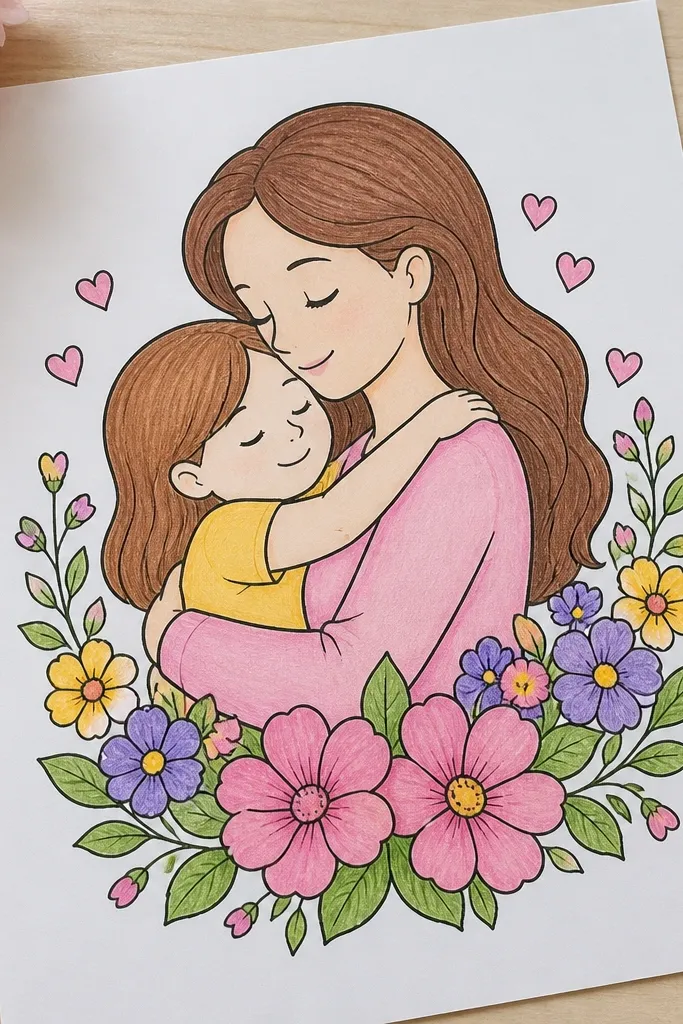
Kids often color before outlines dry, especially with washable markers. That creates smudges and muddy colors. Start with a dark outline (water-based black marker), let it dry for a full minute, then switch to color markers.
Good to knowSet a timer for 60 seconds before coloring — it’s the easiest anti-smear hack.
6. Paint Brush Dip Without Drips
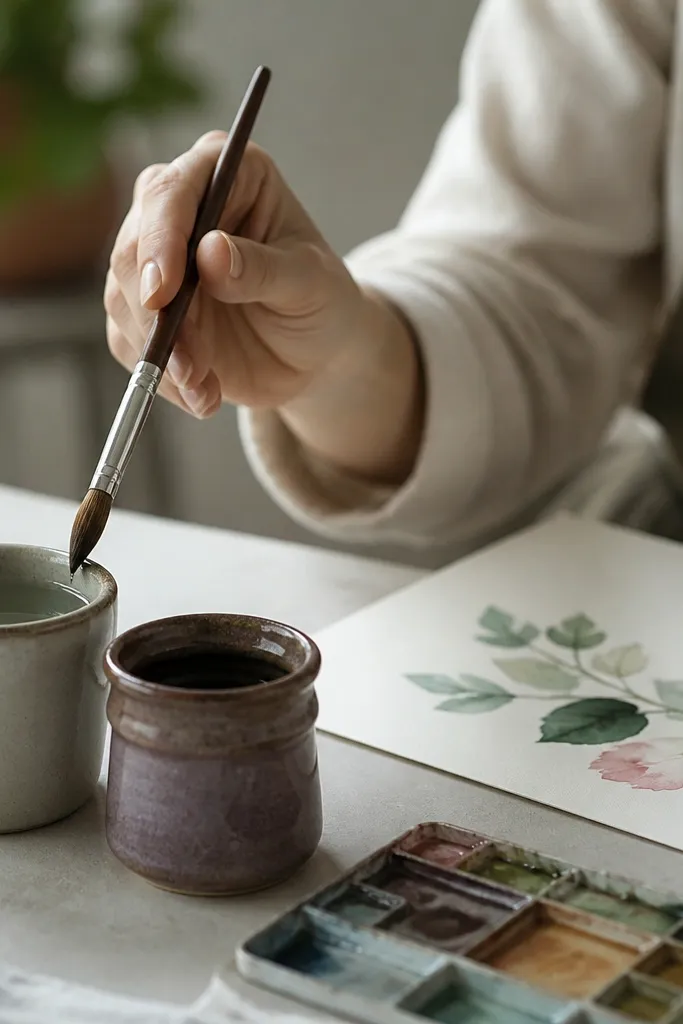
The messiest mistake is letting kids load brushes until they drip. Instead, use two cups — one for rinse water, one for paint — and tap the brush on the cup rim so excess falls back in. Choose thicker paper for paint so it doesn’t bleed through and curl.
Good to knowUse a paper towel strip next to the cup for quick blotting — it keeps paint from pooling on the craft.
7. Sticker + Foam Tape Keepsakes That Actually Hold
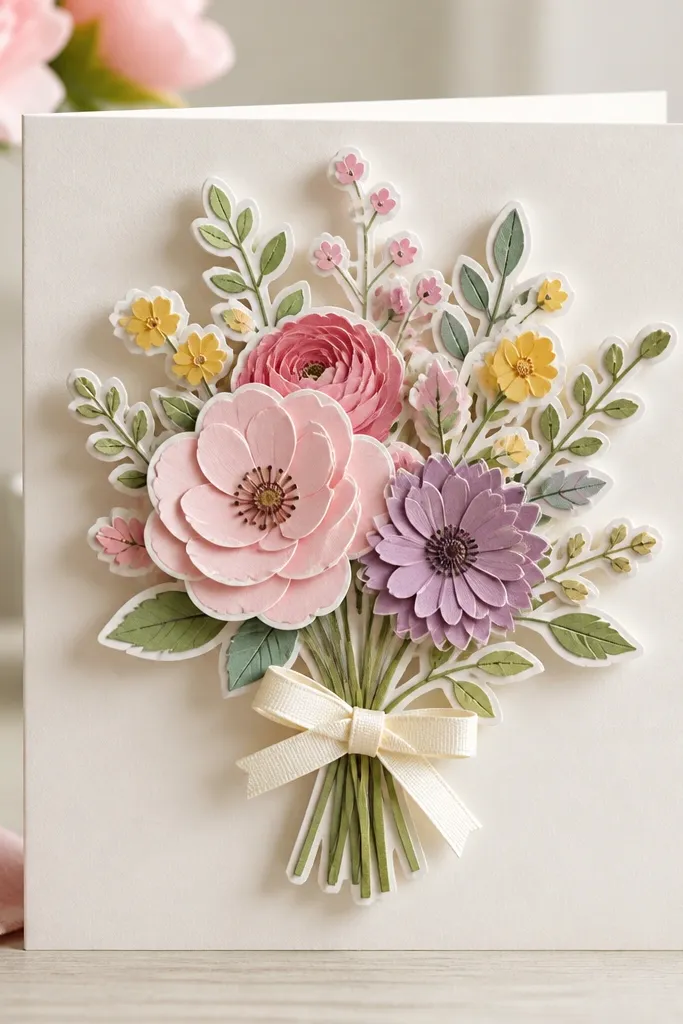
Some stickers peel off after handling because kids press them on unevenly or use thin glue. Foam tape squares add grip and lift, making layers look intentional. Stickers work best when the surface is clean and dry — no leftover glitter dust or paint residue.
Wipe cardstock with a dry microfiber cloth before sticking foam tape — it boosts adhesion fast.
8. Hand-Safe Scissors Rules for Little Cutters
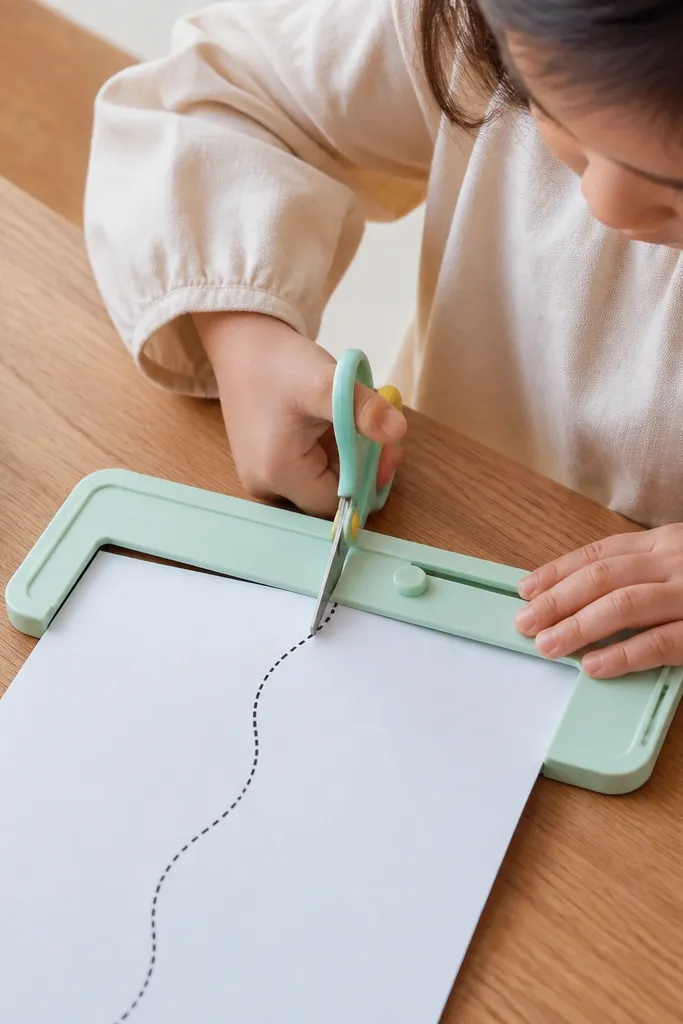
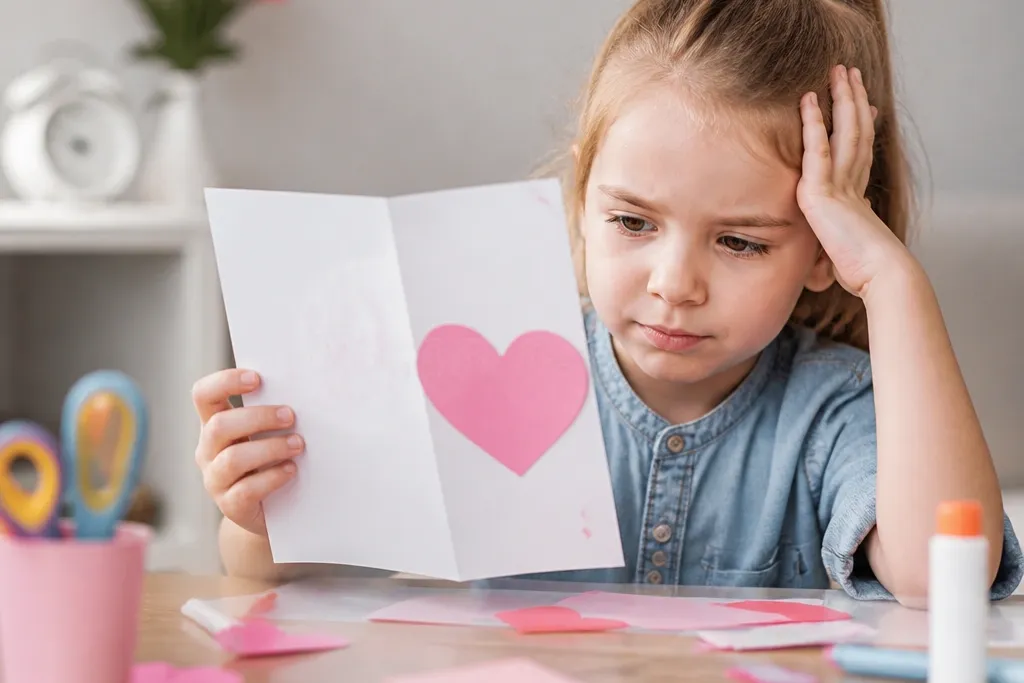
A big “UGC craft fail” is kids cutting freehand and ending up with jagged edges or torn paper. Use a simple cutting guide — like a printed template with bold lines — and keep scissors age-appropriate. Thick cardstock cuts cleaner than thin craft paper, especially for younger kids.
Good to knowCut in short snips toward the line, not across it — teach “stop, line up, snip.”
9. Ribbon Loops That Don’t Tangly-Fall
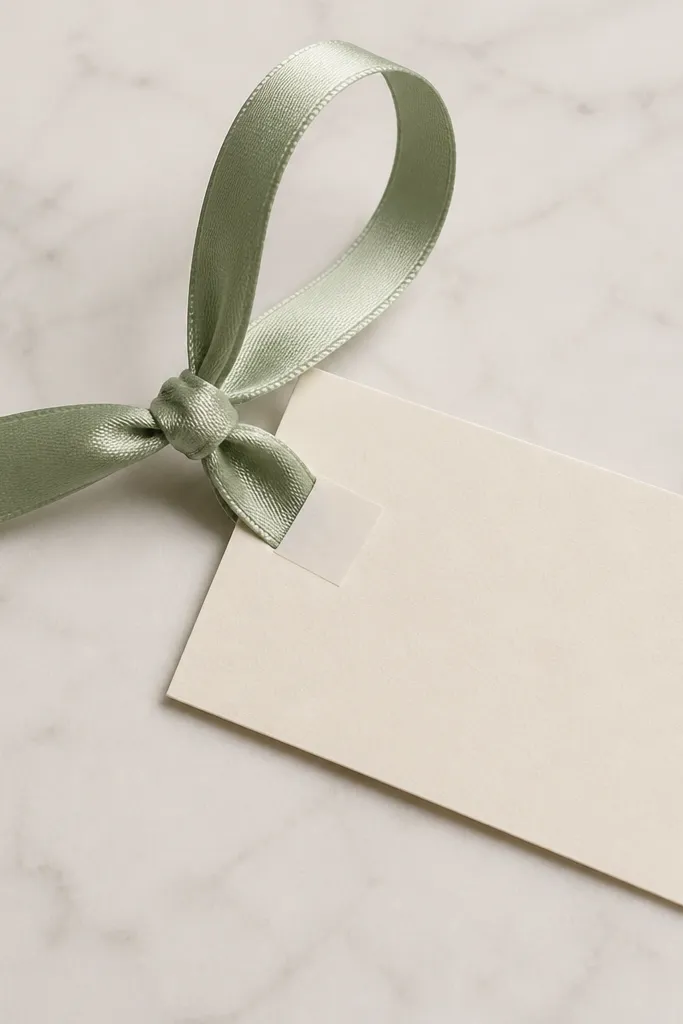
Ribbons look adorable until they tangle or slip. The mistake is tying too loosely or skipping a tension anchor. Use double-sided tape or a small hot glue dot on the back (adult) to hold the ribbon end while kids create the visible bow.
Good to knowMake the ribbon loop first, then secure the back end so the front bow stays perfect when the card is opened.
10. Name-Labeling Before Kids Start
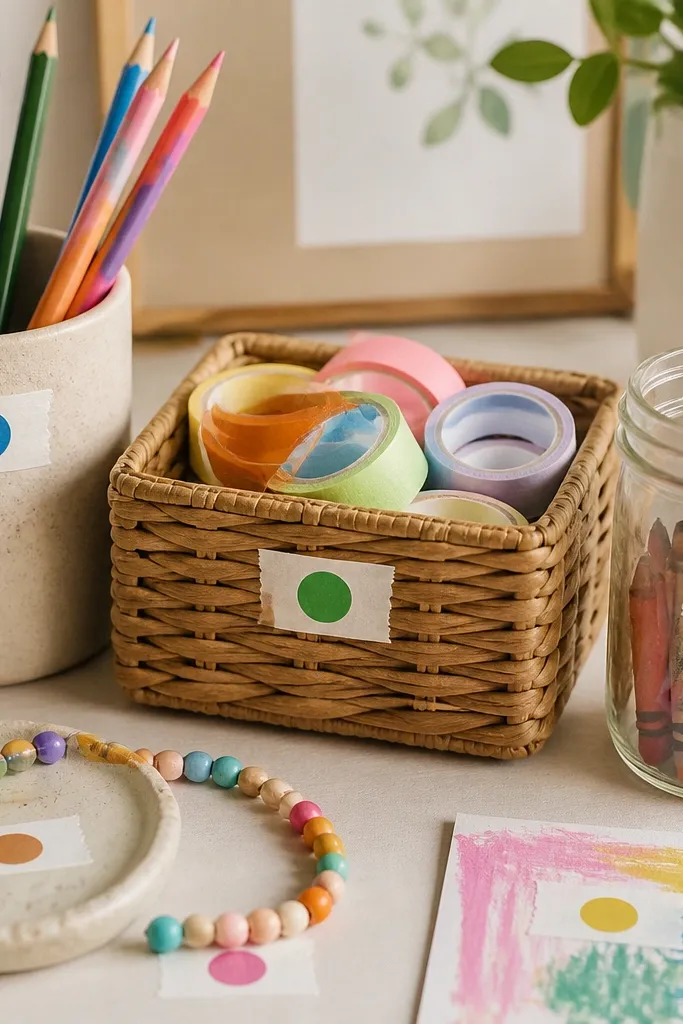
If you don’t label supplies and finished items, it’s chaos by the second craft station. Kids accidentally grab someone else’s marker or swap photos, and parents get mismatched keepsakes. Put a color dot system on everything — it’s faster than full names and reduces confusion.
Before crafting, label glue, markers, and the backing cardstock so you can hand off finished items correctly.