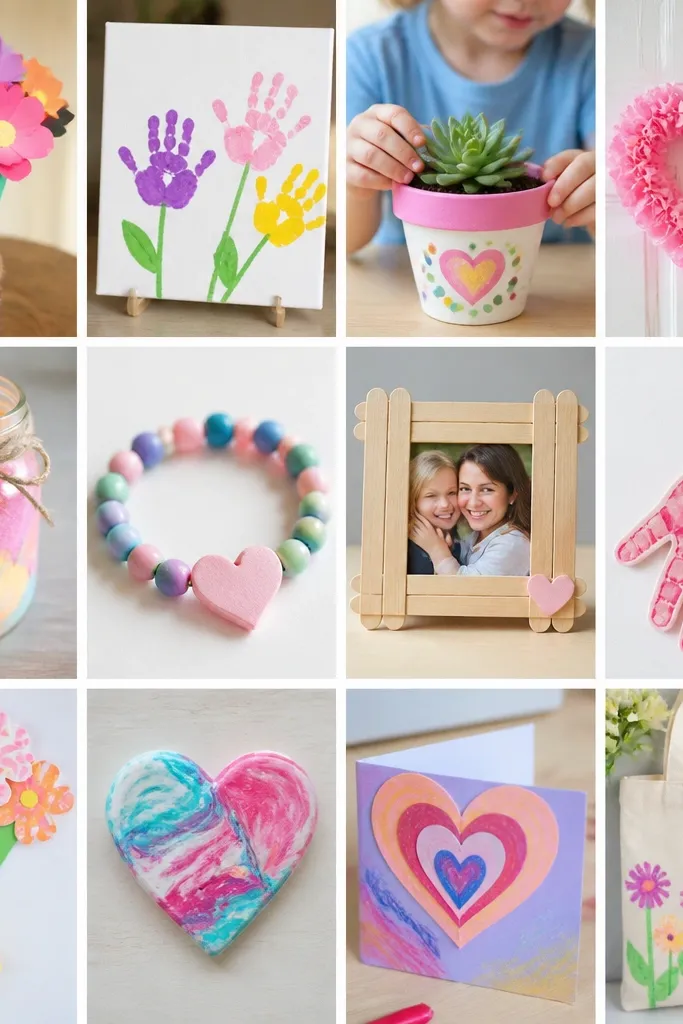
1. Fingerprint Flower Cards That Don’t Smear
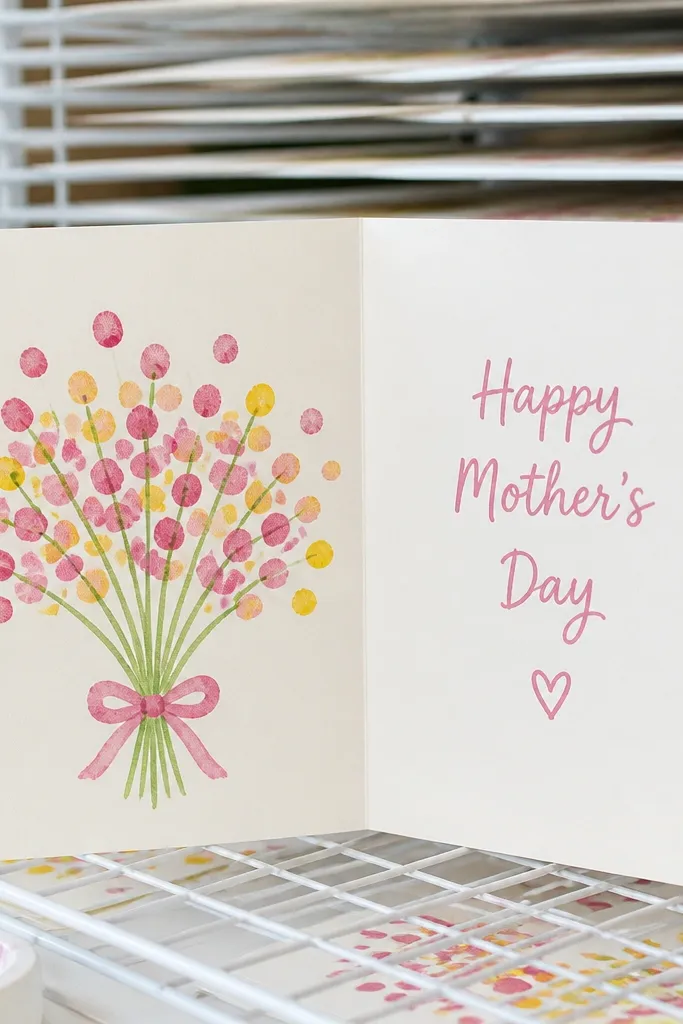
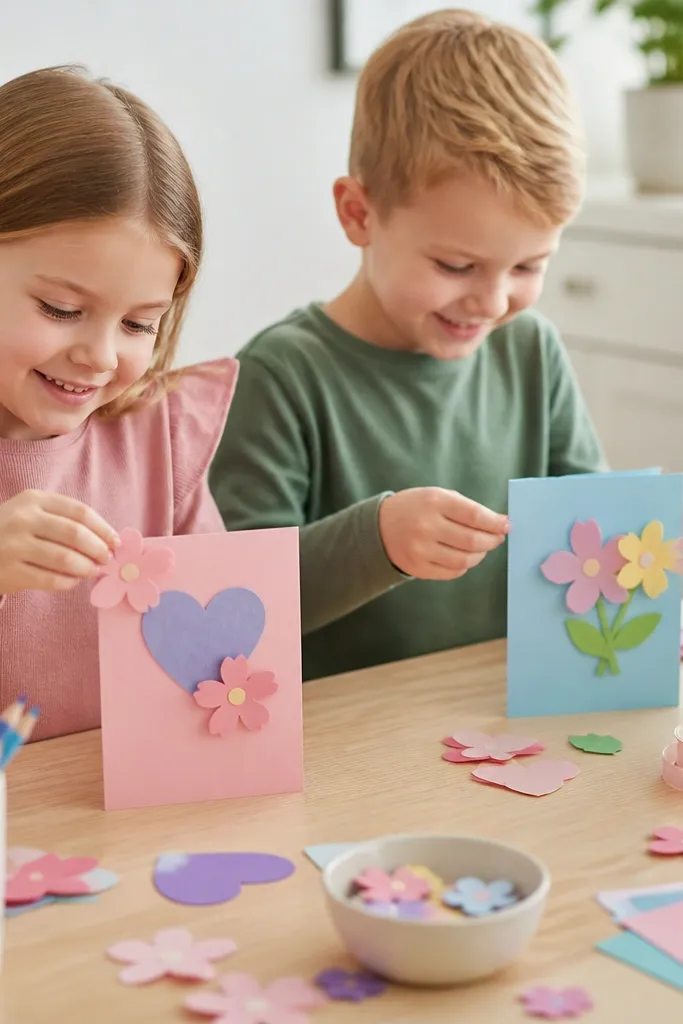
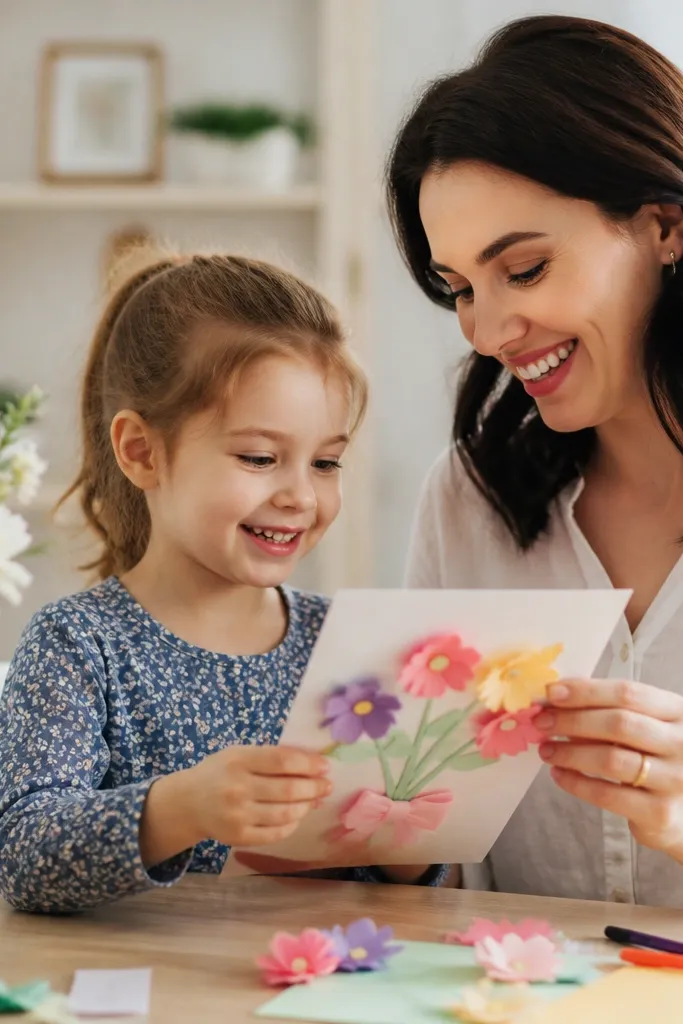
The biggest mistake is using runny craft paint and letting kids keep touching the fingerprints. For clean dots, use washable kids’ paint that’s thick (or squeeze-ink paint) and dab, don’t smear. Thick cardstock holds the dots better than thin printer paper, and it dries flatter.
Give kids a “press and lift” rule — 1 second of contact, then lift straight up. Let it dry flat for at least 30 minutes before writing or adding extra details.
2. Photo Frame Crafts: How to Stop Warped Edges
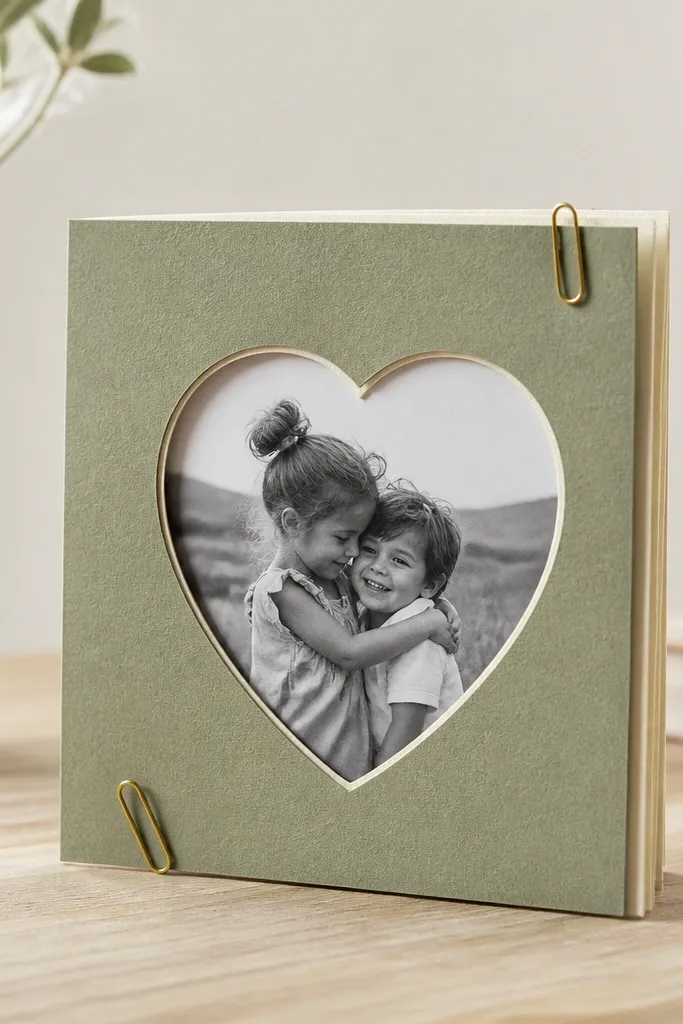
Warping happens when kids glue big wet areas or stack wet layers too soon. Use 200-300 gsm cardstock for the frame layers so it stays rigid. Apply glue in thin lines or a zigzag, then press under a flat book for 20-30 minutes.
Good to knowCut the window a little smaller than the photo opening so you can hide tiny misalignments. Press flat with a book while drying instead of letting it “air curve.”
3. Handprint Keepsakes Without the Sticky Residue
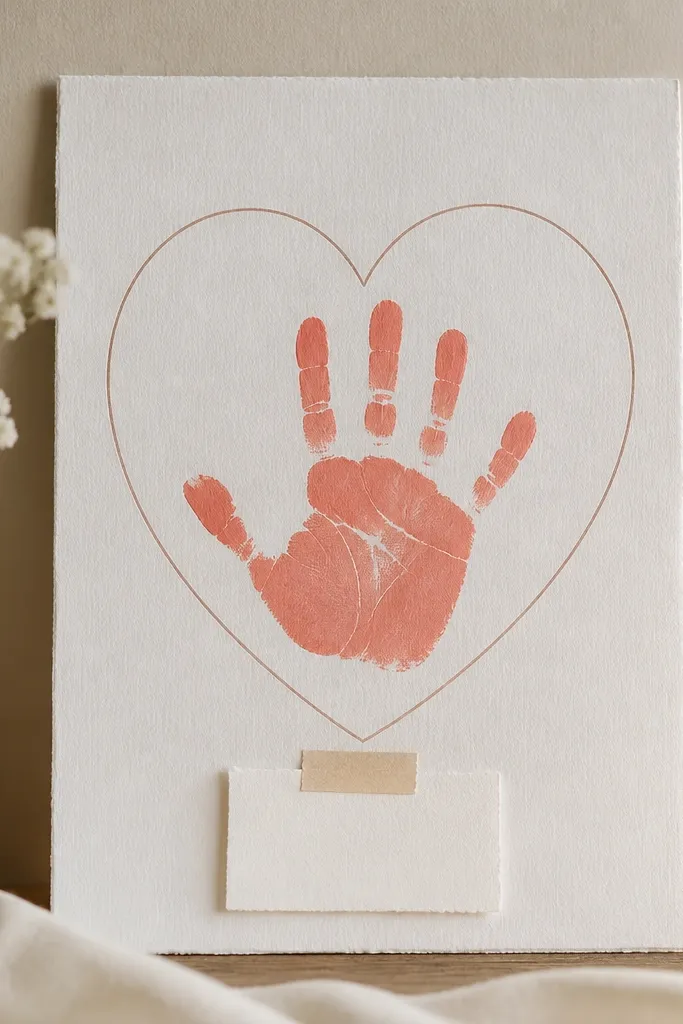
Sticky residue usually comes from using too much paint on the hand, especially on kids with lotion-y skin. For crisp lines, use a foam brush to paint a thin, even layer and avoid overloading the palm. Washable paint is easier to clean but still needs a proper dry time to avoid tackiness.
Good to knowDo a quick “paint test” on a scrap paper first. After stamping, set a timer for 45 minutes before adding embellishments like glitter or markers.
4. Glitter That Stays Put (No Falling Sparkle)
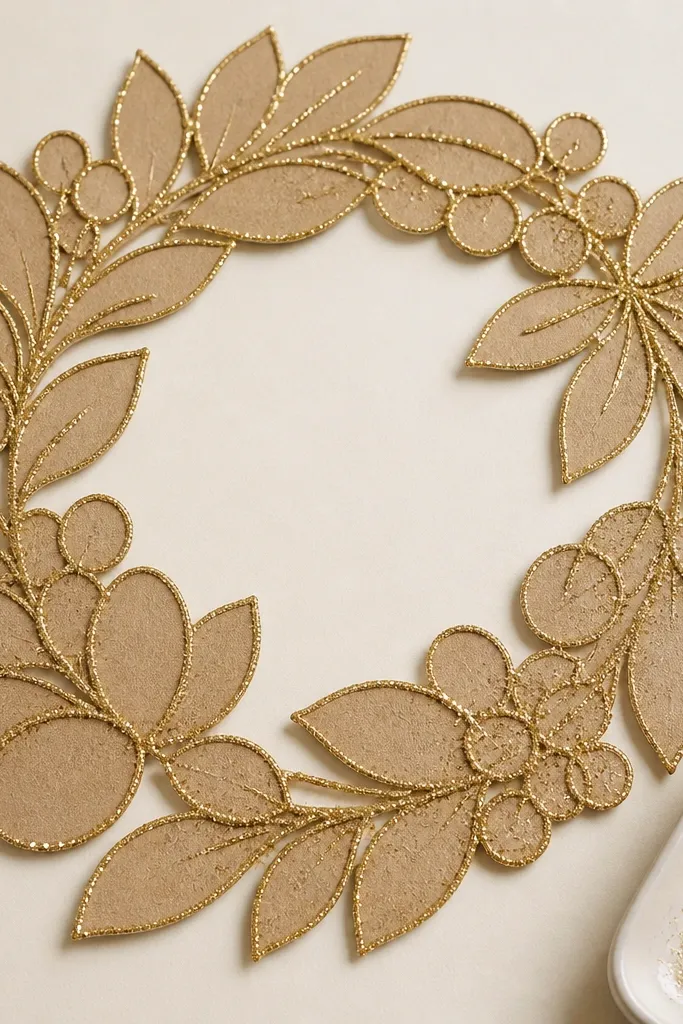
The mistake: gluing the whole surface and then shaking glitter everywhere. Instead, outline specific shapes (like a heart border or flower centers) with glue and press glitter only where you want it. Use fine glitter — chunky craft glitter lifts faster and can shed.
Good to knowLay down a sheet of scrap paper under the craft, then tap off excess after 2-3 minutes. Seal with a light spray sealer once fully dry to reduce shedding.
5. Paper Plate Wreaths That Don’t Collapse
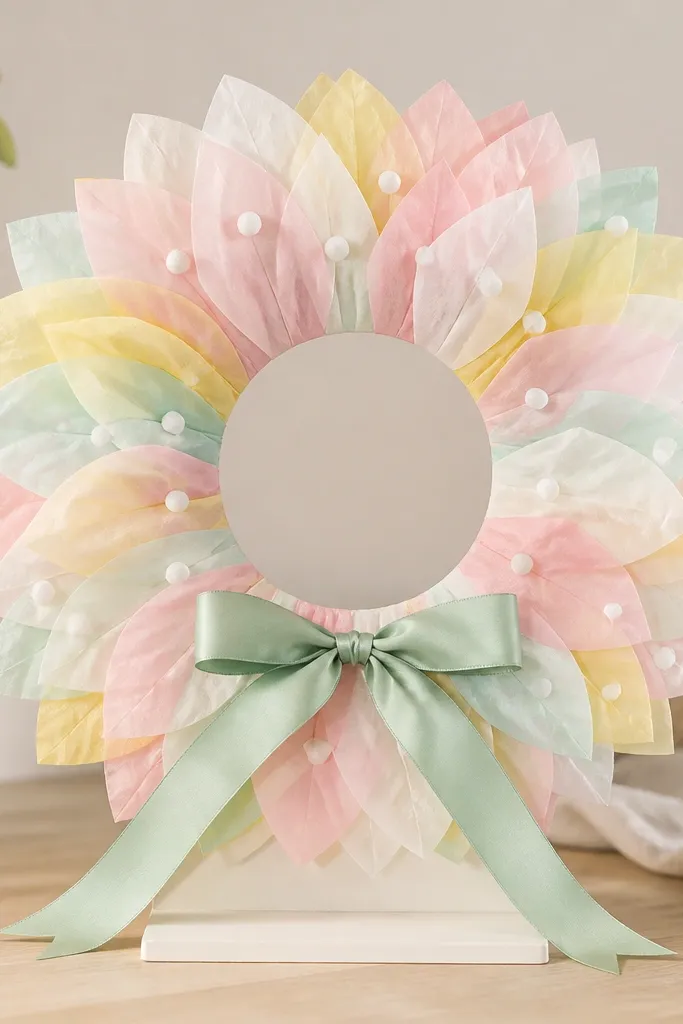
Tissue paper wreaths collapse when kids attach heavy layers directly to a flimsy base. Use a thicker paper plate (or double up plates) and keep tissue layers smaller. Foam dots or small cardstock tabs add lift without soaking up glue.
Good to knowBuild in layers from the inside out so the outer petals don’t pull the base. If it sags, add a hidden second plate behind the first.
6. Ribbon + Cardstock “Bloom” Bow Without Fraying
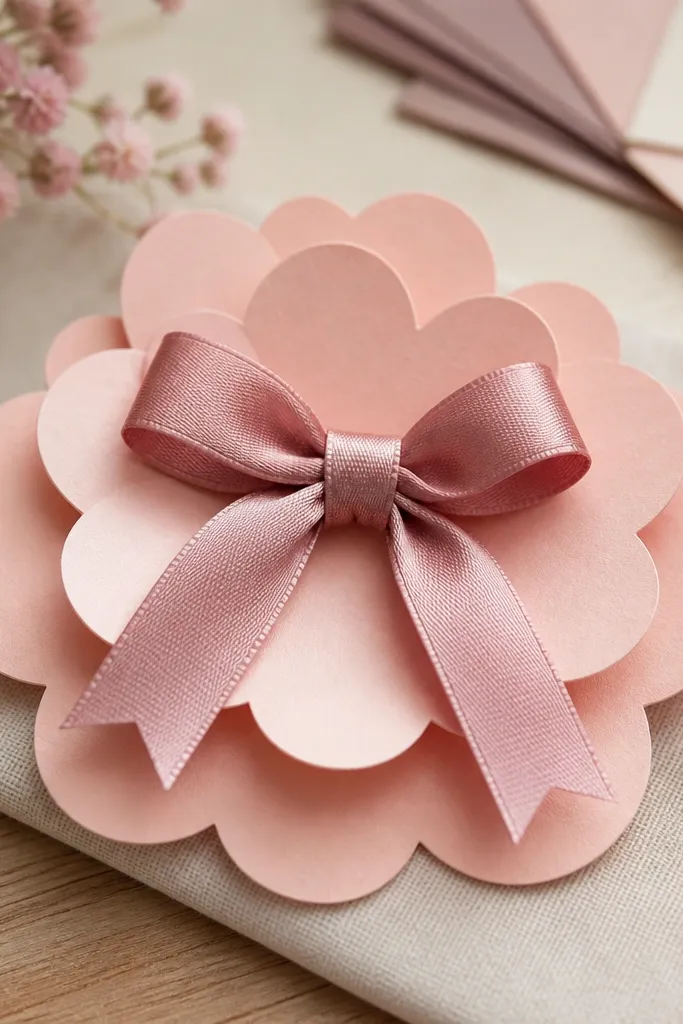
Fraying happens when ribbon ends are cut without finishing and when kids tug while hot glue sets. Use satin or grosgrain ribbon (it holds shape) and trim ends with sharp scissors. For a neat finish, melt the cut ends carefully using a supervised method or choose pre-sealed ribbon ends.
Use a small dab of glue at the center only. Keep ribbon tails longer than needed so you can trim after the bow is secured.
7. Marker Handwriting That Looks Neat, Not Messy
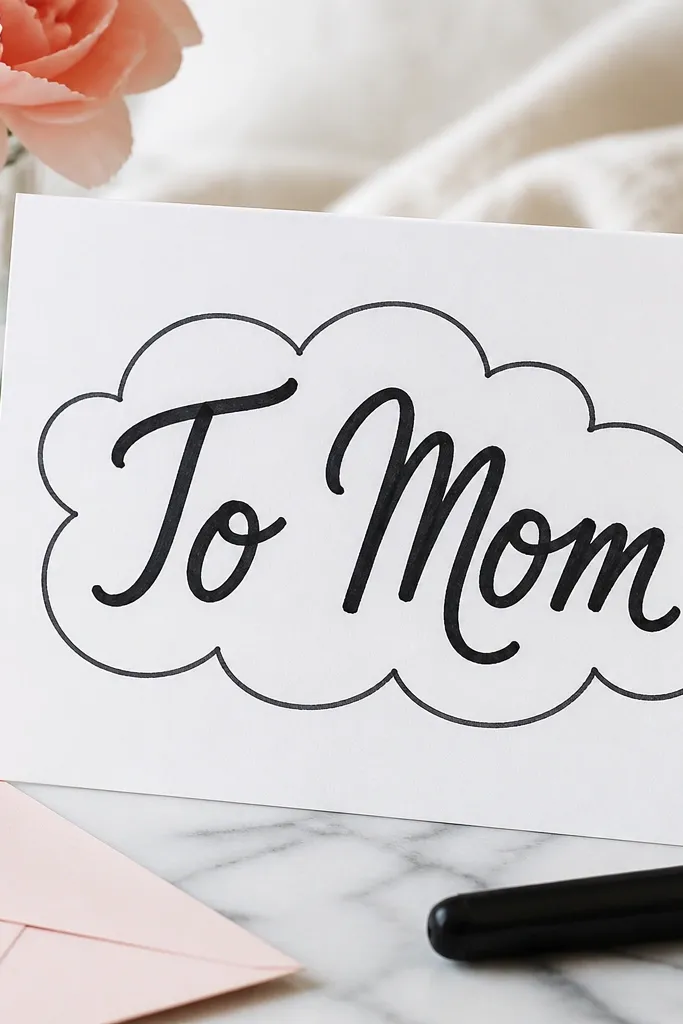
Smudges come from writing on wet paint or using washable markers on slick cardstock. Let painted areas dry fully, then write on matte cardstock. If you want extra control, use a pencil light guideline and then go over with a fine tip marker.
Good to knowWrite first on scrap paper to check marker flow. Place the card flat and pause 10 seconds before closing the lid to prevent accidental smears.
8. Tissue Paper Collage Backdrops That Don’t Warp
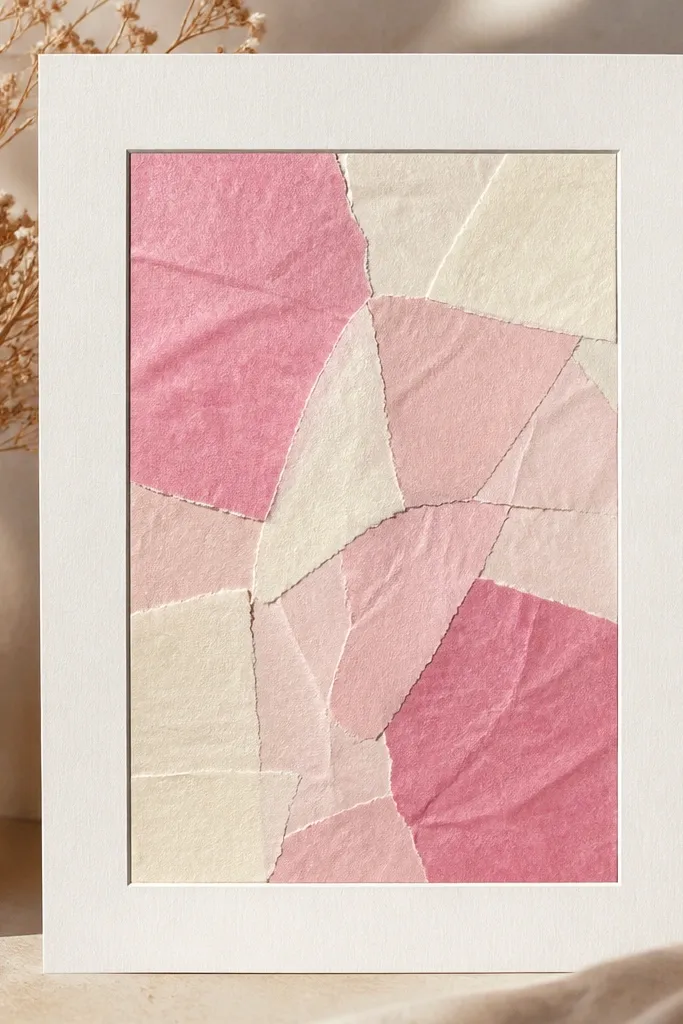
Warping happens when kids soak tissue with too much liquid glue. For tissue collages, use a glue stick or a small amount of diluted glue applied with a sponge brush around the edges of each piece. Thick cardstock acts like a stabilizer and keeps the collage from buckling.
Good to knowTear tissue pieces smaller than you think — tiny pieces lay flatter and hide uneven glue. Work in sections and stop as soon as the surface is set, not soaked.
9. Macaroni “Mom Necklace” That Won’t Snap
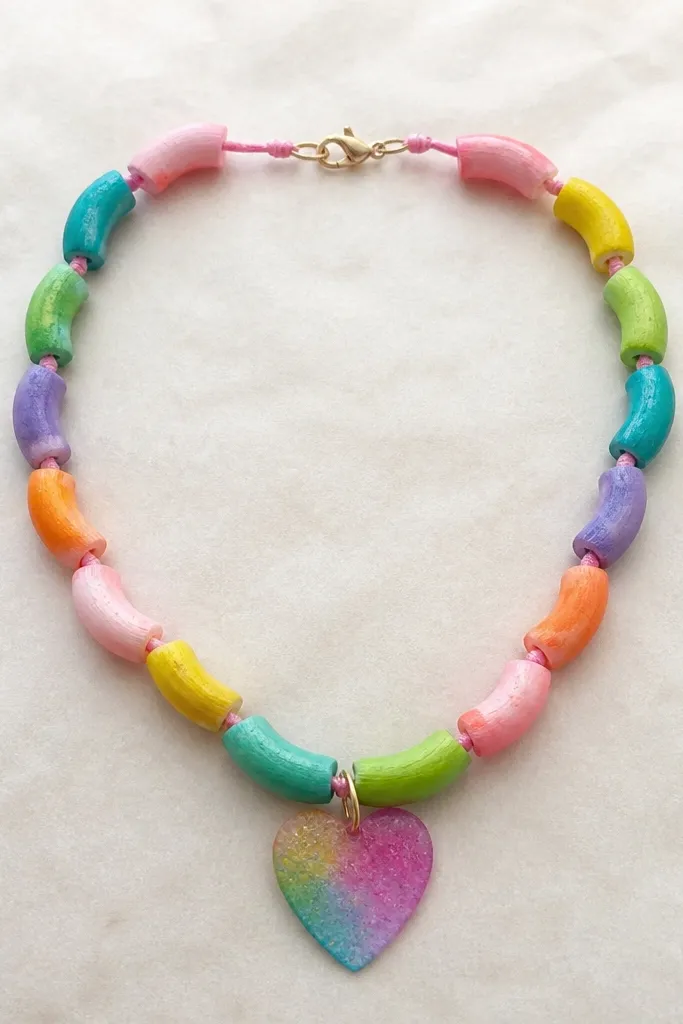
Necklaces break when kids use thin thread or when paint makes pieces brittle. Use thicker craft cord or elastic string designed for beads. Seal painted macaroni lightly with a clear matte sealant so the color stays and the surface doesn’t chip.
Good to knowPre-sort sizes and string a few “test pieces” first to check spacing. Tie secure knots and add a tiny dab of glue to the knot — let it dry fully.
10. Salt Dough Keepsakes That Don’t Crumble
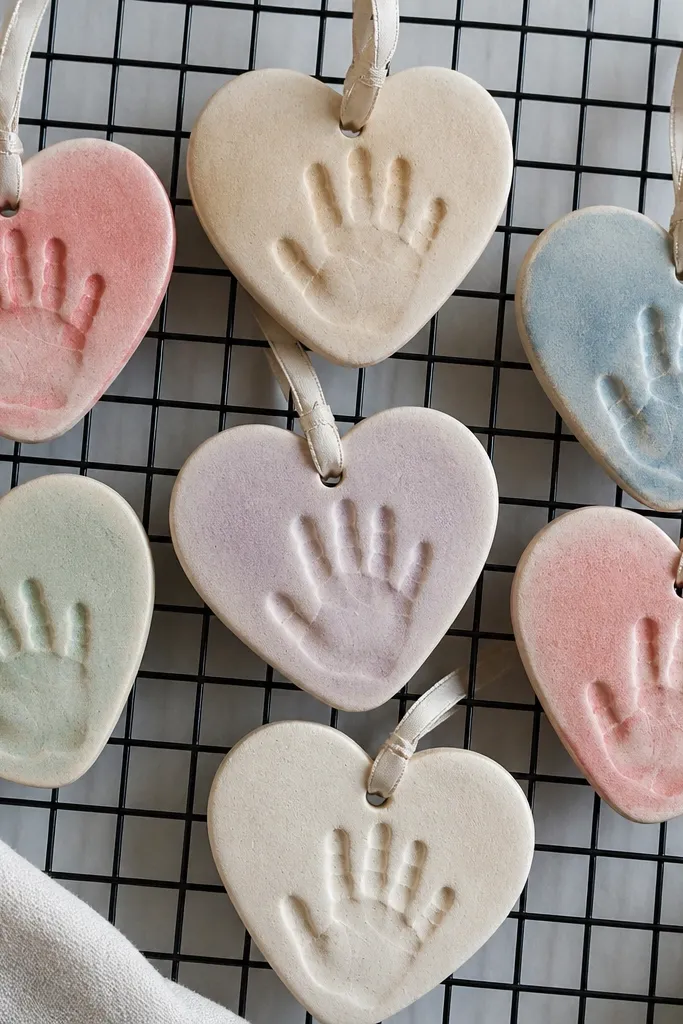
Crumbling is usually underbaking or baking without enough time for thick parts. Keep shapes thin (about 1/4 inch) and bake until fully dry and hardened. After baking, paint with acrylic and seal with a clear varnish to protect from moisture.
Good to knowIf the dough feels cool or looks matte-damp when it comes out, it needs more bake time. Let it cool completely before painting so it doesn’t crack.
11. 3D Pop-Up Hearts Without the Tear at the Fold
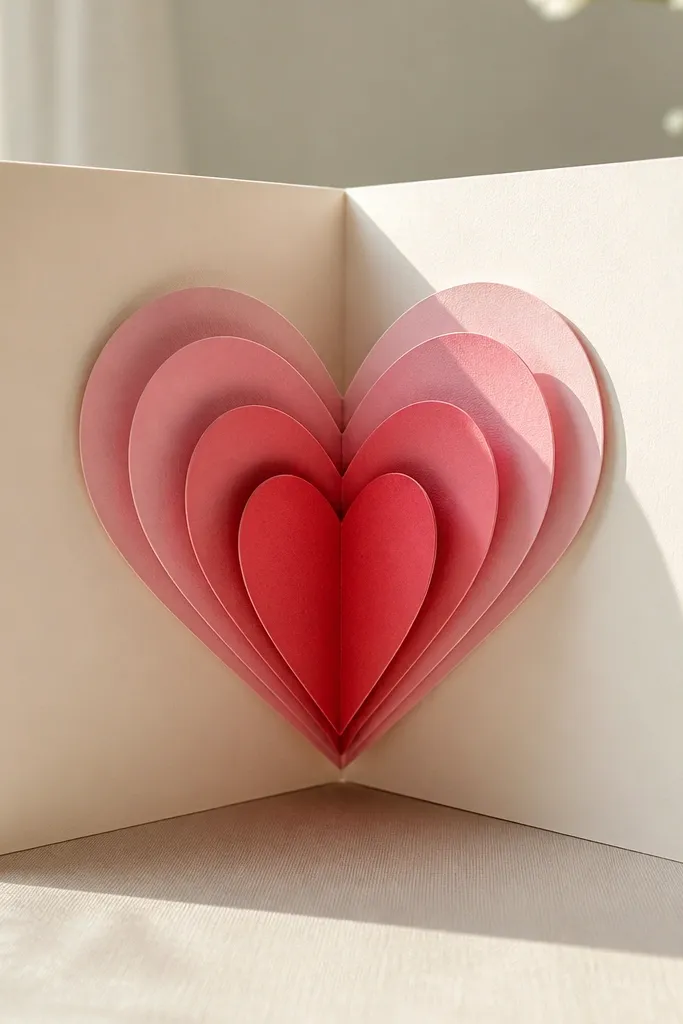
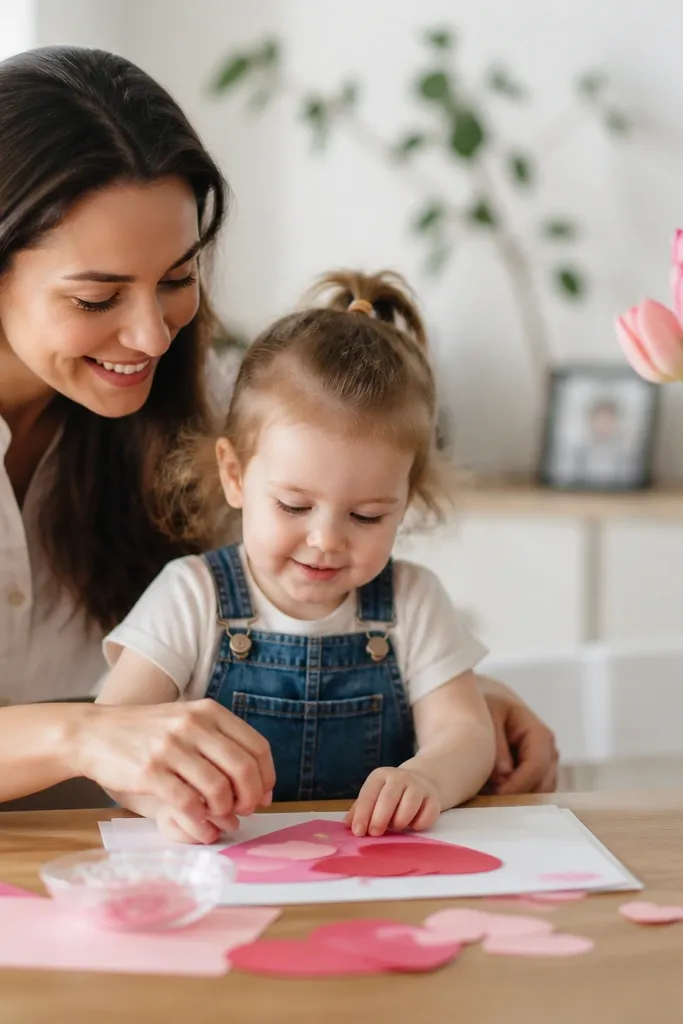
Tears happen when kids fold on the wrong side or glue across the crease. Use a scoring tool or the back of a butter knife to crease gently before folding. Apply glue only to the outer panels, not the hinge, so the pop-up opens flat and clean.
Do one test fold before gluing anything. If you see a bulky glue ridge, scrape it off and reapply a thinner line.