DIY Mother’s Day Card Crafts for Kids can be finished in 20 minutes or less — perfect when you realize Mother’s Day is tomorrow. In this guide, you’ll make 6 kid-friendly cards with simple supplies, from a no-glue photo frame to a pop-up heart that actually works. I’ll show exact steps, what to cut, and how to keep it neat so the cards look like you tried (even if you didn’t). Let’s make Mom feel celebrated fast.
Step by step
Pick one card style. Choose a look based on your kid’s comfort level — flat cards for easiest, pop-ups for a fun challenge. If you’re short on time, start with the “handprint bouquet” or “photo frame” style.
Prep the card base. Fold cardstock in half and press the crease with a ruler or your fingernail. Use a glue stick to secure any paper layers so the surface stays smooth.
Cut shapes with kid-safe lines. Draw a simple guide (heart, banner, or leaf) on construction paper, then cut along the line. For symmetry, fold the paper in half first, cut one side, then unfold.
Add the main decoration. Layer paper shapes with double-sided tape or foam squares for dimension. Keep glue away from the edges so the card doesn’t curl.
Write a short message. Use thick markers for legible handwriting. Stick to one sentence plus a name — for example: “Happy Mother’s Day, Mom. Thanks for the hugs.”
Dry and flatten. Lay finished cards flat under a book for 10-20 minutes if any paint or wet glue was used. Avoid hot drying methods that can warp cardstock.
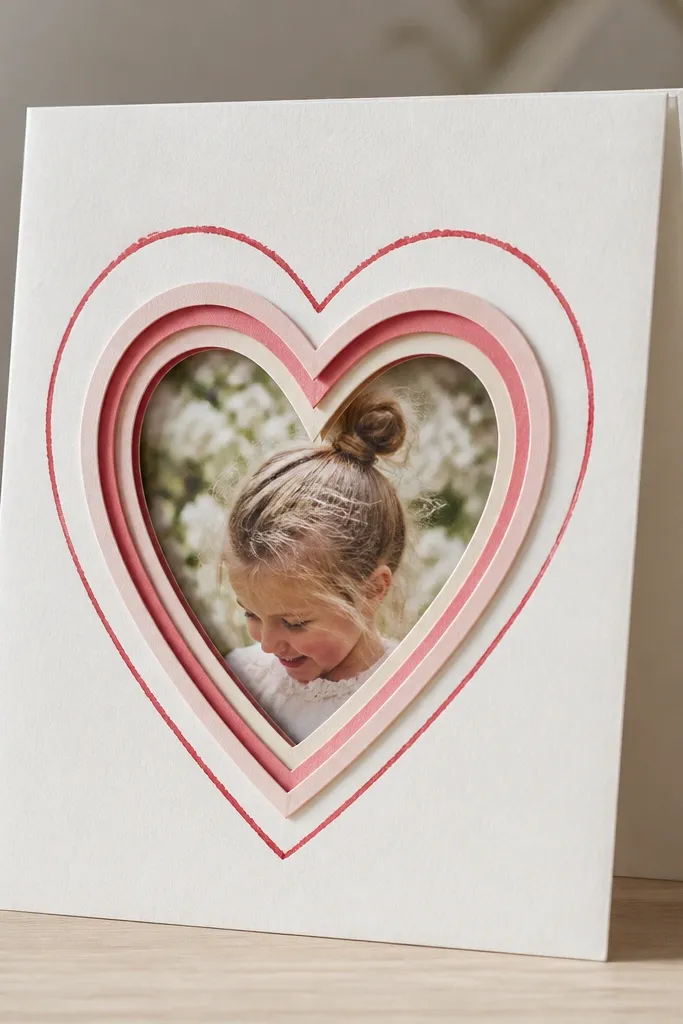
Cut a heart window into the front of a folded card so you can see a favorite kid-and-Mom photo through it. Use double-sided tape to hold a photo behind the heart so it stays flat without wet glue. Outline the heart with a bold marker to hide any uneven edges.
Trace the heart using a cookie cutter or a printed heart template for a clean shape.
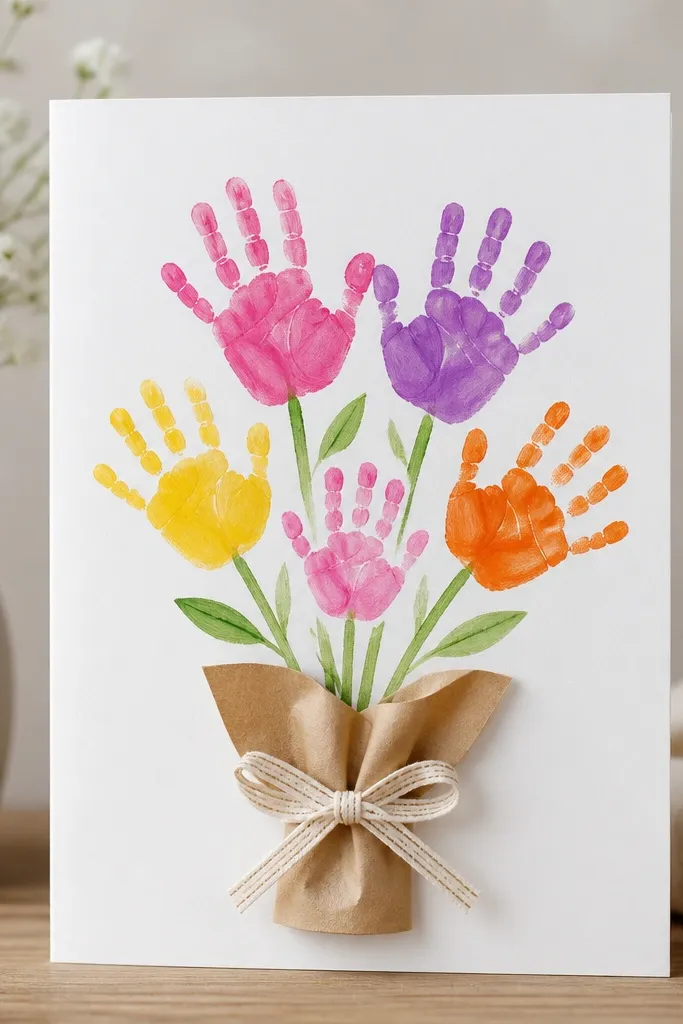
Paint or use washable ink pads to stamp handprints as flowers. Let the kids press gently, then lift straight up to avoid smudging. Draw a simple stem line and add a pot using a rectangle of brown paper folded like a wrap.
Do handprints on scrap paper first to test ink coverage and reduce messy edges.
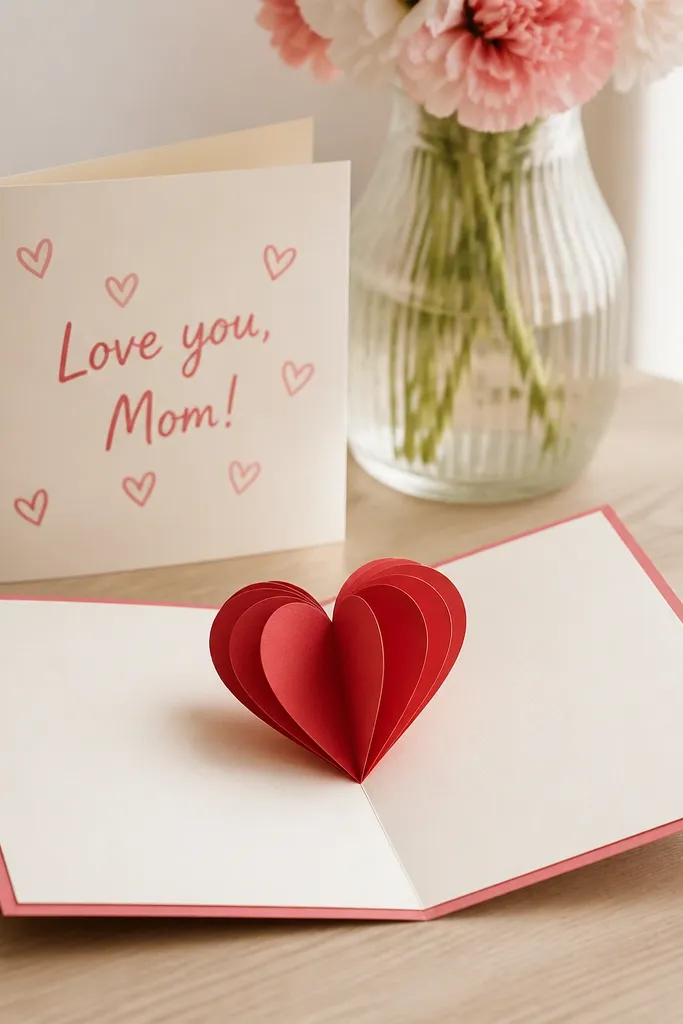
Create a heart pop-up by cutting a heart shape and attaching it to a small folded tab at the center. When the card opens, the tab lifts the heart so it stands up. Foam tape or a small strip of double-sided tape helps the heart stay sturdy.
Good to knowFold the pop-up tab sharply with a ruler so it opens cleanly every time.
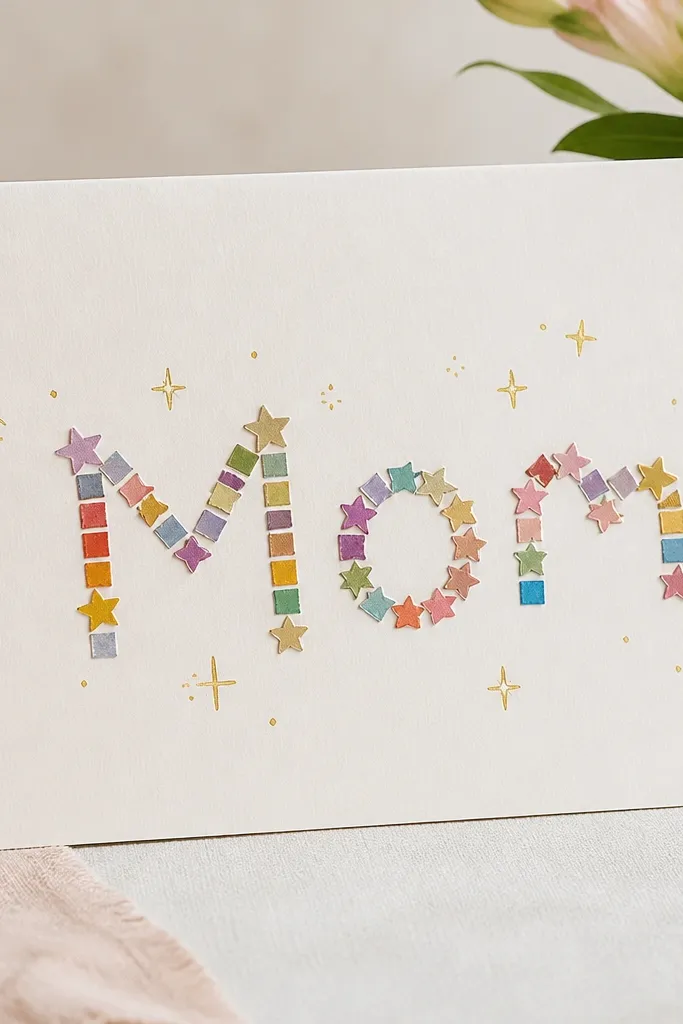
Spell “Mom” by outlining the letters lightly in pencil, then fill each letter with stickers. Add sparkle with simple doodle lines and a yellow marker instead of glitter so it won’t shed. This looks bright even if kids don’t draw well.
Use a dry-erase marker to lightly sketch letter edges, then erase before the final writing.
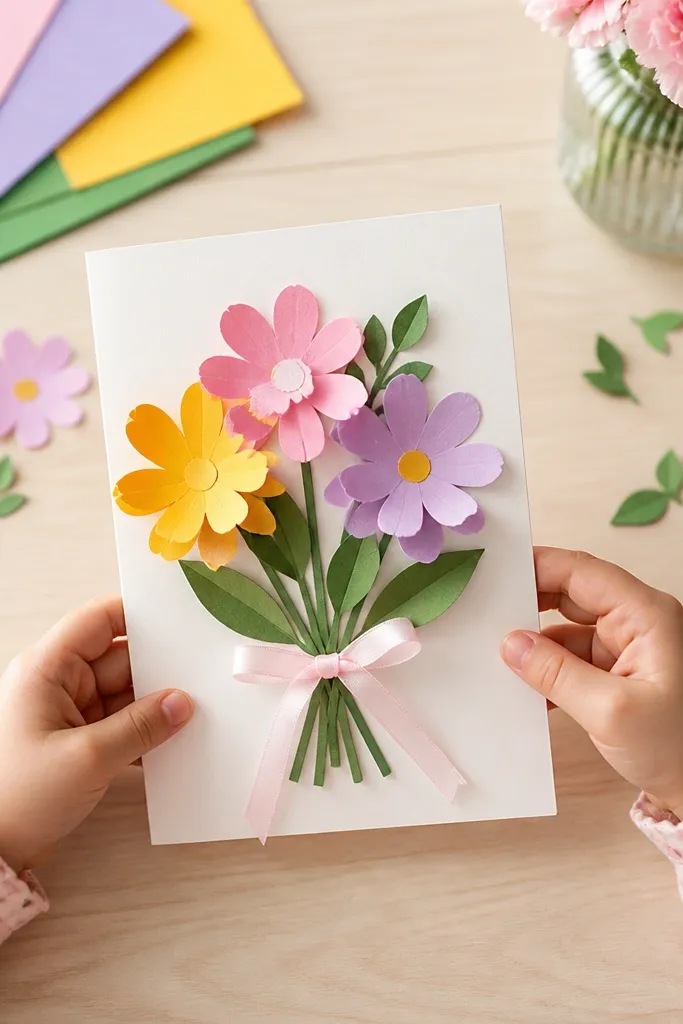
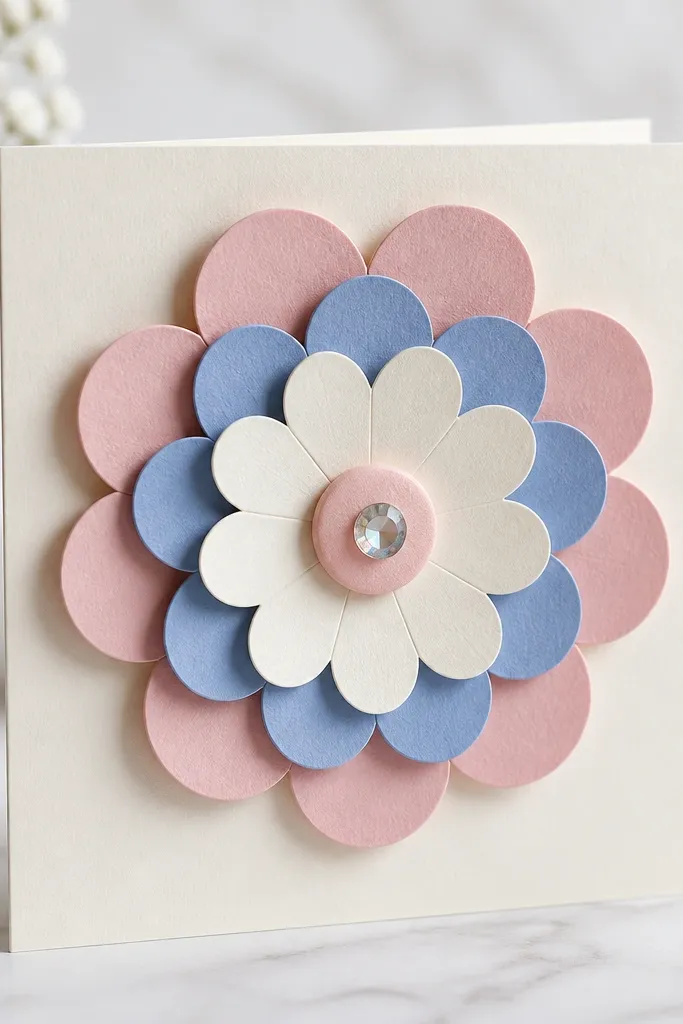
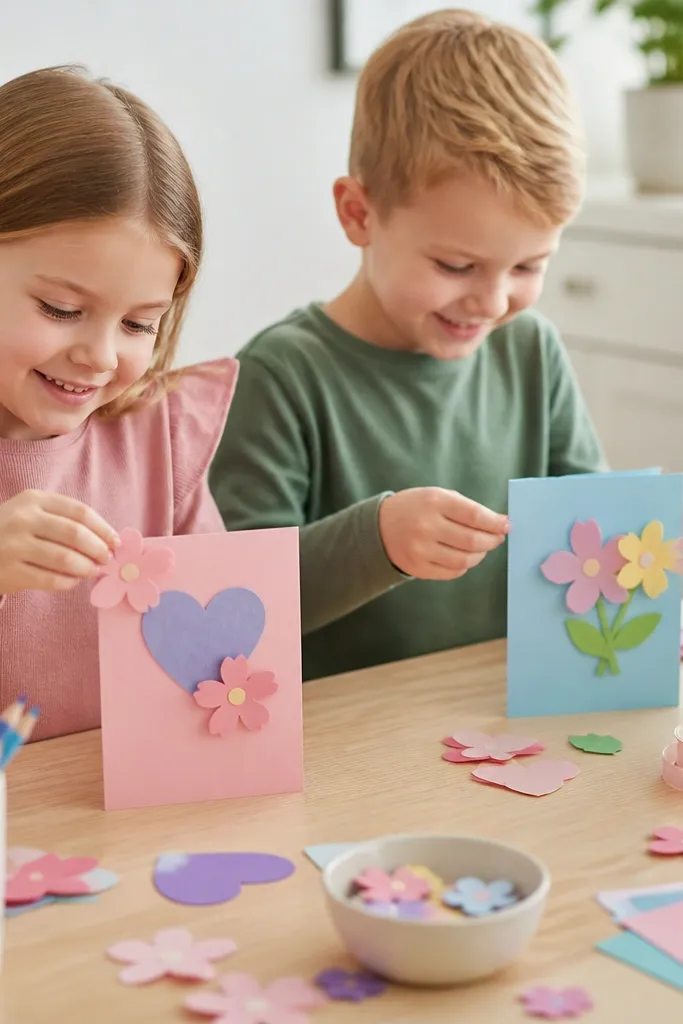
Cut three circles of paper and fold them into petal shapes, then glue or tape them to build depth. Add a foam center so the flower pops off the card. Finish with a marker-drawn outline around the petals for crisp edges.
Good to knowStagger the layers so each color shows — don’t glue them perfectly centered.
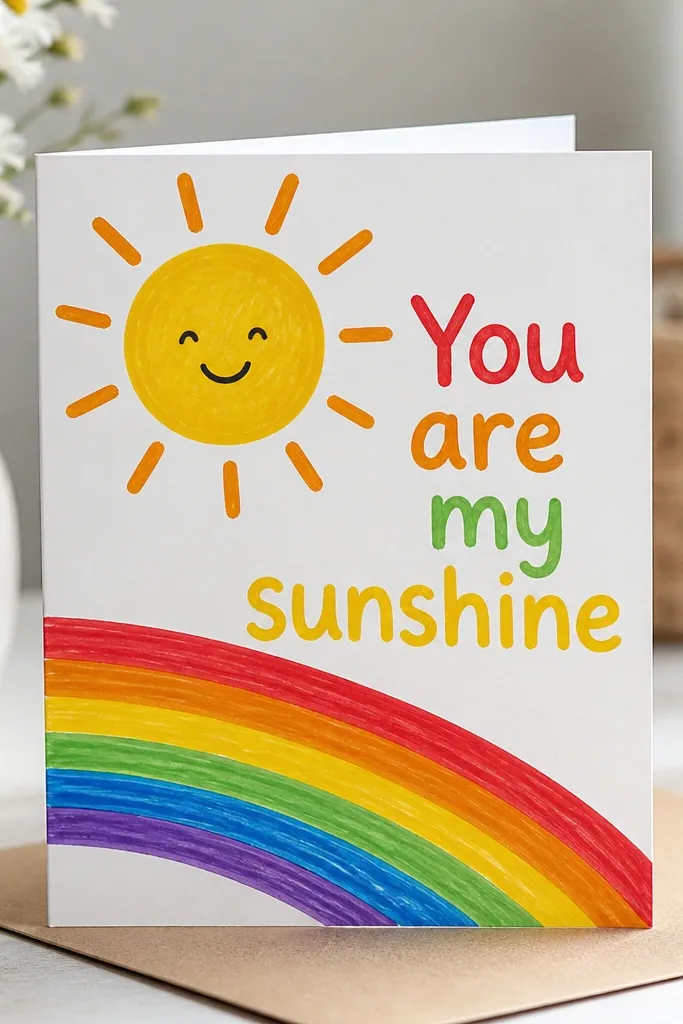
Draw a big sun and then add a rainbow swoosh across the center using markers. The warm yellow and orange rays make the card feel cheerful even if it’s simple. Use thick lettering so the message is readable from across the room.
Color rays first, then write the message last so the ink doesn’t smear on wet marker.
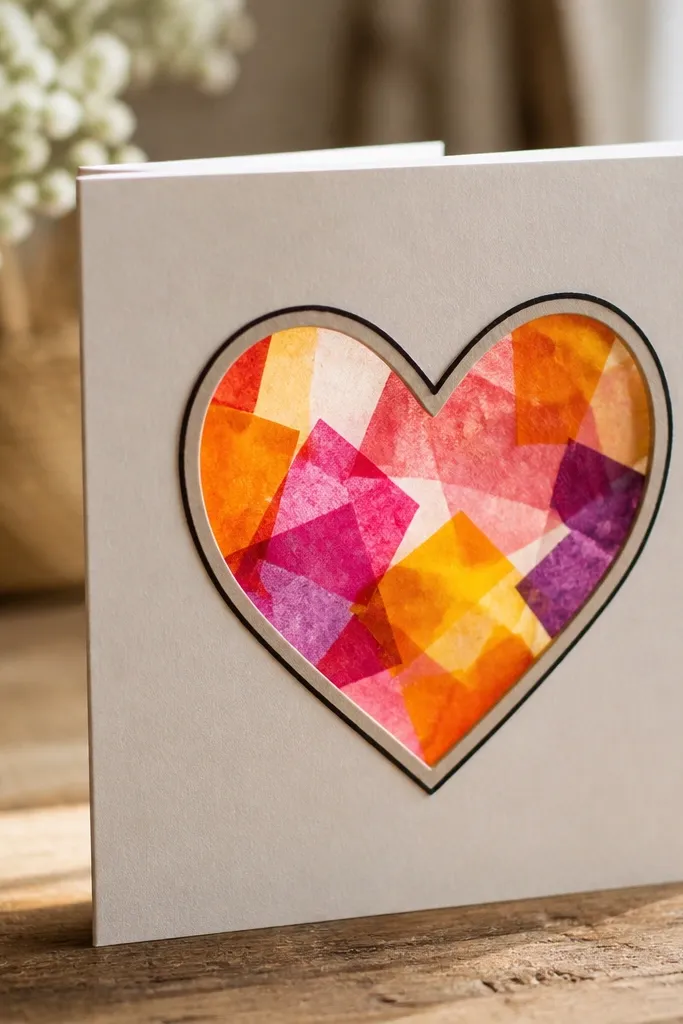
Cut a heart window and cover it with tissue paper pieces. Use glue stick only around the window edges and press tissue gently so it won’t wrinkle. The translucent look is gorgeous and feels special without being hard.
Use smaller tissue pieces for smoother coverage — big chunks create gaps.
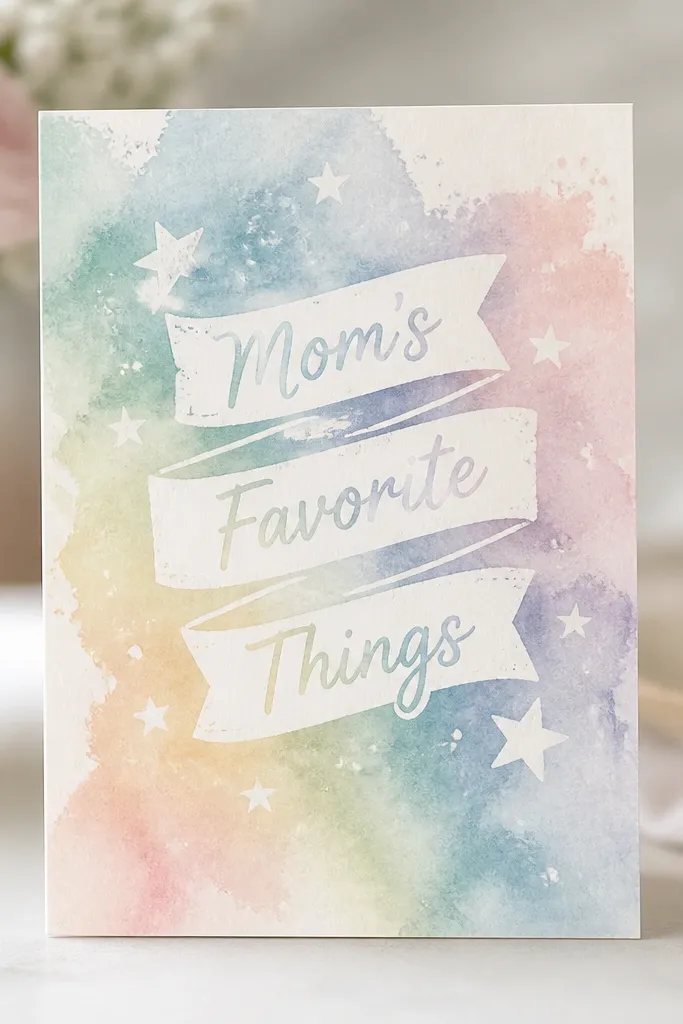
Color the banner and small icons with a white crayon, then paint over with watercolor or watered-down paint. The crayon resists the paint, revealing the design. This makes a fancy-looking card with minimal effort.
Let the first paint layer dry fully before adding a second coat to avoid muddy colors.
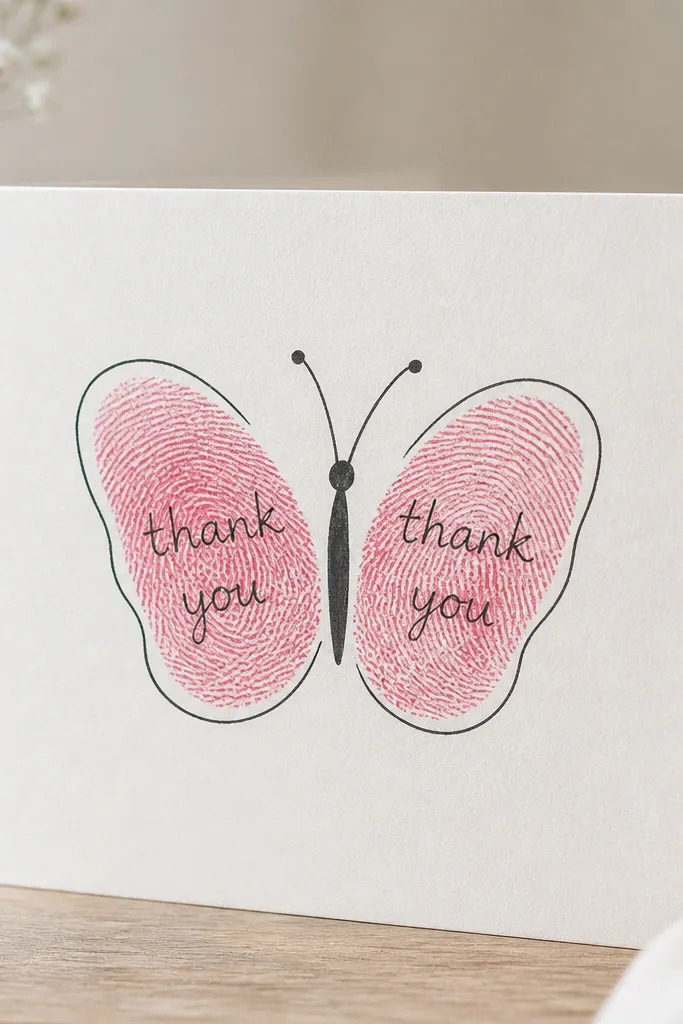
Use washable paint or ink to make two fingerprint wing prints, then add a body with a thin marker line. Write “thank you” or short words like “love” inside the wings for a heartfelt detail. Outline the butterfly so it stands out from the background.
Good to knowWipe the finger between prints with a damp paper towel to keep colors crisp.
Your questions, answered
How long do these DIY Mother’s Day card crafts for kids take?
Most take 20-35 minutes depending on drying time. Flat cards with stickers or markers are usually fastest, while tissue paper and pop-ups may need an extra 10-20 minutes to dry and flatten.
What’s the average cost per card?
About $0.50 to $2.00 per card if you already have cardstock, markers, and glue. Tissue paper, foam tape, and sticker sheets are the main add-ons that can raise the cost slightly.
Are these beginner-friendly for kids?
Yes — several are no-glue or mostly sticker-and-marker based. For scissor-heavy cards like layered flowers, help with the first cut and let kids do the rest for confidence.
How should I store finished cards so they don’t get ruined?
Store cards flat in a shoebox or between two pieces of cardboard. If you used paint or wet glue, press under a book for 10-20 minutes before stacking.
Will the tissue paper heart card last, or does it fade?
It should last through Mother’s Day and beyond if kept away from direct sunlight. Tissue paper can fade faster under strong light, so tuck it in a drawer or photo-safe album.
Where can I get the supplies for these crafts?
Cardstock, markers, foam tape, and sticker sheets are usually available at craft stores and many big-box retailers. Tissue paper and craft gems are often easiest to find in the seasonal craft aisles or party supply sections.