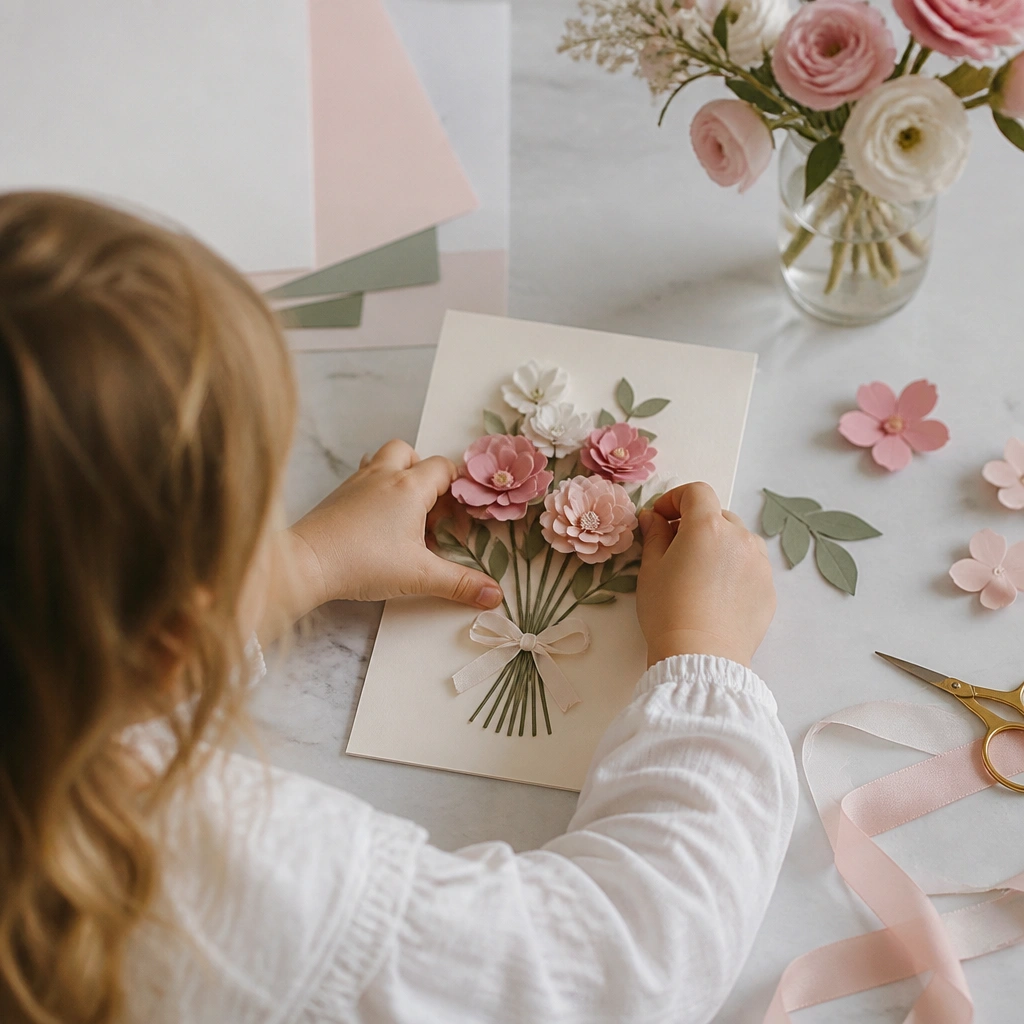
1. Gold-Stamped Pressed-Flower Bookmark Set
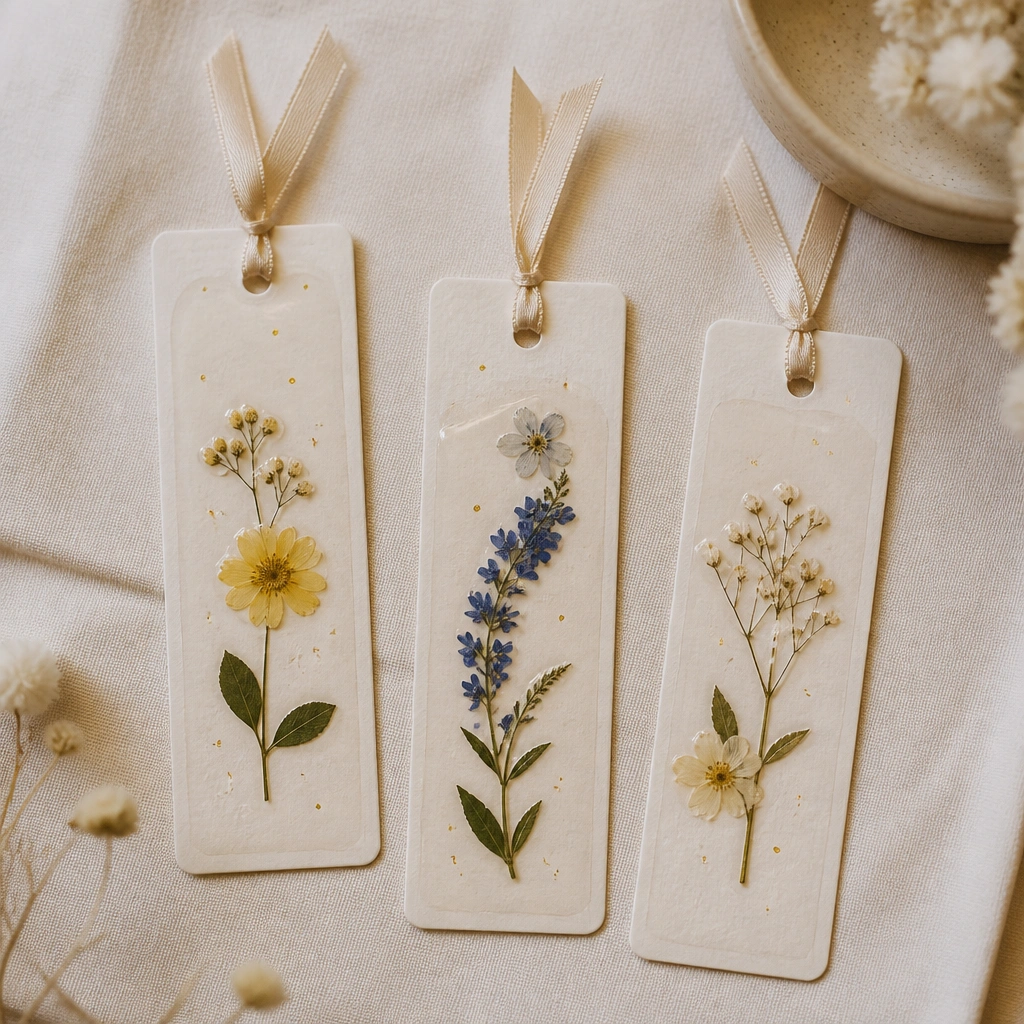
Use heavyweight cream cardstock (at least 80 lb) and press real flowers between book pages for 24-48 hours. Seal the pressed bloom with clear tape or a thin layer of glossy decoupage medium so it stays flat and shiny. Add a few gold foil accents (foil pen or rub-on foil) near the flower for that “expensive stationery” vibe.
Good to knowPress flowers first, then prep bookmarks the day before so you can assemble and seal quickly on craft day.
2. Pearl-Trim Mini Photo Frame Cards
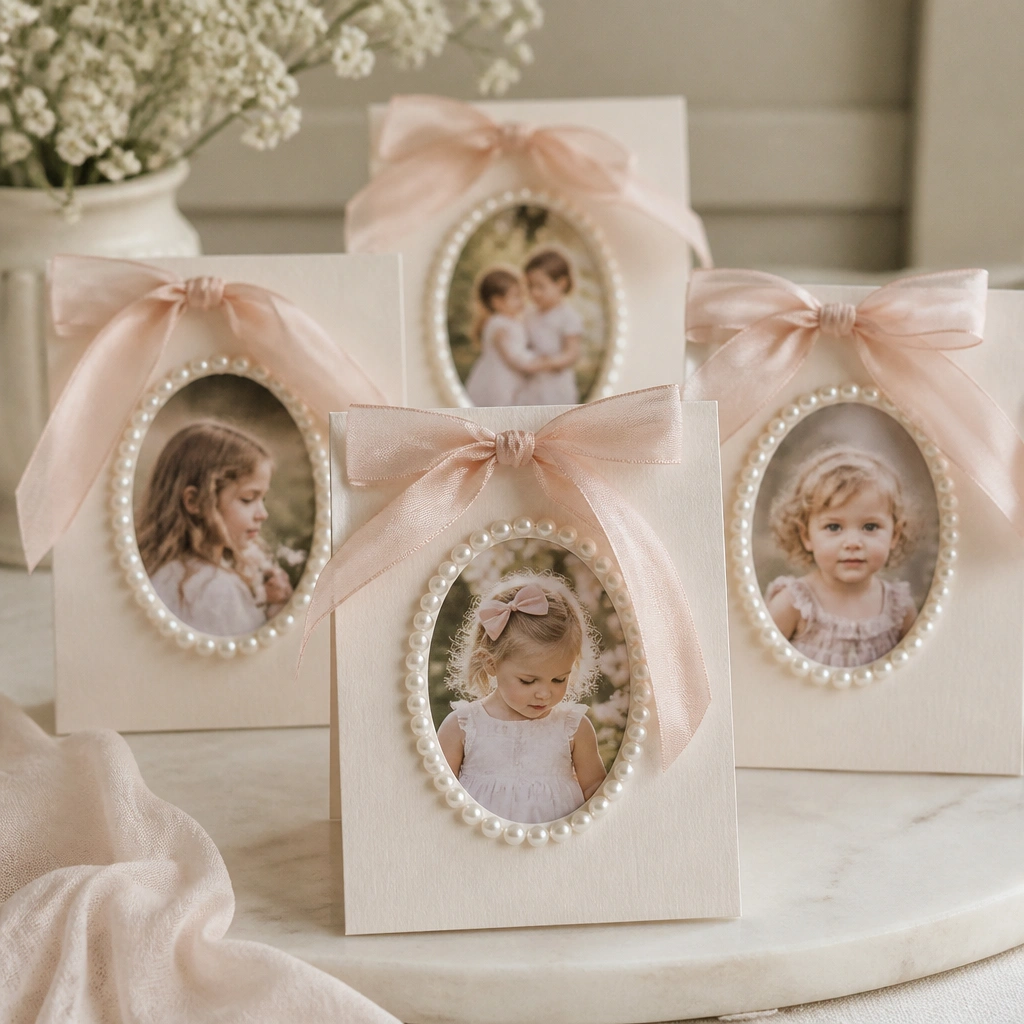
Cut a rectangle window in a folded card (matte cardstock looks luxe). Glue a printed photo behind the window, then outline the window with a thin bead garland (pearl trim or faux pearl string). Finish with a blush or dusty rose satin ribbon bow for a jewelry-like effect.
Good to knowUse double-sided tape for the pearl trim to avoid messy squeeze-out glue lines.
3. Satin Ribbon Bouquet with Layered Crepe Paper Ribbons
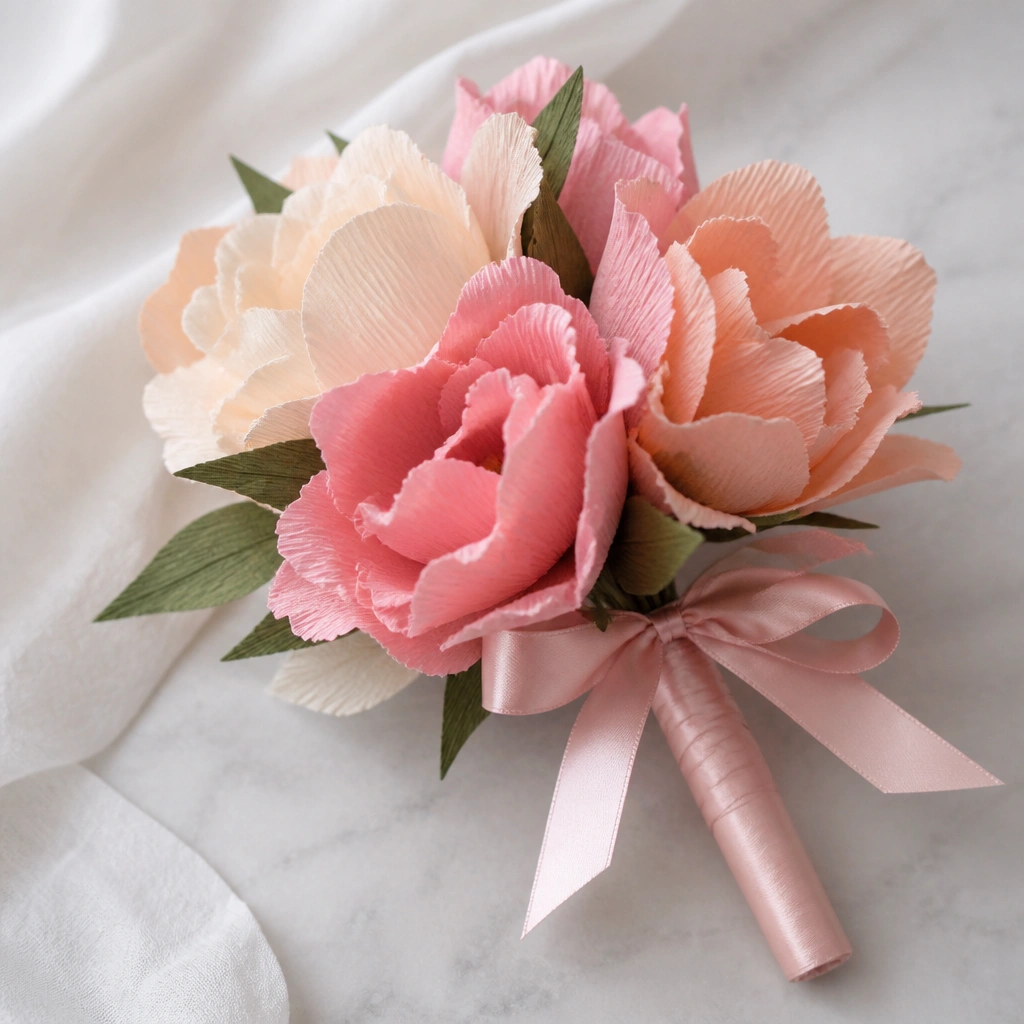
Cut crepe paper into narrow strips and twist each strip slightly, then curl the ends with scissors for a petal-like edge. Layer 6-10 strips per bloom to make it look full like a boutique flower arrangement. Wrap stems with satin ribbon and add a small tag made from textured cardstock.
Good to knowCurl only the ends — leaving the base flatter makes the bouquet look more polished.
4. Luxe Marble Heart Keepsake Tray (No-Fuss)
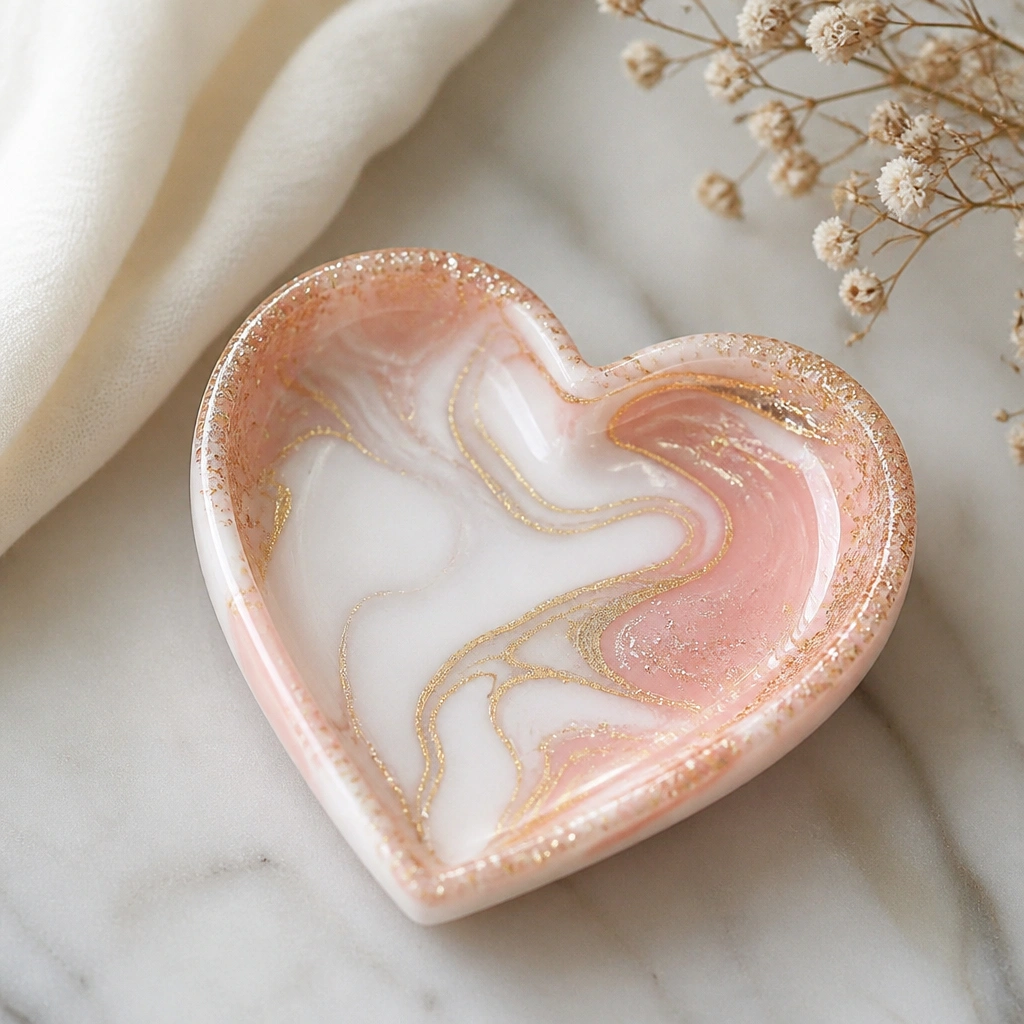
Use a heart-shaped wooden or plastic tray (craft store) and paint a base in off-white. Create marble swirls with 2-3 colors (blush, pale gray) using a sponge and light dragging motions. Add gold acrylic paint accents with a fine brush on the raised edges, then seal with a clear glossy topcoat for a high-end look.
Good to knowLet the base dry fully before marbling — it prevents muddy colors.
5. Watercolor Washi-Wrapped Keepsake Box
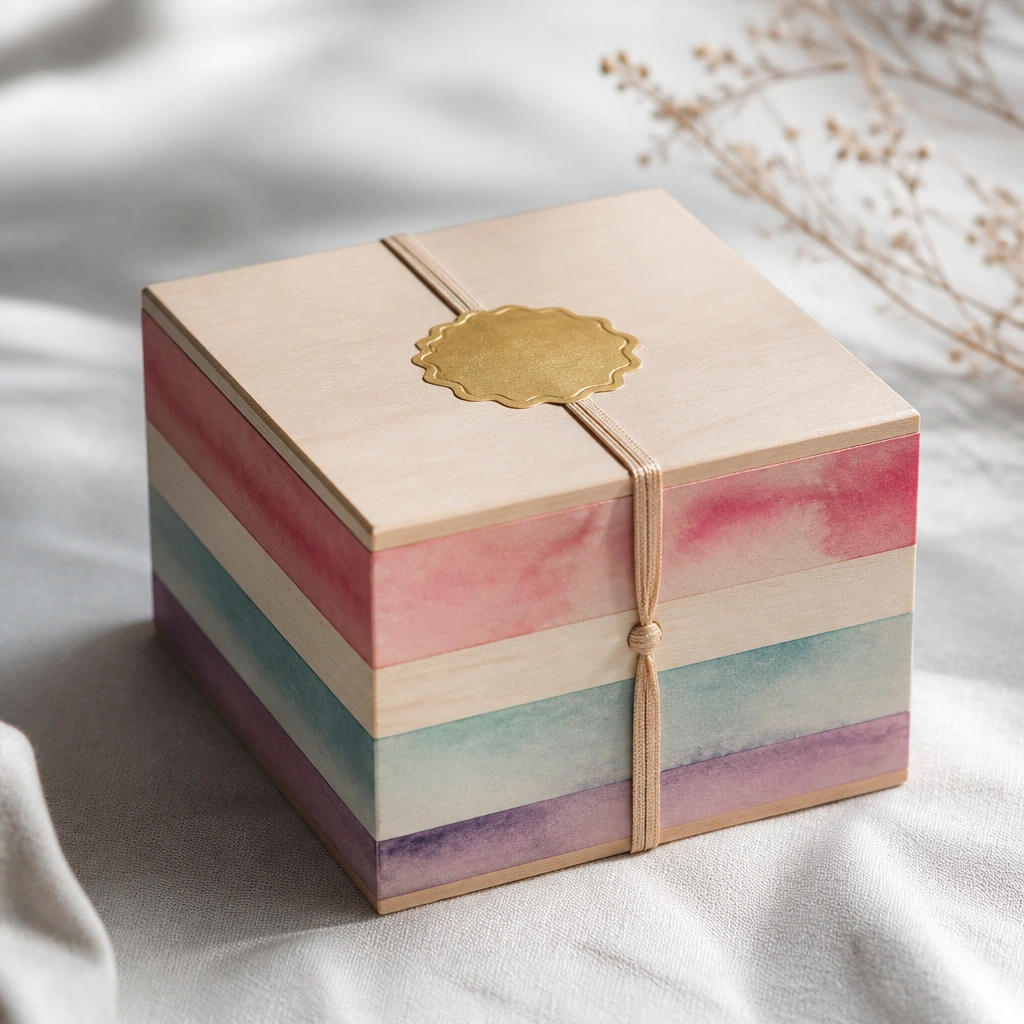
Pick a small wooden keepsake box and wrap it with washi tape that matches a watercolor palette (blush, lavender, cream). Layer the tape in clean horizontal bands — gaps look intentional when the colors blend. Add a gold label sticker or foil-style sticker on the lid and finish with a ribbon around the box for that gift-store presentation.
Good to knowBurnish the tape edges with a credit card so it looks smooth and seamless.
6. Gold Foil Lettering Love Notes on Textured Paper
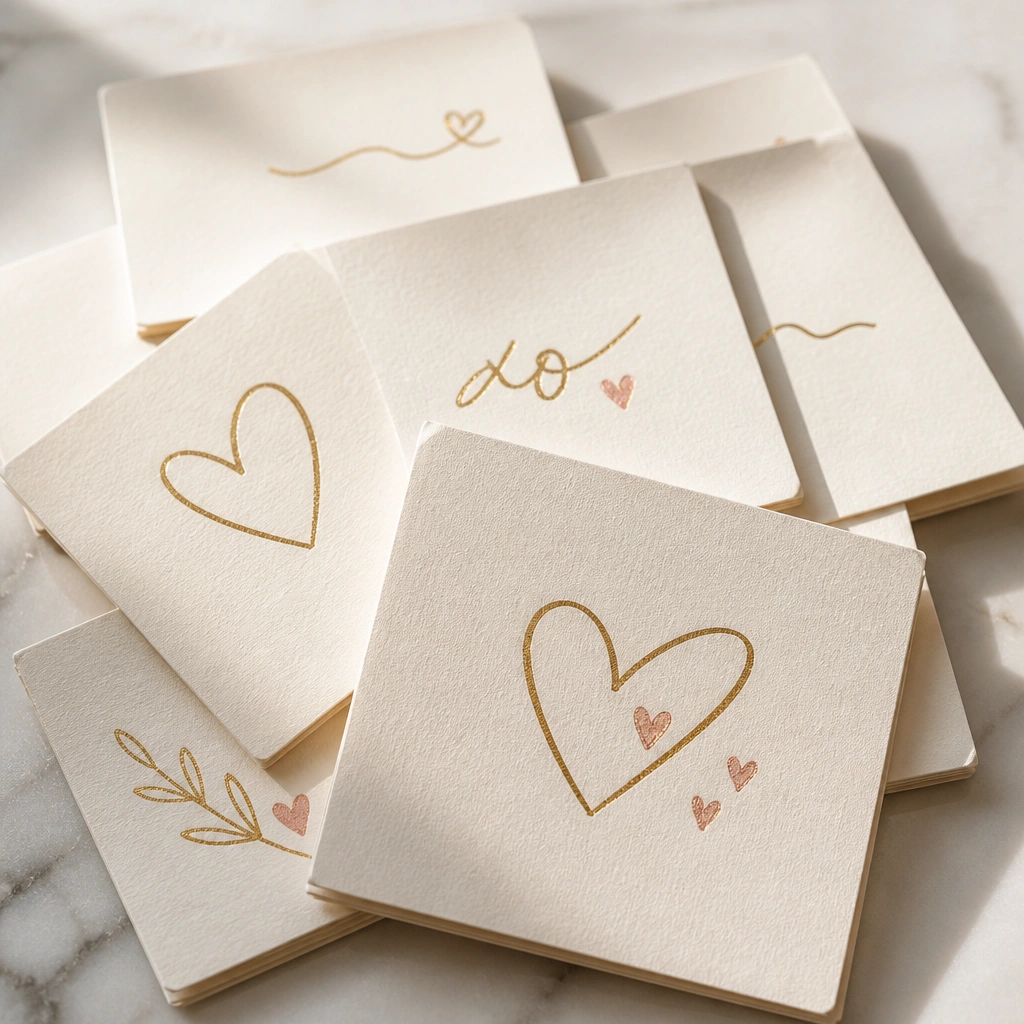
Luxury stationery starts with texture. Use linen-textured cardstock and simple kid-friendly gold foil pens (or gold paint pens). Write short Mother’s Day messages in big letters — the “expensive” look comes from spacing and thickness, not fancy words. Add one small rose-gold heart doodle per note to keep it cohesive.
Good to knowOutline the letters first in pencil so kids can fill with gold without wobbling.
7. Butterfly Lace-Cut Paper Banner with Ribbon Hangs
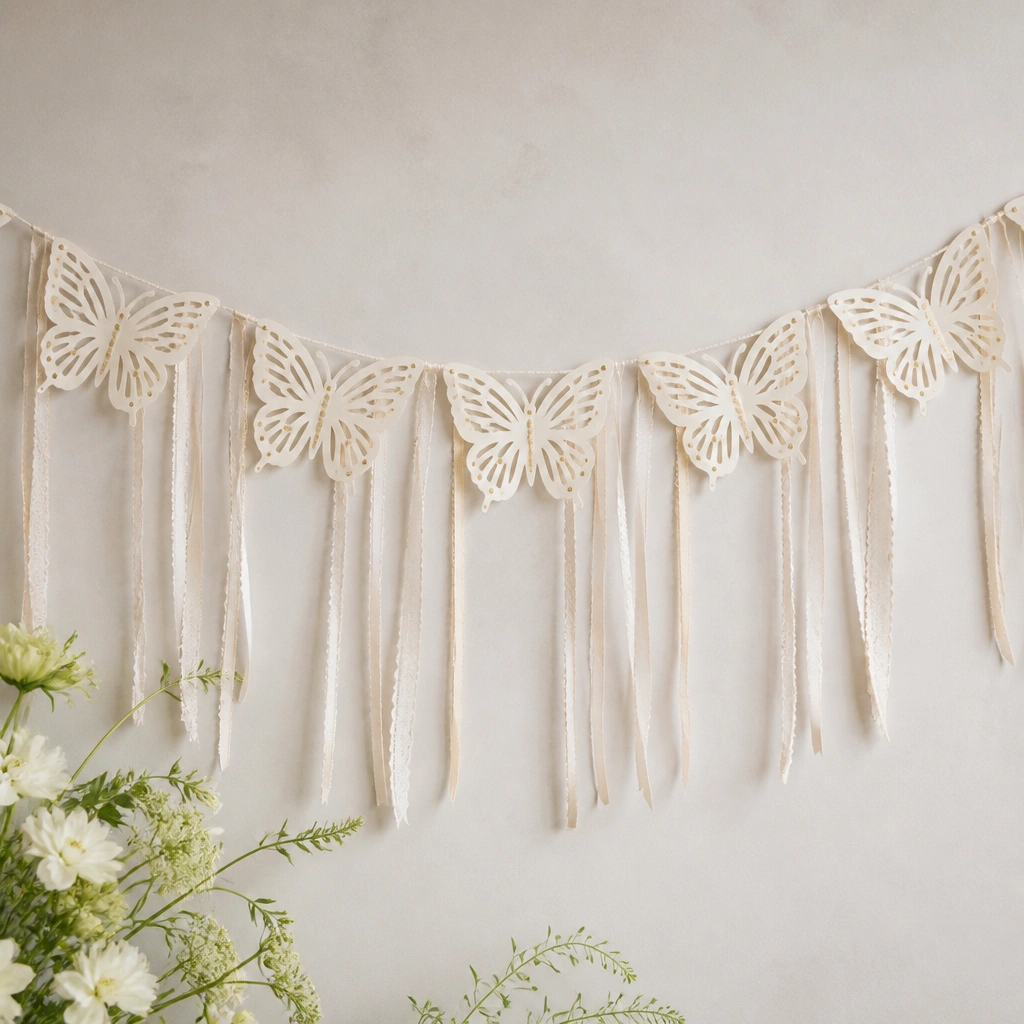
Use a heavy paper punch or stencil to cut lace-like butterfly shapes from cream cardstock. Layer two sizes of butterflies — slightly offset — so they pop without needing glue everywhere. Tie it all to a ribbon with evenly spaced knots for a display that looks like a store-bought party garland.
Use a ruler for spacing — even 1/4-inch differences can make it look less luxe.
8. Marbled Bubble-Letter Heart Gift Tag Set
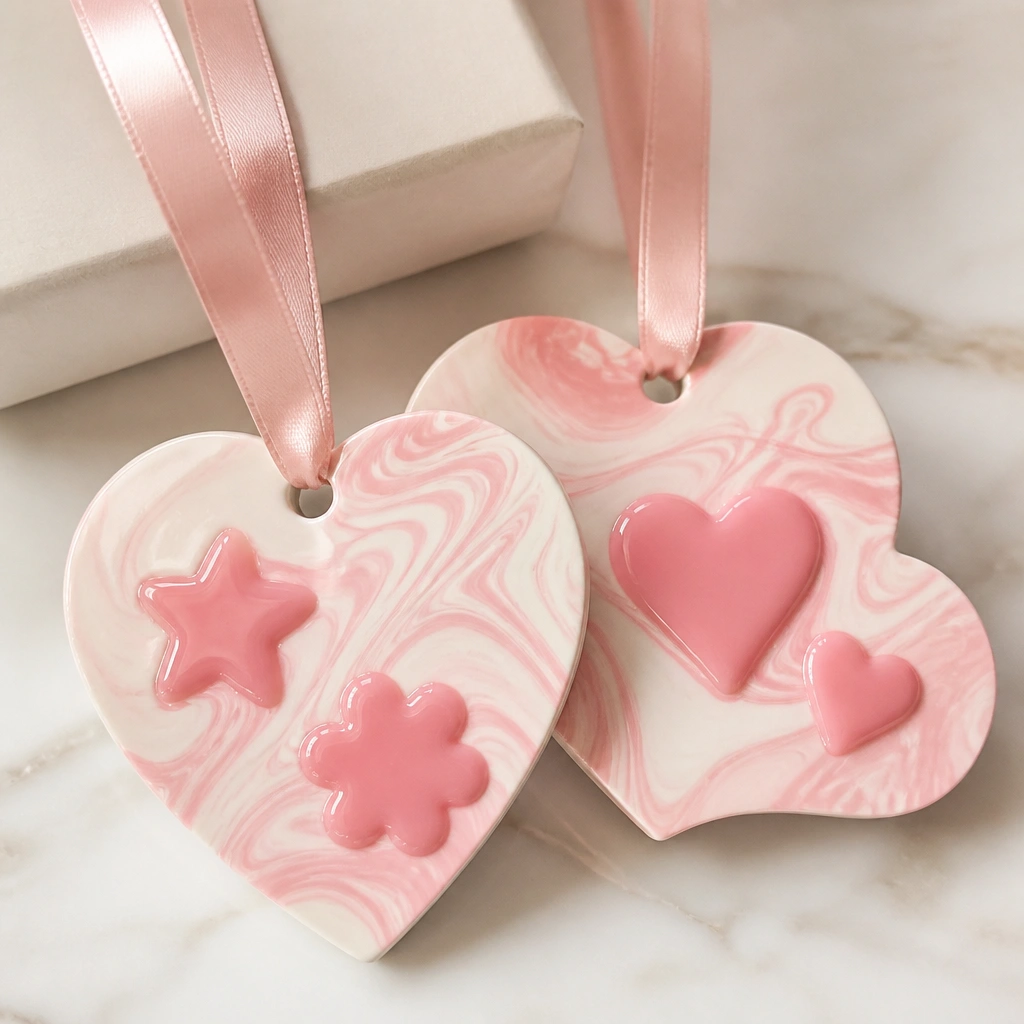
Make tags from thick tag cardstock and cut heart shapes. Create marbling with washable paint: drop a few colors onto a slick surface (or use a marbling kit), then drag lightly to get swirls. Write a short message in bubble letters using a thick paint marker, then seal with a clear gloss spray for shine.
Use wide bubble letters so the “luxe” glossy fill looks smooth even with kid paint.
9. Transparent “Stained Glass” Flower Suncatcher Card
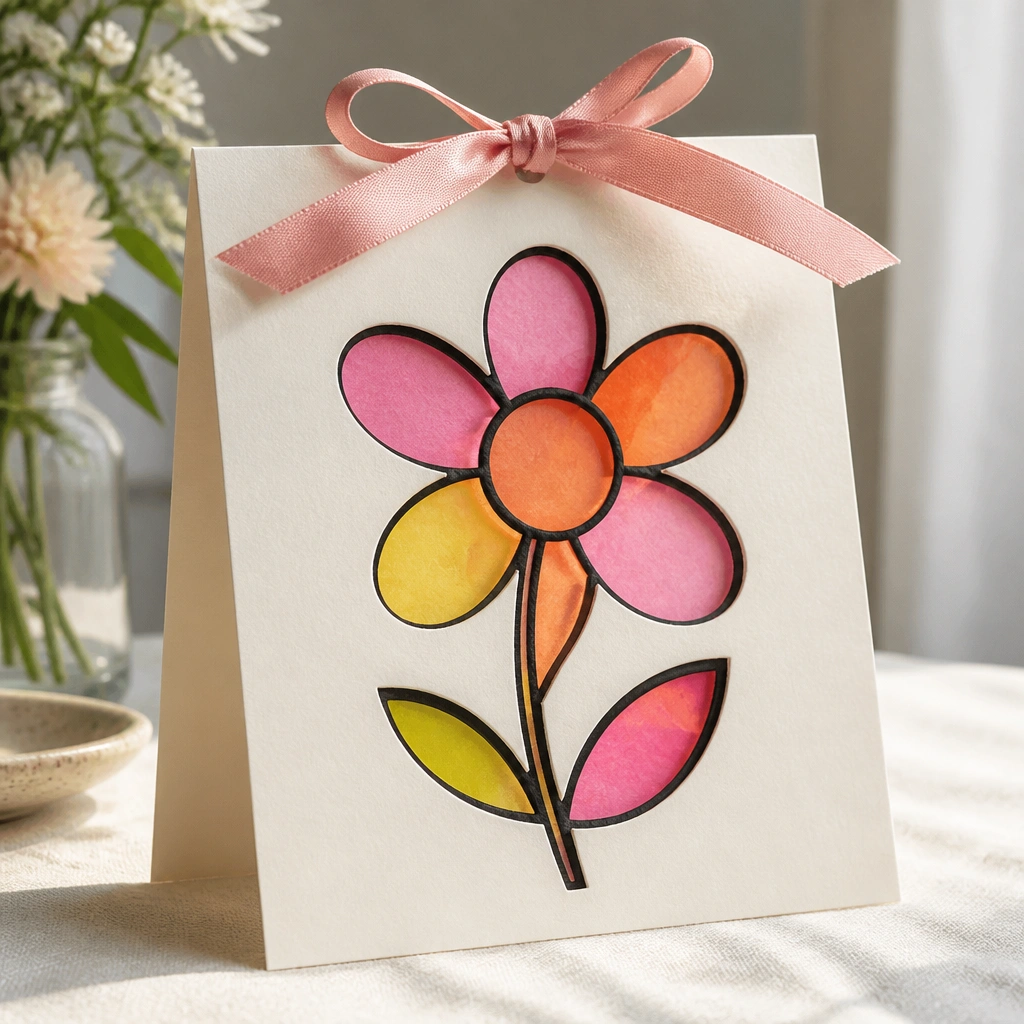
Cut a flower window in cardstock and glue translucent craft plastic or clear acetate behind it. Fill the shape with small pieces of tissue paper or translucent gel sheets, then outline the edges with a fine black marker for stained-glass drama. Place the suncatcher inside a card so it’s both decorative and giftable.
Press the colored pieces flat using wax paper on top so nothing lifts.
10. Rose-Quartz Gemstone Bath Salt Jar Label Craft
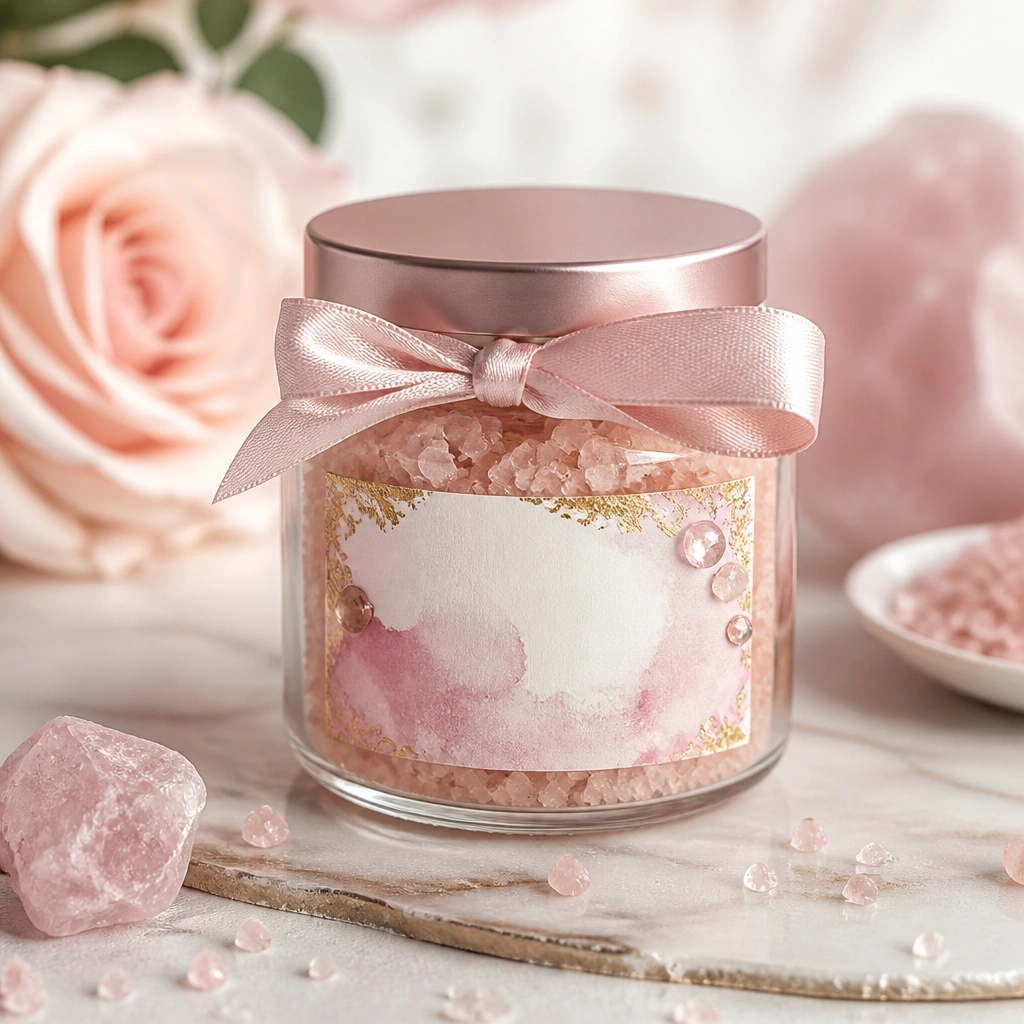
If you’re adding a jar to your gift, the label is where it gets luxe. Print or handwrite a simple label on textured paper, then add pale pink watercolor wash and gold corner accents. Stick on tiny gem stickers or faux crystal dots in clusters to mimic rose-quartz flecks. Tie a satin ribbon around the lid for a polished finish.
Good to knowUse waterproof glue or tape for the label so the jar doesn’t smear.