1. Blush-Pink Pressed Flower Bookmark with Clear Lamination
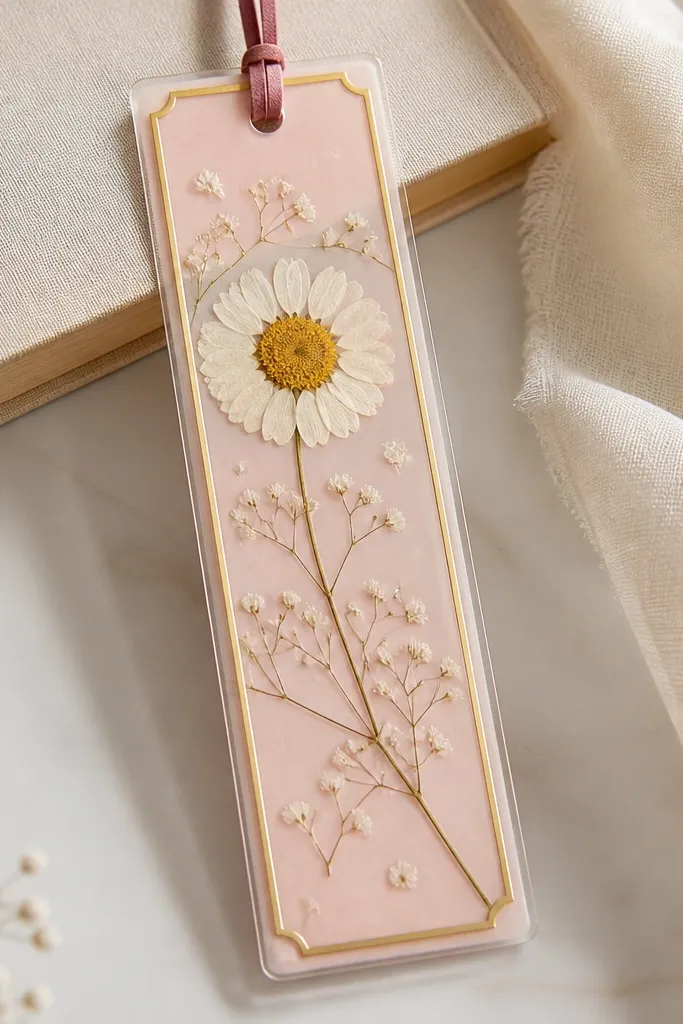
This looks expensive because the pressed blooms sit under a glossy, glass-like layer. Use light flowers (daisies, pansies, small leaves) and a blush cardstock base for that soft Mothers Day vibe. Kids can arrange petals, then you seal them with clear laminating sheets for a smooth, protected finish.
Press flowers for at least 24 hours (overnight works) and fully cool the laminated sheet before trimming for crisp edges.
2. Heart-Window Greeting Card with Layered Tissue Paper Clouds
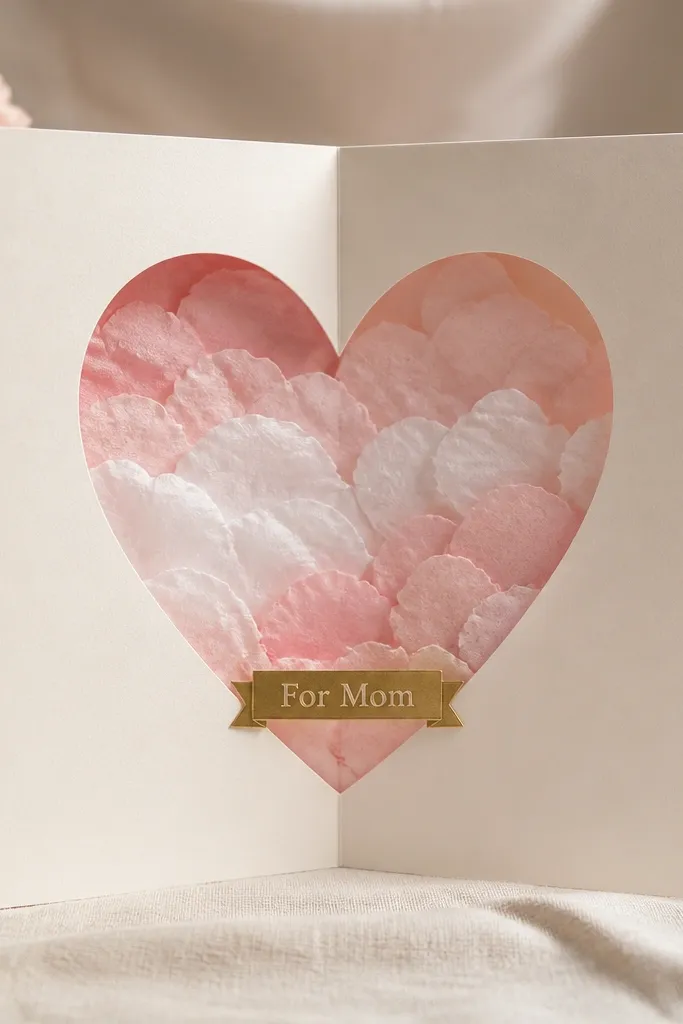
The heart window makes it look like a boutique pop-up without complex mechanics. Tissue paper layers create a soft, luminous background that photographs beautifully. Kids can tear tissue into cloud-like pieces and glue them to the inside panel, keeping the heart cutout clean.
Outline the heart shape on the inside panel first, then glue tissue up to the line — it prevents messy overflows.
3. Pearl-Trim Photo Frame with Paper “Beaded” Corners
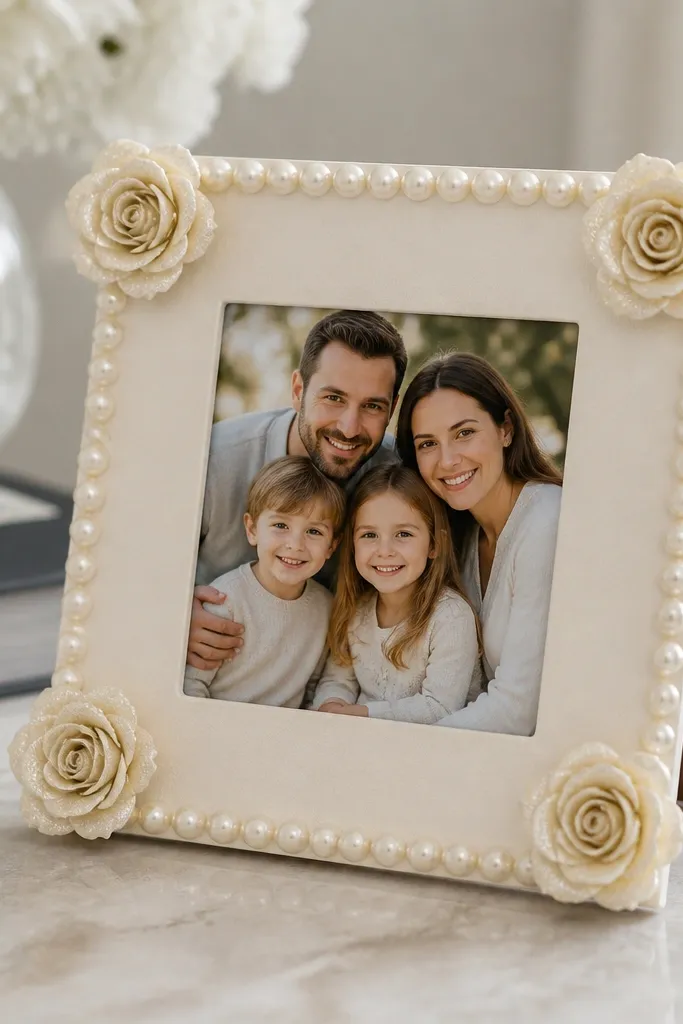
It looks pricey because of the “jewelry” effect: pearls at the edges plus delicate corner details. Start with a simple cardboard or foam frame, then add pearl trim (or pearl-effect sticker strips) along the border. Finish with small rosettes at the corners to mimic a luxe frame design.
Use double-sided tape for the trim so it stays straight — hot glue can warp thin cardboard.
4. Watercolor-Style Butterfly Handprint Wall Art on Textured Cardstock
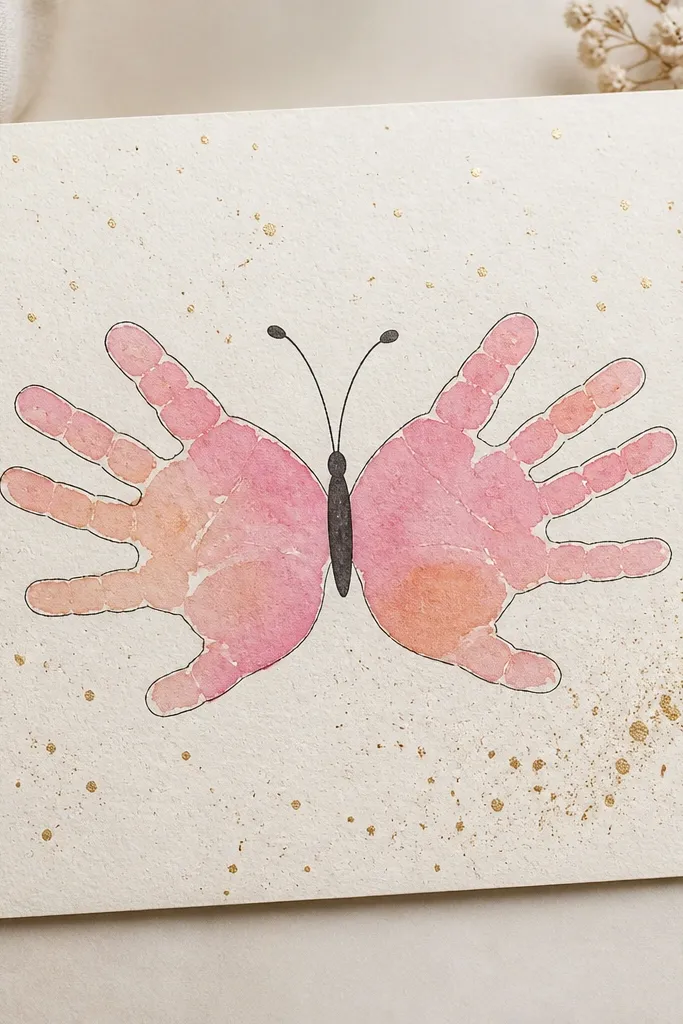
Handprints look extra aesthetic when you treat them like watercolor — soft gradients instead of solid blocks. Use textured cardstock so the paint looks intentional and artsy. The butterfly outline gives a focal point that makes the handprints feel like a designed artwork, not just a footprint craft.
Good to knowLet the paint dry between layers (10-15 minutes) so the gradient stays smooth and doesn’t muddy.
5. Fabric Scraps “Bouquet” Card with 3D Ribbon Stems
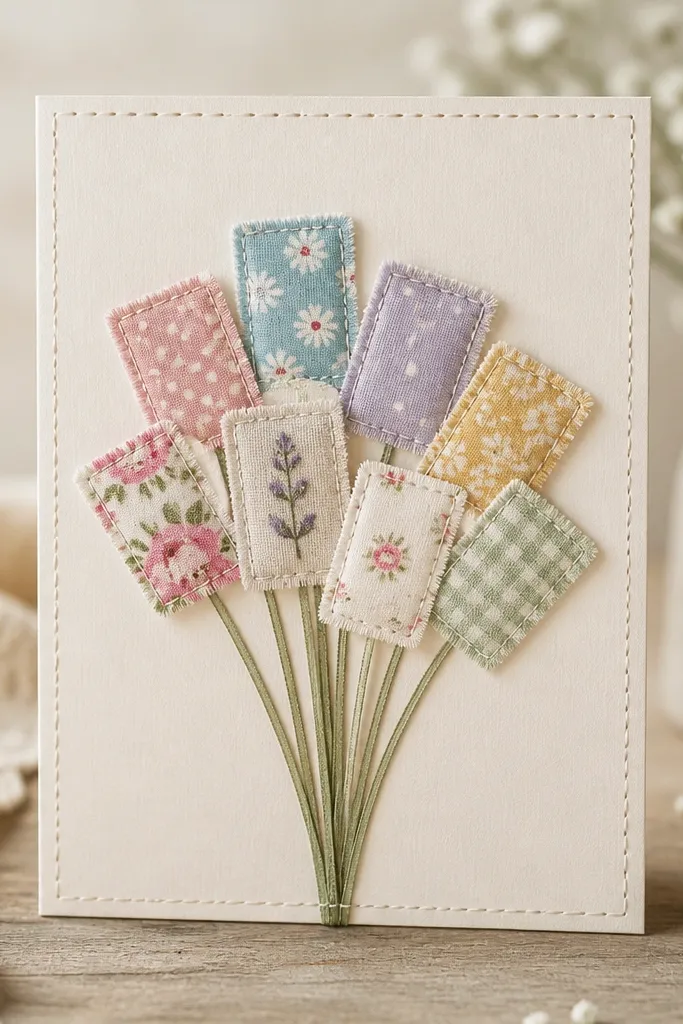
Fabric scraps add real texture, which instantly elevates the craft. Use small fabric squares for petals and glue them in a cluster, then add ribbon stems for height. Tie it together with a simple stitched-look border (painted dots or a marker “stitch” line) for a handmade-but-polished feel.
Cut ribbon ends with a sharp scissors angle so they don’t fray as quickly.
6. Minimalist “Mom” Keepsake Tray with Clay-Stamp Floral Marks
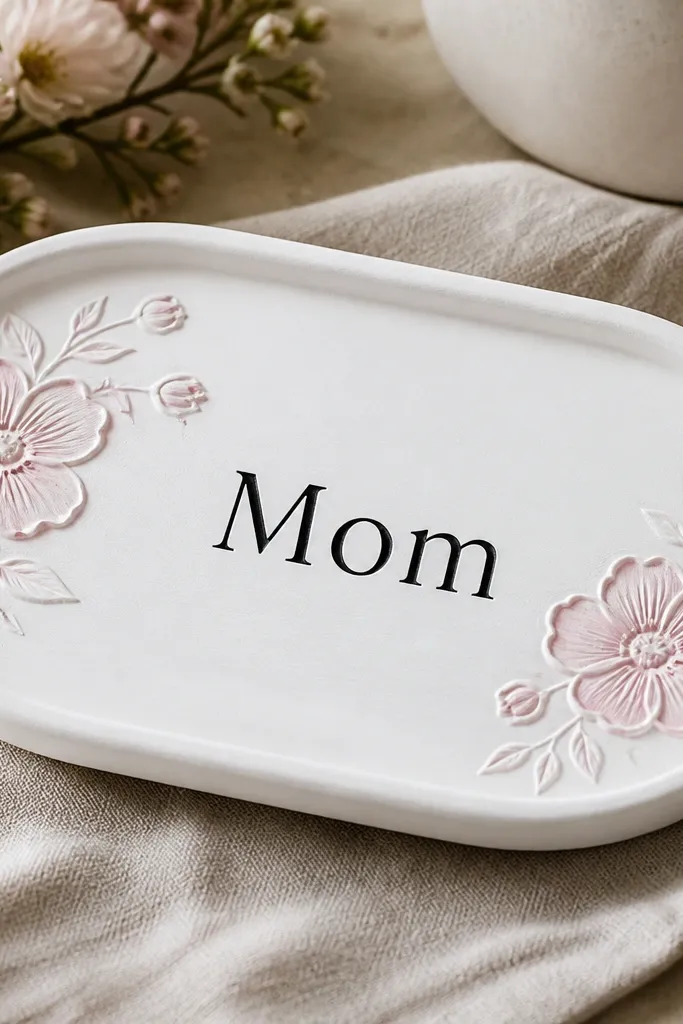
A simple shape + matte paint + raised clay texture reads “high-end” fast. Use air-dry clay to stamp tiny flowers or leaf patterns into the corners, then paint the tray matte white and lightly wash the clay details in pink. Kids can press and place stamps while you handle paint and finishing.
Seal with a clear matte varnish so the surface wipes clean and stays pretty after gifting.
7. Confetti-Heart Candle Holder (LED Safe) with Glitter-Free Shimmer
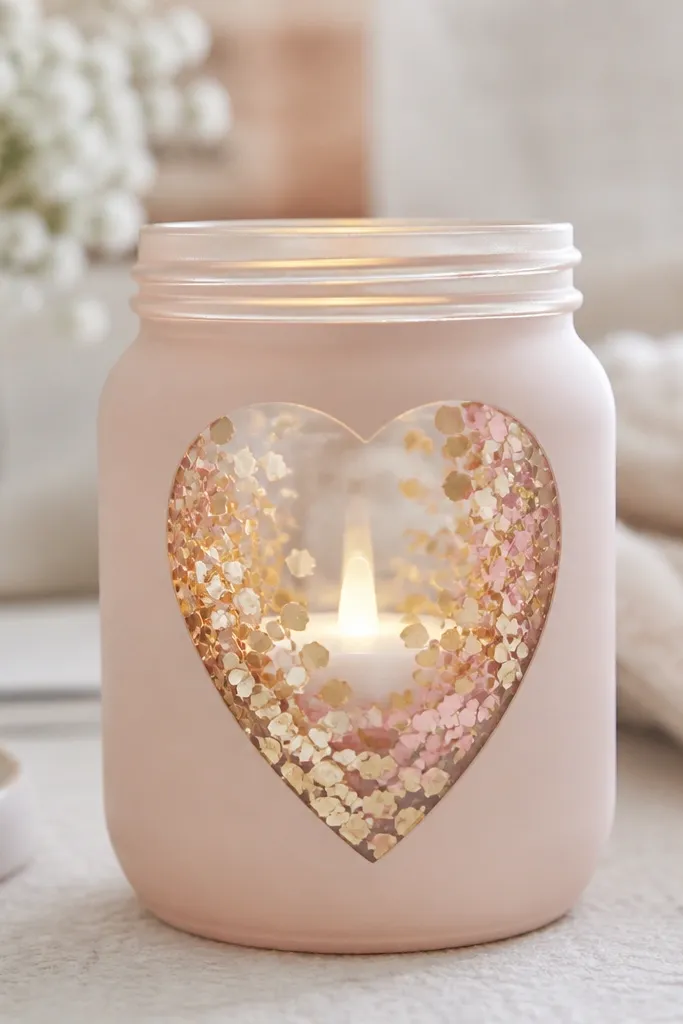
This looks luxe because it uses controlled shimmer instead of messy glitter. Paint a heart shape as a mask, then fill with small confetti or punched paper circles in coordinated colors. Use an LED tea light so the craft is safer and easier for kids to display.
Good to knowPunch confetti ahead of time and keep the “fill” zone small so it stays tidy and evenly covered.
8. Braided Paper Flower Headband for Mom Photo Ops
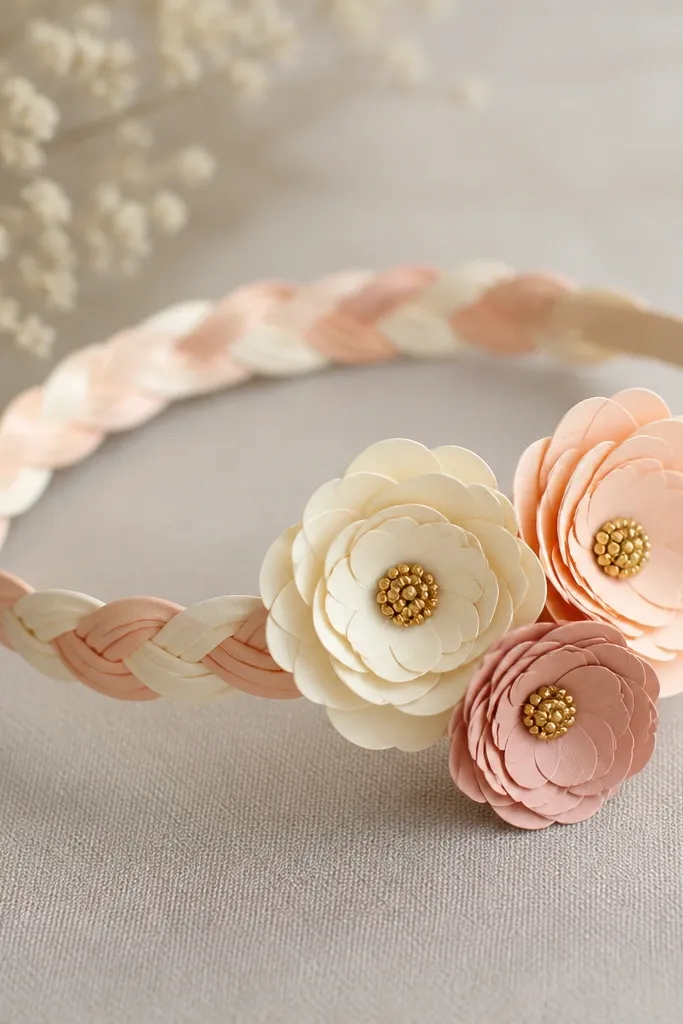
This is aesthetic because the braid creates a soft, continuous texture and the flower cluster adds a designer focal point. Use cardstock strips for the braid, then cut layered petals for the flowers. A gold dot center makes it look like it belongs in a gift boutique.
Good to knowUse a thin elastic band as the base and glue petals only on the flower cluster area to keep it comfortable.
9. Stamped “Botanical Love” Wrapping Paper with Leaf Patterns
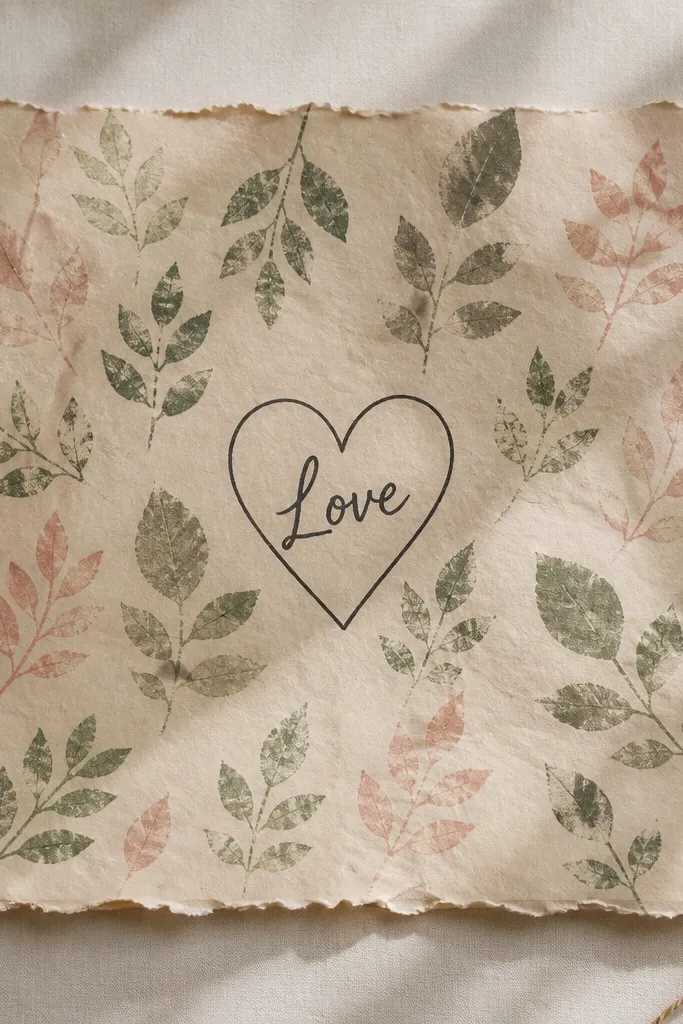
This makes every gift feel expensive because the wrapping looks custom-printed. Use leaf stamps (or cut sponges shaped like leaves) and stamp in a repeating pattern. Add a single heart focal area so it reads intentional, not random.
Stamp on kraft paper with light pressure first, then go over once more for crisp detail.
10. 3D “Ribbon Rose” Bookmark with Folded Paper Petals
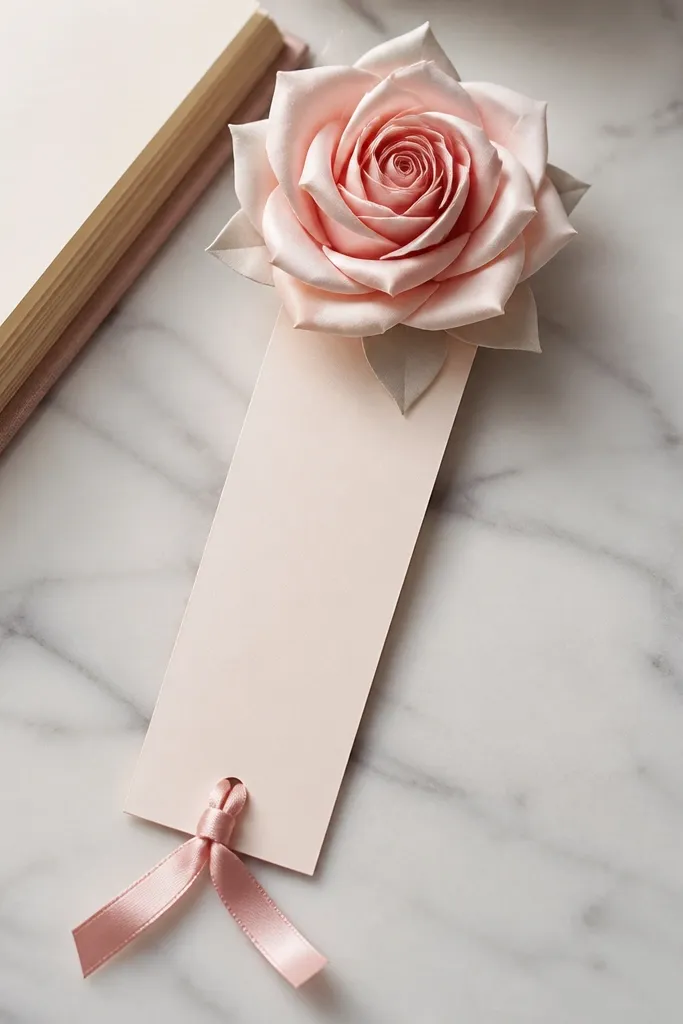
Folded paper petals create the illusion of depth, which is why it looks like a store-bought accessory. Add a satin ribbon tail for movement and that “giftable” finish. Choose two close shades (blush + cream) so the rose looks dimensional instead of flat.
Fold petals with a bone folder (or the back of a spoon) for sharper creases.
11. Pastel “Mom, You’re My Sunshine” Spinner Card with Clean Paint Splats
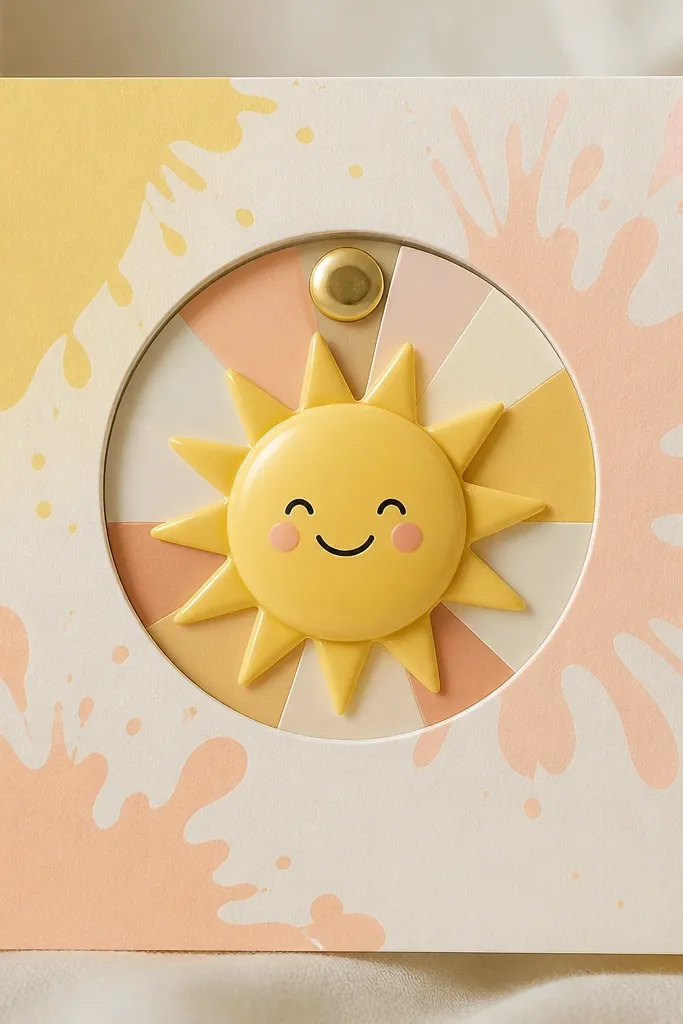
Spinner cards look impressive because of the motion, and the clean splats keep it aesthetic rather than chaotic. Paint a simple sun shape, then scatter a few controlled splats around it. The spinner window gives a focal point that feels interactive and special.
Good to knowUse a brass fastener or brad and test-spin before gluing the top layer down.
12. Linen-Texture Keepsake Tag with Heat-Transfer Vinyl Style Lettering
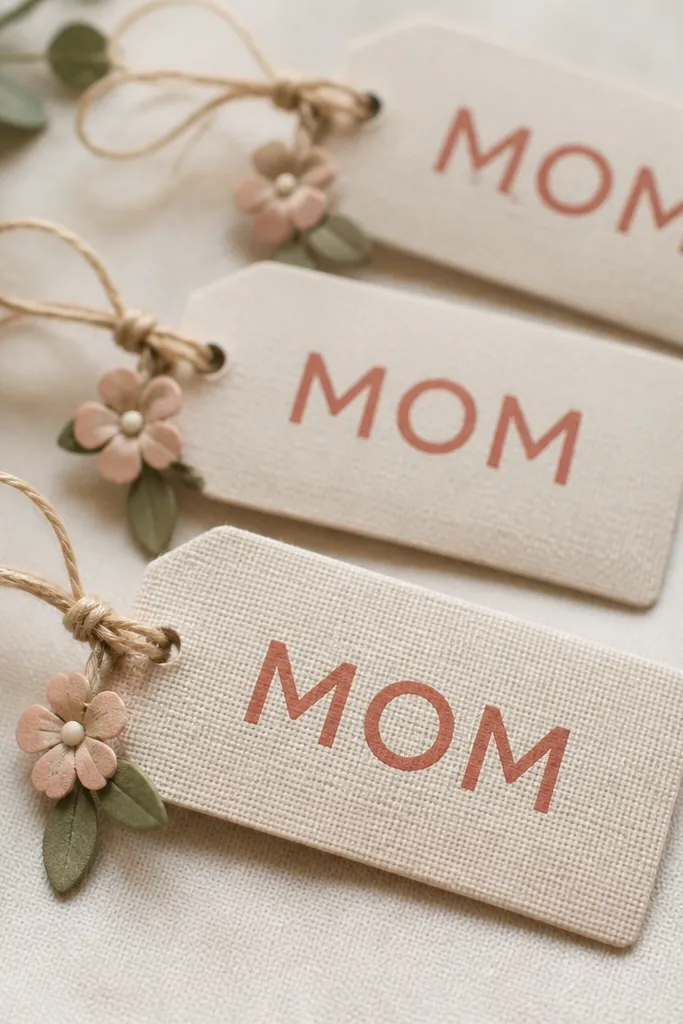
The linen texture makes these feel like high-end gift tags, even when they’re made from basic craft paper or cardstock with a faux texture technique. Add neat lettering using a simple stencil and acrylic paint (or vinyl-style label stickers). Tie with twine and add a small charm for that curated look.
Let the lettering dry fully, then lightly seal with a clear acrylic spray to prevent smudging.