1. Crayon-Melt Flower Frame (Before: Blank Frame)
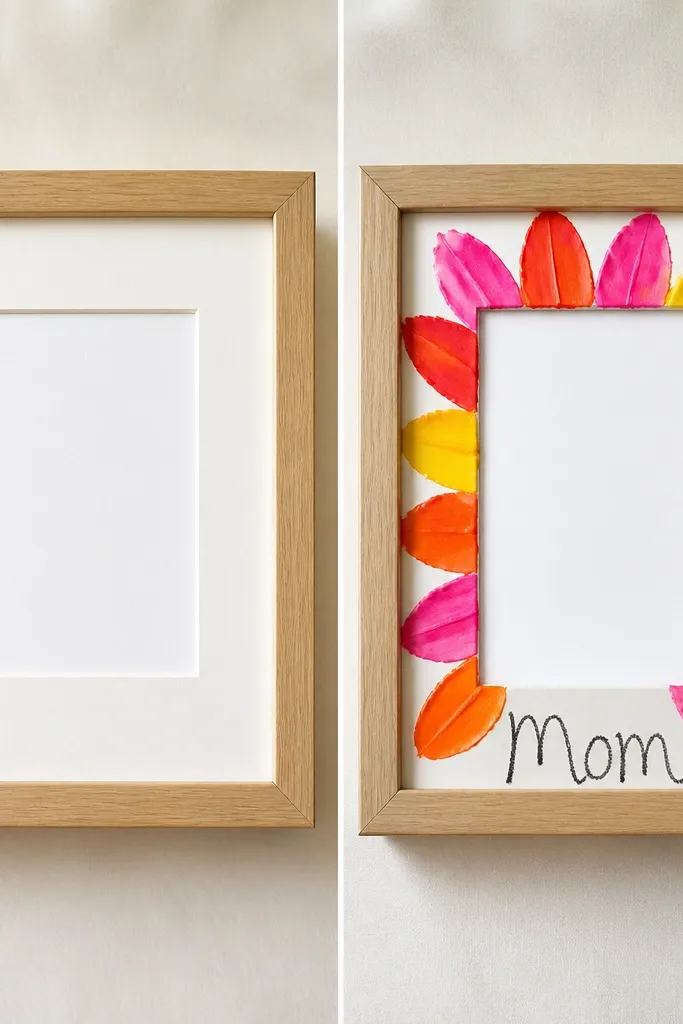
Start with a thrifted or dollar-store frame with a removable backing and mat. After the kids color a flower shape on craft paper, you melt small crayon shavings with a safe hair dryer (adult helps) to create smooth, glossy petal drips. Finish by gluing the paper into the mat so the “melt” effect stays flat and neat.
Good to knowUse a hair dryer on low and keep it moving — one spot too long can warp the paper. Seal finished paper with a thin layer of clear craft varnish once fully cool.
2. Paper-Doily Heart Wreath (Before: Plain Cardboard Circle)
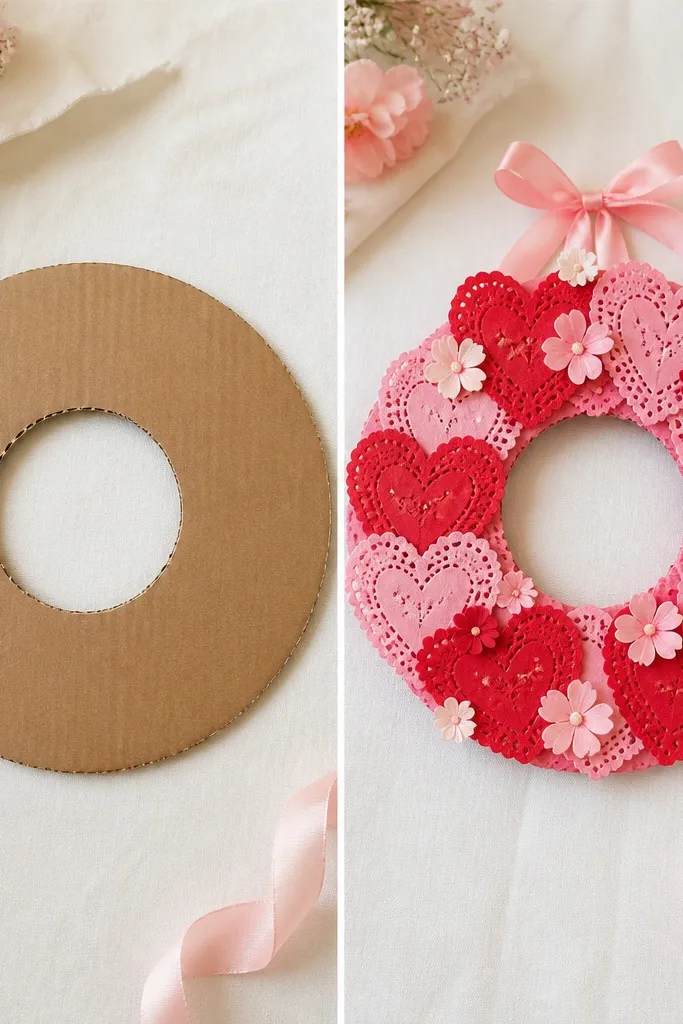
Cut a ring from cardboard and cover one side with a light coat of glue. Kids tear or cut doilies into heart shapes and layer them tightly around the ring, alternating shades of pink and red. Add a few small paper blossoms and a bow to cover any gaps so it looks intentional, not patchy.
Good to knowTrim doily edges with pinking shears for a “fancier” perimeter. Let it dry on a flat surface under a book for 10-15 minutes to prevent curling.
3. Sticker-Stamped Bloom Pot (Before: Plain Terracotta Look)
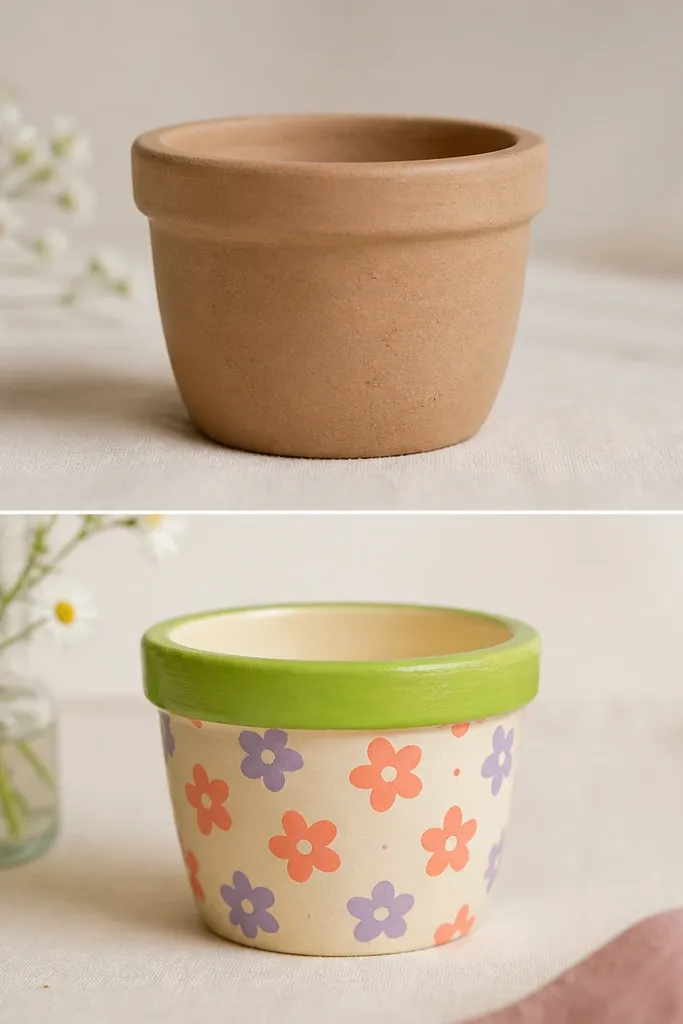
Use a small terracotta pot (or plastic pot painted to look terracotta). Kids press flower stickers onto paint-soaked sponge or dab with a foam brush, creating a repeating bloom pattern without needing to draw. Seal with acrylic sealer so the craft stays colorful if you water faux greenery inside.
Good to knowStick-and-dab works best when stickers are pressed for 2-3 seconds, then lifted straight up to avoid smears. Add a “date” label on the bottom with a permanent marker.
4. Handprint Bouquet Card (Before: Blank Folded Card)
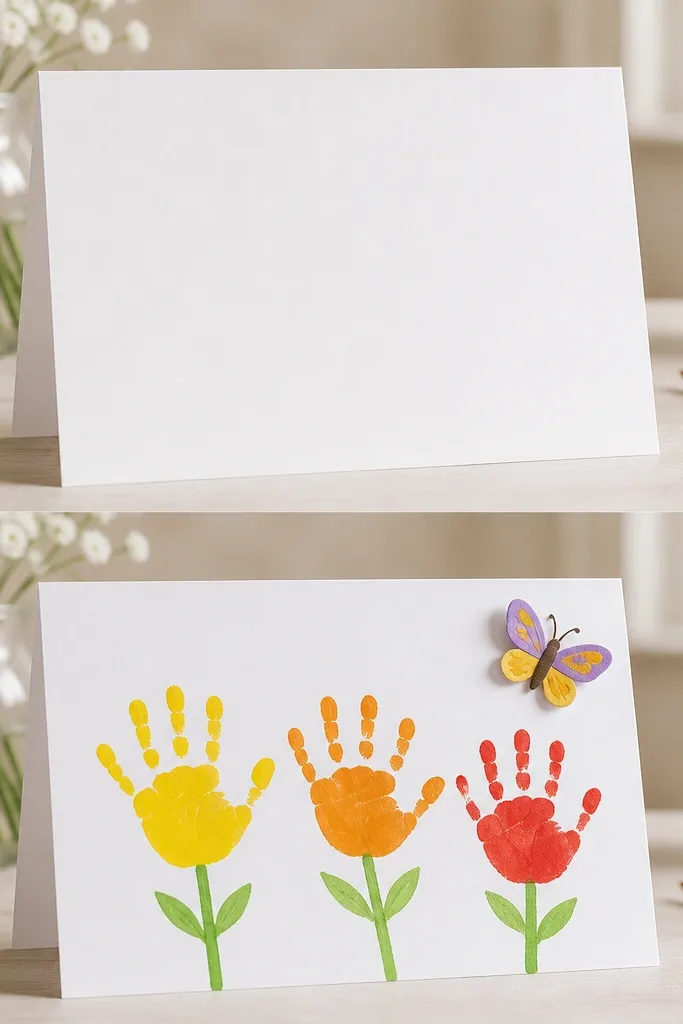
Choose washable paint and lightly oil the child’s hand with a tiny amount of lotion so the print releases cleanly. Press handprints as petals, then use a thin brush or cotton swab to add stems and leaf lines. Add a second layer of small dot accents (like pollen) for depth so it looks more detailed than a basic handprint.
Good to knowUse cardstock, not thin paper, so the paint doesn’t bleed through. Let paint dry completely before adding any stickers or 3D accents.
5. Thumbprint Butterfly Keepsake (Before: Plain Canvas Tile)
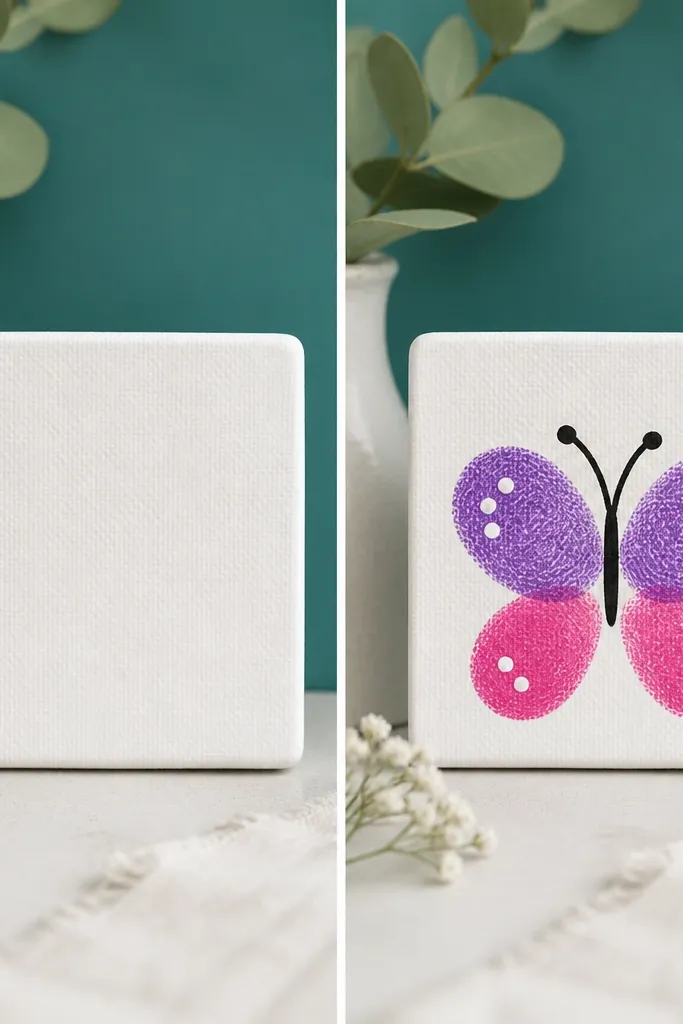
Paint the tile a solid teal or soft sky-blue first. Kids make thumbprints for wings in coordinated colors (coral, peach, and a darker accent). After drying, outline the butterfly body with black paint marker and add tiny white dots for a “wing texture” look that photographs really well.
Good to knowWipe thumbs with a damp cloth between colors to prevent muddy prints. Use a fine-tip paint marker for the body lines — it makes the craft look crisp.
6. Pom-Pom “Mom” Keychain Frame (Before: Flat Tag)
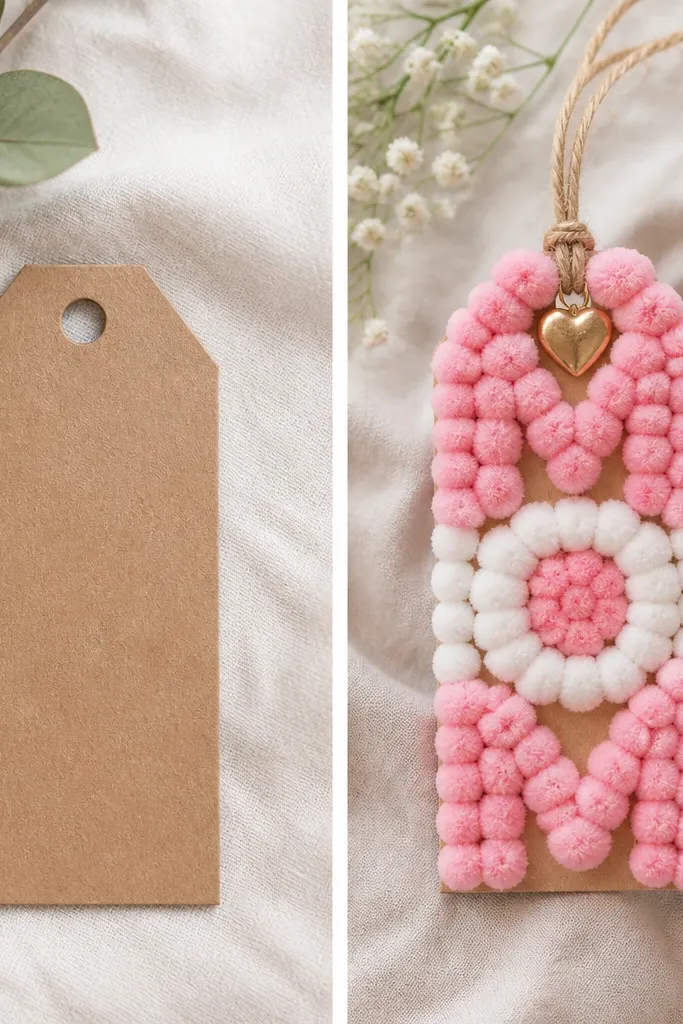
Cut a sturdy tag from cardboard or use a craft wood tag. Kids glue pom-poms in an outlined letter grid so the spelling stays readable. Add a heart charm at the hole and thread twine to complete the keychain look — it’s a transformation because it goes from “plain” to tactile and dimensional.
Good to knowPre-draw the letter blocks lightly in pencil so pom placement stays even. Hot glue is best for pom attachments but adult-only — for kids, use tacky craft glue and clamp with clothespins.
7. Lace-Edge Photo Magnet (Before: Plain Foam Sheet)
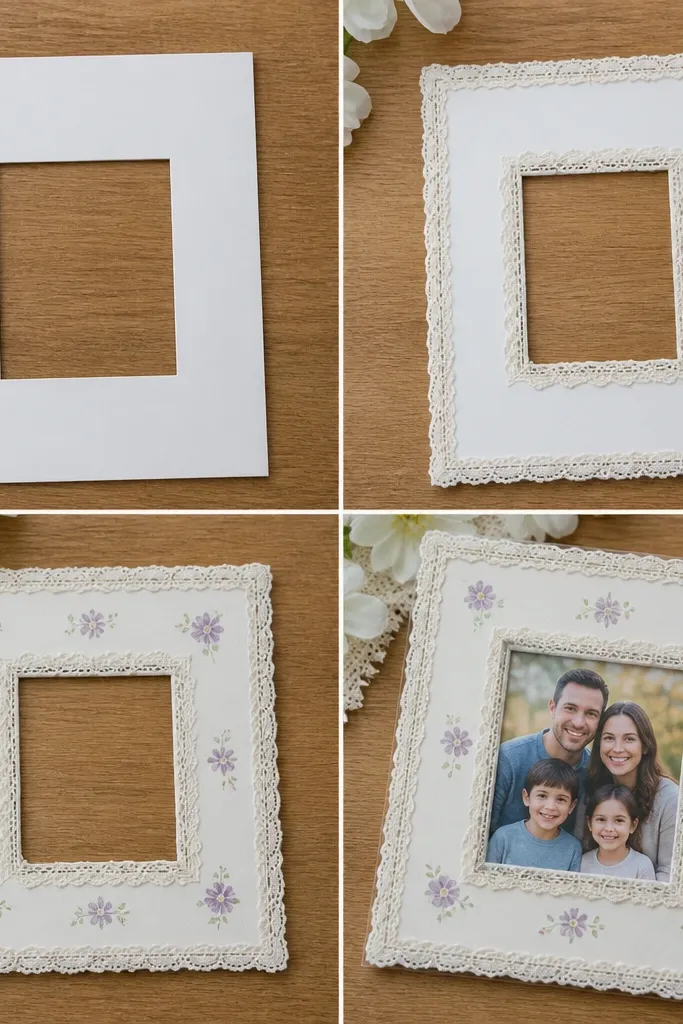
Cut a rectangle from craft foam or thick cardstock and glue lace around the edges for instant “pretty.” Kids stamp tiny floral icons in one corner using a mini stamp or sponge stamp. Add a clear pocket (laminating sheet or pre-made photo magnet sleeve) so the photo can be swapped later, which also helps the craft survive repeat handling.
Good to knowSeal lace edges with a thin glue line so it doesn’t fray. Use strong magnets (like fridge magnet strips) backed with extra glue for reliable holding power.
8. Rhinestone Dotted “Love You, Mom” Mason Jar (Before: Blank Jar)
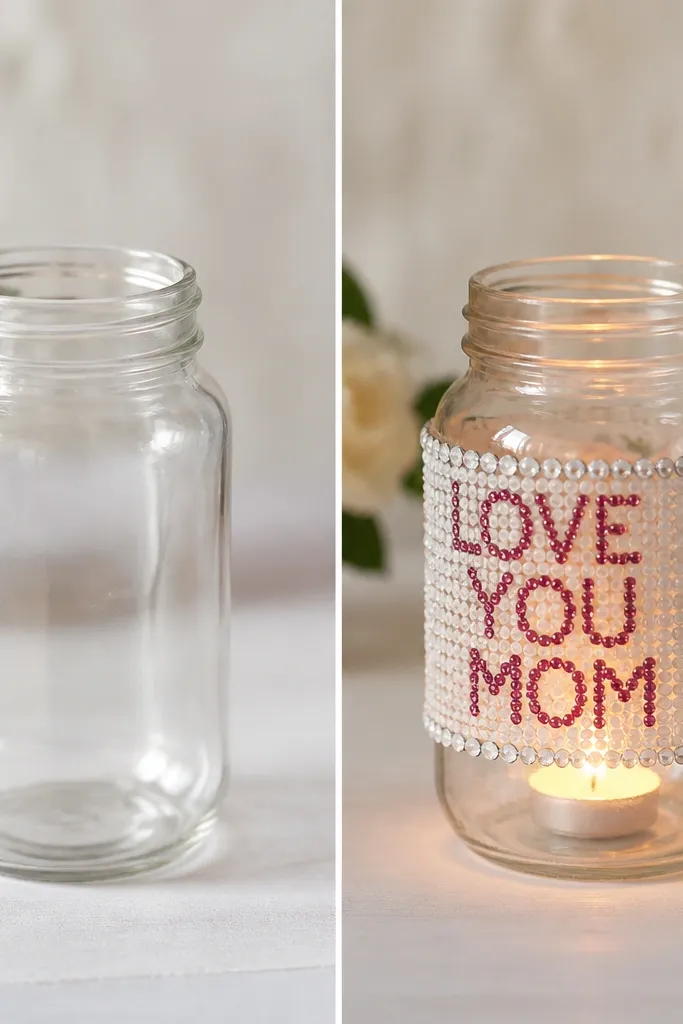
Clean the jar thoroughly and let it dry so adhesive sticks. Kids can dot adhesive along a simple stencil outline, then place flat-back rhinestones to form letters. Add one small painted flower near the bottom to break up the text and make it feel handcrafted, not just “decor.”
Choose flat-back rhinestones for a smoother finish. Let it cure overnight before putting a tea light inside to avoid adhesive softening.