1. Washi Tape Border + Date Box (Clean Girl Start)
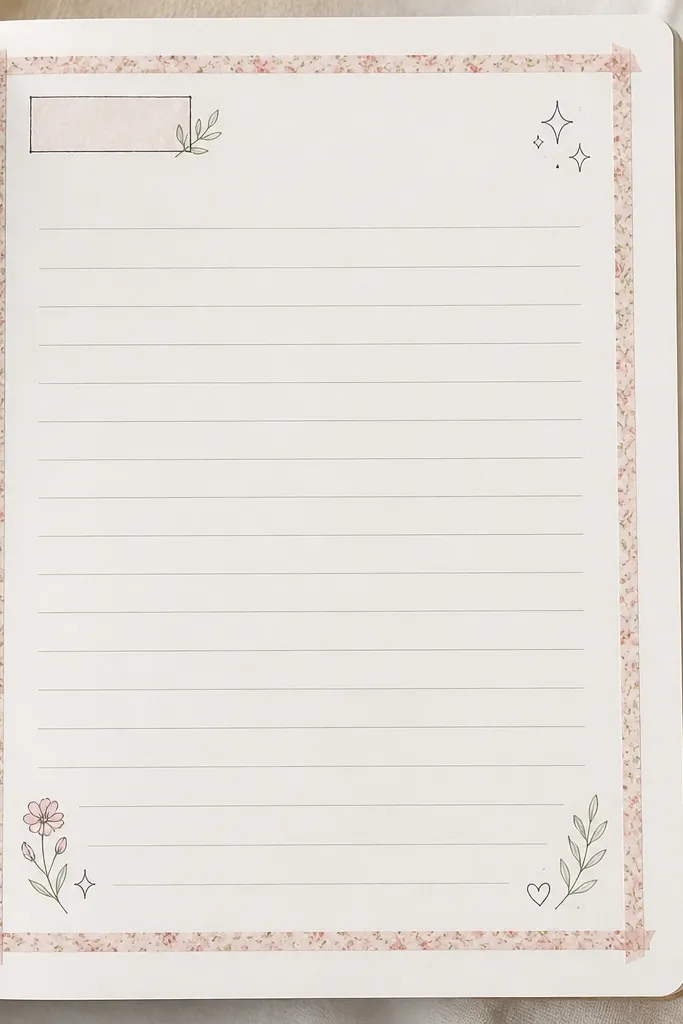
Use one coordinating washi tape for a simple frame. Add a date box in the top corner so every entry starts the same way, which instantly makes your diary look intentional. Keep the center mostly open for handwriting so it stays readable.
Good to knowTear 4 tape pieces slightly longer than the page edges, then trim with paper scissors for crisp corners.
2. Three-Color Mood Palette Page (No Overthinking)
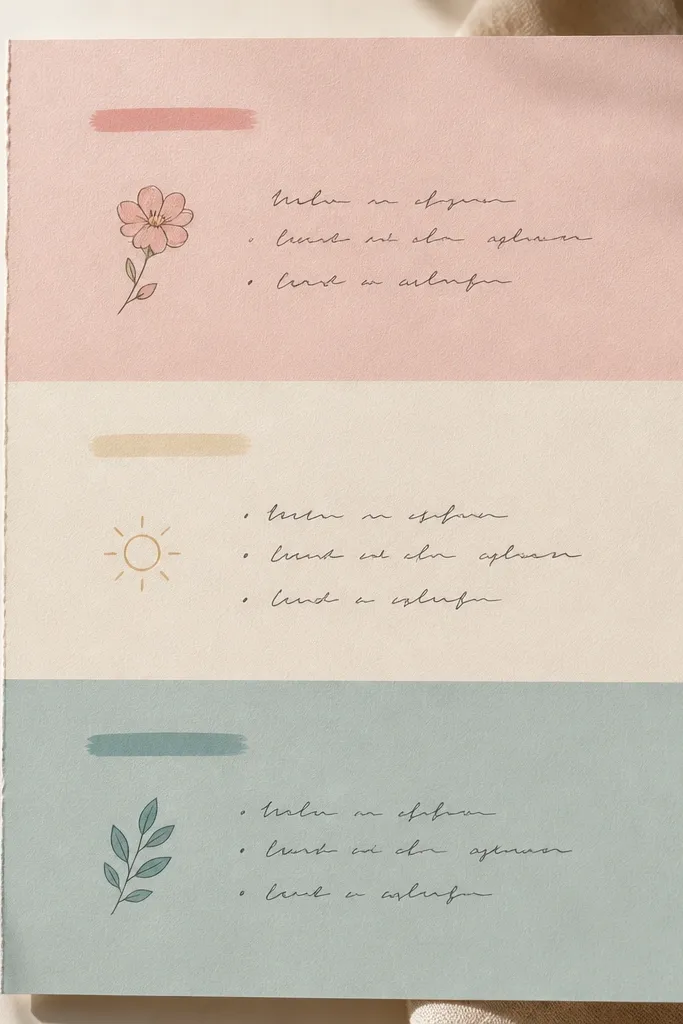
Pick 3 colors and stick to them for the entire spread: one main color, one neutral, one accent. Paint or tape swatches across the page, then write one short idea under each swatch. This keeps your page cohesive even if your writing is messy.
Good to knowChoose colors from one item you already own (a sticky note pack or a notebook cover) to make matching effortless.
3. Photo Corner + Caption Lines (Instant Aesthetic)
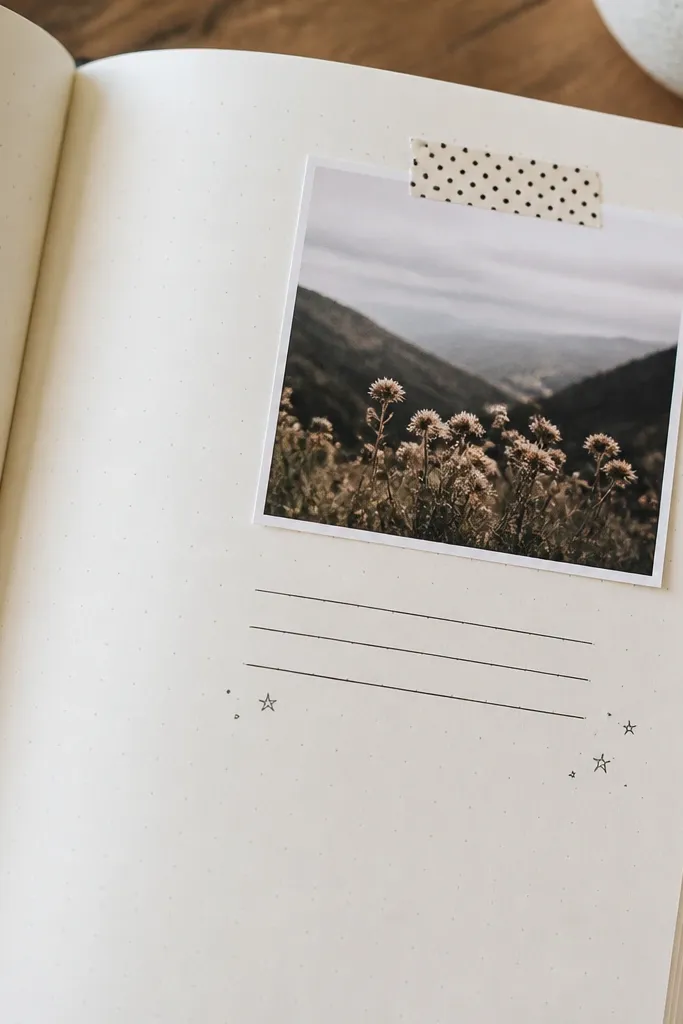
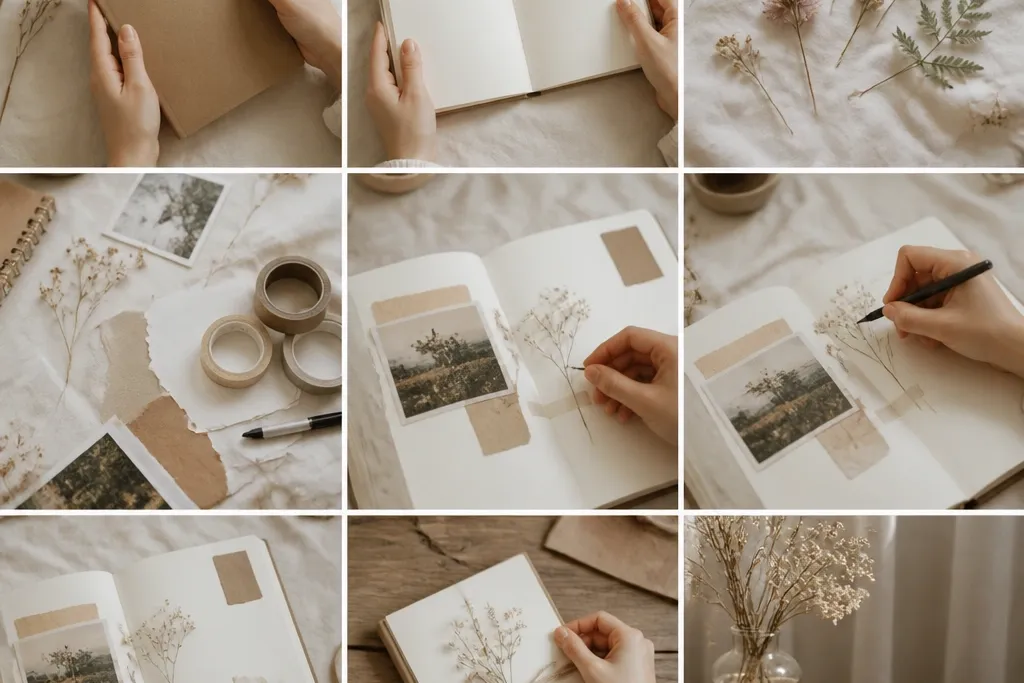
Corner placement looks styled because it leaves breathing room. Use a photo strip (or one small print) and secure it with two pieces of washi tape — one on the top edge and one on the side. Add caption lines so the page reads like a mini memory.
Good to knowBefore gluing, tape the photo temporarily to test spacing, then trace the photo outline lightly with pencil.
4. Sticker + Label System (Pretty Organization)
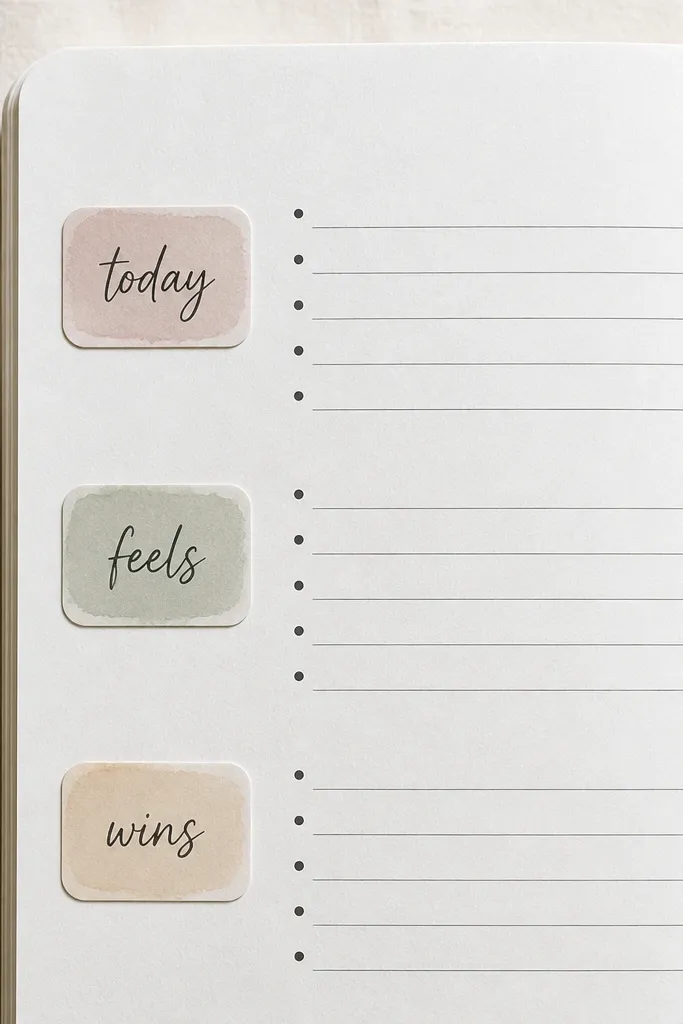
Create a label column using the same sticker shape each time (for consistency). Write 3-5 category labels and leave space for short notes. This method turns “I don’t know what to write” into a simple prompt system.
Use a single pen for labels and a different color for entries to keep it readable.
5. Gel Pen Doodles + Soft Shadow Headings
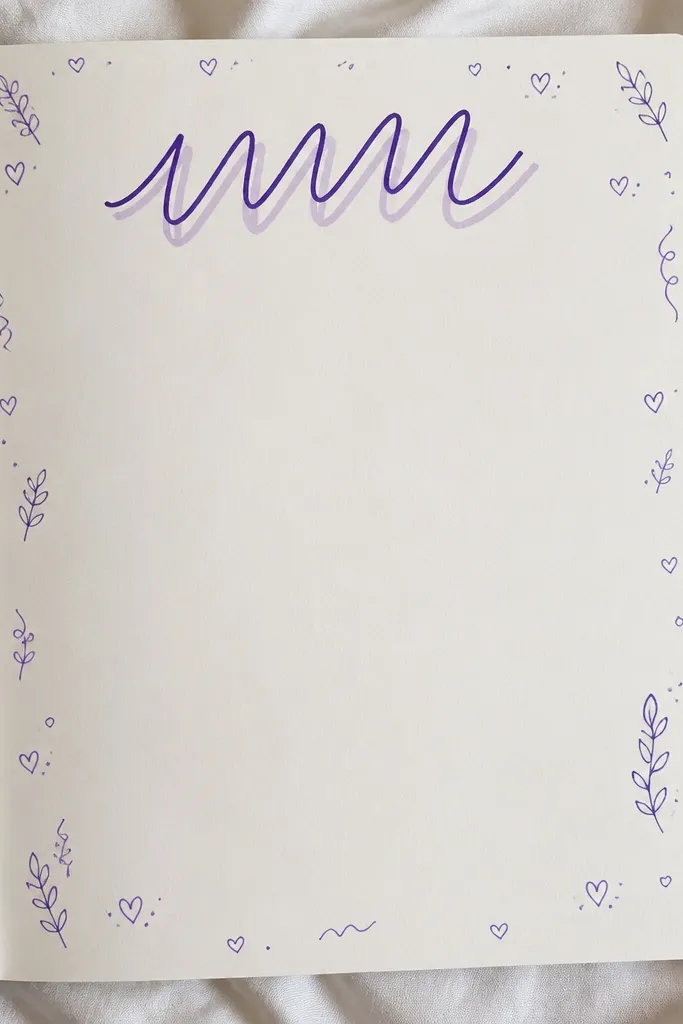
Handwritten headings look extra “aesthetic” when you add a shadow layer. Write the heading once in a bold color, then lightly trace around it using a lighter shade or pencil. Add tiny doodles only in the corners so the page still feels airy.
Good to knowPractice the shadow on scrap paper first — keep the shadow offset small (about 2-3 mm).
6. Coffee Stain Wash Background (Warm Vintage Feel)
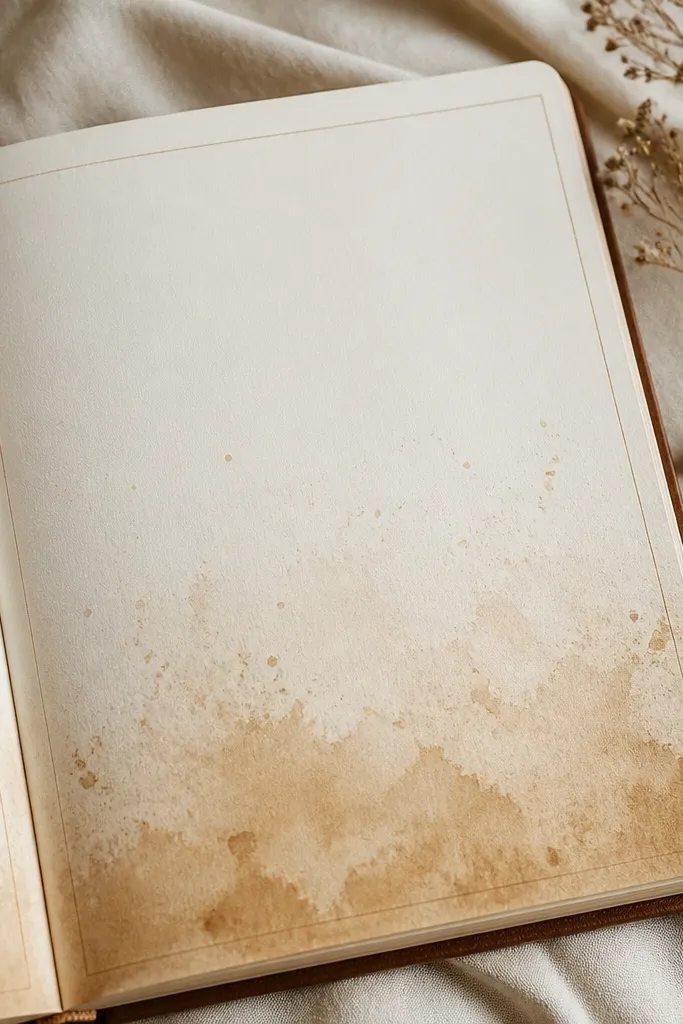
This gives instant warmth without buying craft paper. Lightly dampen a corner with water, then dab instant coffee with a cotton swab to create soft blotches. Let it dry fully, then write on top with a pen that won’t bleed.
Test on a spare page first to find the right coffee strength — too dark makes handwriting hard.
7. Cut-Paper Collage Frame + Journal Notes
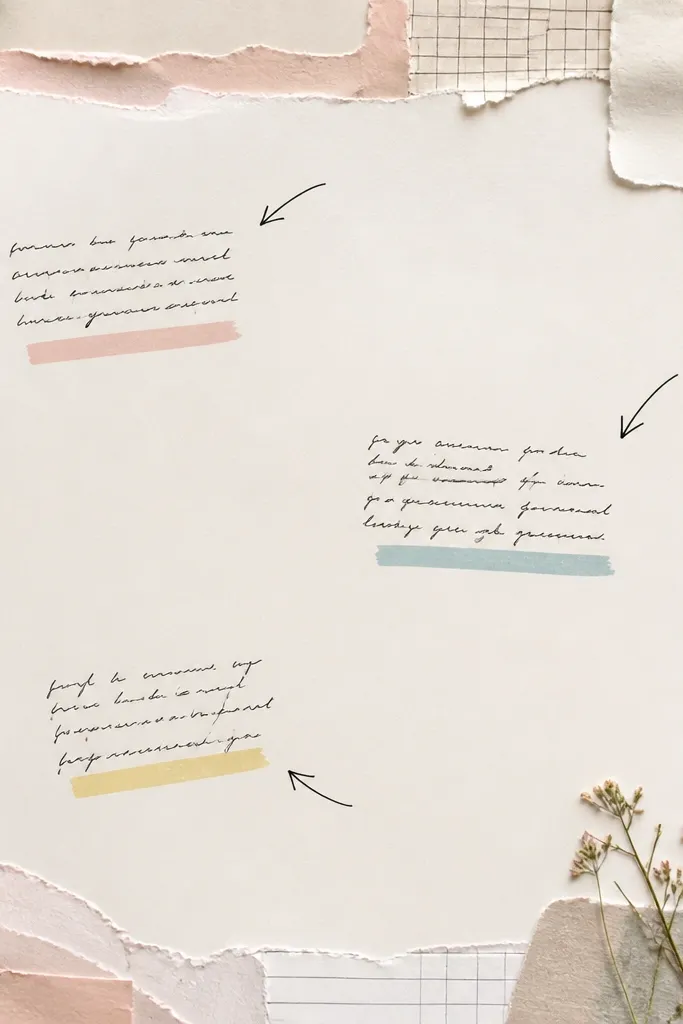
Torn paper edges create texture that reads “crafted” even for beginners. Make a frame by gluing torn strips around a center writing area. Choose papers in one theme (pastels, neutrals, or one color family) so it doesn’t look chaotic.
Good to knowOverlap the strips slightly and leave the center at least 2 inches clear for comfortable writing.
8. Grid Layout with Dots + Mini To-Do Box
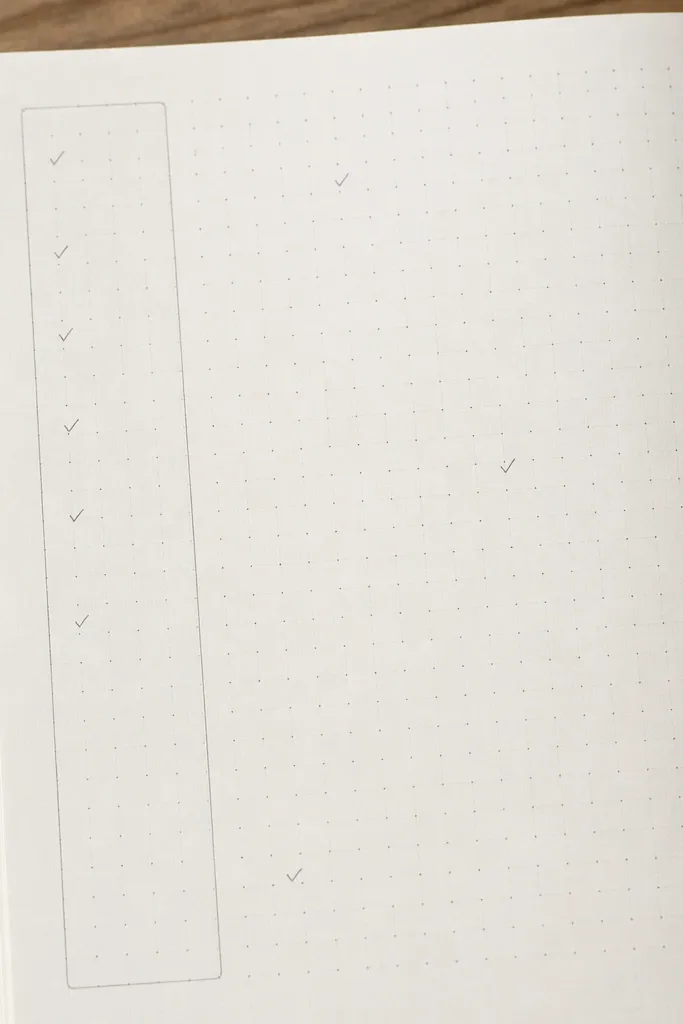
A light grid makes your handwriting look organized immediately. Draw a few vertical and horizontal guidelines, then add dot intersections for a soft aesthetic. Keep one section for a mini to-do box so your diary pages feel functional, not just pretty.
Use a light pencil first, then go over only the border lines with a fine liner.
9. Lined Paper Overlay (Clean Texture Trick)
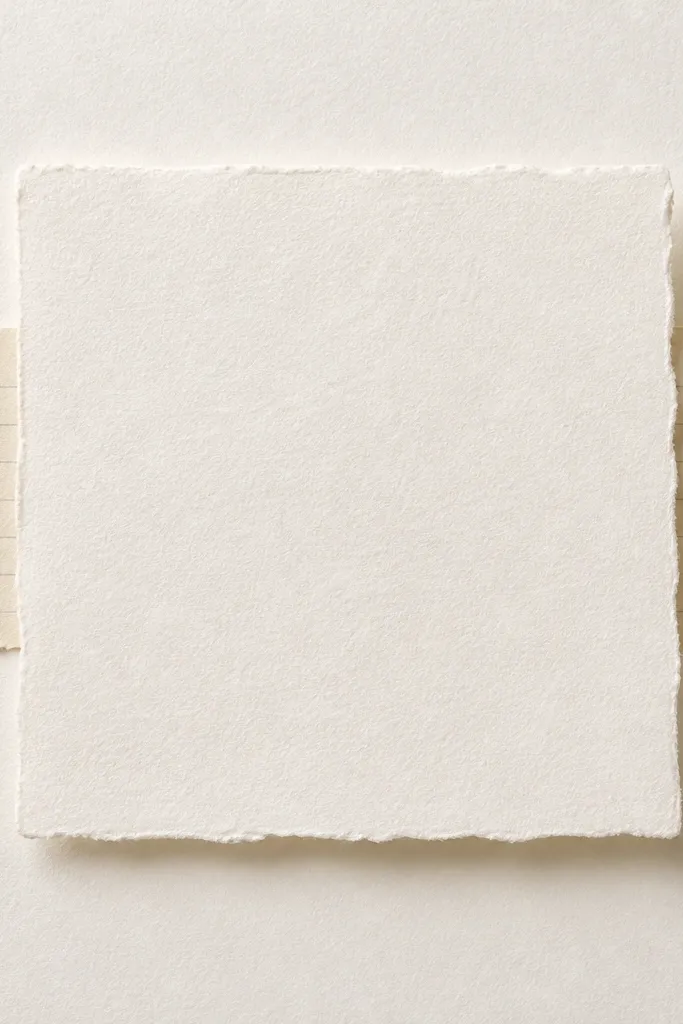
Layering printed paper adds texture without extra drawing. Cut a strip of notebook paper or print lined paper from your printer, then glue it behind your main writing block. The subtle lines make the page feel “designed” while still letting your words lead.
Use a glue stick for the strip and press with a book for 1-2 minutes to prevent bubbles.
10. Pressed-Leaf Corner + Quote Bubble
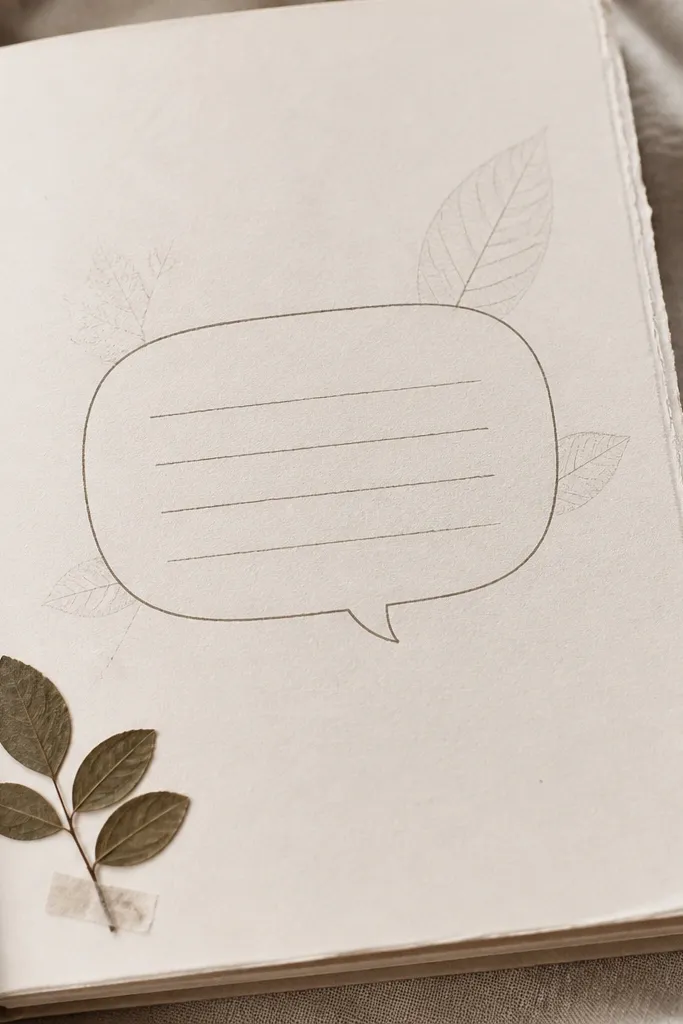
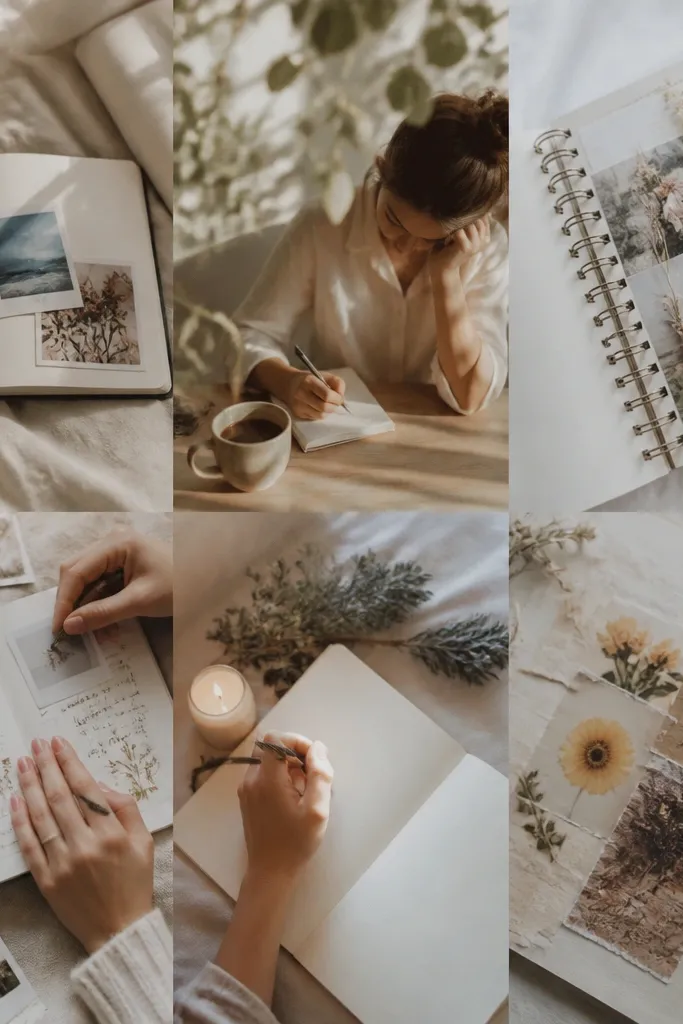
Pressed elements look timeless and elevate your diary fast. Glue a dried leaf in one corner, then write a short quote bubble in the center to balance the page. Choose gentle ink colors like dark brown or charcoal so the leaf stays the star.
Press leaves between book pages for at least 1-2 weeks for crisp edges before gluing.