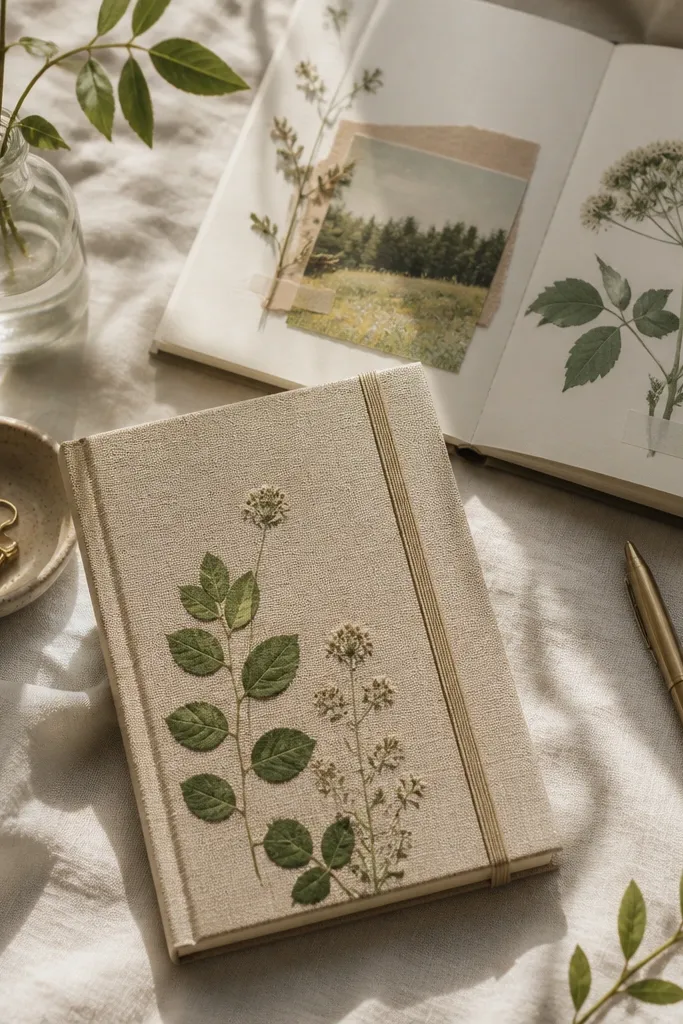
1. Pressed Leaf Border for a Weekly Mood Page
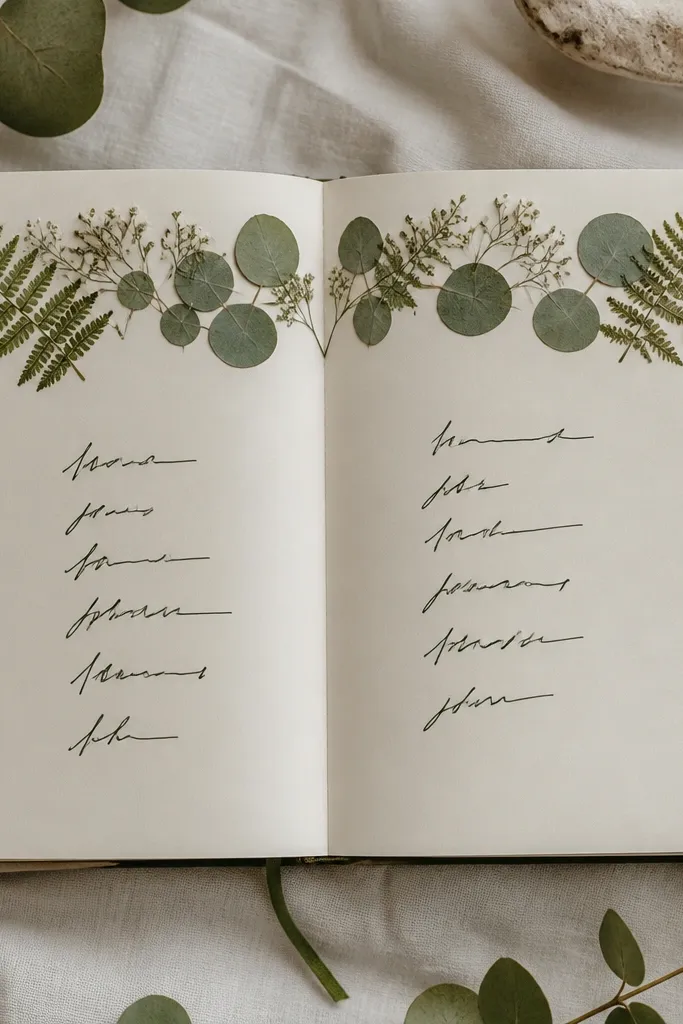
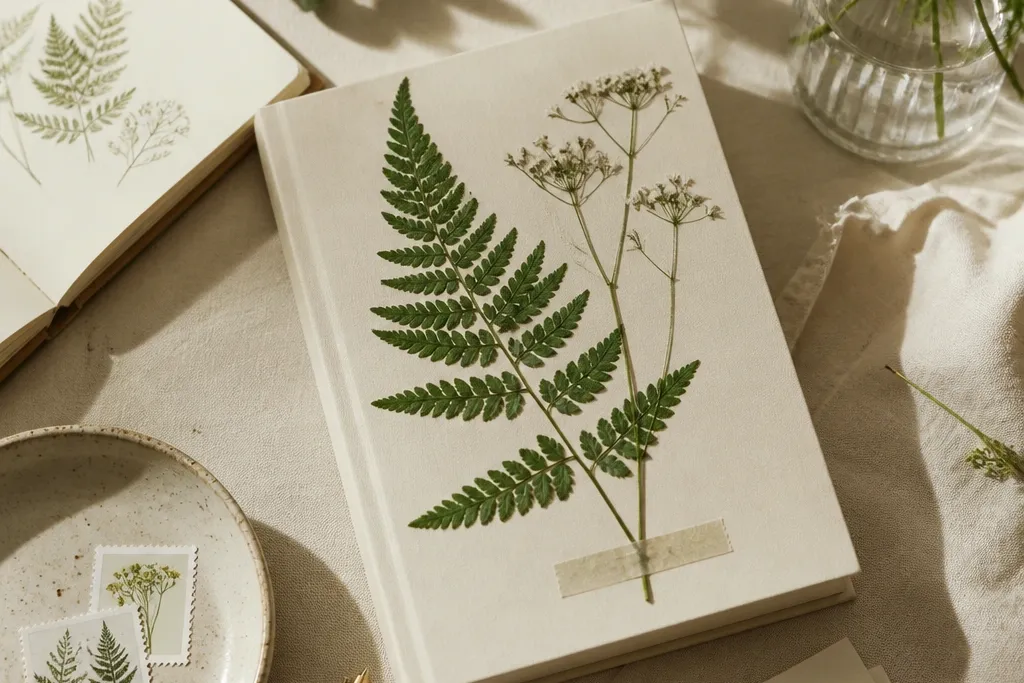
Press small leaves (fern-like shapes work best) between book pages for 1-2 weeks, then place them along the border of a single diary page. Seal with a thin layer of clear gel medium brushed over and around the leaves so they stay flat and don’t curl. The trick is keeping the leaves sparse — a 1-2 leaf cluster per inch looks intentional instead of crowded.
Test gel medium on scrap paper first, then apply in thin coats — thick coats can turn leaves translucent.
2. Botanical Corner Collage with Washi Tape Vines
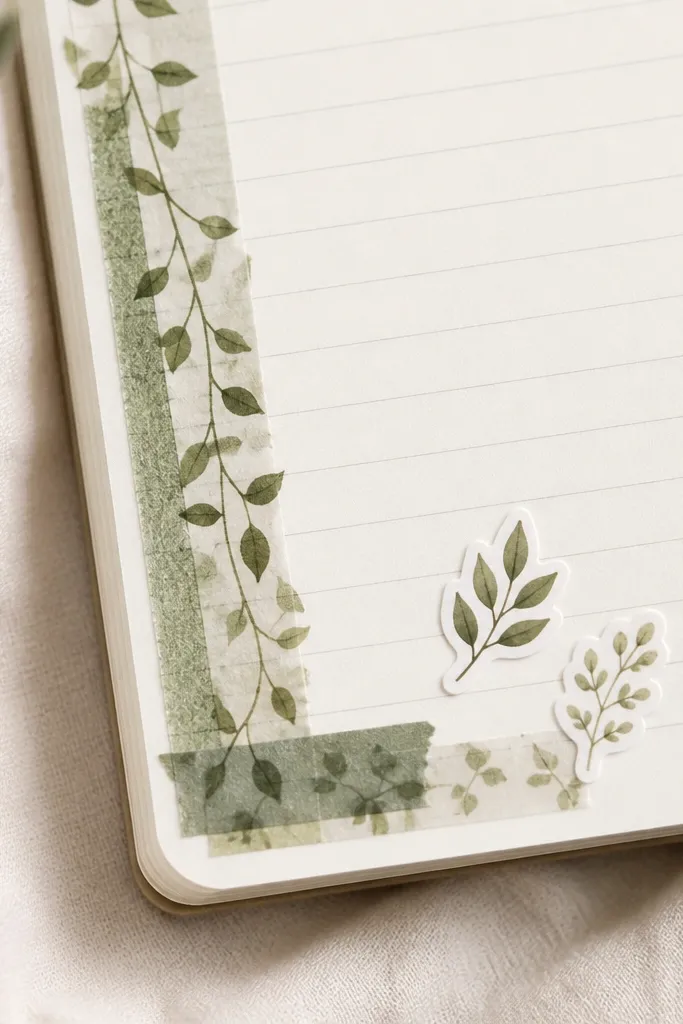
Tear or cut vine washi tape into angled segments and layer them like a climbing plant reaching toward your handwriting. Add one or two small leaf cutouts (from scrapbook paper or cardstock) to anchor the corner. This works because washi tape is removable-friendly and won’t soak into pages the way glue can.
Leave a 1 cm gap between the tape and your text area so your writing stays clean.
3. Terrarium-Style Quote Page with Mini Label Tabs
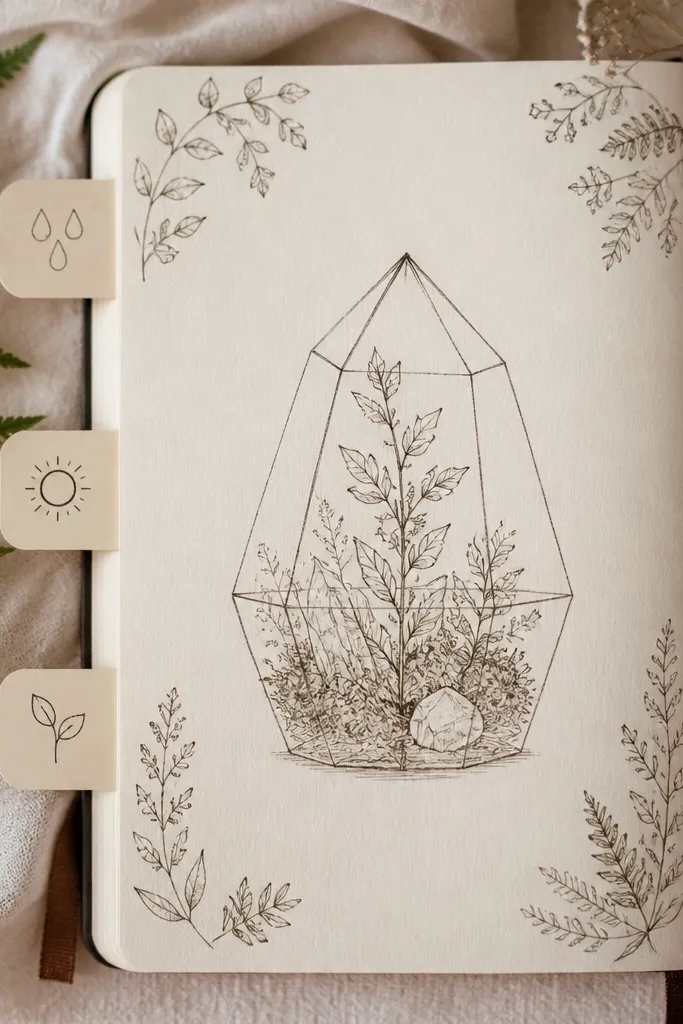
Draw a simple rounded rectangle terrarium outline using a fine liner, then write your quote inside. Create mini tabs from thin cardstock and use a hole punch plus a short piece of ribbon to label each “plant need.” The botanical vibe comes from tiny doodles: leaf veins, seed pods, and small sprout sketches around the frame.
Good to knowUse matte tape or washi to attach tabs so they lift slightly like label cards.
4. Watercolor Leaf Wash Background (No Bleed Edition)
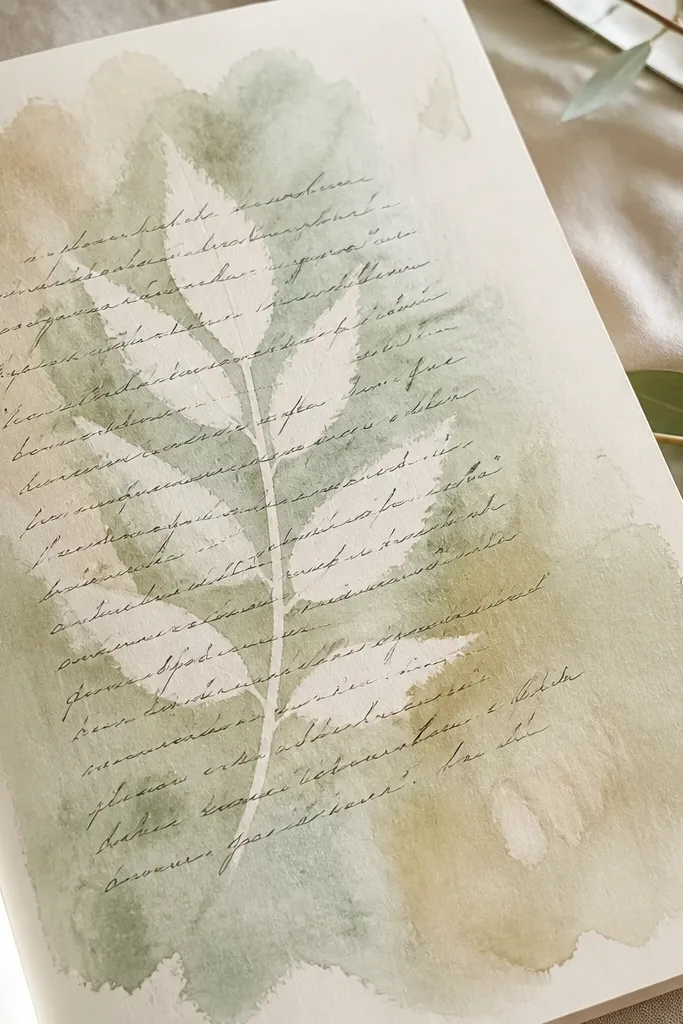
Create a watercolor wash using diluted green paint (or watercolor pencils + water) on a separate piece of watercolor paper, then glue that sheet onto your diary page. The leaf silhouette can be made by tracing a leaf shape and painting around it, or lightly rubbing pencil lines and painting over. Because the watercolor is on its own paper layer, your diary page won’t buckle or bleed.
Good to knowSeal the watercolor layer with a light spray of fixative or a thin coat of clear medium before writing on top.
5. Green Ink Timeline with “Leaf Checkpoints”
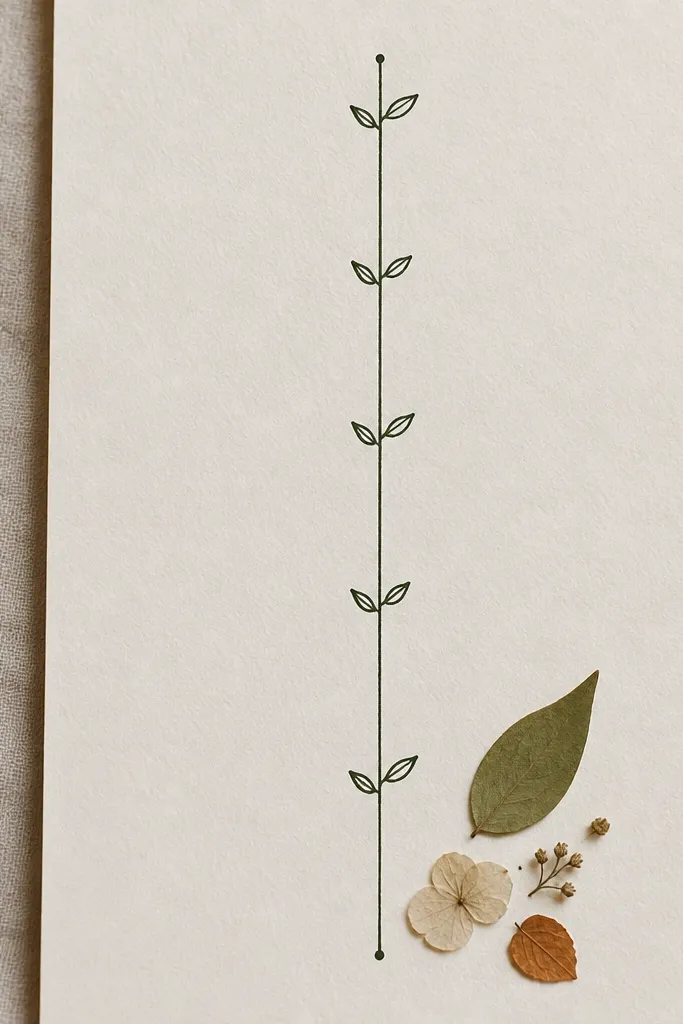
Draw a simple vertical timeline with a ruler and 5-7 dates. Replace each checkpoint dot with a tiny leaf icon (drawn with a teardrop + vein lines) and highlight one leaf per week with a slightly darker shade. For the final entry, glue a single pressed leaf fragment as a “reward moment.”
Keep leaf icons small — if they’re bigger than your date text, the page loses hierarchy.
6. Sprout Bookmark Attached to Page with Paperclip Chain
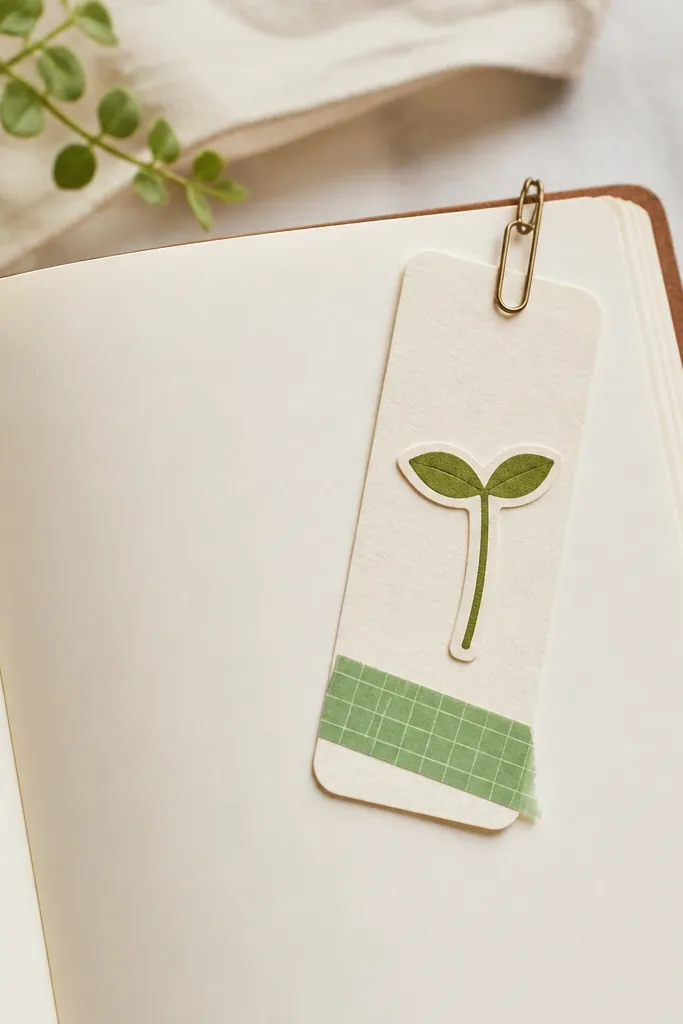
Cut a sprout shape from cardstock and attach it to a narrow strip of paper or a library-style bookmark. Use two mini paperclips connected by a thin ring chain to clip it gently to your diary without glue. This gives you a reusable botanical accent that moves with your reading and keeps the spread looking styled even between updates.
Good to knowChoose a cardstock weight that bends slightly — too stiff clips will gouge thin pages.
7. Seed Pod Confetti on a Night Journal Spread
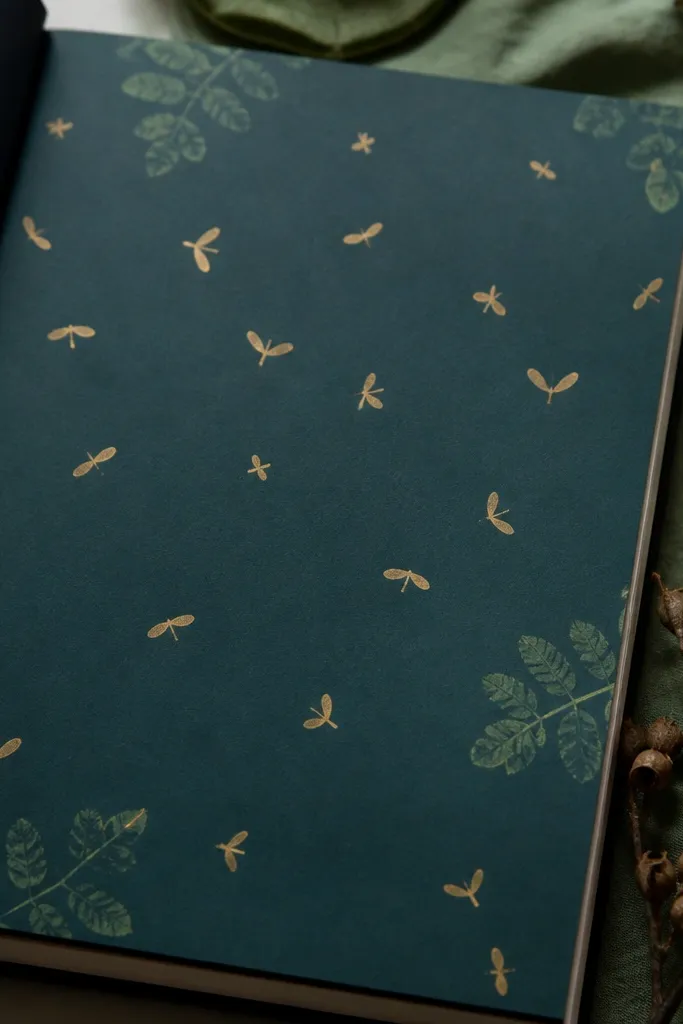
For a moody botanical look, stamp or paint small seed pod shapes in gold or muted ochre on a darker page. Add a couple of pale green leaf stamps or sponge-painted leaf prints near the borders to soften the contrast. This idea works because seed pods read as texture even when they’re tiny, and metallic accents make the page feel curated.
Use archival ink for stamps so gold doesn’t smear when you highlight.
8. Botanical Washi + Dried Flower “Side Label” System
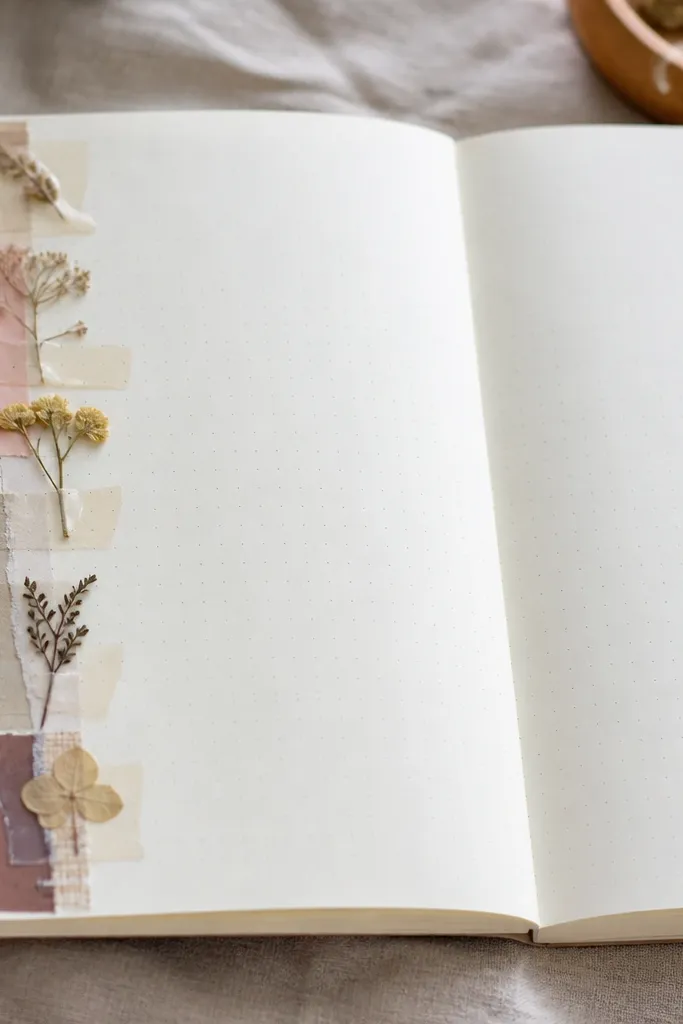
Create a side column for recurring sections like “Today,” “Gratitude,” or “Books.” Layer washi tape strips to form the column background, then add tiny dried botanicals (baby’s breath, small petals, or micro leaves) sealed under clear tape or a laminate strip. Keep the dried pieces small so they don’t snag or lift.
Good to knowWrite labels first, then place botanicals — it prevents you from covering text accidentally.
9. Leaf Imprint Background Using Pencil Rub + Marker Outline
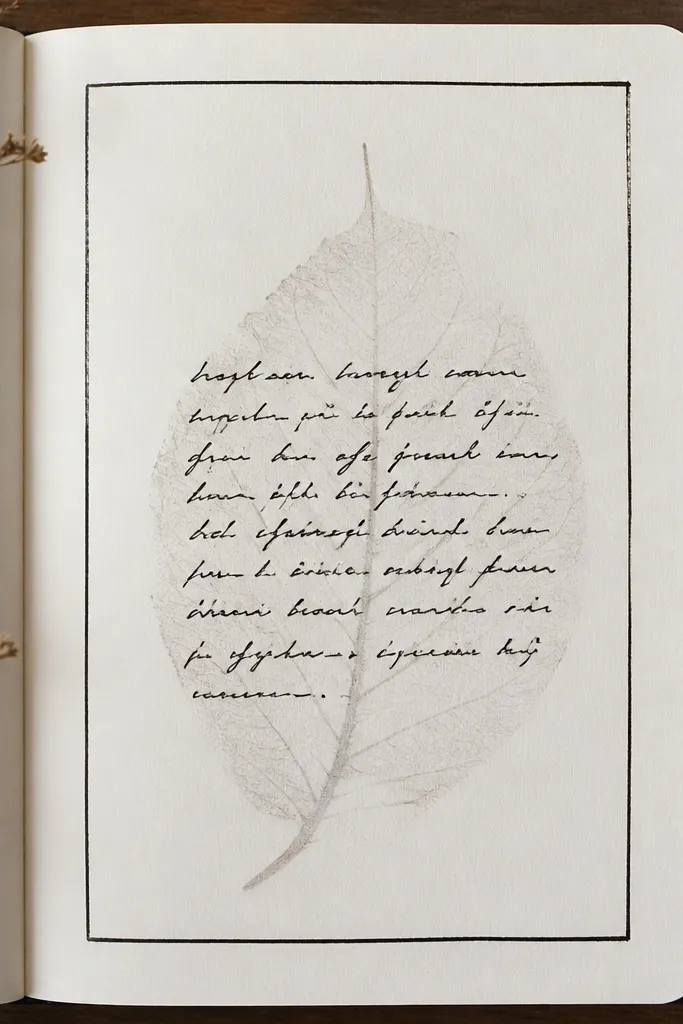
Place a real leaf under a sheet of thin paper and shade over it with a soft pencil to capture the vein texture. Remove the leaf and outline the strongest vein lines with a fine marker, then color the surrounding area with a light wash of sage. This gives you a botanical imprint look without needing glue or sealing.
Use a soft hand and low pressure so the veins stay subtle under your handwriting.
10. Monochrome Plant Theme with Three-Leaf Stamp Set
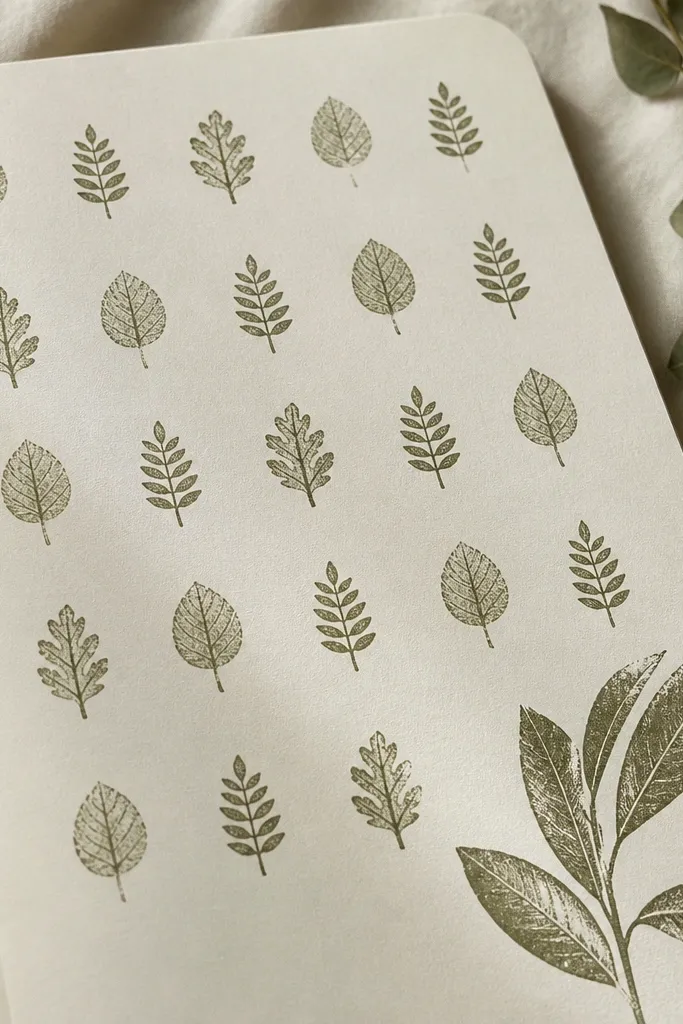
Pick one color family (olive, moss, and sage) and use a small leaf stamp set or DIY stamps made from erasers. Make a light repeating grid pattern in the background, then add one larger focal stamp near your title or date. Monochrome botanical pages look premium because they avoid the “too many elements” problem.
Stamp lightly first, then do a second pass only on the focal leaf.