1. The “Pretty Pen, Instant Smear” Page
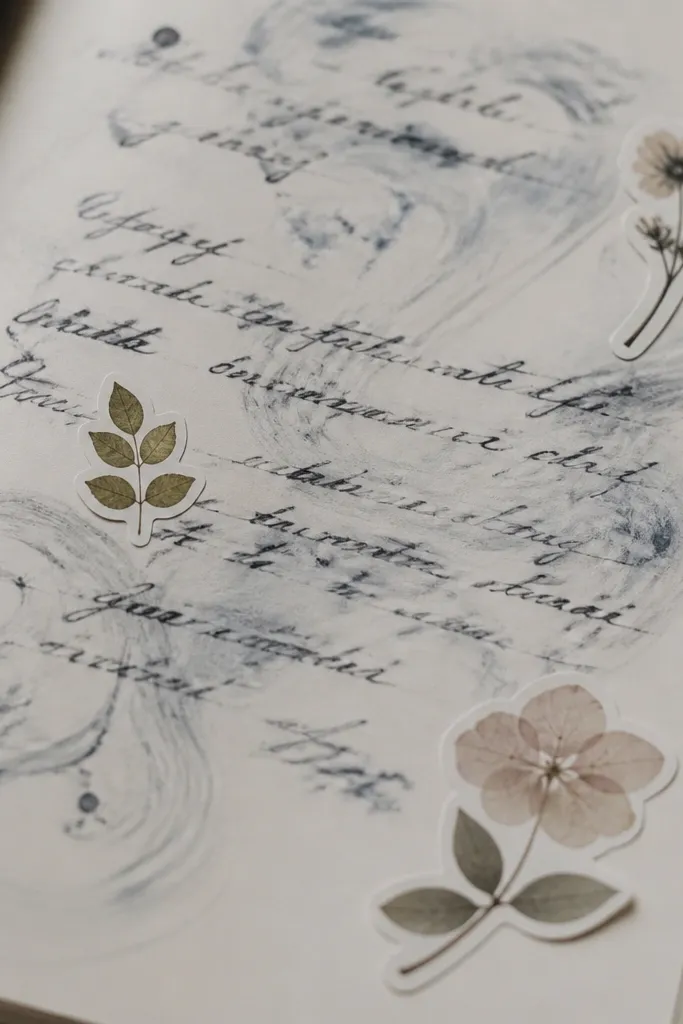
This happens when you write with gel pens or marker ink that hasn’t fully dried before you add overlays like washi tape or glossy stickers. The ink lifts and spreads, especially on slick notebook paper or if your fingers touch fresh lines. Your page still looks cute, but the edges look fuzzy and it ruins the “clean aesthetic” vibe.
Test the pen on the exact paper you’ll use — write a line, wait 2 minutes, then rub gently with a clean finger. If it smears, switch to archival ink or let it dry longer before adding anything.
2. Crooked Sticker Stacking (The Domino Effect)
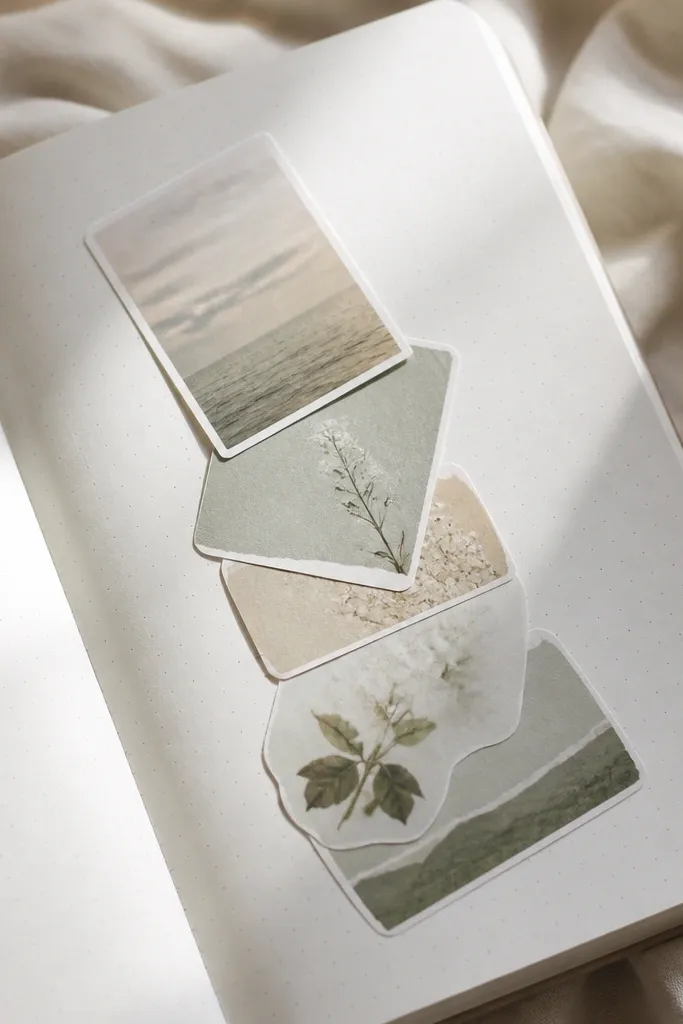
Stacking stickers without a reference line makes every layer drift. Even a 2-3 mm shift turns into a noticeable “lean” once you add journaling lines or date headers. It’s not that your stickers are “bad” — it’s that you’re missing a consistent anchor.
Draw a faint pencil guideline (light enough to erase) and place your first sticker exactly on it. Add the rest by measuring from the same edge each time.
3. The Busy Background Trap
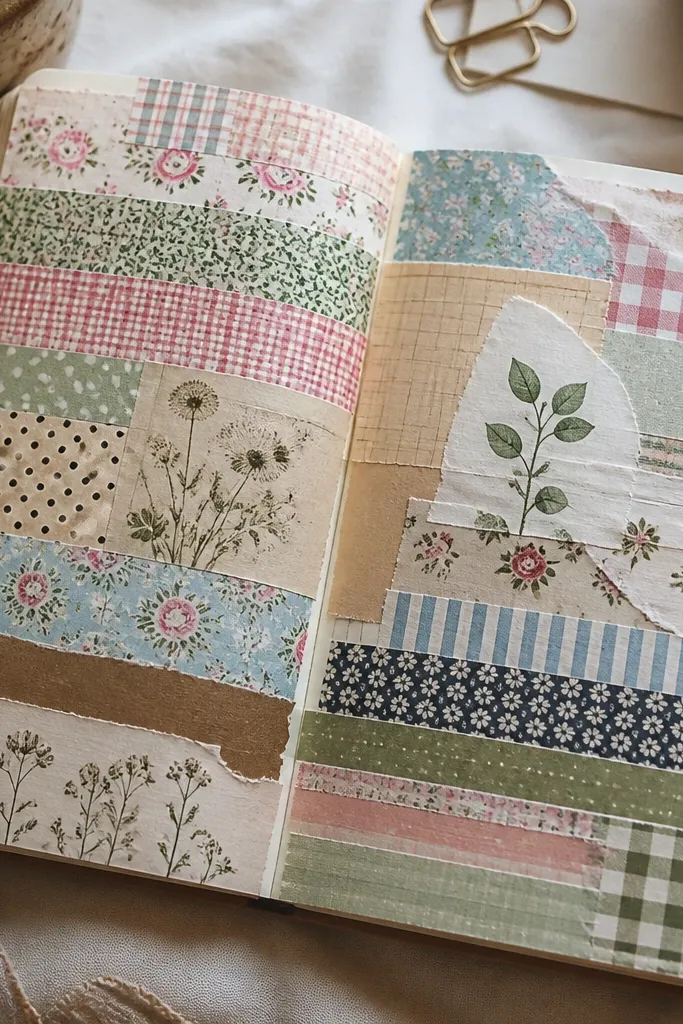
When the background is busy, your focal points (quotes, dates, or journaling) lose contrast. You end up with a page that feels “decorated” but not intentionally aesthetic. This is one of the most common mistakes aesthetic diary ideas creators repeat — too many patterns at once.
Good to knowUse one patterned element per page (one washi tape OR one paper cutout OR one stamp). Keep the rest mostly solid so your text reads clearly.
4. Tape That Bubbles After a Week
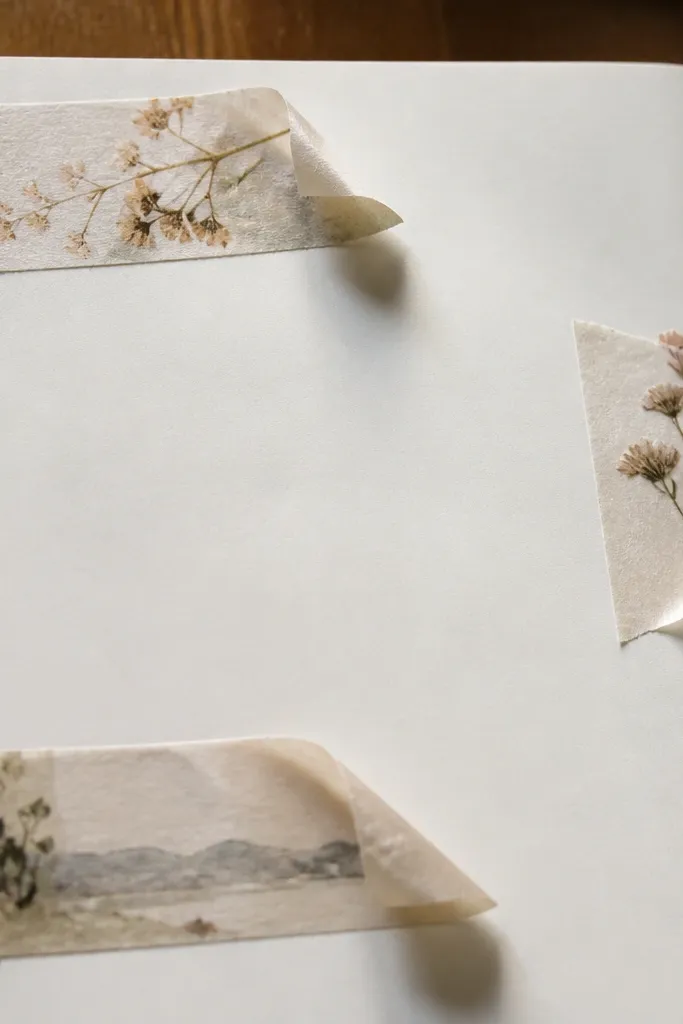
Bubbles happen when adhesive tape is applied over uneven paper fibers or when the tape is stretched while sticking. Heat from your hands during crafting can also soften certain tapes, especially glossy ones. The page starts looking sloppy even if the design was perfect at first.
Good to knowPress tape down with a flat tool (like a clean ruler edge) and avoid stretching. If your paper is textured, choose thicker washi or tape made for journaling.
5. The Wrong Glue for Layering
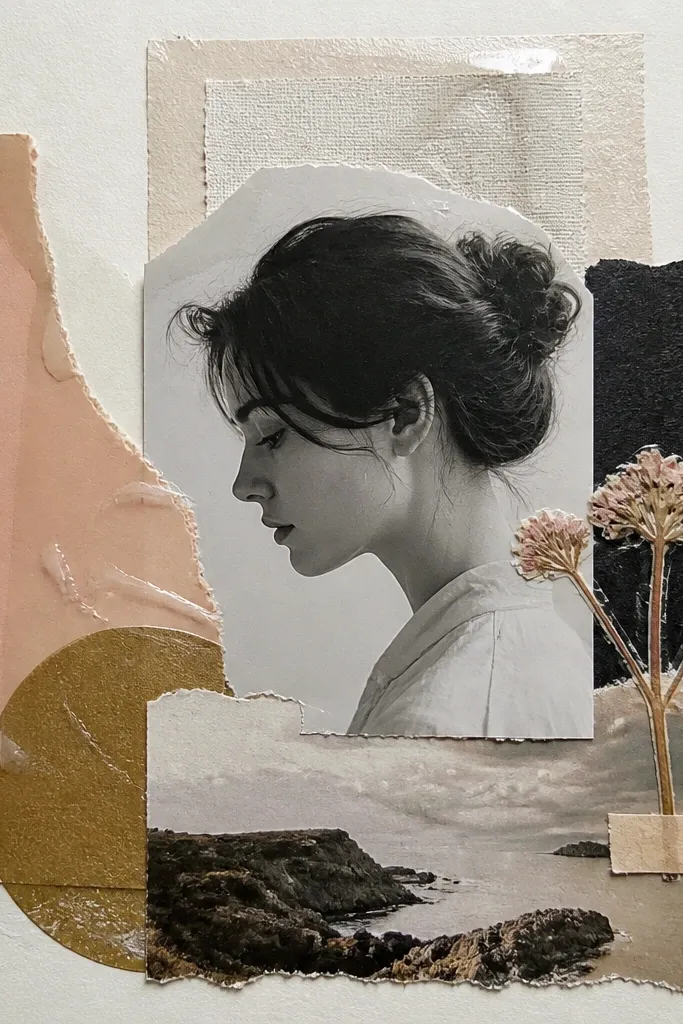
Some glues dry clear but still create a glossy halo, while others warp thin paper layers. Crafting on diary paper means you need adhesives that dry flat and won’t soak through. If you’ve ever had edges curl after drying, it’s usually the glue type and amount.
For paper layers, use a thin line of glue stick or a precision glue pen — less is more. Apply with a toothpick or craft spatula and let it dry under a book for 15-20 minutes.
6. Markers Bleed Through the Page
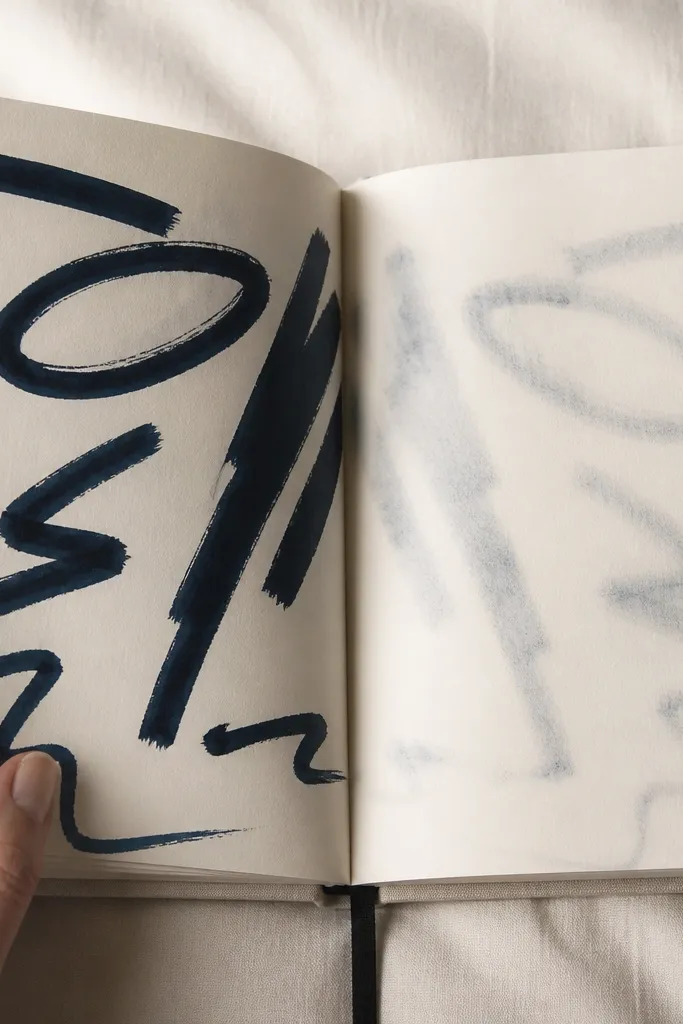
Bleed-through ruins the clean look and can also ghost text onto the page behind. It’s worse on cheap sketch paper or thin notebook refills. If you’ve been using heavy markers for outlines, you might be building a page that can’t hold your aesthetic consistently.
Good to knowSwitch to fine liners, gel pens, or journaling markers designed for paper. If you love markers, place a sheet of scrap paper behind while writing to reduce pressure and consider thicker paper refills.
7. Color Clashes From Random Pastels
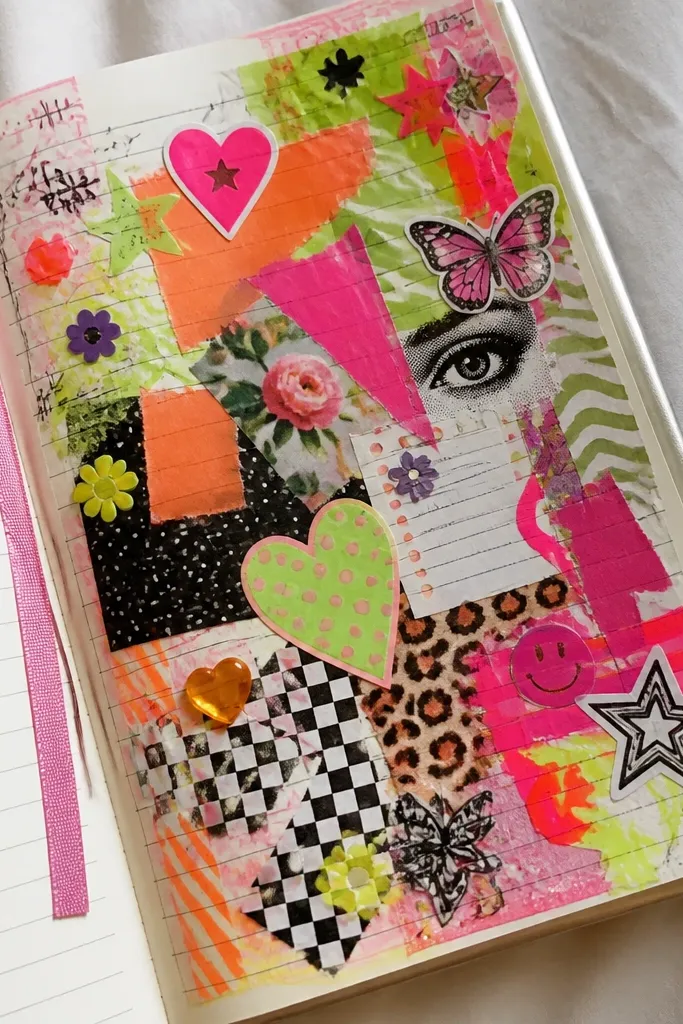
Pastels don’t automatically match. If you mix cool and warm tones without a plan, your page reads “random” instead of “cohesive.” The fix is choosing a limited palette and repeating colors in small accents so everything feels intentional.
Pick 1 main color, 1 neutral (cream/white/gray), and 1 accent. Use the accent in at least two places (like a header + sticker border) to tie the page together.
8. The Date Header You Can’t Read
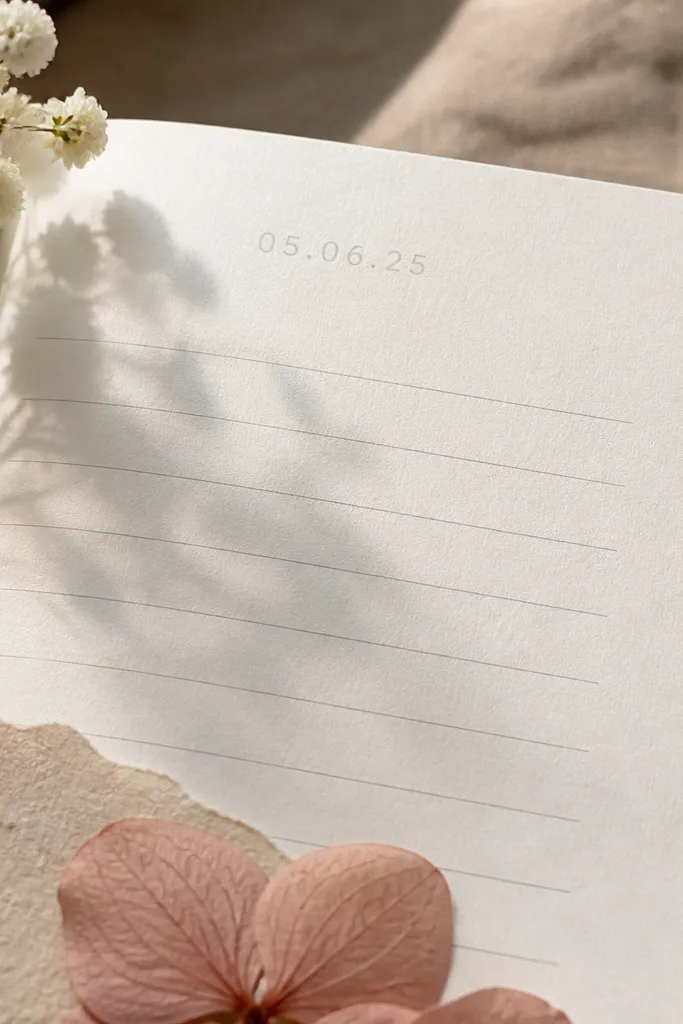
Aesthetic diaries aren’t only about pretty — they’re about usable structure. If your date header is too light, too small, or placed under busy elements, you’ll struggle to find it later. This is a subtle mistake aesthetic diary ideas creators make when they prioritize decoration over readability.
Good to knowWrite your date in a darker value than the background (black, deep brown, navy). Keep the header in the top third of the page with at least a small empty margin around it.
9. Over-Sealing With a Thick Gloss Coat
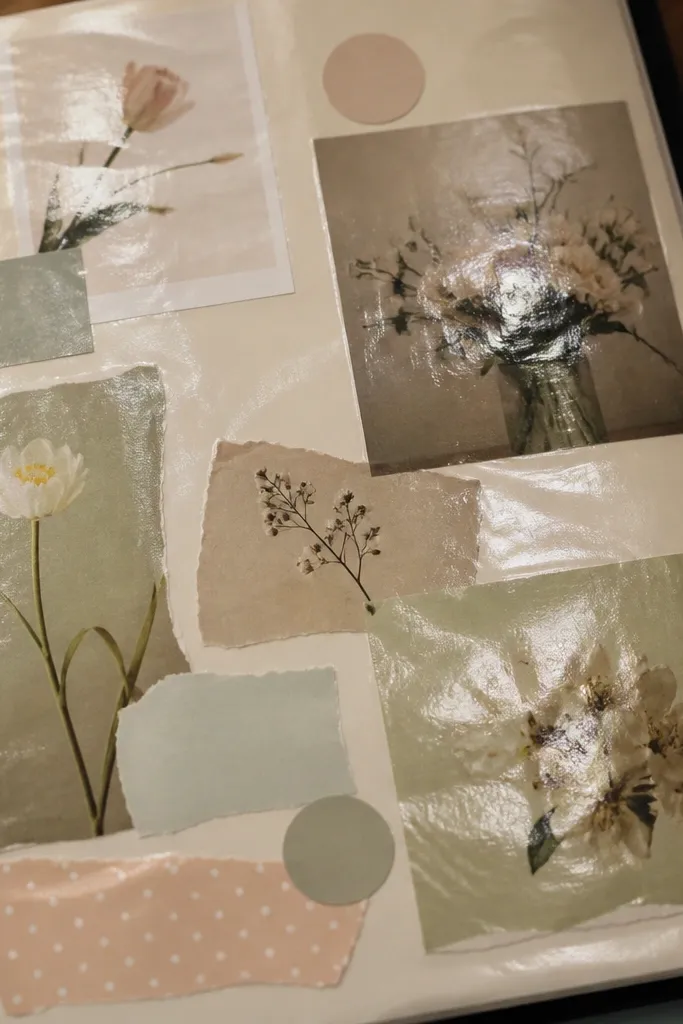
Sealers can be great, but heavy coats can pool, streak, or lift edges of stickers and thin washi. If you’re using a spray or gel medium, too much product makes your page look “wet” and can distort delicate paper fibers. The aesthetic becomes shiny in the wrong way.
Good to knowUse a light, even layer — or skip sealing on pages with porous ink and paper. If you want protection, seal only the areas that need it (like a photo corner) and test on a scrap first.
10. Photo Corners That Peel
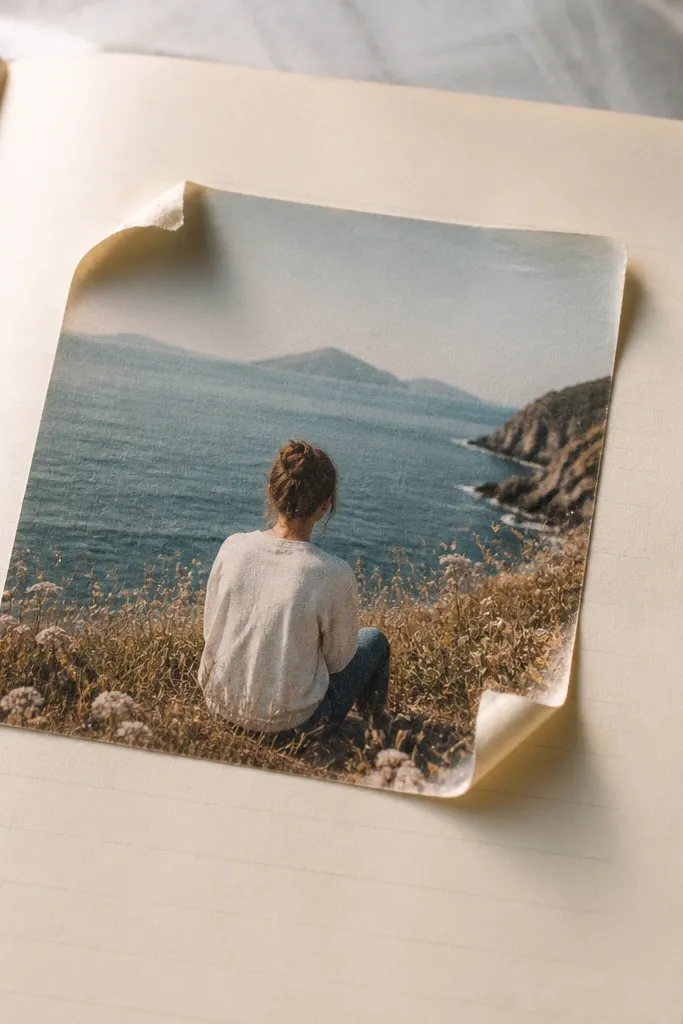
Peeling happens when photos are attached with tape that doesn’t grip the photo coating or when you apply adhesive to the wrong side. Also, photos expand and contract with humidity, so brittle adhesives fail. The page still looks cute until time makes it curl.
Good to knowUse photo-safe glue dots or double-sided tape made for scrapbooking. Press firmly and let the page dry flat under weight before flipping your journal.