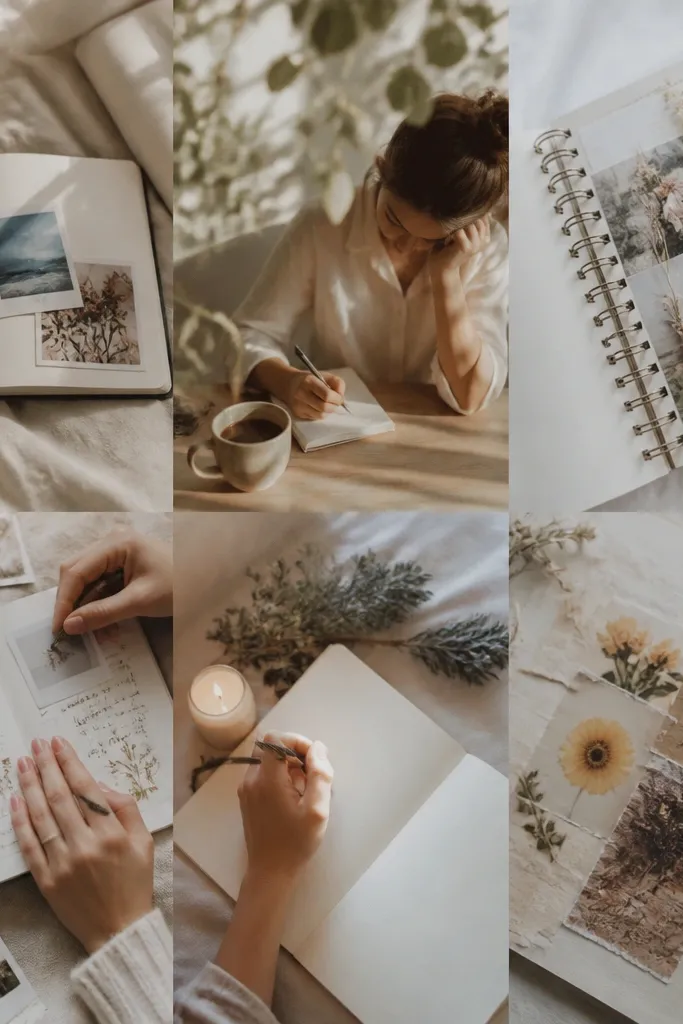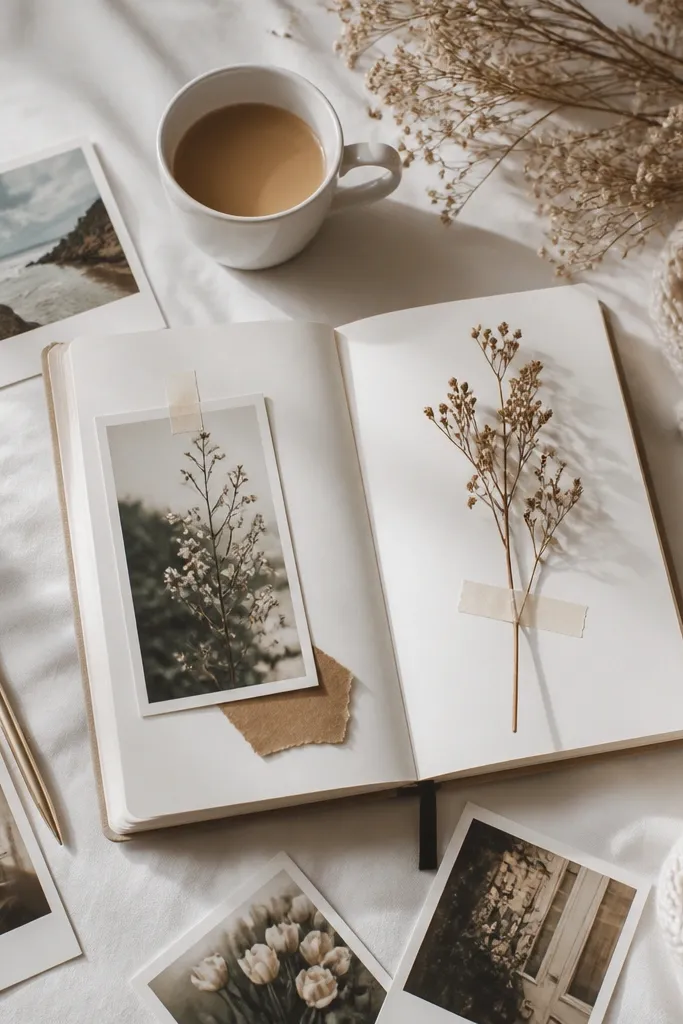
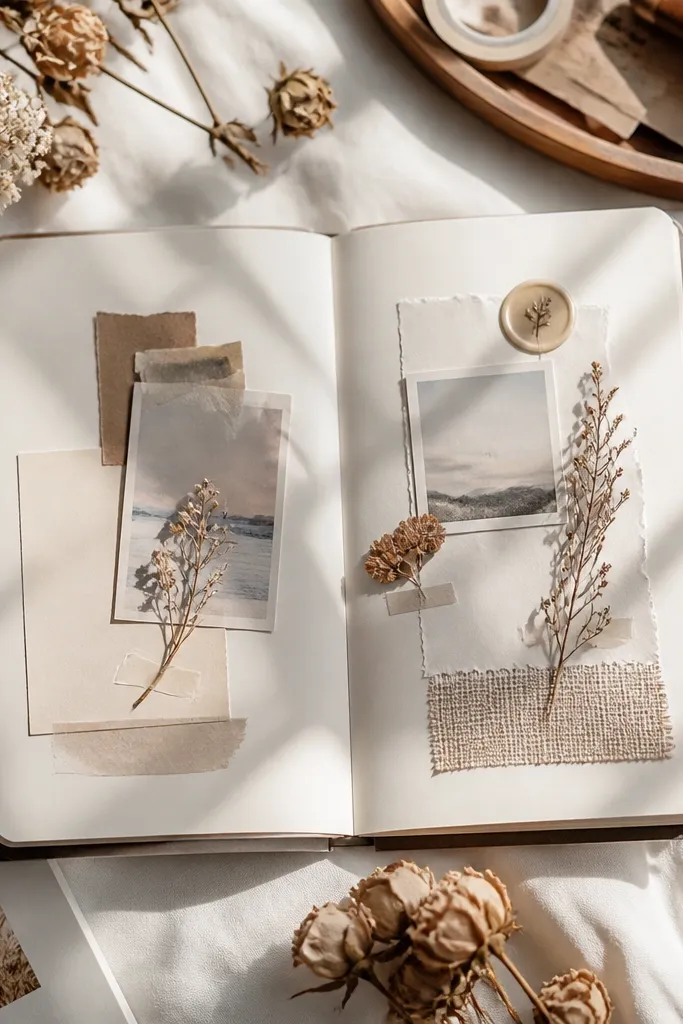
1. Washi Date Bar with Side-Notes
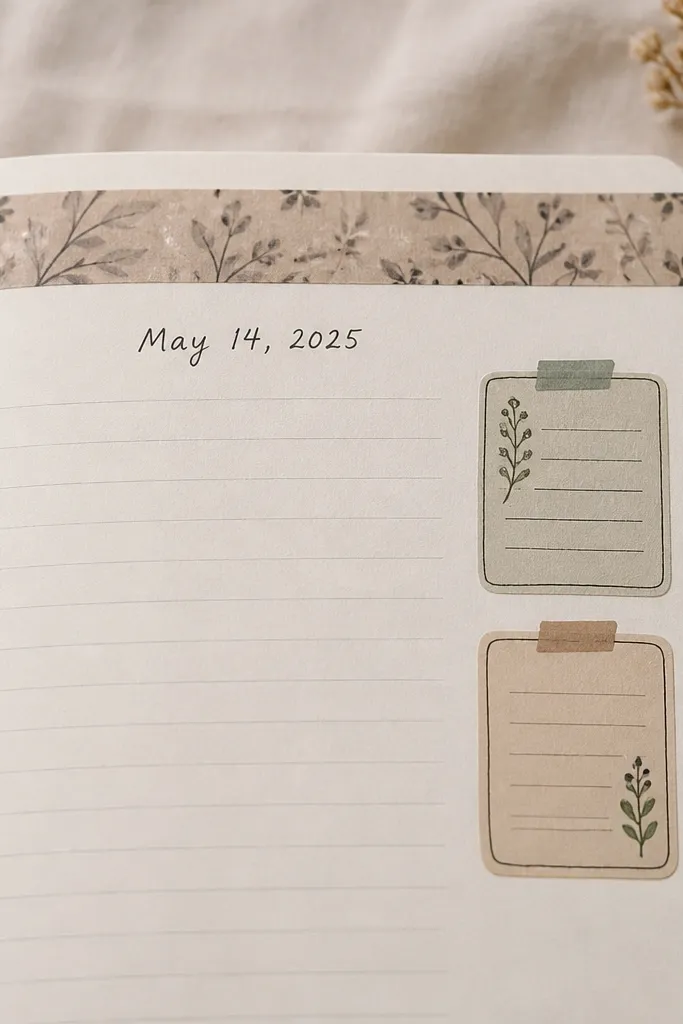
Use one patterned washi tape for the top bar and one thin solid tape to outline the date. Keep the rest of the page simple: one paragraph in the middle and two micro notes on the right so the layout feels intentional without extra skills. This works especially well with gel pens because the ink stays crisp on slightly textured paper.
Cut the washi bar to leave 2-3 mm gaps at the ends, then write over the tape with a gel pen after it’s fully pressed down.
2. Sticker Frame Corner Layout
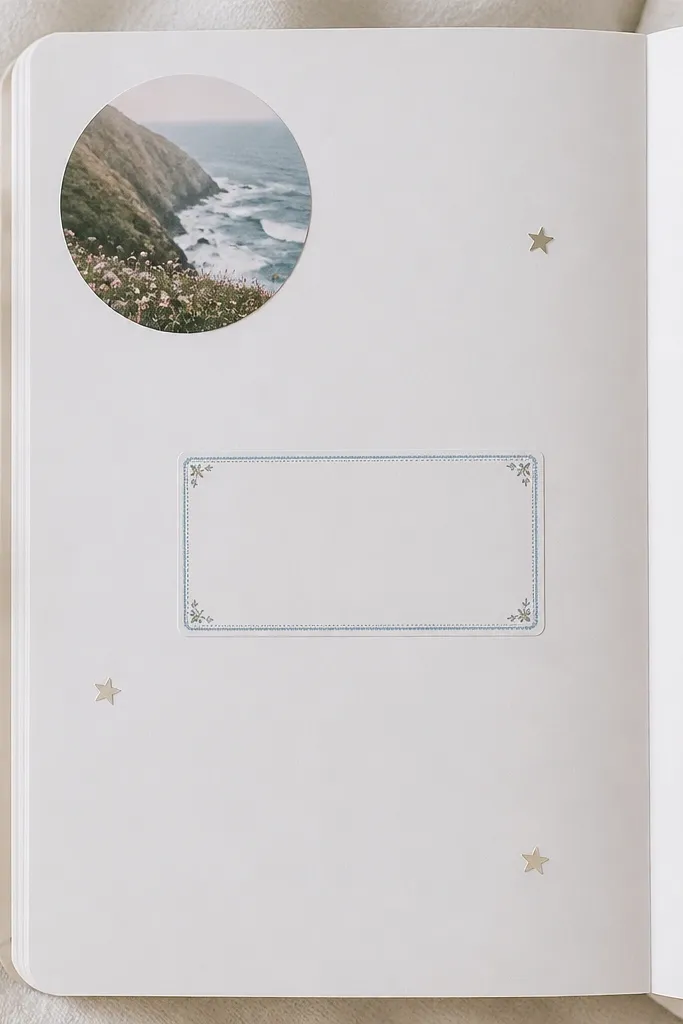
Pick one sticker set and repeat the same corner style every week to create a consistent “series” look. Use corner placement (top-left, bottom-right) to avoid covering your handwriting. Matte stickers look softer than glossy ones and blend better with pen ink.
Do a quick “dry layout” first: place stickers without pressing, then take a photo so you can adjust spacing before sticking.
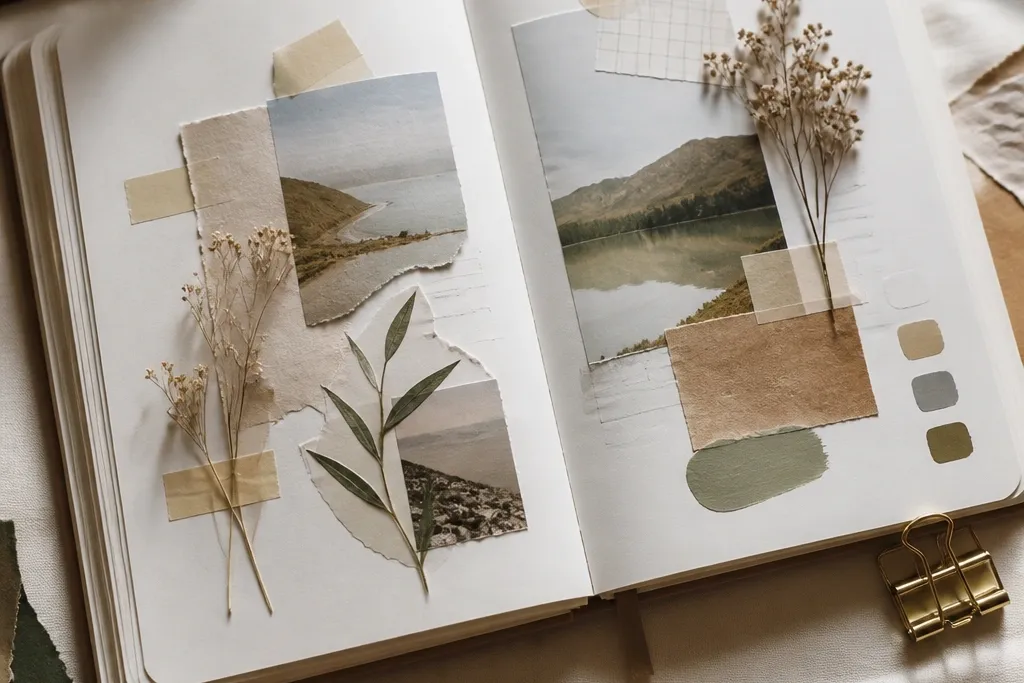
3. Torn Paper Mood Collage
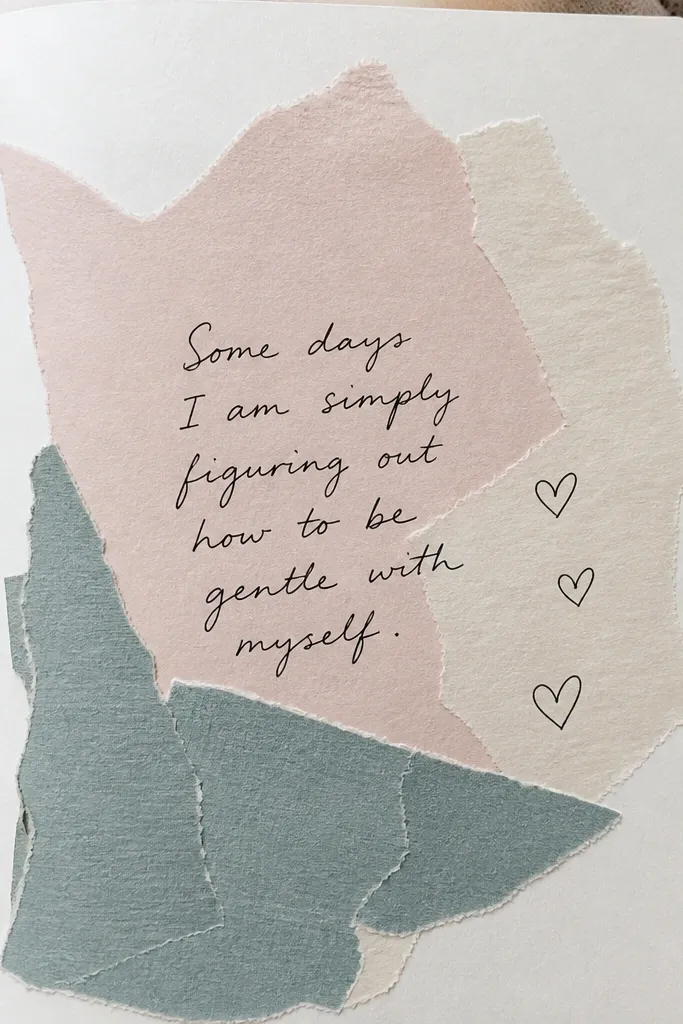
Torn edges add texture instantly, which makes even a short entry look designed. Layer two or three colors: one background tone and one accent. Finish with a single focal phrase (like “today felt calm”) so the collage supports your story instead of stealing attention.
Good to knowTear smaller than you think you need, then glue with a thin line of glue stick to reduce wrinkling.
4. Minimal Line Art Border
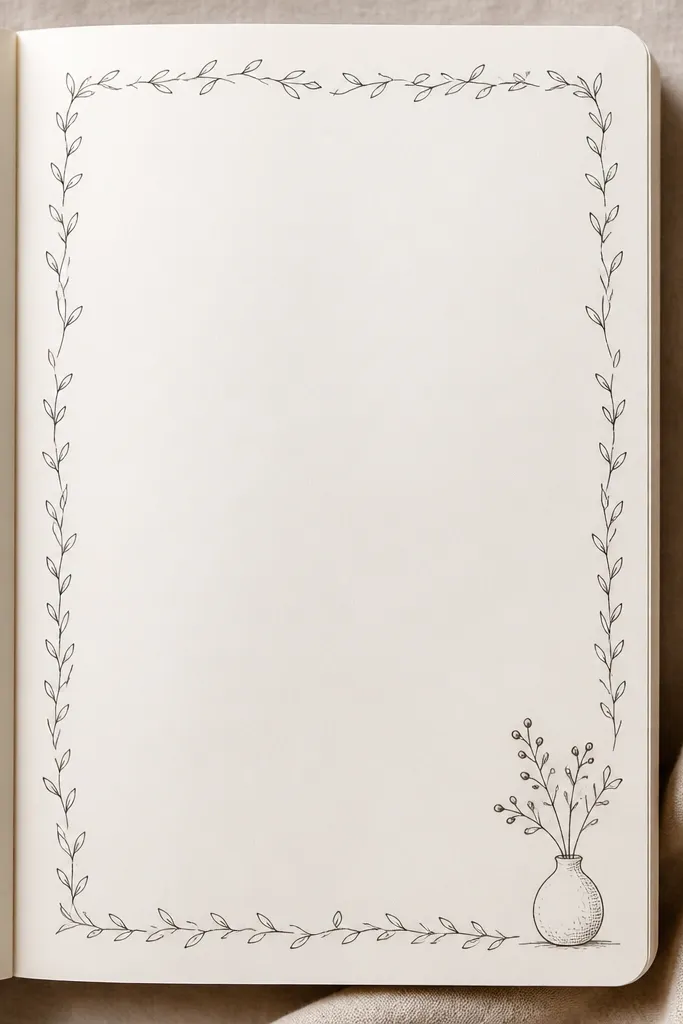
This is the “clean aesthetic” option for beginners who don’t want to collage. Draw a border with one continuous line of repeated icons (leaves, tiny waves, or dots) and keep all icons the same size. Pair with a single accent color pen (like a muted green) for highlights to keep it cohesive.
Good to knowUse a pencil first for the border path, then trace with a fineliner so mistakes don’t ruin the page.
5. Gel Pen Color Wash Highlight
You can fake a light wash look using gel pens layered gently. Choose one highlight area like a sentence about your day, then add a few short underline doodles in the same color. Keep the wash translucent by applying light pressure and building up gradually.
Test on scrap paper first — if the ink looks too dark, you’re pressing too hard.
6. Photo Corner + Caption Strip
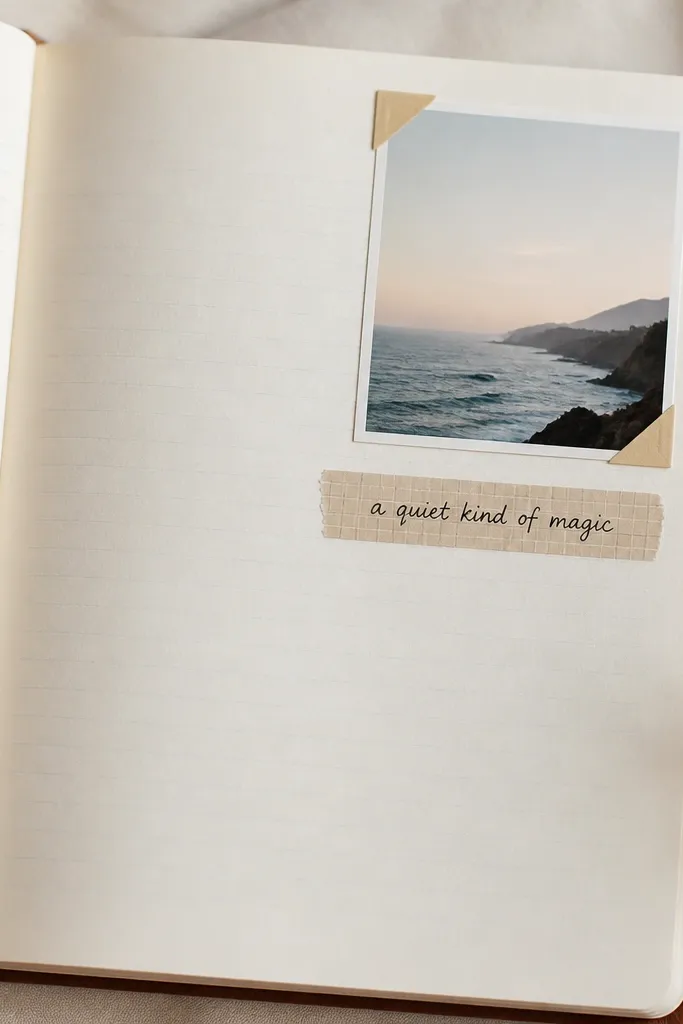
Photo corners keep your photo secure without covering the full page. Add a caption strip using solid washi tape so the text stays readable. This layout is great for travel days, coffee runs, or “one moment” entries because the photo does half the design work.
Print photos slightly smaller than your corner placement area so the edges don’t lift.
7. Printable Checklist Aesthetic
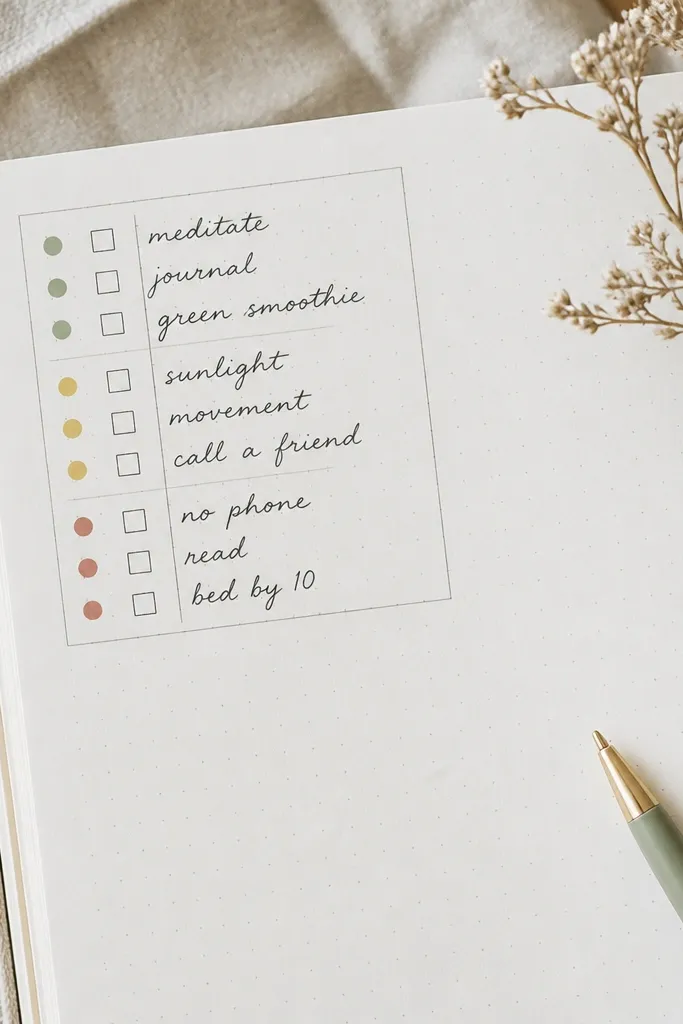
Print a simple mini template (checklist, habit tracker, or “gratitude + lesson” boxes) and then handwrite inside. The trick is to limit colors to 2-3 so it still feels artsy, not busy. Add one small doodle under the last line to tie it together.
Good to knowPrint on slightly thicker paper or glue the template down with a glue stick for a smoother, less wrinkled finish.
8. Gouache Color Block Anchor
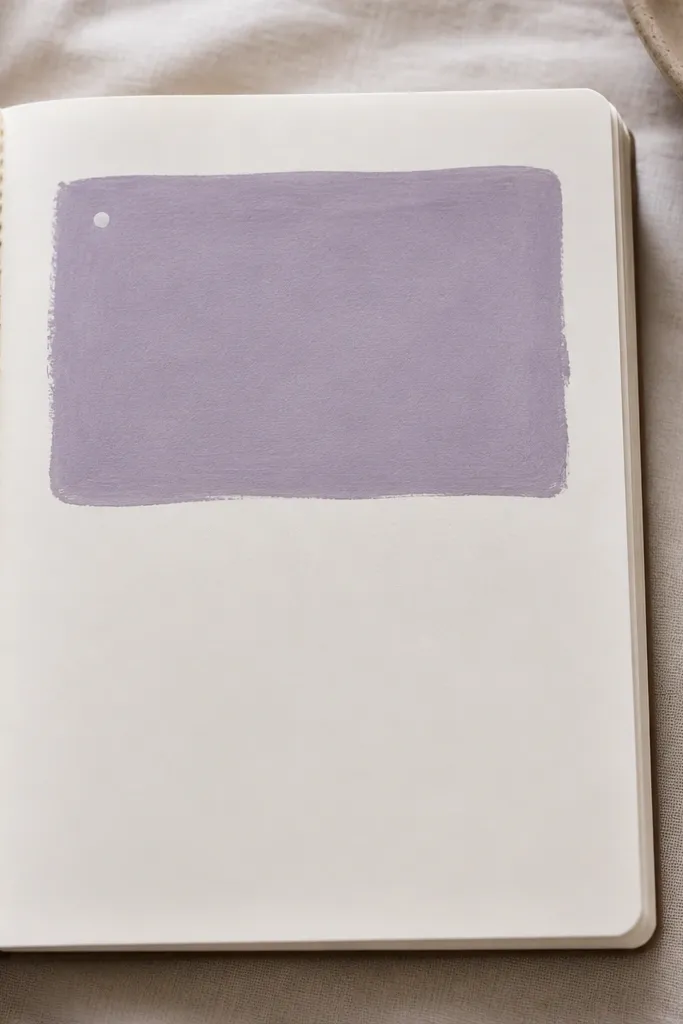
A single color block makes your page look “styled” even with minimal writing. Use gouache because it dries matte, which prevents glare and looks premium next to pen ink. Keep the block to one corner or behind the first 2-3 lines, then write normally on top of the dry paint (or beside it if you prefer).
Good to knowLet gouache dry fully (10-20 minutes for thin layers) before writing over it to avoid smudges.
9. Thread-Loop Bookmark Page Marker
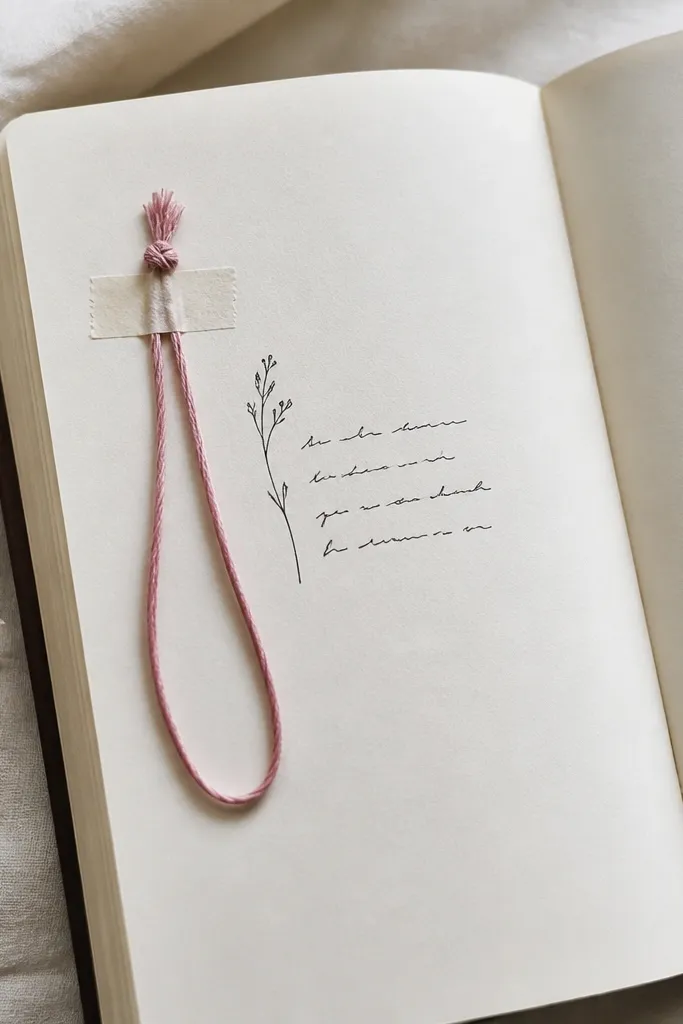
This is a “decor without mess” idea that makes your diary feel like a keepsake. Thread loops add dimension while staying subtle. Choose one thread color that matches your washi or one accent pen color, then keep the rest of the page clean so the texture reads intentional.
Good to knowSecure the loop with a tiny piece of washi tape at the top and bottom — press firmly so it won’t catch on pages.
10. Dot Grid Title + One Icon
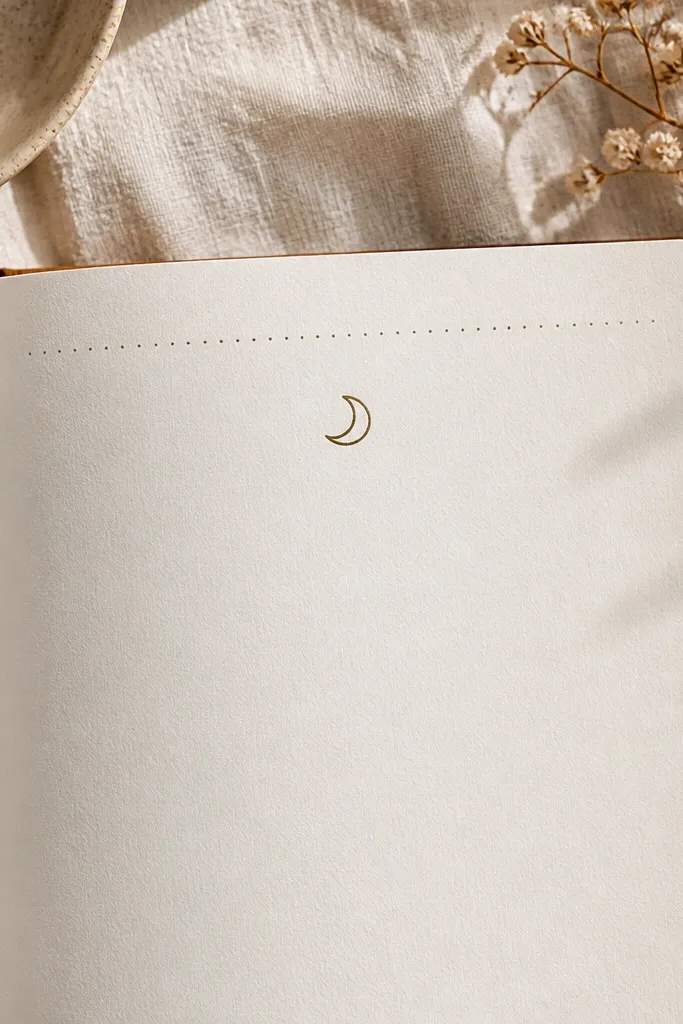
Dot-grid headers are beginner-friendly because you only need a few consistent dots. Use the dots as a “frame” for your title, then add one icon to signal the theme (moon, flower, coffee cup). This style makes your diary feel organized without needing fancy lettering.
Good to knowUse a dotting tool or the eraser tip of a pencil to place dots evenly, then trace the title with a smooth fineliner.