1. Cloud Header + Soft Rainbow Washi Tape Border
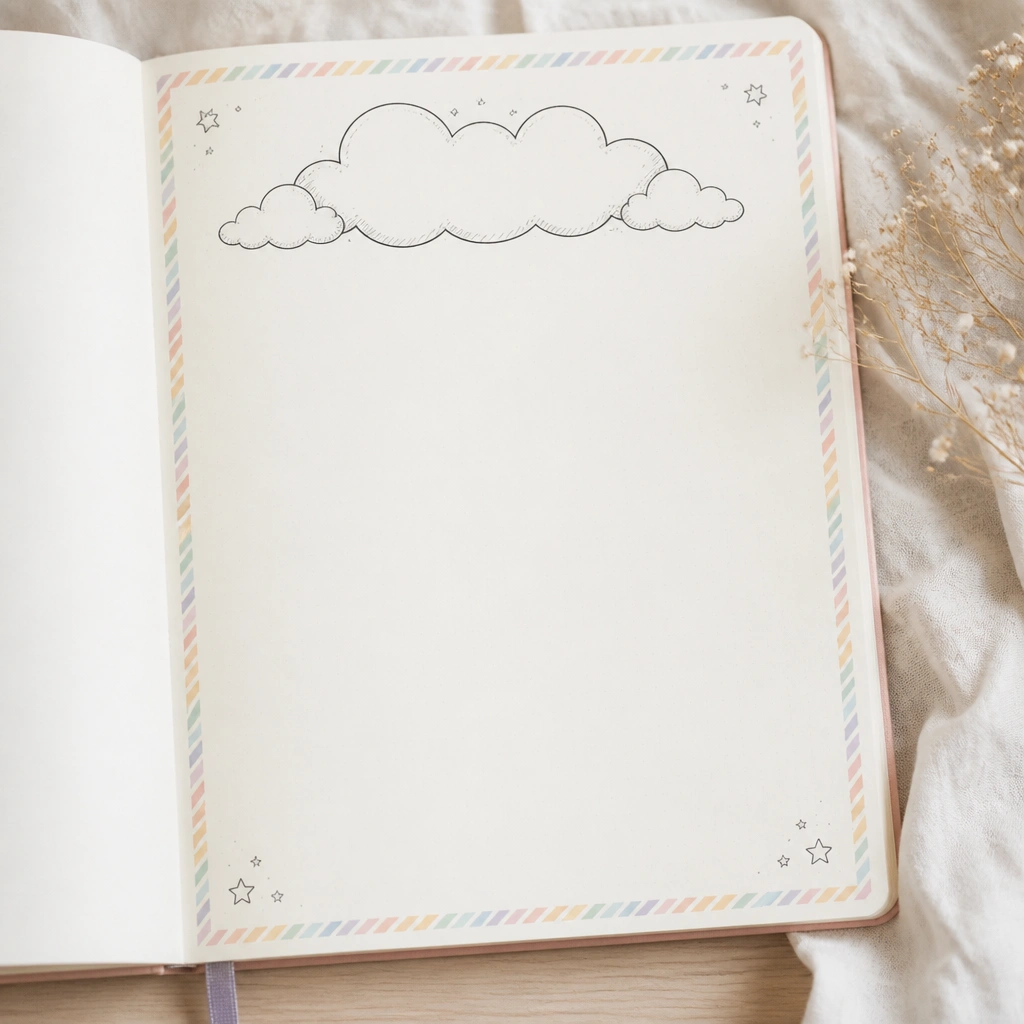
Use white gel pen or a fine black marker for the cloud outline, then fill the clouds with light pastel shading (pencil is enough). Add 3-5 narrow washi tape strips across the top and sides, alternating colors like mint, peach, and baby blue. This works because the tapes create instant frame structure while the clouds keep the page airy and inviting.
Press down tape firmly with a dry ruler edge, then let any pencil shading set before tracing outlines with ink.
2. Vintage Frame with Tea-Stain Corners and Script Title
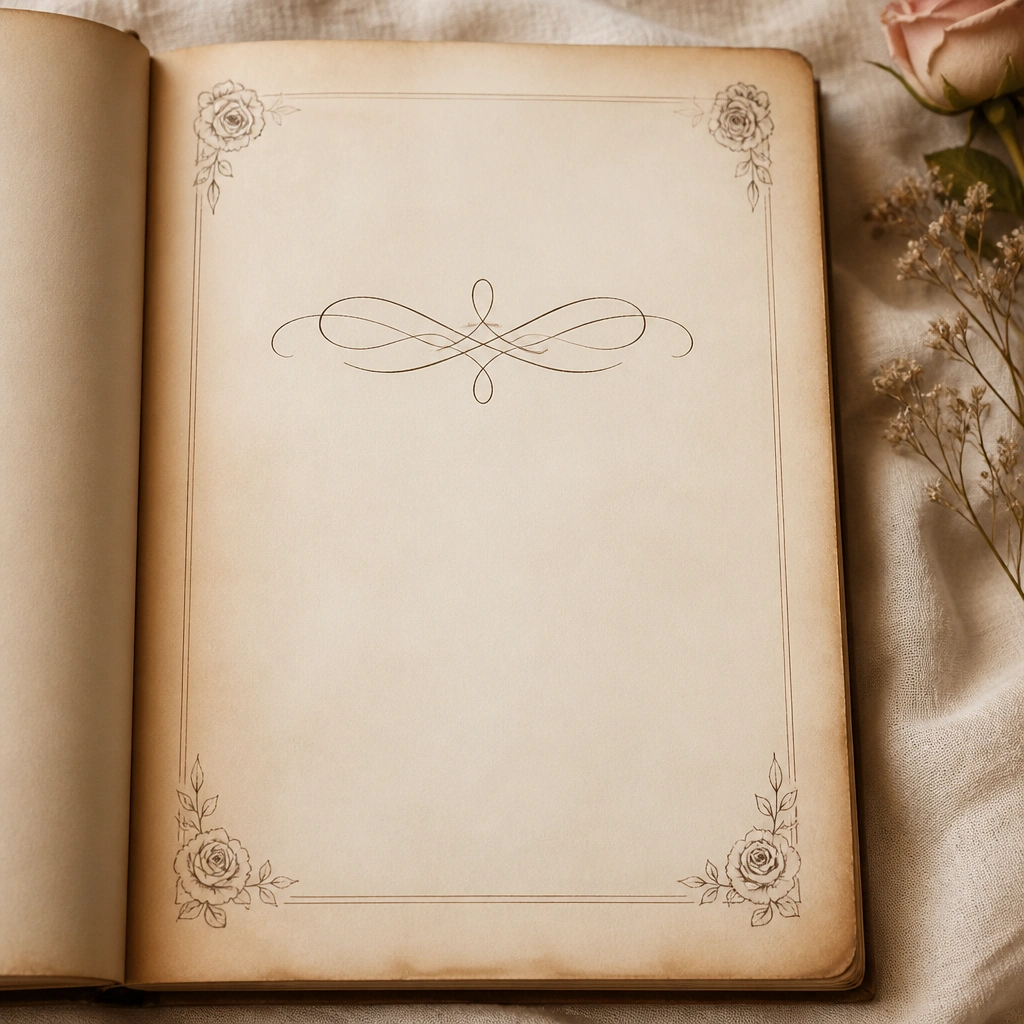
Brew black tea, then dip a cotton swab lightly to dab only the corners — stop before the paper warps. Once dry, draw a frame using sepia or dark brown pen, then add a script-style title using a brush pen. The tea effect makes the page look aged and cozy without needing special scrapbook paper.
Test tea on a scrap first — too much liquid will ripple the page and ruin straight lines.
3. Minimal Line-Art Face with One Accent Color
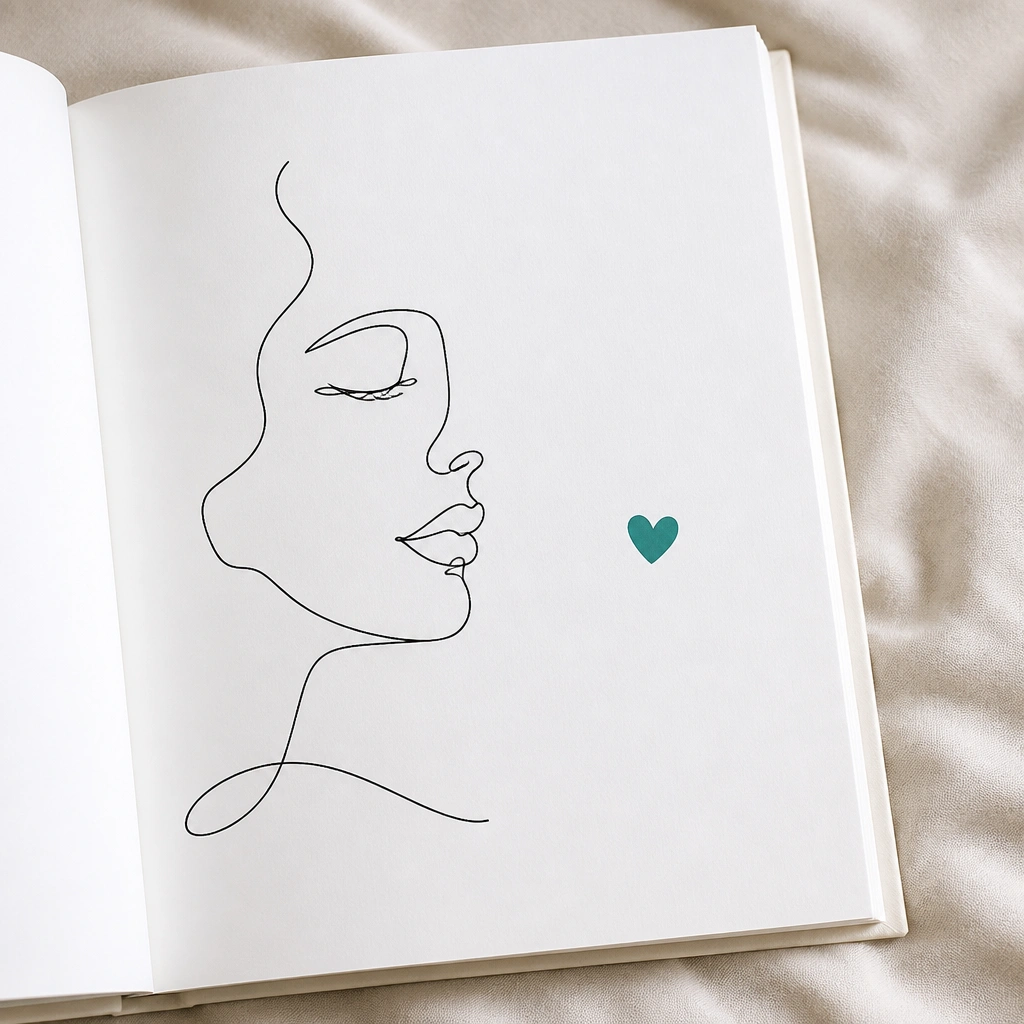
Draw a continuous-line face (no erasing) using a 0.3 or 0.5 black fineliner. Choose one accent color for a single element — like a heart, a tiny halo, or a short underline. Leave lots of whitespace so the page feels modern and calm; minimal layouts make your future writing stand out.
Use a ruler only for the title baseline — keep the face freehand for a more aesthetic look.
4. Pressed Flower Corner Bouquet (Faux, No-Kidnapped Petals)
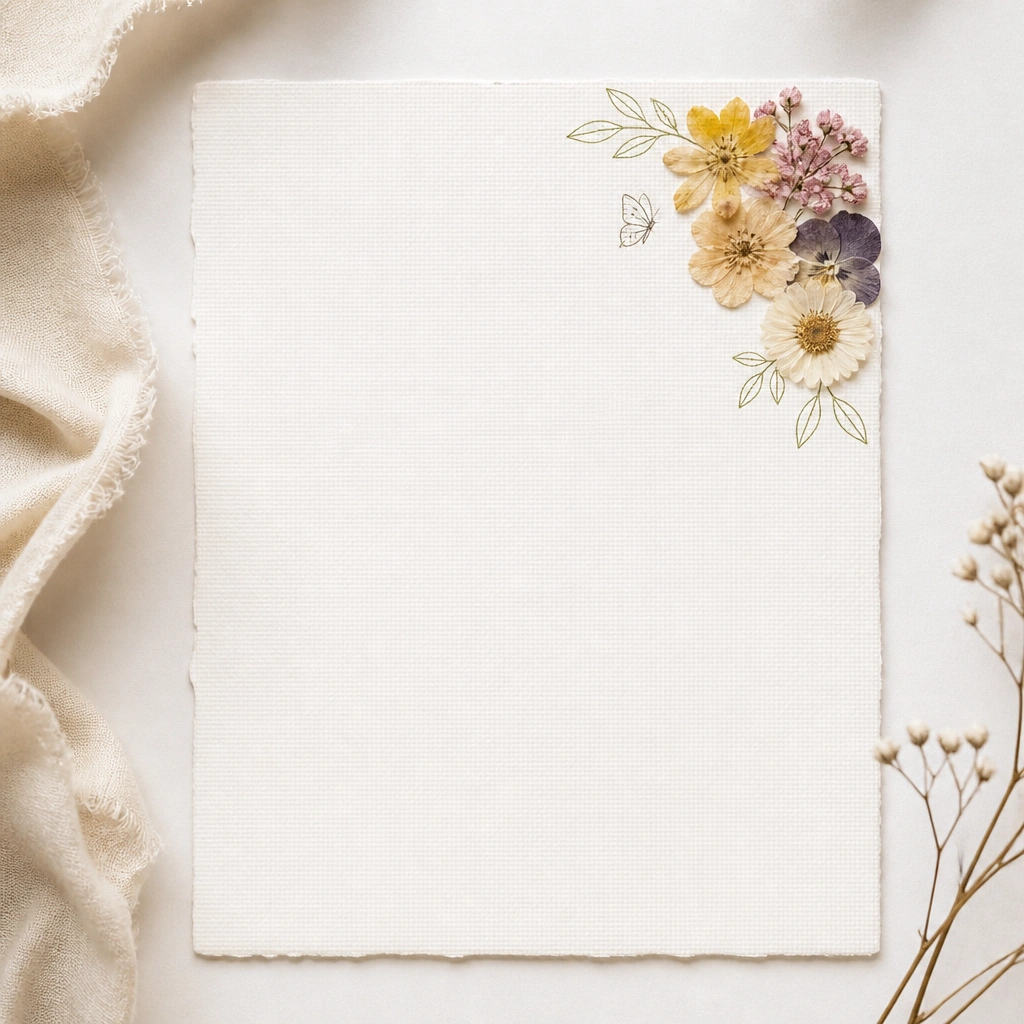
If you don’t have real pressed flowers ready, use thin floral stickers or print-and-cut botanical shapes, then layer them with matte glue for a dimensional look. Add a faint leaf vine drawn in pencil or light green gel pen, then outline key leaf veins with a white gel pen for pop. Corner placement looks intentional and doesn’t interrupt your writing.
Good to knowSeal with a thin layer of matte clear varnish or glue stick around the edges only to avoid warping.
5. Monochrome Calendar Grid + Date Stamp
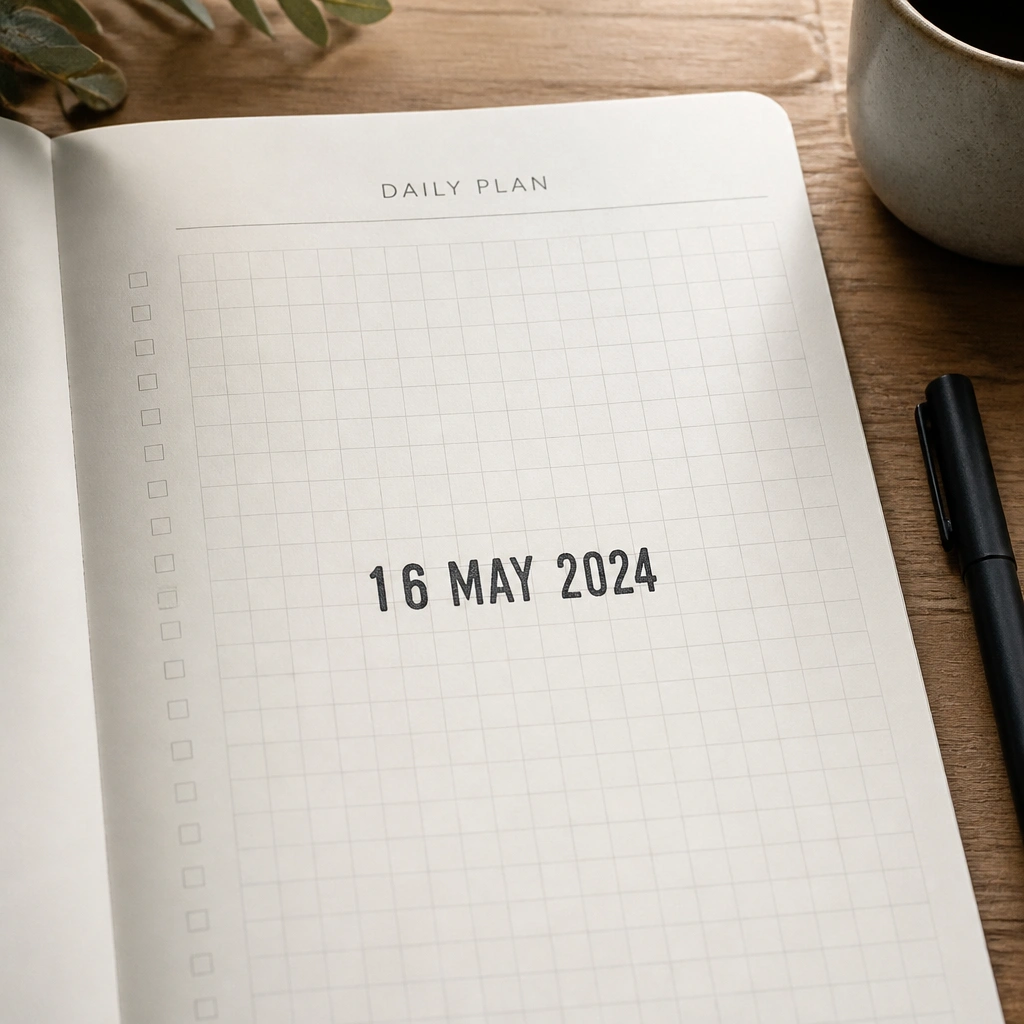
Use a light gray pencil or mechanical pencil to create a grid of 7 columns by 3-4 rows. Add a bold date stamp with black ink (or a DIY stamp using a sponge cutout) and include a few checkbox squares for goals. This layout is aesthetic because it’s structured — grids feel modern and “planner-like” instantly.
Good to knowPick one pen thickness for all lines — consistent line weight makes the grid look crisp.
6. Pastel Gel Pen Ombre Wash Background
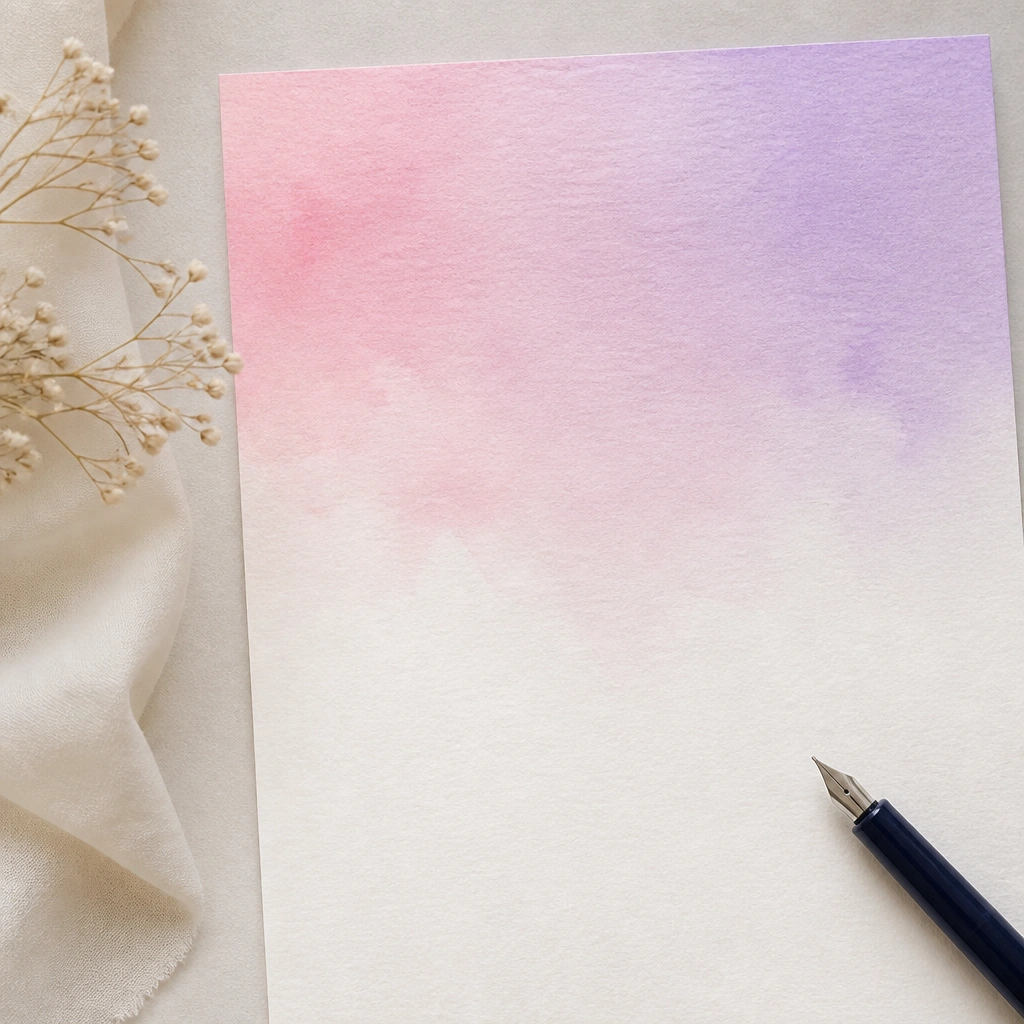
Color gently with pastel gel pens in horizontal strokes, then blend with a blending tool or a very light touch of water on a separate brush (only if your paper handles it). Keep the ombre only in the top area so your title stays readable. Ombre backgrounds look dreamy and aesthetic even with simple lettering.
Good to knowDo 2-3 light passes instead of one heavy pass — heavy layers bleed and streak.
7. Washi Tape “Window” Frame with Minimal Title Card
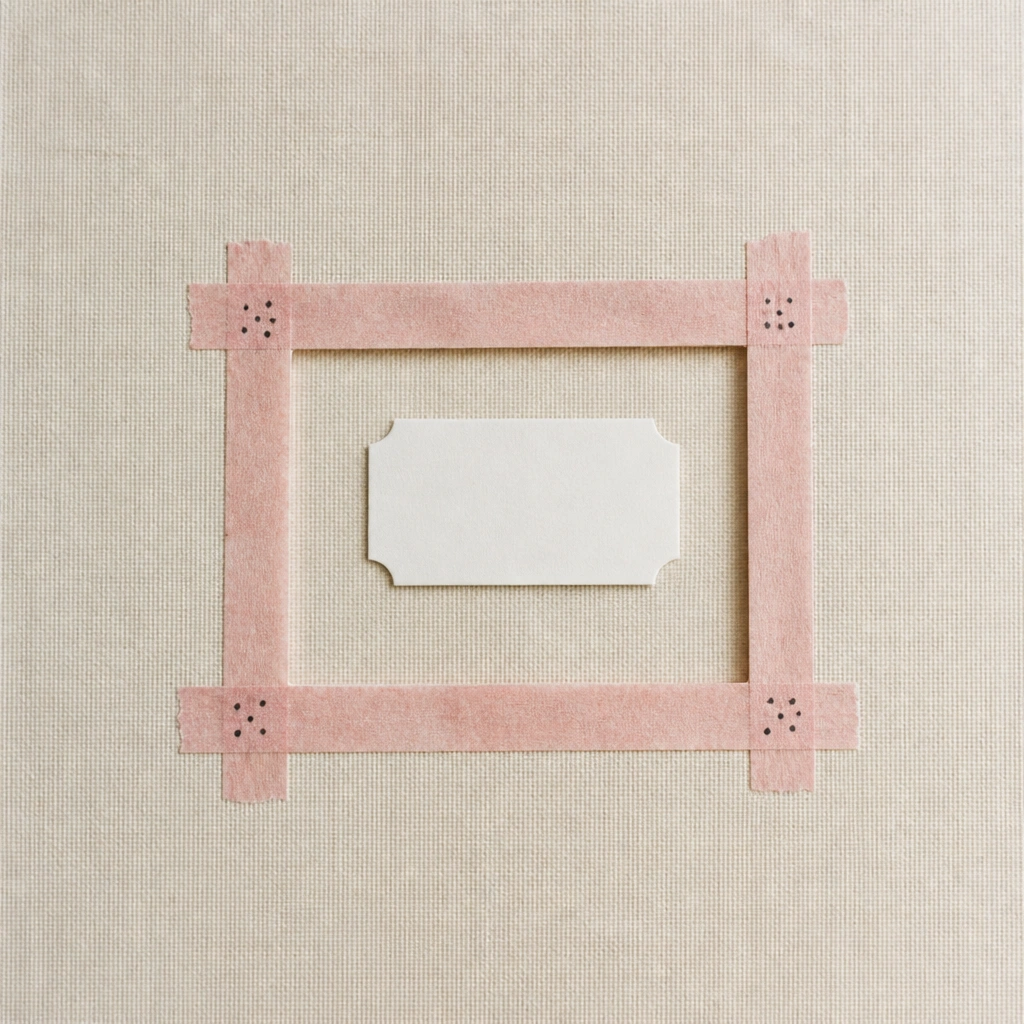
Layer tape to form a window frame, leaving the middle open for a title card. Cut a small rectangle from thick paper or sticker sheet, then write your title and optionally add a short quote in tiny text. This works because the taped frame creates a gallery-style focal point that looks tidy.
Trim the tape edges with a craft knife on a cutting mat for sharp corners.
8. Black Ink Splash + Gold Foil Dot Accents
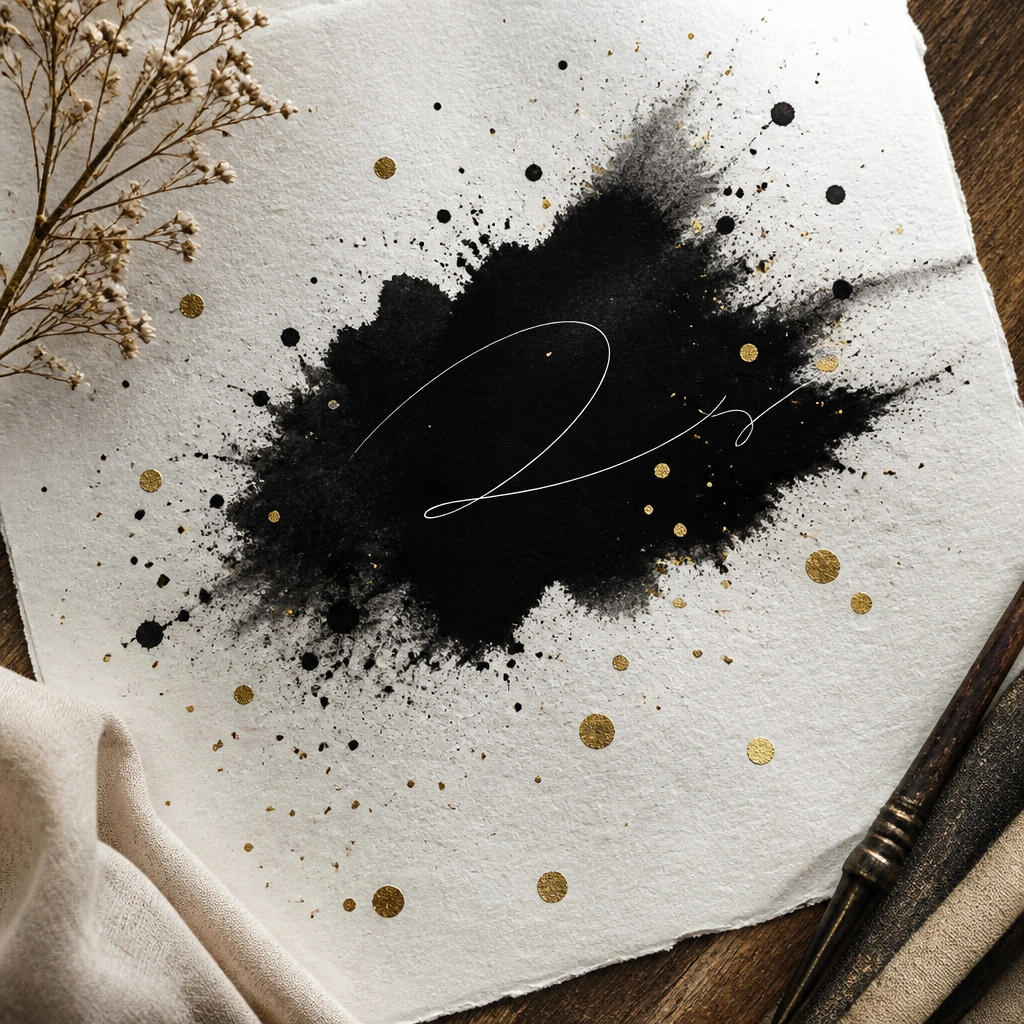
Mask off your writing area with scrap paper, then flick diluted black ink (or a watered-down fineliner) for controlled splashes. Add gold accents using gold foil stickers or a gold gel pen dot pattern around the splash edges. The contrast is instantly aesthetic — it looks artsy without covering your title.
Use a test scrap sheet to dial in ink thickness before splattering your real page.
9. Handmade Paper Strip Collage with “Today’s Mood” Block
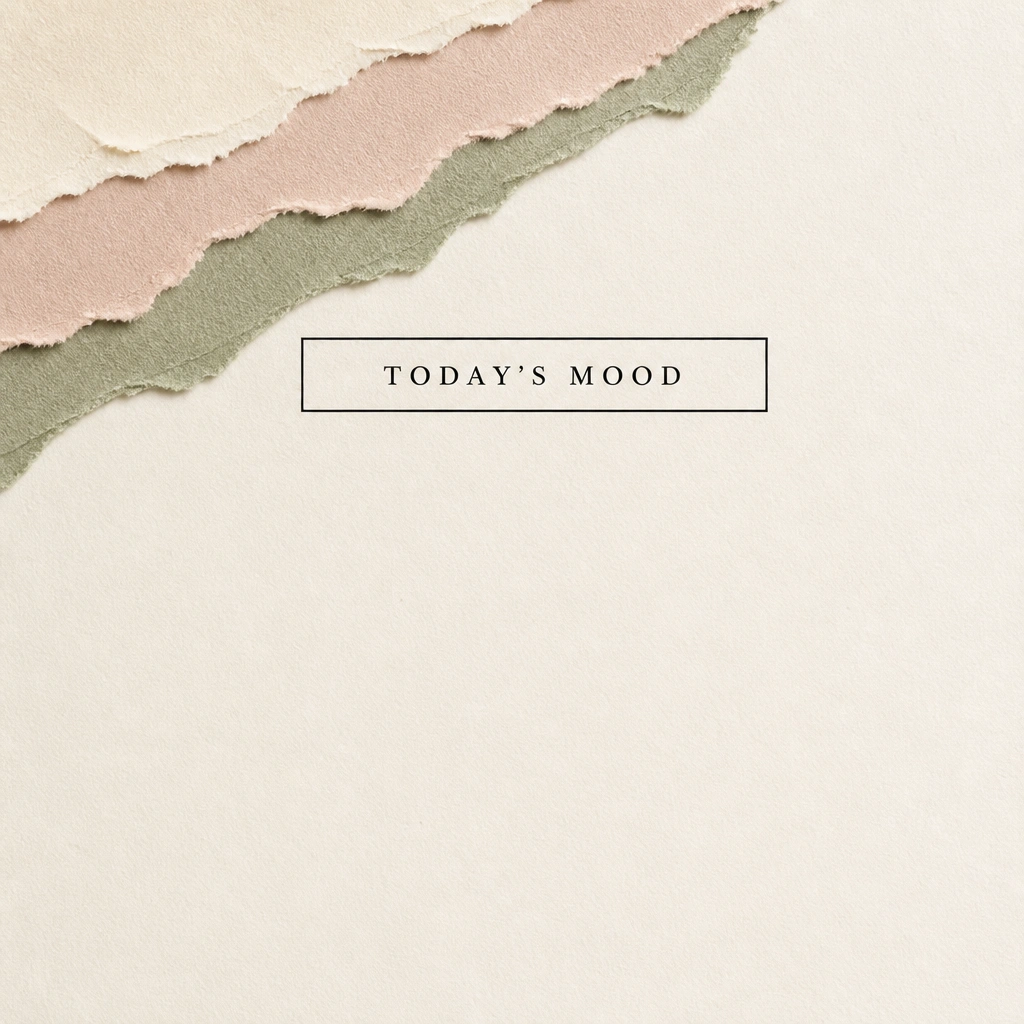
Tear thin strips from patterned paper (or cardstock) and layer them with a glue stick in a staggered pattern for texture. Outline a “TODAY’S MOOD” box using a marker, then fill the box later with a color swatch or small emoji. Collage strips add depth and make your first page feel like a creative dashboard.
Good to knowTear edges for organic texture, but keep the box lines straight with a ruler.
10. Tiny Polaroid-Style Photo Frame Outline (No Photo Needed)
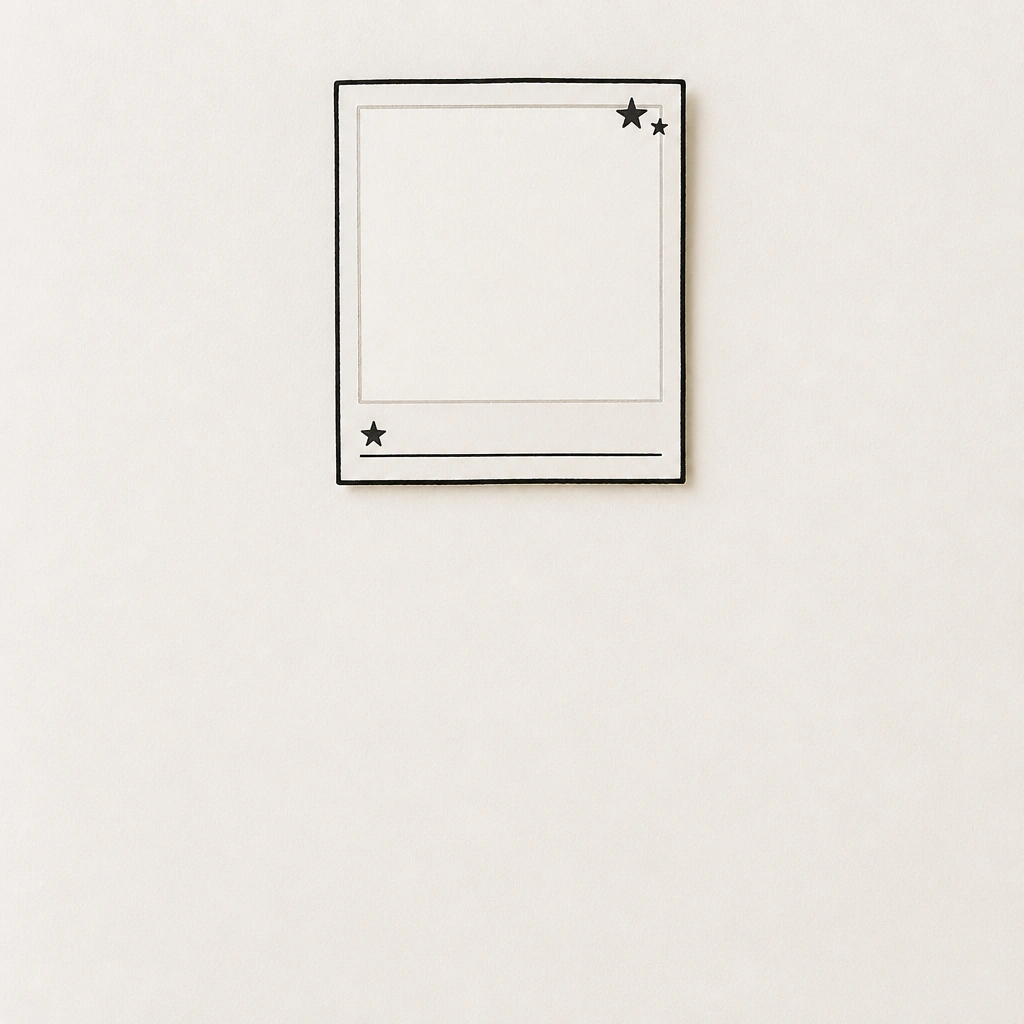
Draw a polaroid rectangle with a thicker outer border and a thinner inner border, then add a caption line like “first memory” or the month. Even without a real photo, leaving the inside blank gives you a perfect spot to tape in something later. This layout feels nostalgic and aesthetic with minimal work.
Good to knowUse a slightly off-white gel pen or pencil shading inside the polaroid to make it look “photographic.”