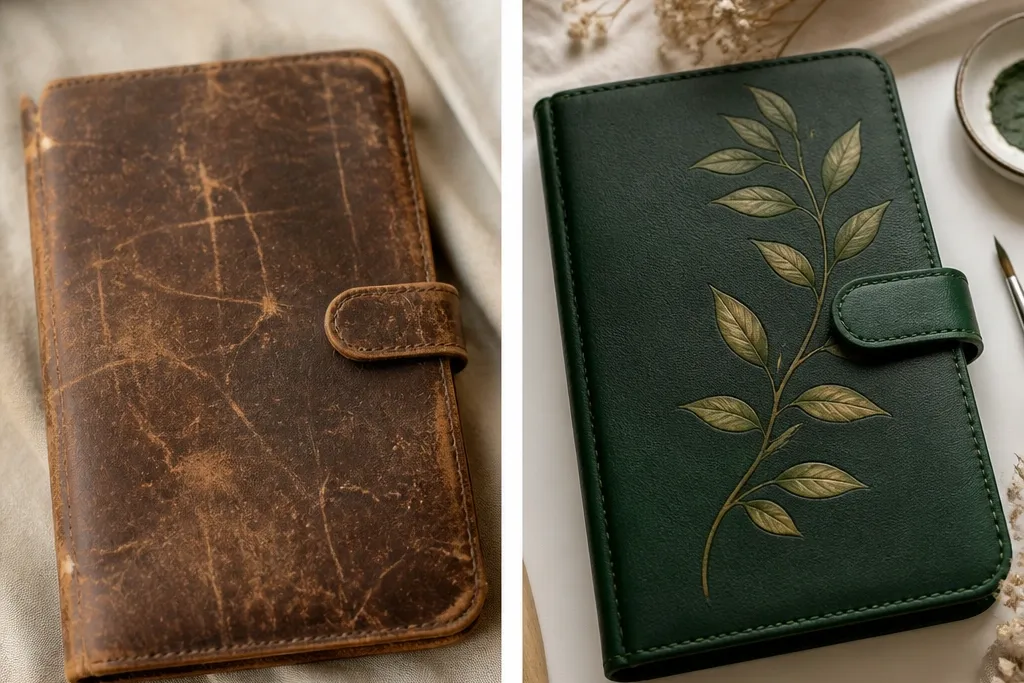
1. Watercolor Wash + Gold Quote Strip (Soft Reset)
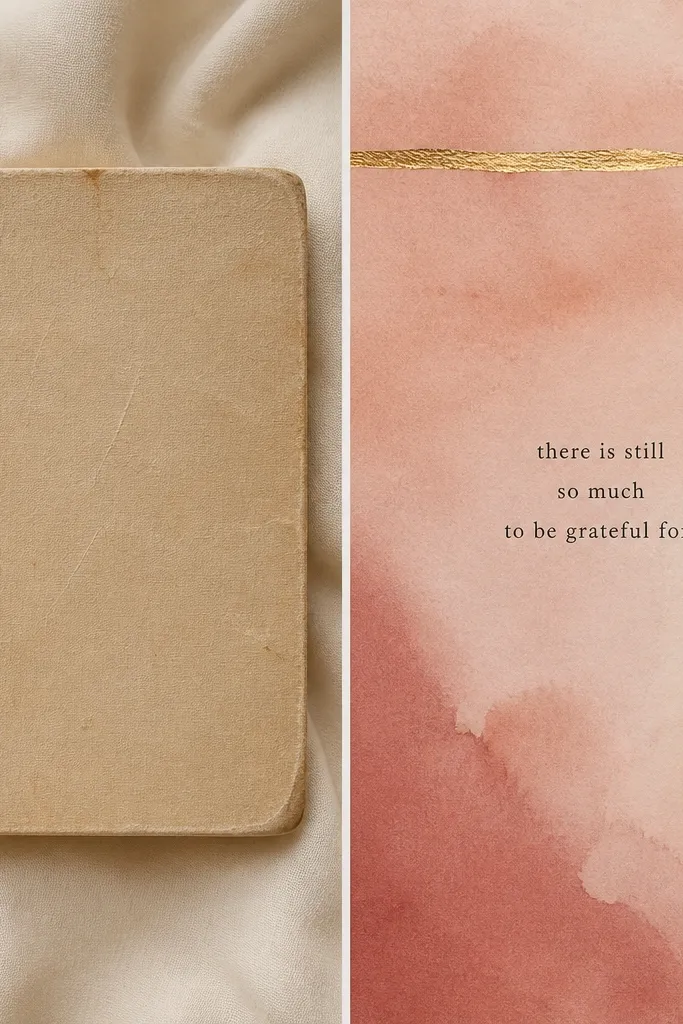
You start by sanding away the worst scuffs so paint grips evenly. Use watercolor paper for the front panel, then glue it to the existing cover with a thin layer of matte gel medium for a flexible bond. The gold quote strip works because it’s narrow and placed where your eye naturally rests, so it looks intentional instead of crowded.
Good to knowSeal the finished cover with 2 light coats of water-based matte sealer, letting each coat dry fully — it keeps the watercolor from smudging.
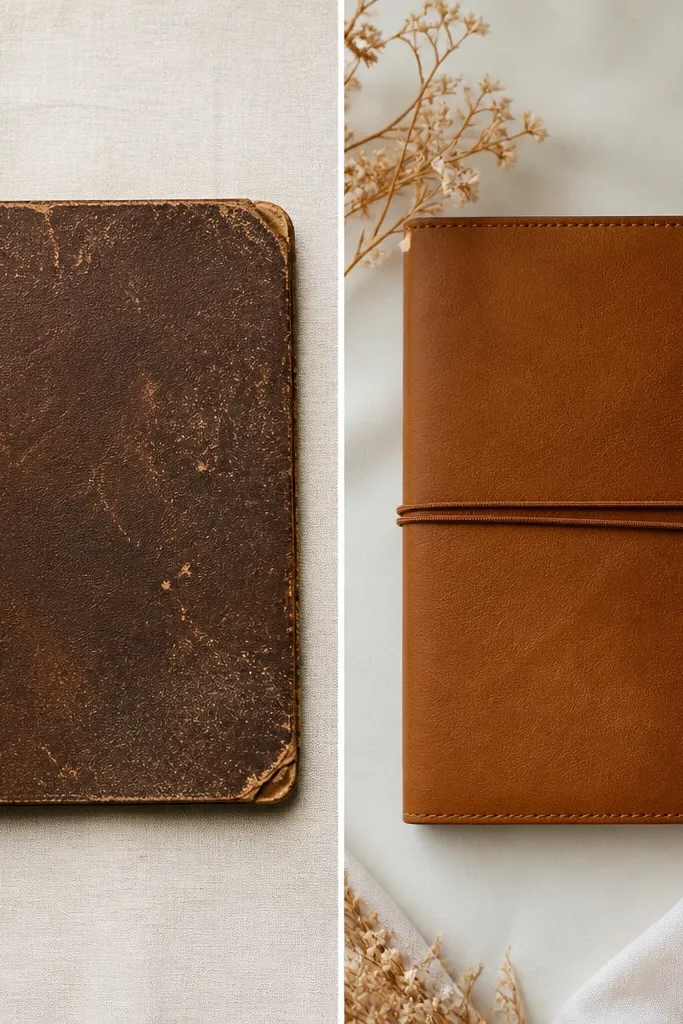
2. Fabric Wrap Cover With Faux-Leather Corners
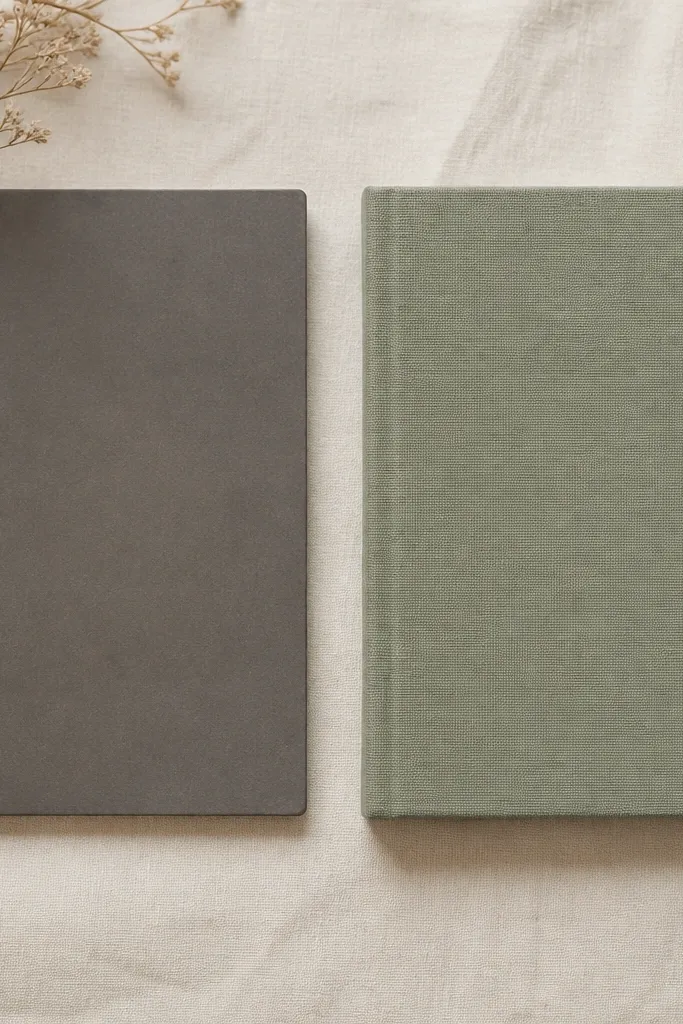
This makeover uses a fabric outer layer because it hides minor cover imperfections and instantly makes the diary feel “heirloom.” For the corner caps, cut small shapes from faux leather or vegan leather and anchor them with contact cement or strong craft glue. The corners look crisp because you cut the fabric with extra allowance and fold it tight before gluing.
Good to knowUse a bone folder or the back of a spoon to press folds before glue sets — you’ll get sharp edges without bulky creases.
3. Pressed Flower Collage + Clear Gloss Topcoat
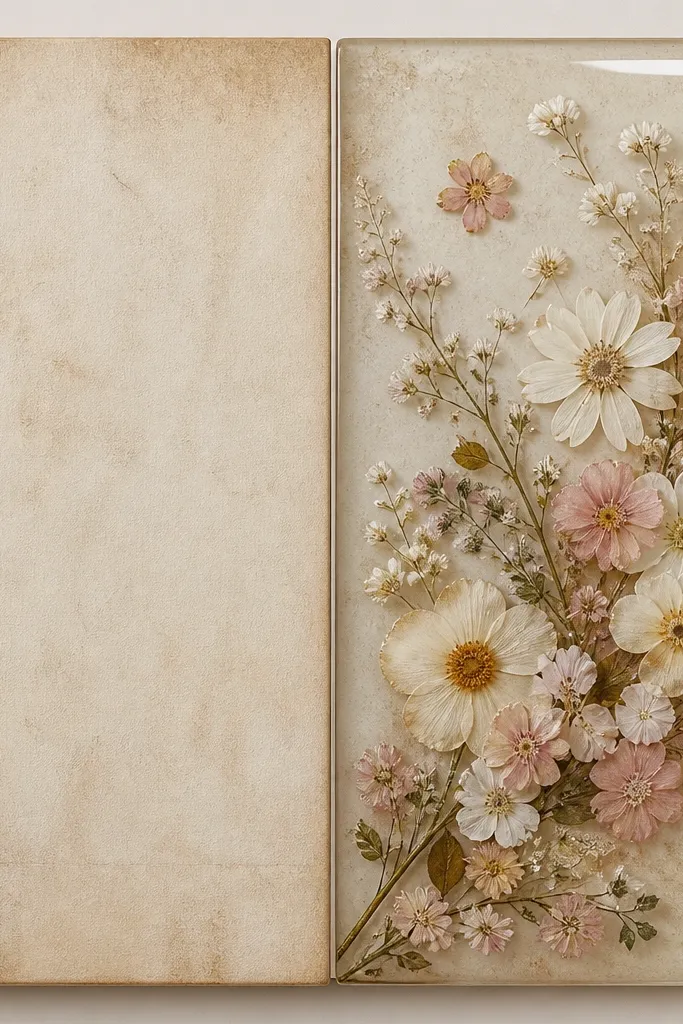
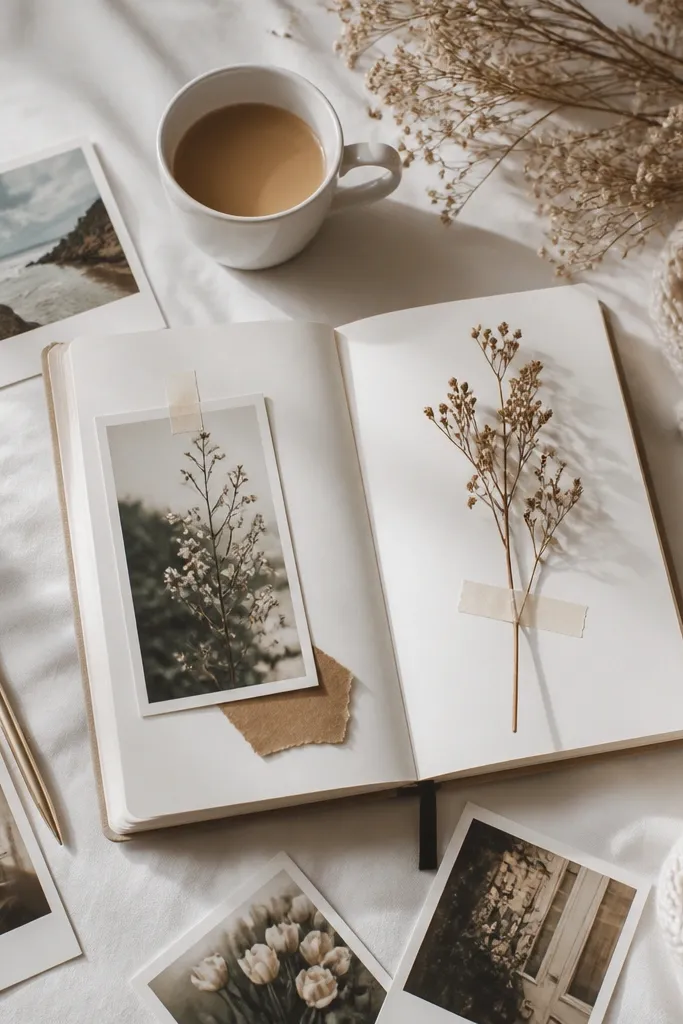
Pressed flowers are fragile, so the key is sealing them properly before adding a top layer. Arrange flowers on a light cream paper backing, then apply a thin coat of decoupage medium over and around them so petals don’t lift. Finish with a clear gloss resin alternative (or glossy decoupage) for depth — the flowers look embedded instead of pasted on.
Good to knowPress flowers for at least 5-7 days under heavy books, and test the decoupage on a scrap first to avoid wrinkling.
4. Monogram Vinyl + Minimal Line Art Border
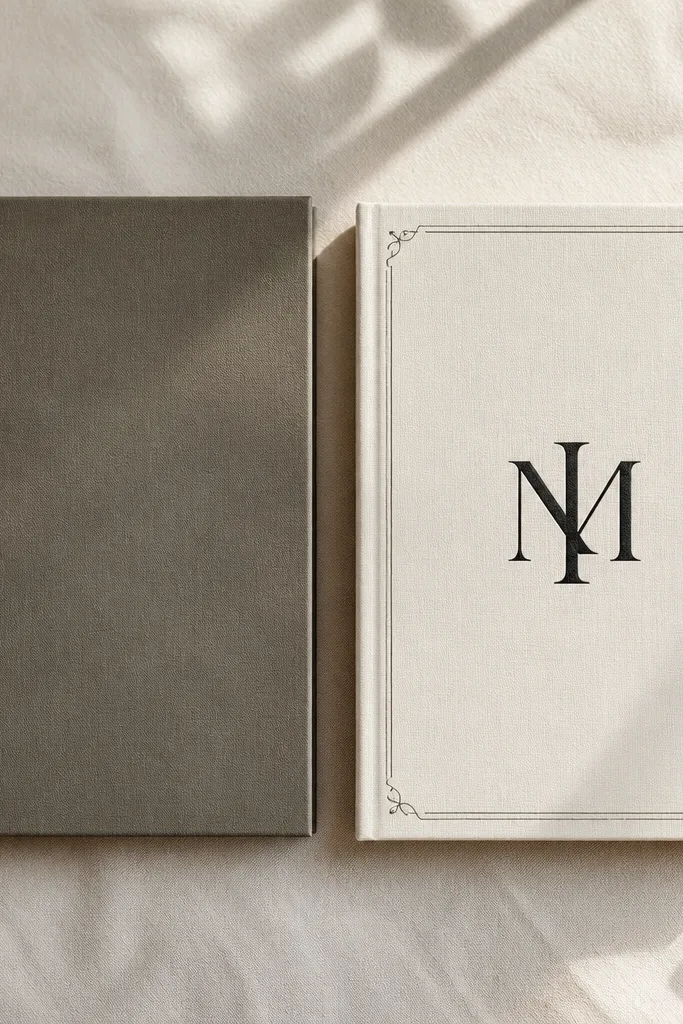
Vinyl is perfect for a clean “after” because it stays flat and won’t soak into the cover like paint might. Apply vinyl to a smooth base (coat the cover with a thin primer or gesso if it’s textured), then add line art with a fine-tip acrylic paint pen. The border works because it frames the center without adding visual clutter.
Good to knowWarm the vinyl with a hair dryer for 10-15 seconds before pressing — it reduces edge lifting.
5. Vintage Map Panel + Distress Ink Edges
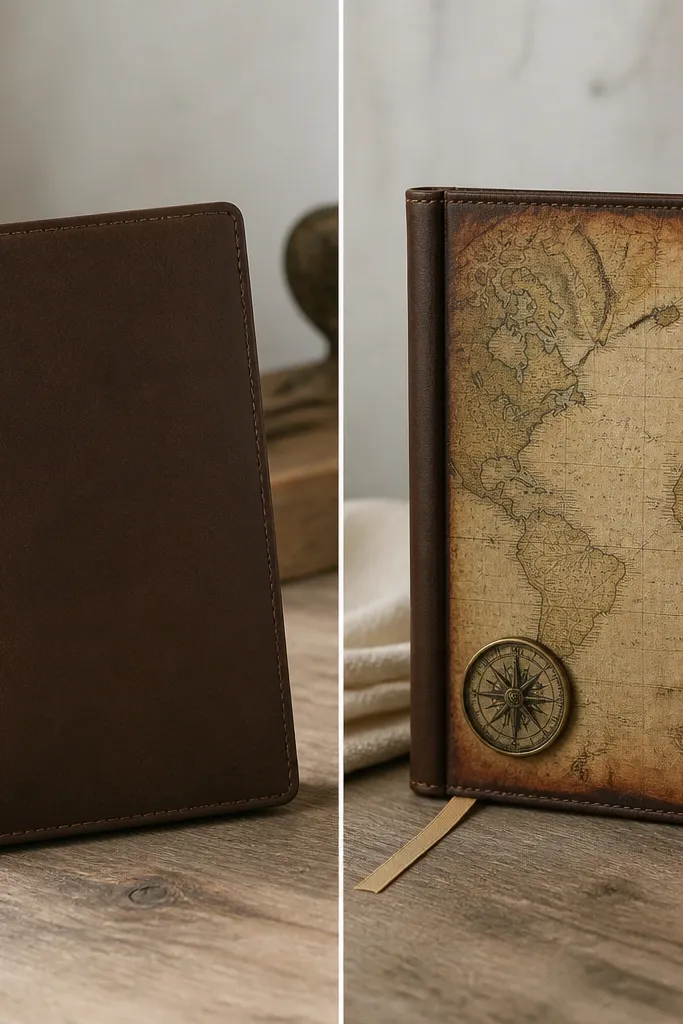
A map panel instantly gives travel vibes and makes your diary feel like a keepsake. Cut the panel slightly smaller than the cover, then distress the edges with brown distress ink or watered-down acrylic so it blends into the base. Add a small compass sticker and a ribbon bookmark for layered texture — the ribbon also makes the cover feel “functional,” not just decorative.
Good to knowSeal the map panel with matte medium so ink doesn’t rub off when you handle the diary.
6. Marbled Paper Front + Layered Sticker Frame
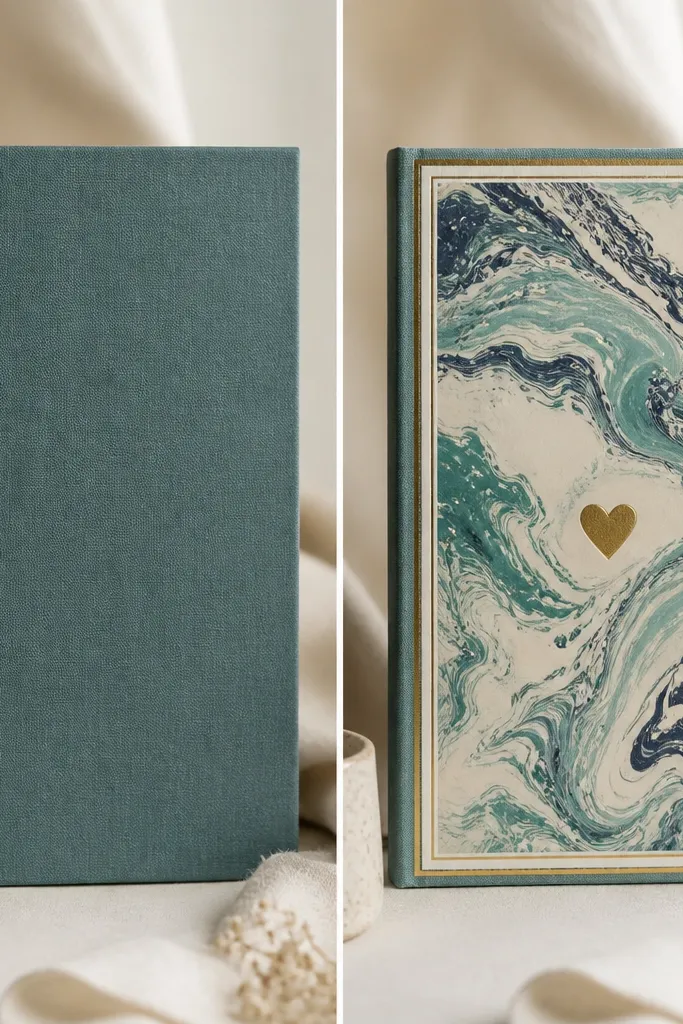
Marbled paper gives you the wow factor without complicated painting. You can create it with store-bought marbling paper or DIY marbling kits, then glue it to the cover using an all-purpose craft glue or gel medium. Layered sticker frames work because the depth makes the design look like it’s mounted, not just printed.
Press the marbled panel under a heavy book for 20 minutes after gluing so the edges stay flat.
7. Acrylic Pour Background + Clear Packing-Tape Shimmer (Budget Gloss)
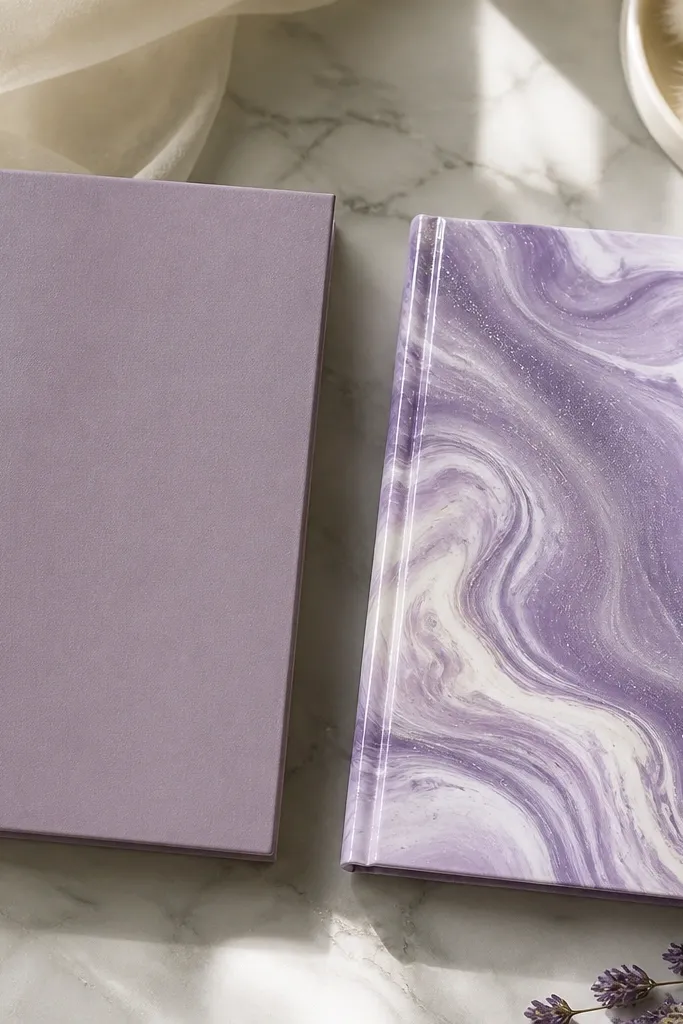
Acrylic pour backgrounds look expensive because of the movement in the color. Use a thick cardstock or thin board panel for the front so the pour doesn’t warp, then let it cure fully before sealing. For a budget shimmer top, apply clear packing tape in overlapping strips and trim the edges — it creates a glossy, glassy surface that protects the art.
Good to knowLet the pour cure 24-48 hours before sealing, and trim tape edges with a sharp craft knife for a clean perimeter.