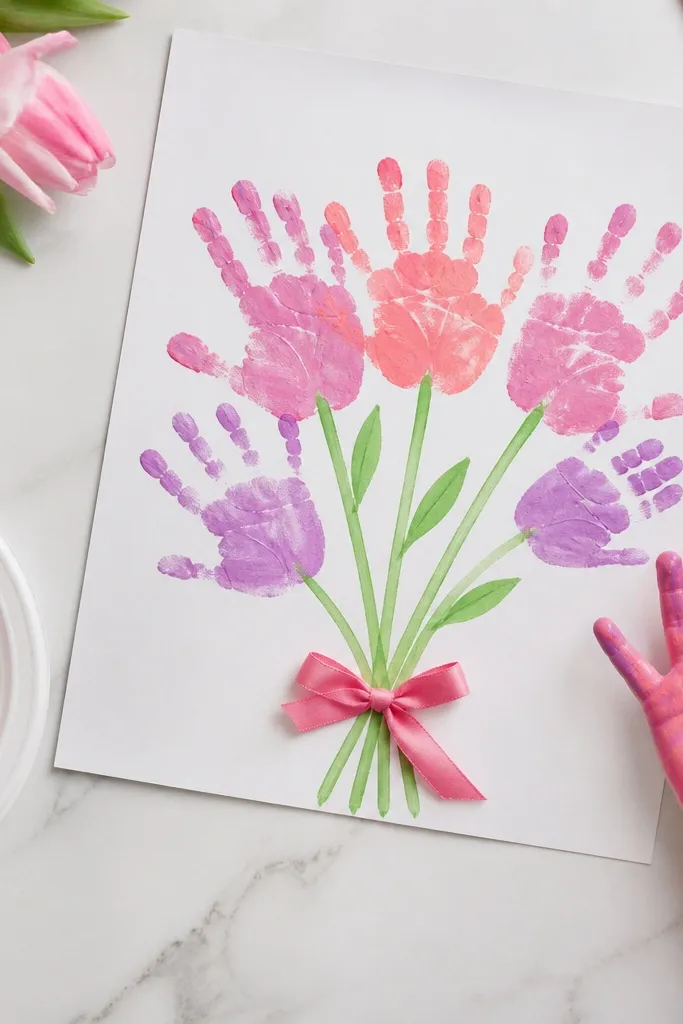
1. Thumbprint Flower Bouquet Card
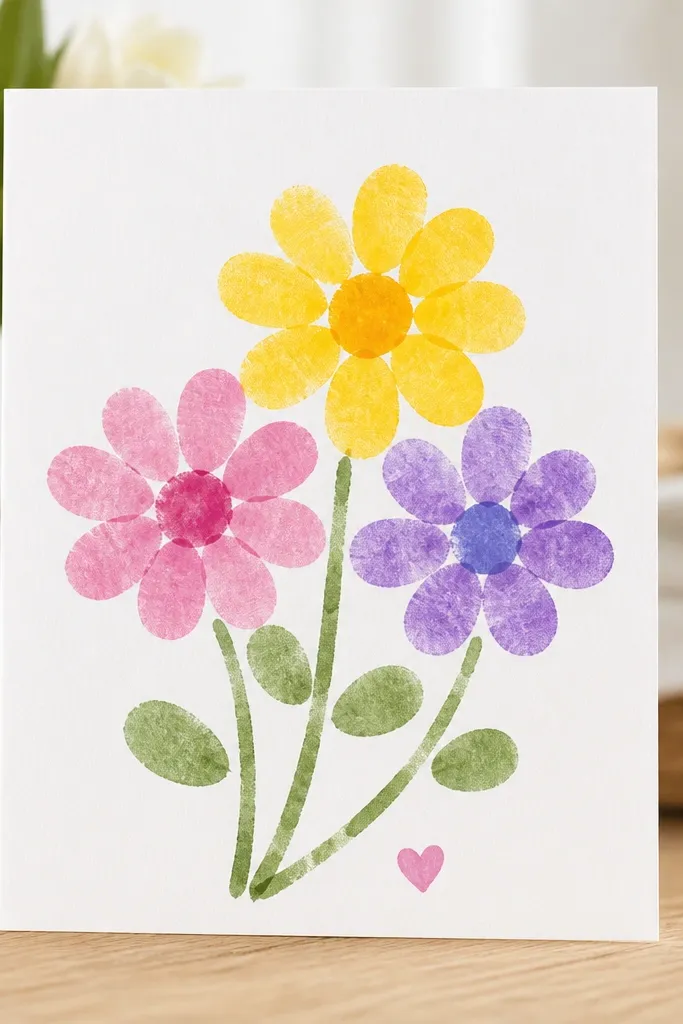
Kids dip thumbs in washable paint and stamp them into a simple flower layout: 1-2 rows of petals per bloom with a dot center. The stems can be drawn with a green marker to keep the design clean. Use bold colors (pink, coral, yellow) for a cheerful, photo-ready look.
Good to knowSpread paint on a plate and do one color at a time so thumbprints stay crisp and not muddy.
2. Heart-Window Photo Frame with Paper Pops
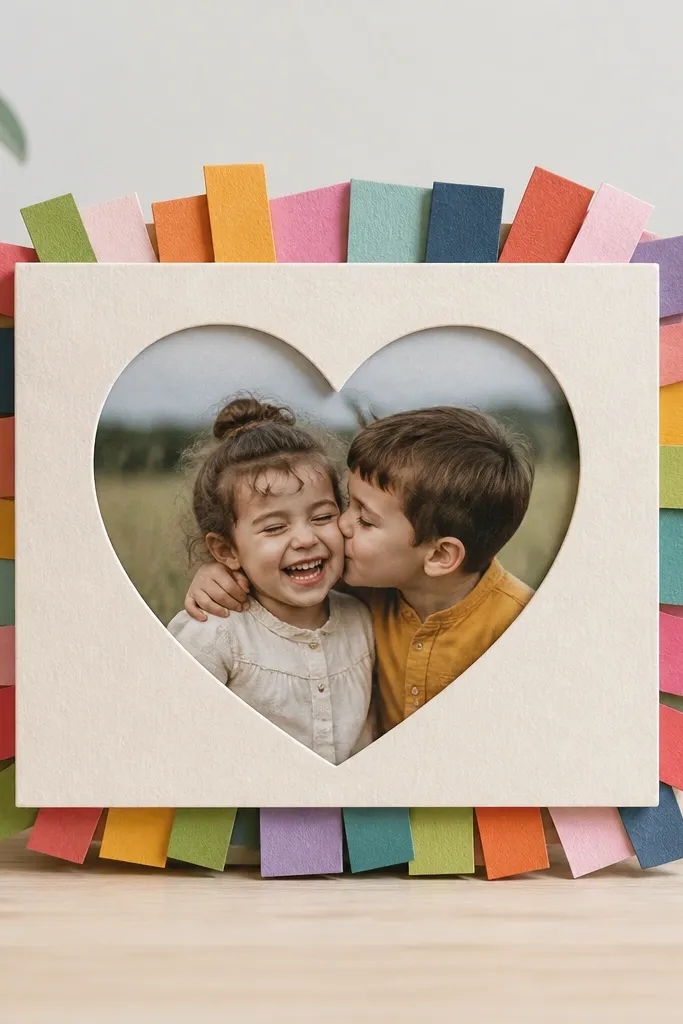
Cut a heart window in a front layer of cardstock and glue it over a second layer that has thin slits around the edges. Fold small paper strips into “tabs” and tuck them behind the window so they show as a bright border when the photo sits inside. This looks 3D without needing foam board.
Good to knowUse a clear sheet protector or plastic sleeve behind the photo to keep it from getting glue smudges.
3. Yarn-Wrapped “Love You” Keychain (No-Knot Style)
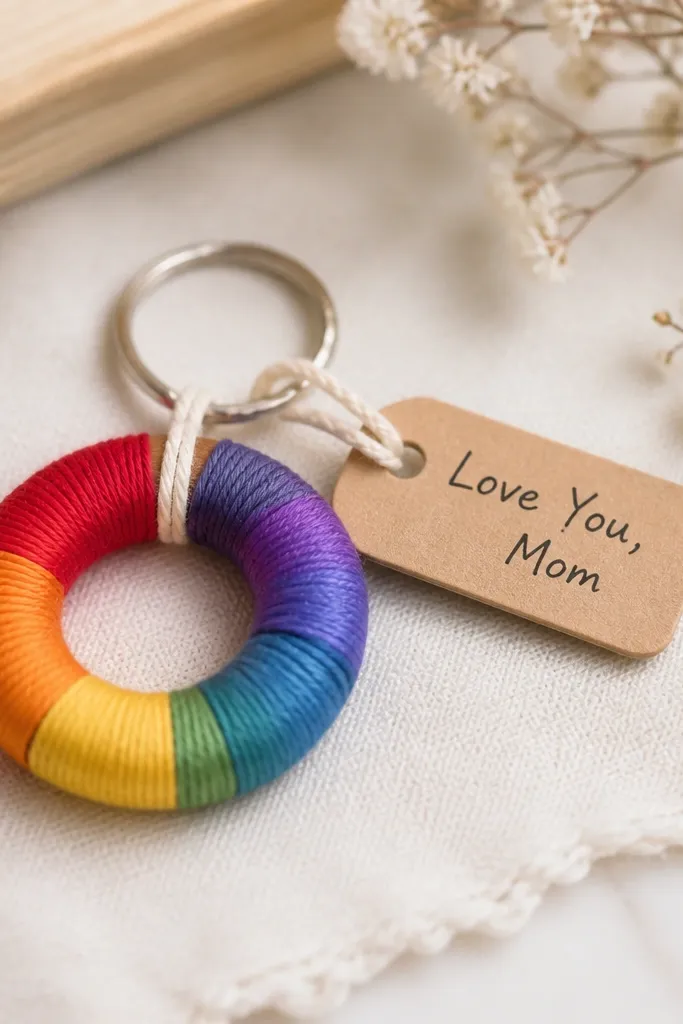
Kids wrap yarn around a craft ring in alternating colors for a striped effect. Instead of knotting, secure the ends with a dab of craft glue under the wrap and press until set. Add a cardstock tag for a message she can keep.
Good to knowLet glue cure flat for 20 minutes before handing it to Mom so the yarn doesn’t loosen.
4. Paper Plate Butterfly Mom & Me Keepsake
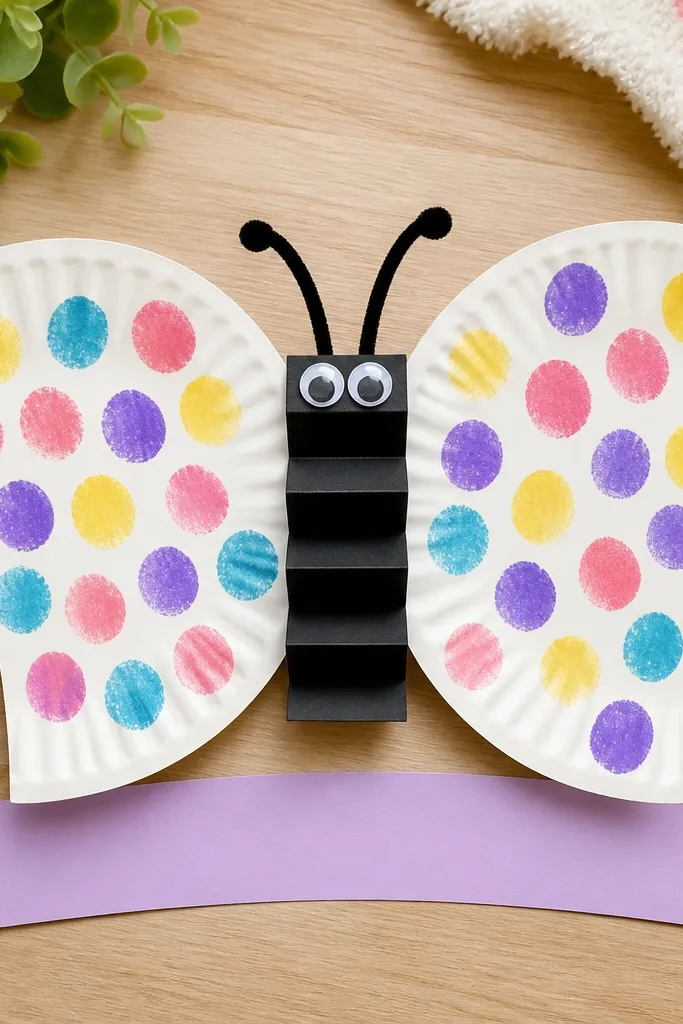
Use a paper plate as the base for wings, then decorate one side with fingerprints or sponge dots for texture. Fold a small black body strip and glue it between the wings, then add antennae with pipe cleaners for an easy “wow.” It’s sturdy enough for a desk display.
Use a sponge dabber for dots — it keeps fingerprints from turning into smears.
5. Crayon-Color Sunburst Keepsake Card
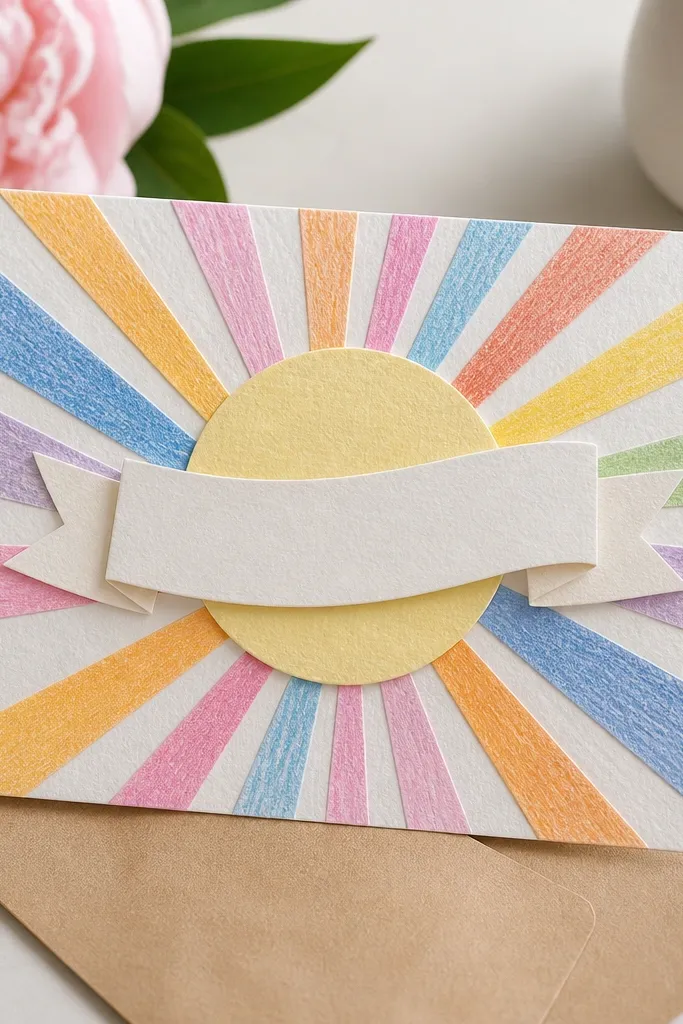
Cut thin rays from colored paper or cardstock and glue them in a fan pattern radiating from a center circle. Kids can personalize by choosing their mom’s favorite color palette. The sunburst look hides imperfect cutting and still looks polished.
Draw a light pencil circle guide first so rays stay evenly spaced.
6. Pressed Flower Bookmark with Washi Frame
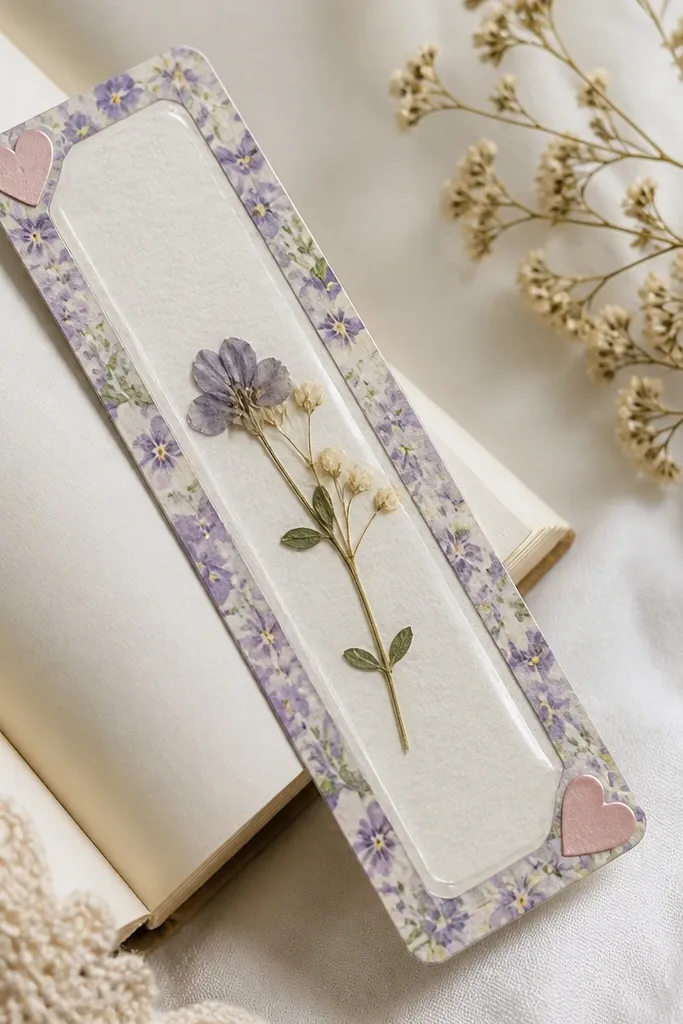
Kids can place tiny pressed flowers (or store-bought dried botanicals) under clear packing tape for a glossy seal. Add washi tape around the edges like a frame so the bookmark looks intentional and gift-ready. It’s a practical gift Mom will use.
Good to knowPress flowers for at least 1 week in a book for best flatness before sealing.
7. Sticker Collage “Grateful For You” Mini Canvas
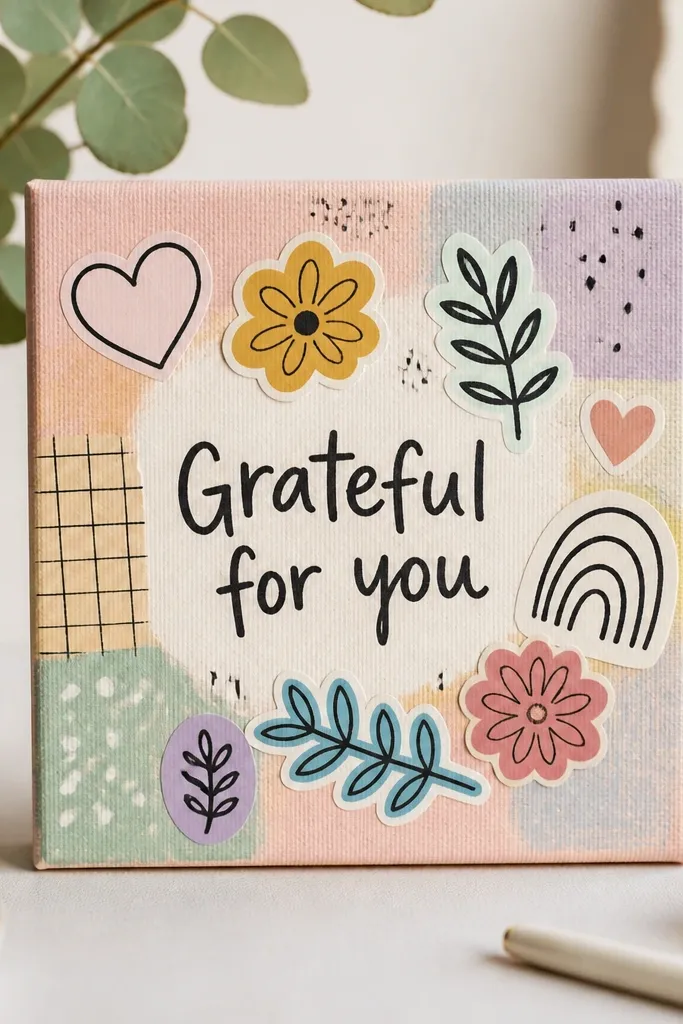
Start with a light acrylic wash (or thick craft paint) so stickers pop. Kids add stickers and draw small icons around them — like hearts, stars, and a simple sun — then write a short message in the center. The canvas format makes it look more like art than paper craft.
Good to knowUse a thin layer of matte Mod Podge on top only after everything is placed to seal without warping.
8. Handprint Garden Pot with Seed Envelope
Paint a child’s hand in green and stamp it onto a pot template so the fingers become leaves. Add a simple stem and soil line, then glue a small envelope labeled “Seeds Inside” to the pot. It’s interactive — Mom can plant and remember the day.
Good to knowChoose quick-germination seeds like sunflower or radish for a fun payoff.
9. Pop-Up “Mom, You’re My Sunshine” Card
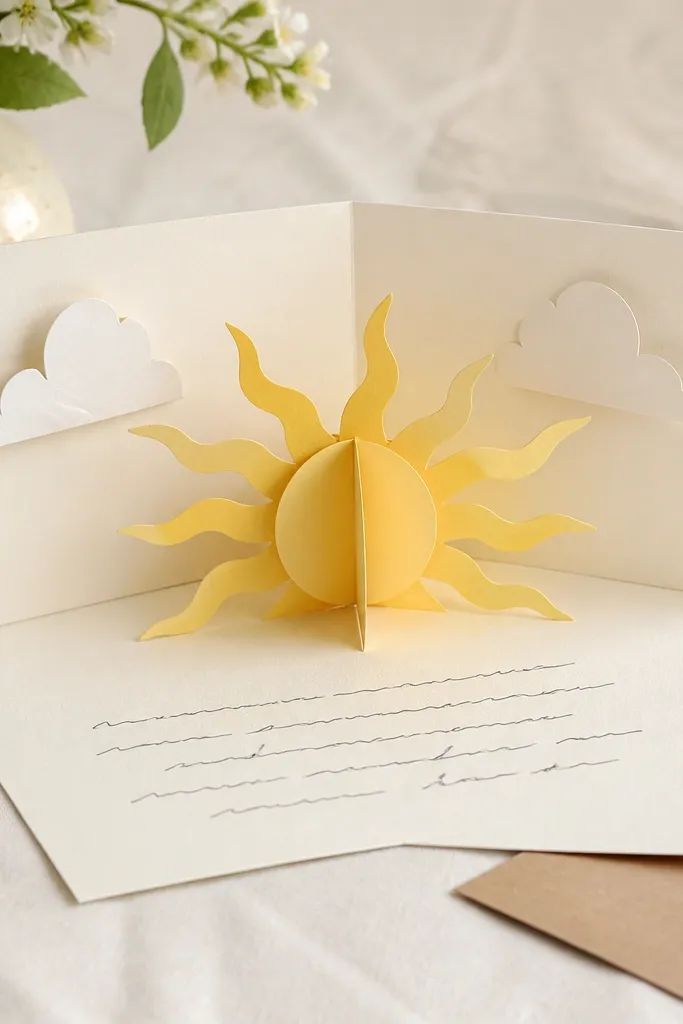
Use a folded card base with a pre-cut slot so the sun can pop up when opened. Kids color a sun with markers, then glue it to a small accordion fold for a bouncy 3D effect. Add clouds on the inside for extra charm without clutter.
Good to knowTest the pop-up once before gluing the sun fully so it closes flat.
10. Confetti Heart Vase with Tissue Paper Texture
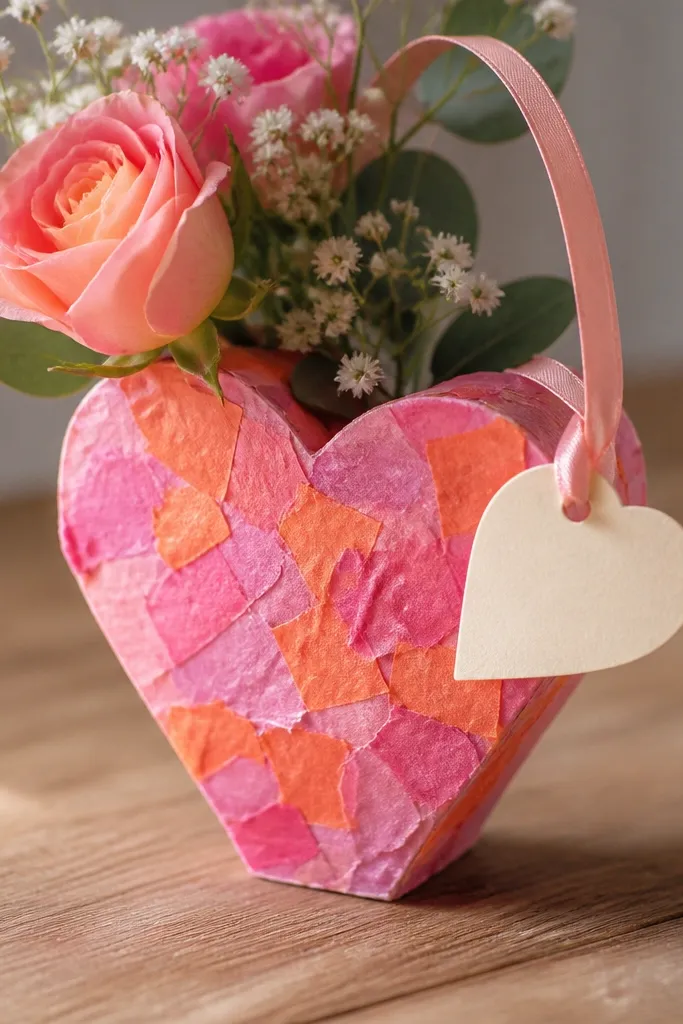
Tear tissue paper into small squares and glue them in a mosaic pattern onto a heart-shaped vase template. The texture hides uneven glue lines and looks super festive in photos. Finish with a ribbon “handle” and a tag for the message.
Good to knowUse a sponge brush to dab glue — it prevents tissue from soaking through and wrinkling.