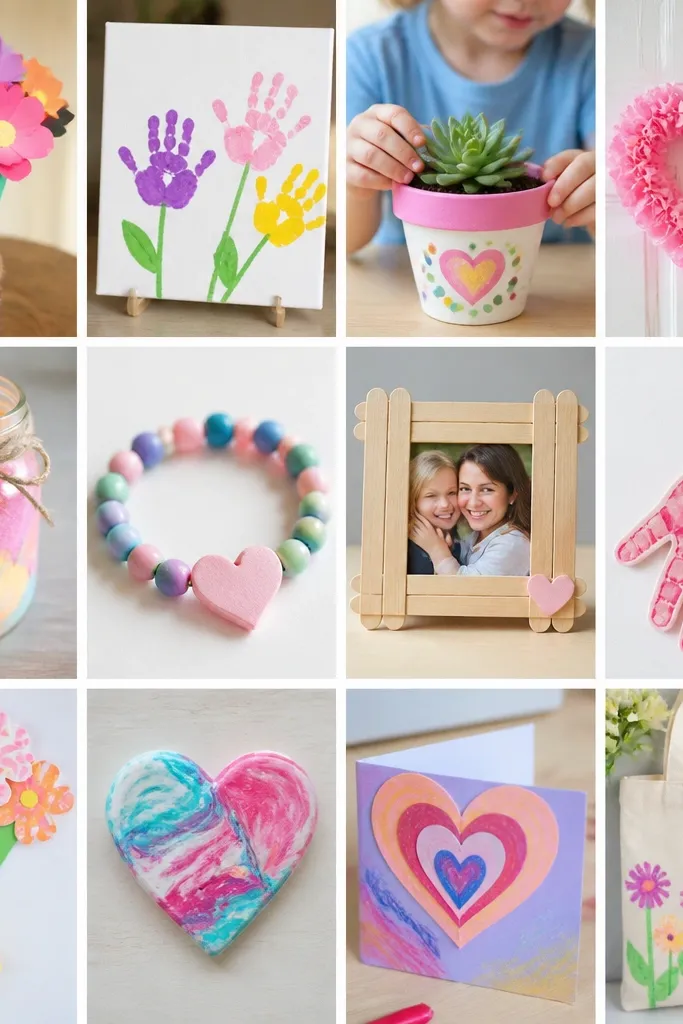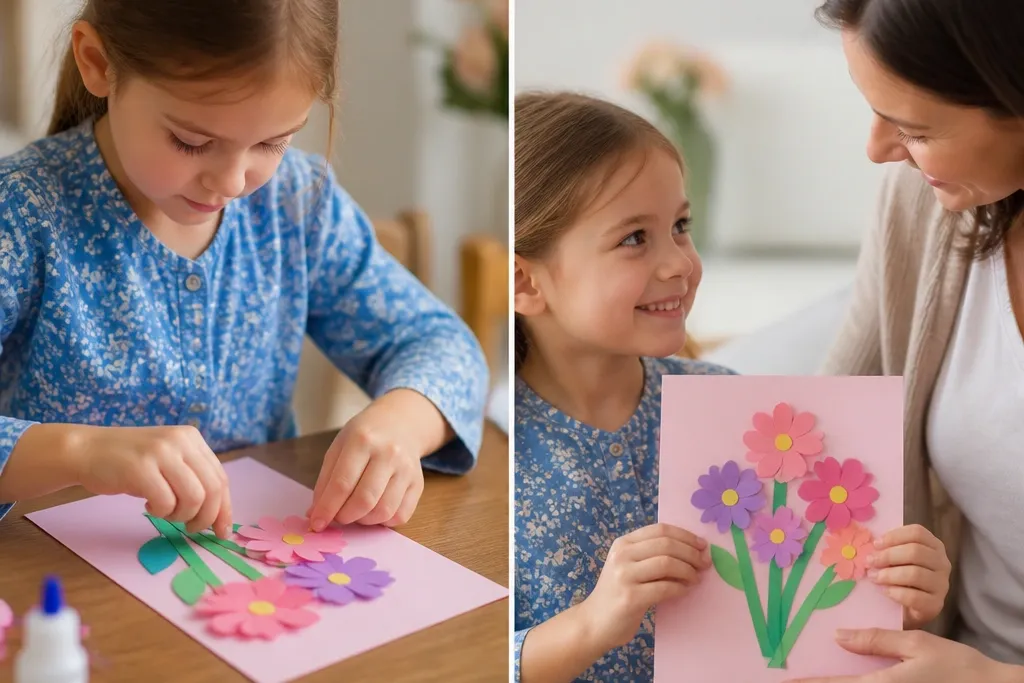
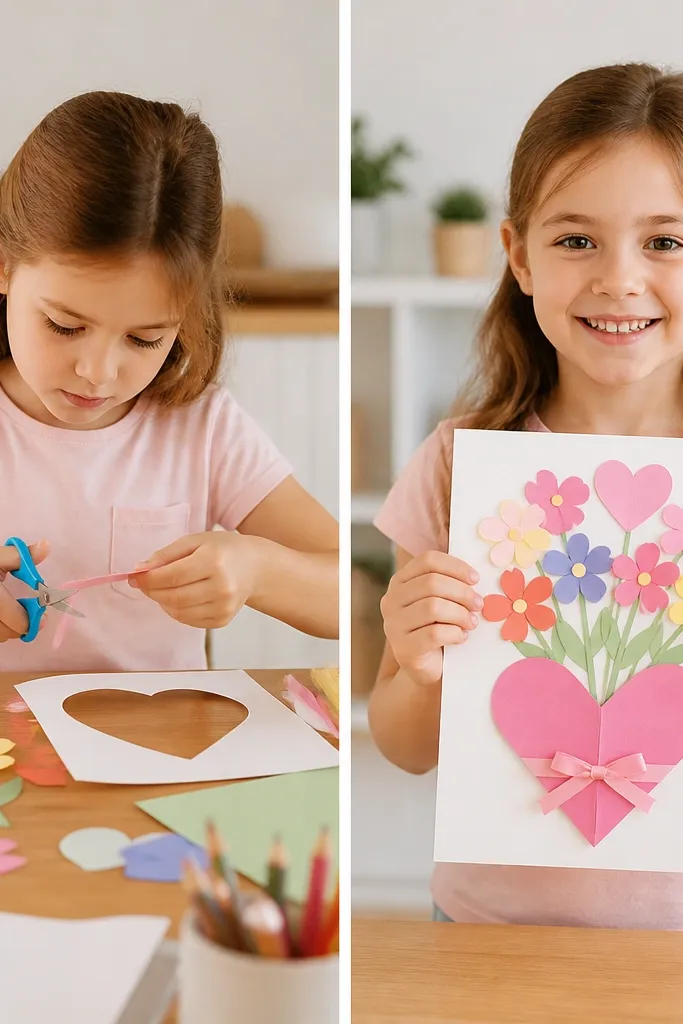
1. Crayon Heart to Photo-Ready Watercolor Heart Card
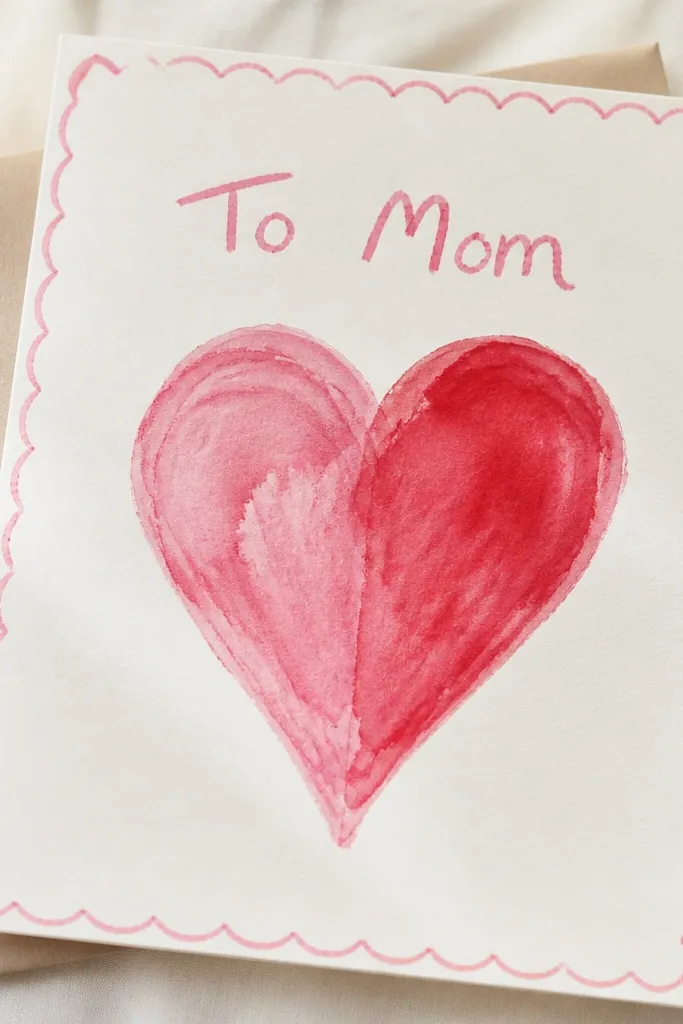
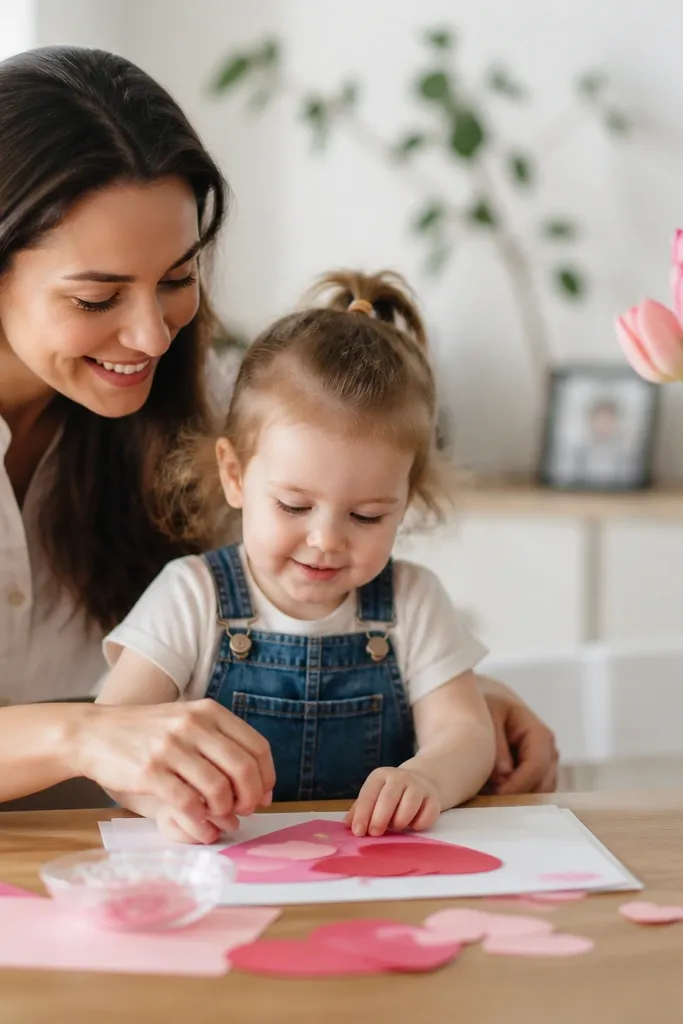
Before: a crayon heart on plain paper looks waxy and uneven once Mom holds it at a distance. After: kids color over a lightly sketched heart with crayon, then paint watercolor in thin layers so the crayon resists and creates crisp edges. Add a cardstock mat (thicker than printer paper) so the final looks framed, not flimsy.
Good to knowUse 110 lb (or thicker) cardstock for the base, and let the watercolor dry fully before adding any marker names to prevent bleeding.
2. Handprint Bouquet to “3D Pop” Paper Flower Bouquet
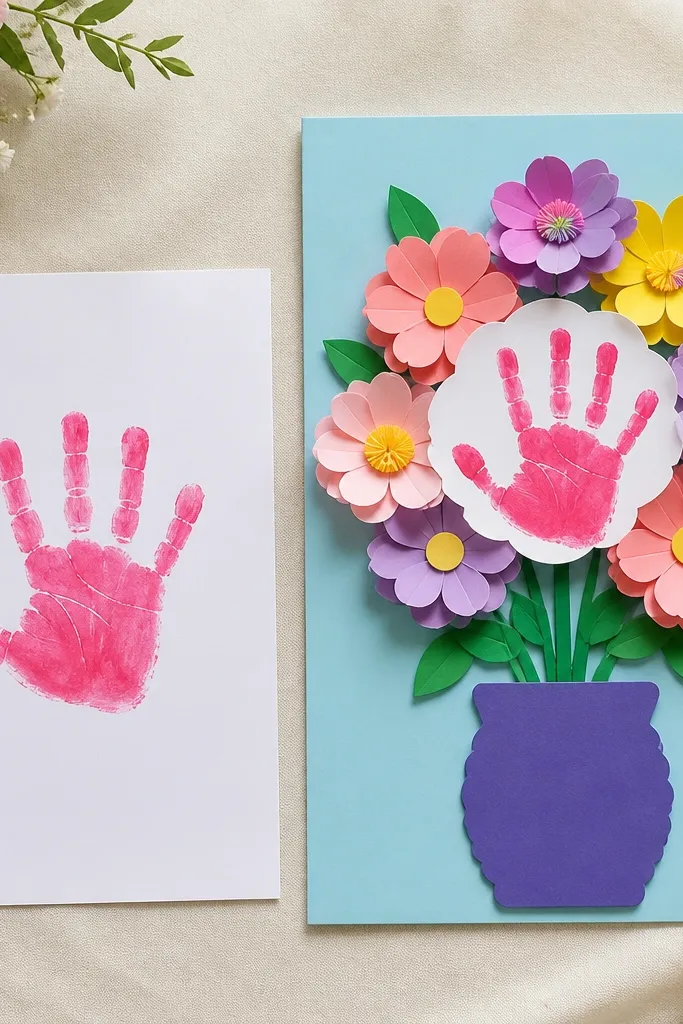
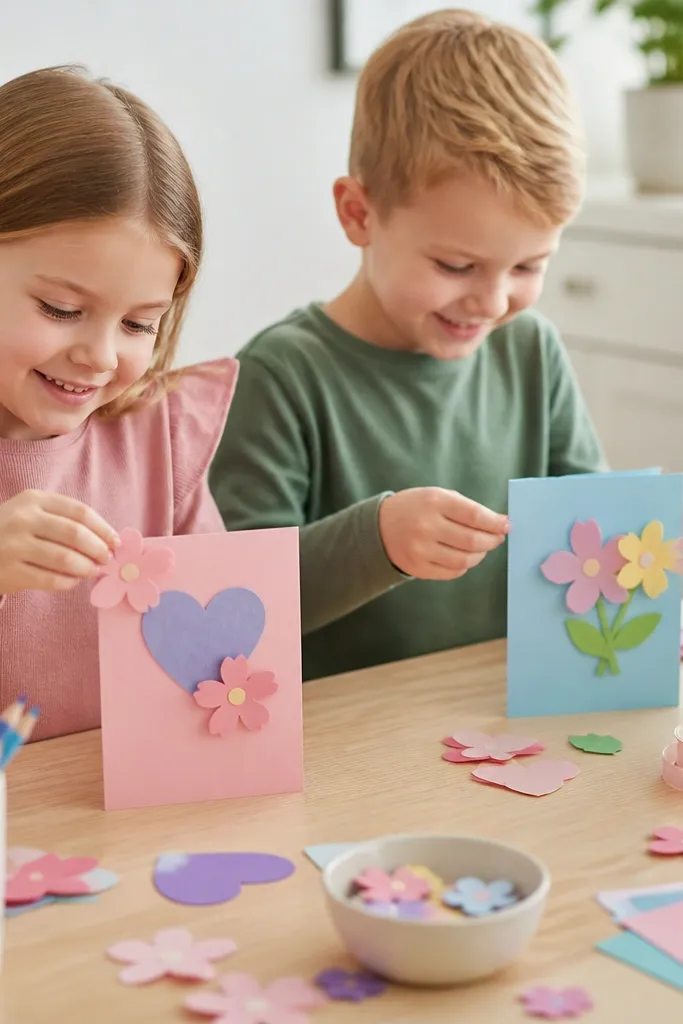
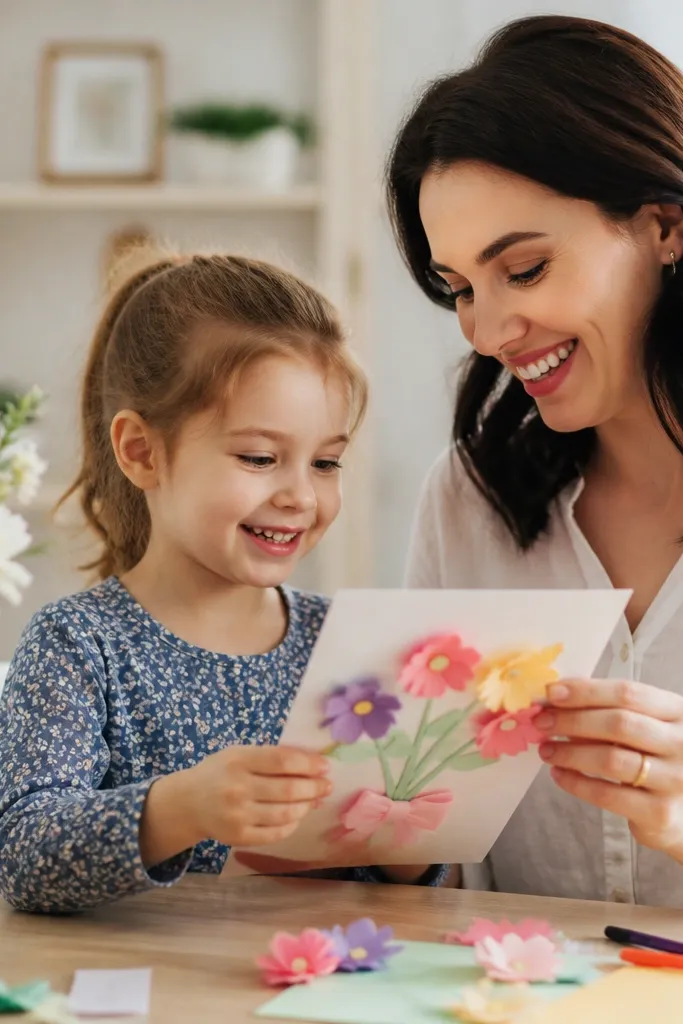
Before: handprints are sweet but can look flat and busy if the background isn’t controlled. After: cut simple layered paper petals (two sizes), glue a foam circle behind the handprint for lift, then mount the bouquet on a colored foam sheet. The extra dimension makes the handprint the focal point.
Good to knowTrace petals with a cup or small plate for consistent sizes, then use a glue stick on paper-to-paper and hot glue only for foam-heavy parts.
3. Salt Dough Pendant to Sealed Keepsake Necklace Tag
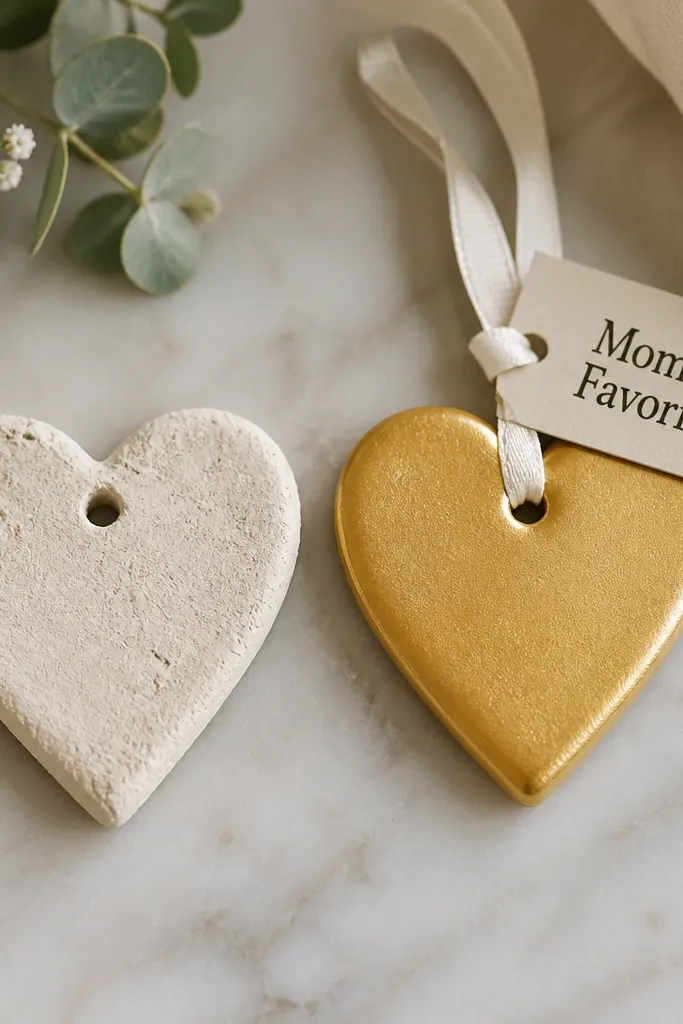
Before: salt dough can crack at the edges and looks chalky. After: sand lightly once fully cured, paint with acrylic craft paint (gold or blush), then seal with a clear craft sealer. Add a ribbon loop and a tag so it can hang on a keychain or display stand.
Good to knowBake until completely hard (not just “lightly dry”), then wait 24 hours before sealing so the finish doesn’t cloud.
4. Fingerprint “Love You” to Cleaner STEM-Look Heart Grid
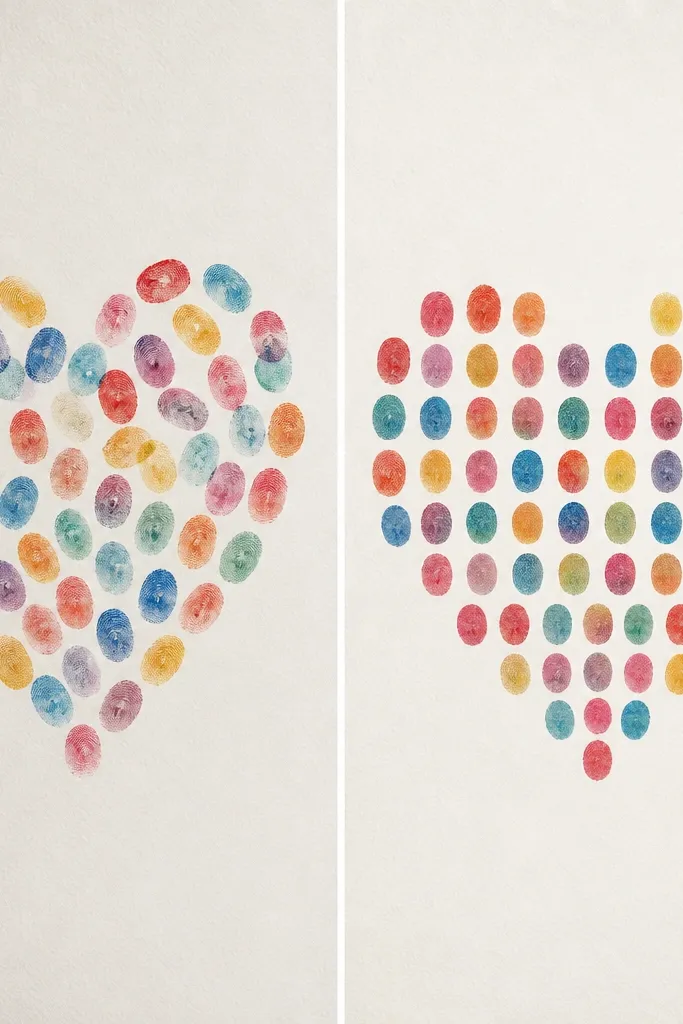
Before: fingerprints are adorable but can look random if kids press too hard or use too much paint. After: draw a heart outline, then use a cotton swab to place tiny dots inside the lines. Finish with a clean border using a ruler and a darker marker for a crisp, modern look.
Pour a small amount of paint on a plate and dab, don’t swipe, so each print stays round and consistent.
5. Construction Paper “Best Mom” to Laminated Stencil Banner
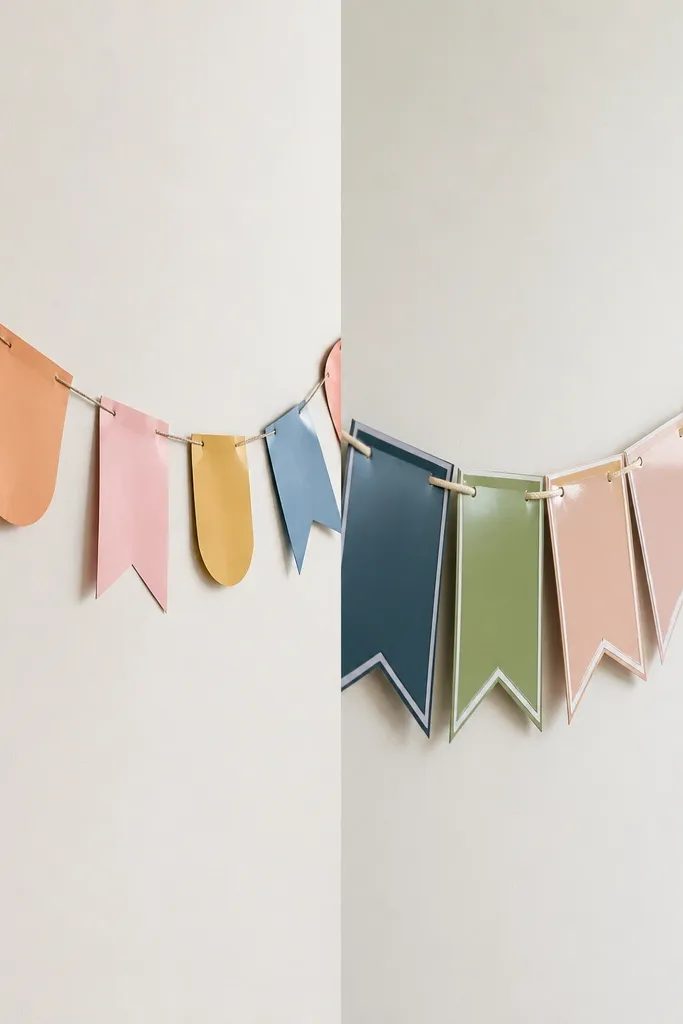
Before: construction paper letters can curl and fade, especially if they’re handled. After: cut letters using a stencil, layer them on cardstock for sturdiness, then laminate for a smooth finish. Keep spacing even by marking holes on the string with a washable marker before threading.
Good to knowUse a hole punch and attach letters with brads or tape-backed string for easier hanging and fewer glue messes.
6. Paper Plate Butterfly to Tissue-Paper Wing Suncatcher
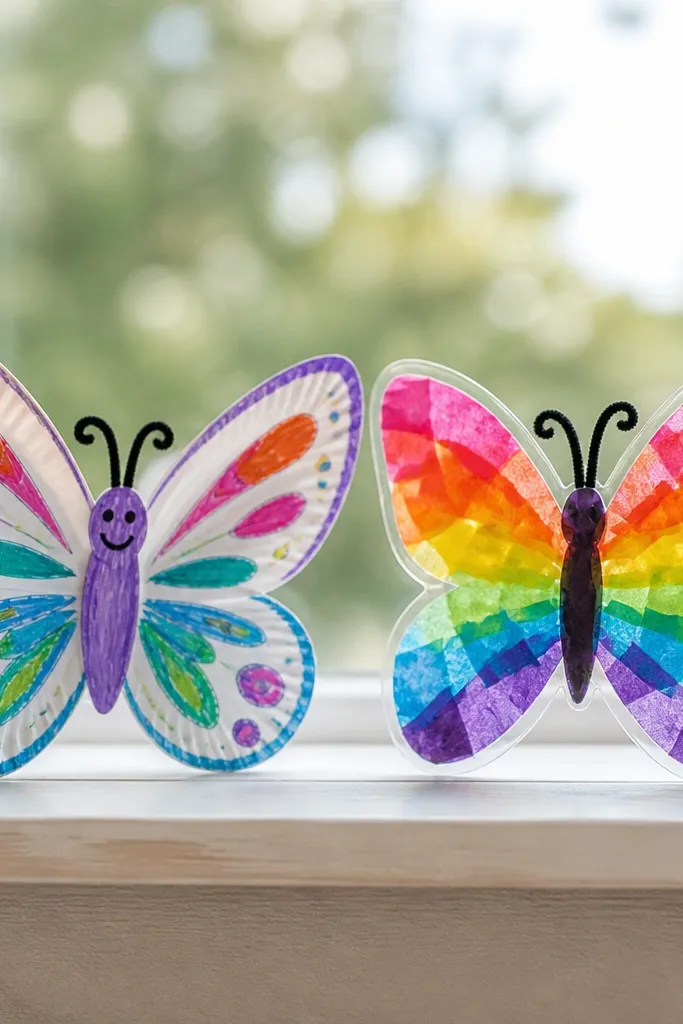
Before: paper plate butterflies are cute but don’t catch the light. After: replace the wings with tissue-paper squares and glue them onto a clear plastic sheet shaped like wings. The result looks like stained glass when it’s near a window.
Good to knowTrim tissue edges neat and overlap slightly for solid color without thin gaps that show through.
7. Crayon Scribble Mug to “Name + Pattern” Heat-Set Look Coaster
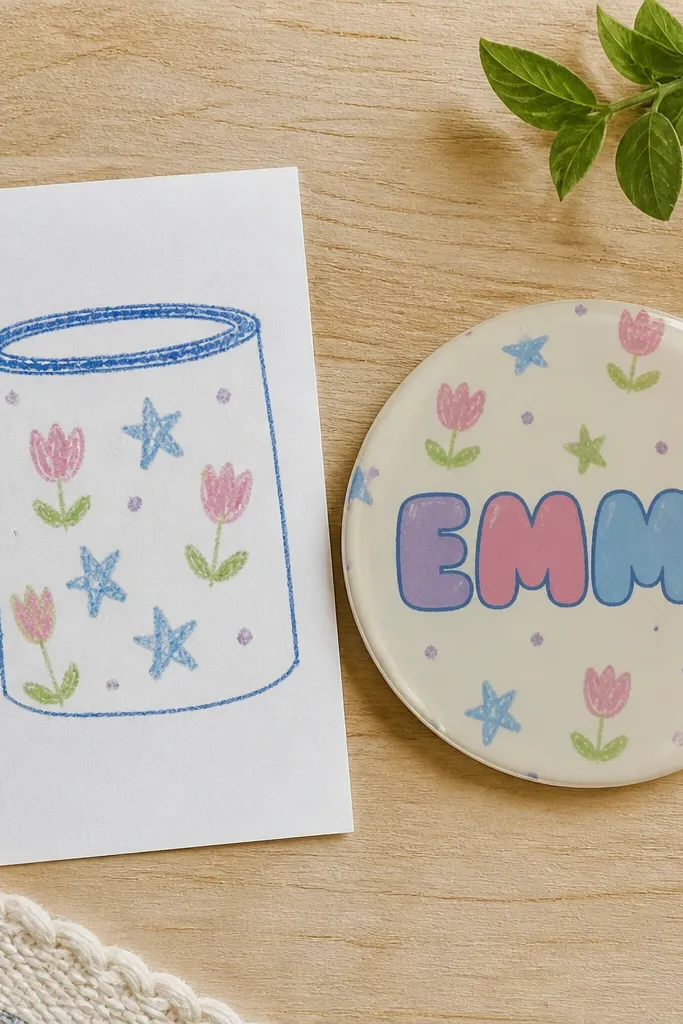
Before: loose doodles on paper can feel unfinished when you’re trying to make a gift for daily use. After: draw the design on a coaster-sized cardstock base, then seal with a clear, water-resistant craft topcoat. If you have washable markers, add the name in a thicker outline for readability.
Good to knowLet the topcoat cure fully (usually overnight) before stacking so corners don’t stick.
8. Thumbprint Flower Pot to Color-Pop Painted Planter Display
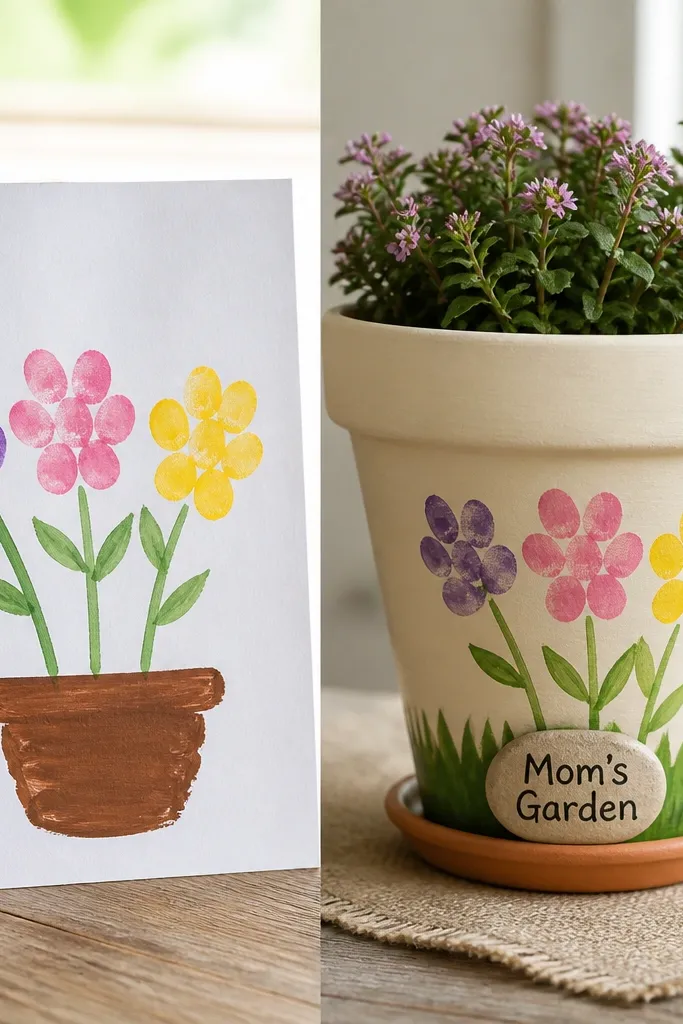
Before: thumbprint flowers on plain white backgrounds can look like a coloring sheet. After: paint a simple terracotta pot, add a green grass strip, and place thumbprints as flowers with stems drawn in one direction. Add a label sticker (or hand-lettered tag) to make it look like a real plant pot display.
Good to knowUse a thin paintbrush for stems and add tiny white dots in the flower centers to make them pop.