1. Paper Plate Flower Bouquet with Budget Confetti Centers
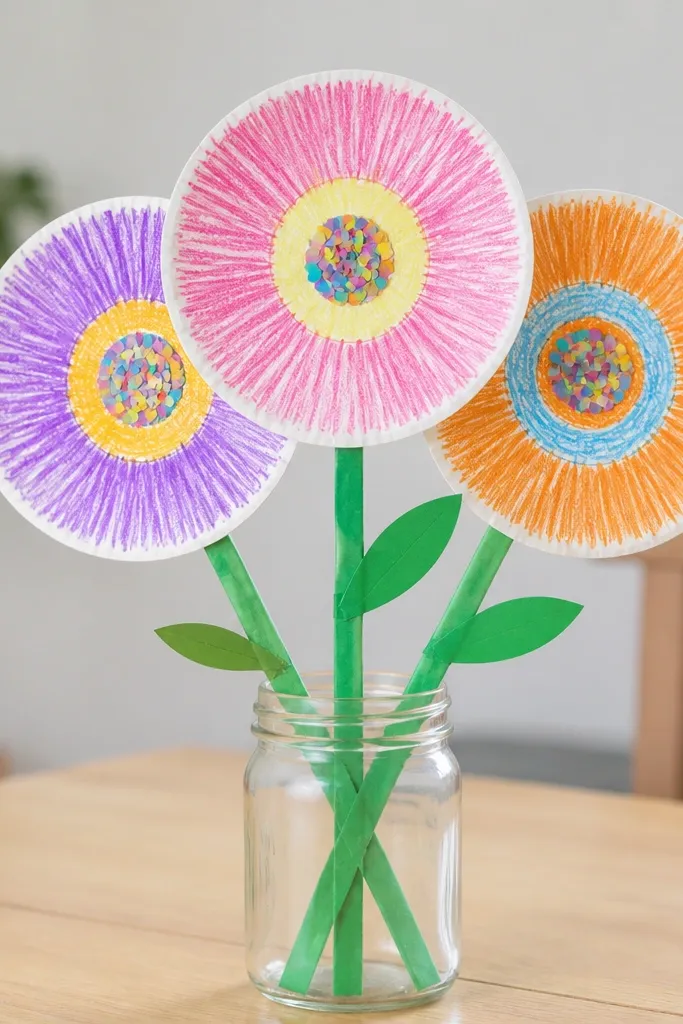
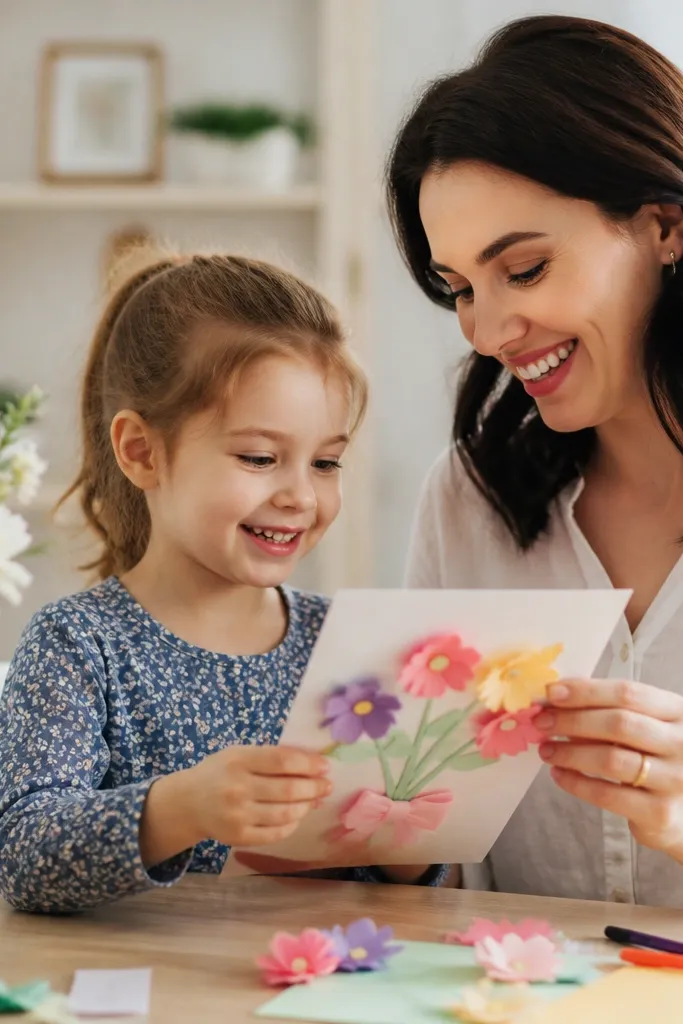
Cut paper plate petals into simple rounded shapes, then let kids color them with washable markers. For the center, glue a small circle of paper scraps or cereal-box confetti and seal it with a thin layer of clear school glue for texture. It looks like a full bouquet even when supplies are minimal because the plate naturally creates a full flower shape.
Good to knowUse a hole punch to make a few tiny “leaf” accents, then tape them behind the stems for extra volume without extra cost.
2. Cereal Box Heart Photo Frame (No-Print Version)
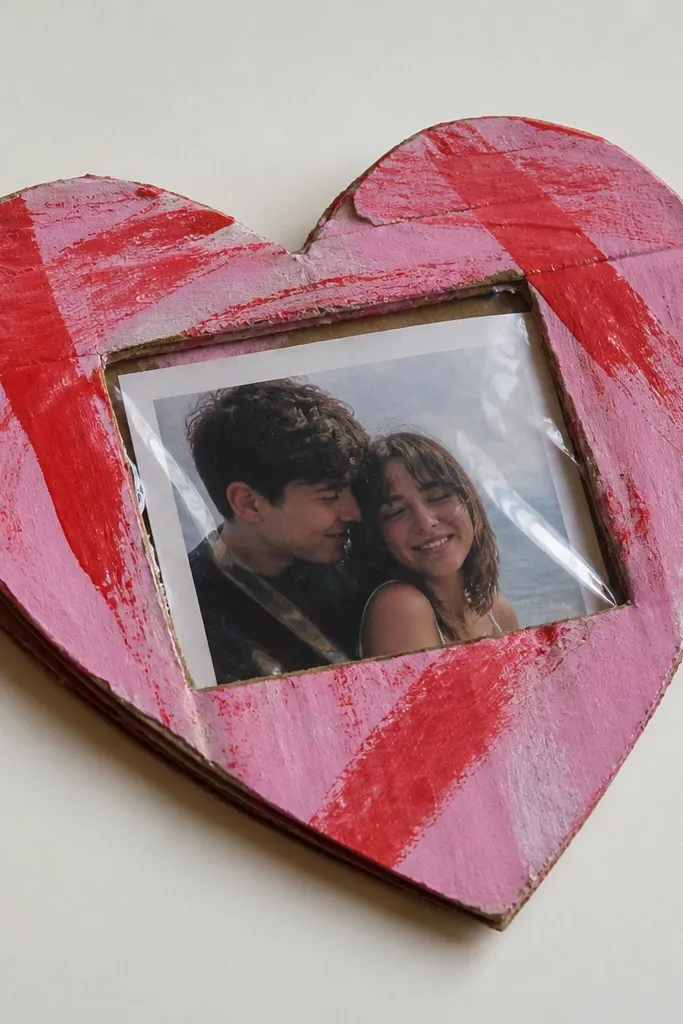
Flatten a clean cereal box and trace a heart shape. Cut the frame opening, then paint the outside with acrylic craft paint or thick washable paint. Add a photo by taping it behind the cardboard window (no fancy printing needed — a phone photo printed at home works). The cardboard makes it sturdy enough for tabletop gifting.
Reinforce the back with an extra cardboard strip so the frame doesn’t bend when the photo is inserted.
3. Salt-Dough Handprint “Mom” Keepsake Ornament
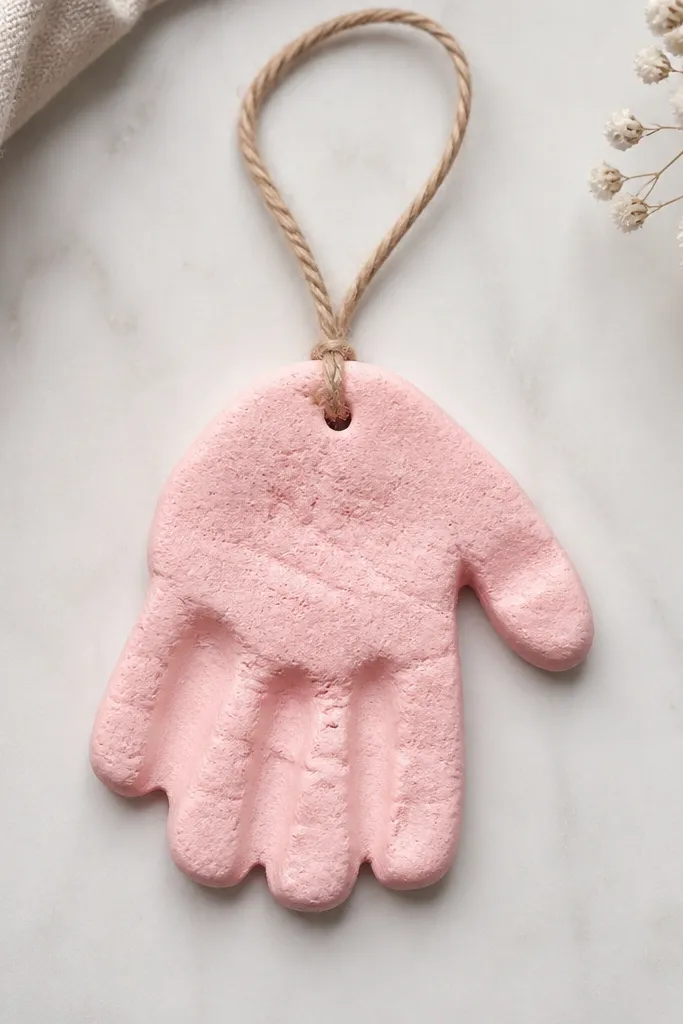
Mix salt dough (flour + salt + water) and press a small child handprint into a flat circle. Once fully dry, paint the handprint with pastel colors and lightly outline the fingers with a darker shade for definition. Add a ribbon hole at the top so it can hang on a tree or hook, turning a simple craft into a keepsake.
Good to knowLet it dry 24-48 hours in a warm spot and flip once halfway so it doesn’t curl.
4. Coffee Filter Butterfly Bouquet with Watercolor Drip
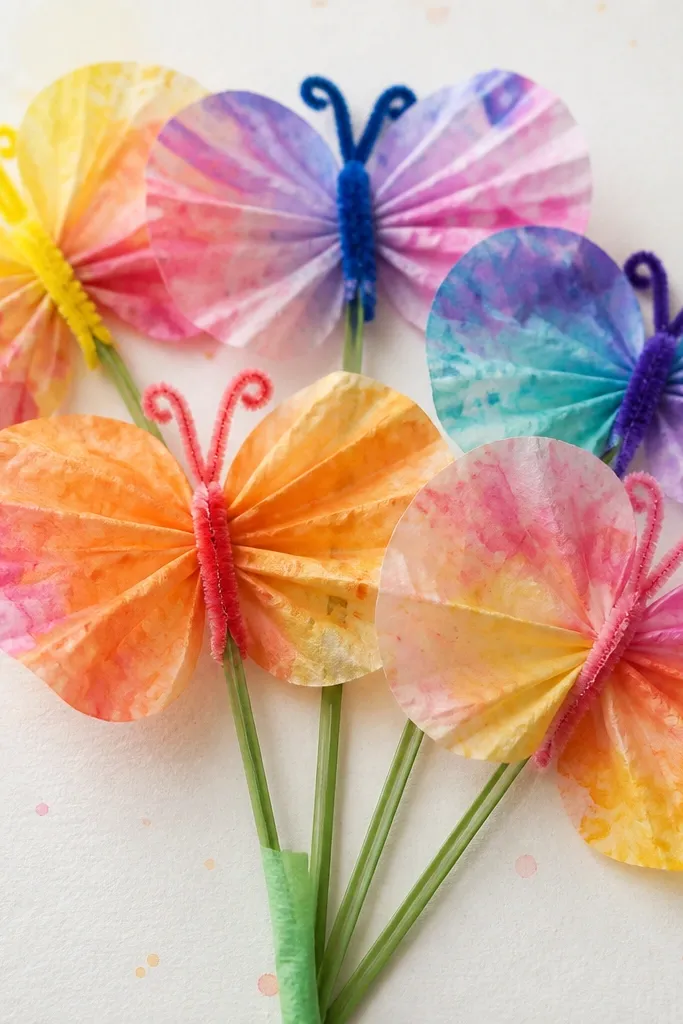
Stack coffee filters and pinch the center to create a butterfly shape. Use a few dots of washable marker diluted with water to create watercolor wings, then let them dry. Twist a short pipe cleaner for the body and tape the wings around it. This craft looks “store-bought” because the translucent wings create natural gradients.
Good to knowColor lightly and add water sparingly — too much water makes coffee filters tear.
5. Scrap Paper “Mom You’re the Best” Pop-Up Banner
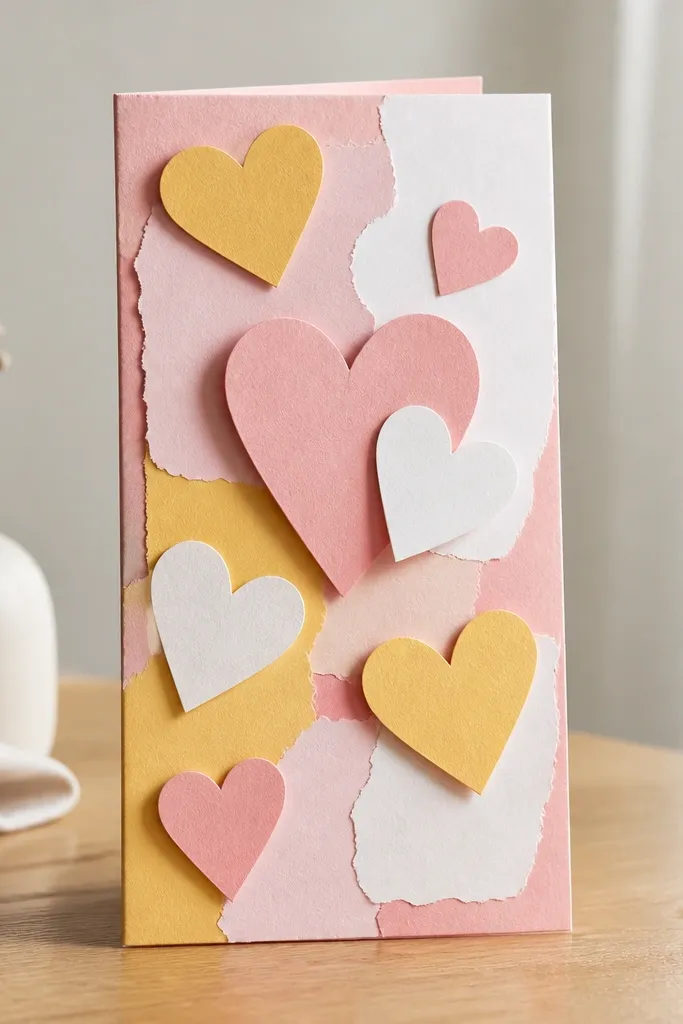
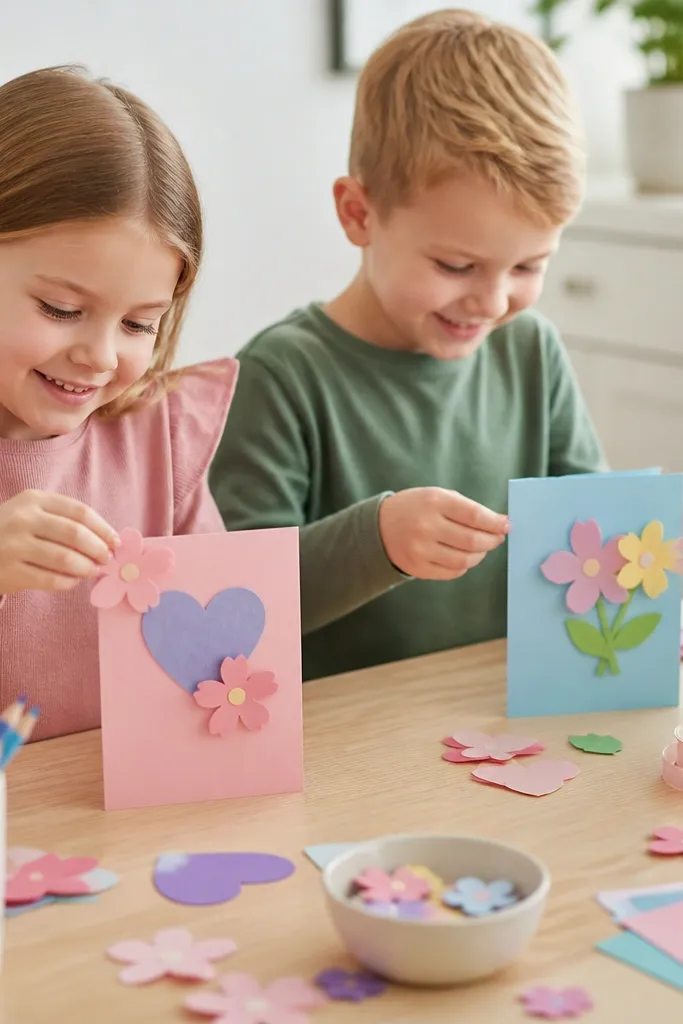
Fold cardstock or thick paper into a base and cut two or three accordion “pop-up” layers. Kids cut simple hearts and small shapes from scraps and glue them to the pop-up panels. Add a short message like “Mom, you’re the best” using large letter cutouts. It’s budget-friendly because scraps become the design, not the expense.
Use a craft knife only for the adult cuts on the accordion fold lines to keep edges neat.
6. Sticky Note Rainbow Flower Bouquet (Super Cheap)
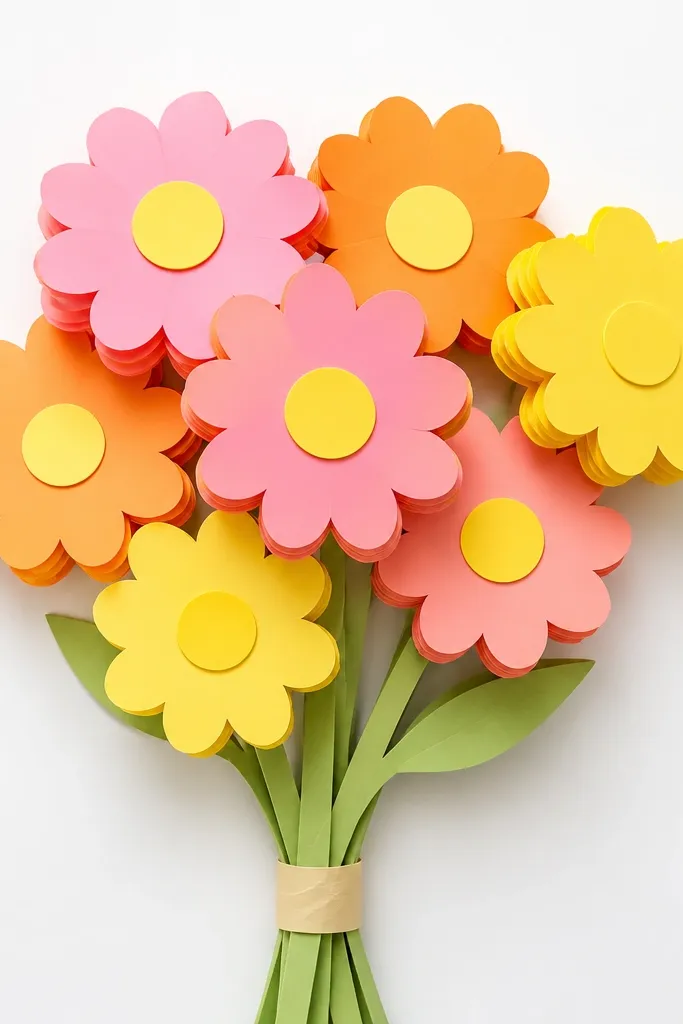
Fold sticky notes into petal shapes and press them together to form layered flowers. Add a paper circle center and glue or tape it down. Kids can make multiple flowers quickly because sticky notes already have color and stickiness. It’s a great option when you need something fast and cheap with minimal mess.
Good to knowPress petals down with a scrap paper backing so glue-less edges stay secure for gifting.
7. Thrift-Store Jar Photo + Paper Flower Lid
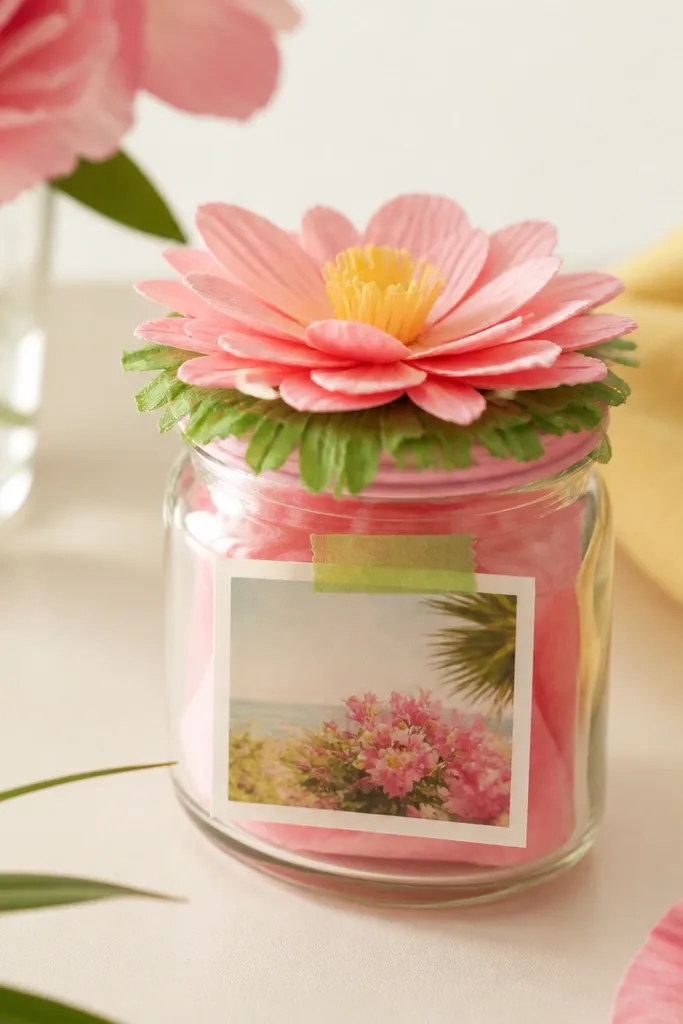
Reuse any small jar (jam jar, candle jar, or tea tin). Wrap a strip of paper around the jar like a label and tape a mini photo or drawing on top. Make a paper flower lid by cutting a circle base and layering petals around it. The jar turns any kid drawing into a polished gift container.
Good to knowClean the jar and dry it fully before taping so the label doesn’t lift.
8. Dollar-Store Popsicle Stick Picture Frame with “Mini Mom Quotes”
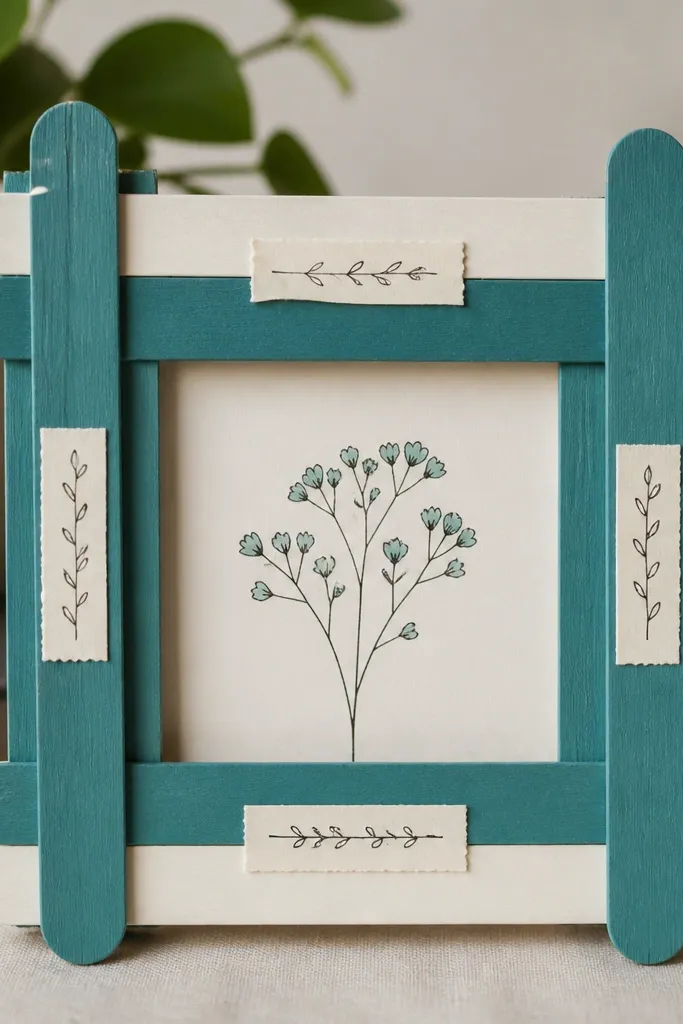
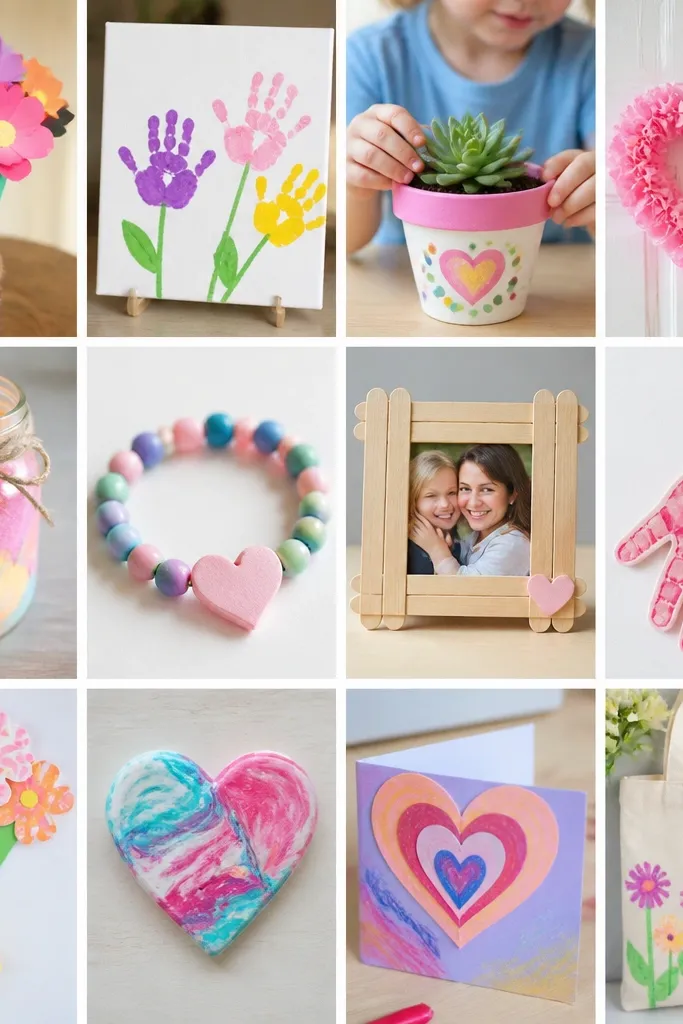
Glue popsicle sticks into a square frame and paint it. Add a backing from cardboard and tuck in a kid’s drawing or photo. For a budget upgrade, write 3-5 mini quotes on thin strips like “Thanks for the hugs” or “You make everything better.” It makes the frame feel personal without buying special materials.
Let the frame dry flat under a book for 30 minutes so corners stay straight.
9. Cardboard Tube “Bloom” Pencil Holder with Confetti Sparkle
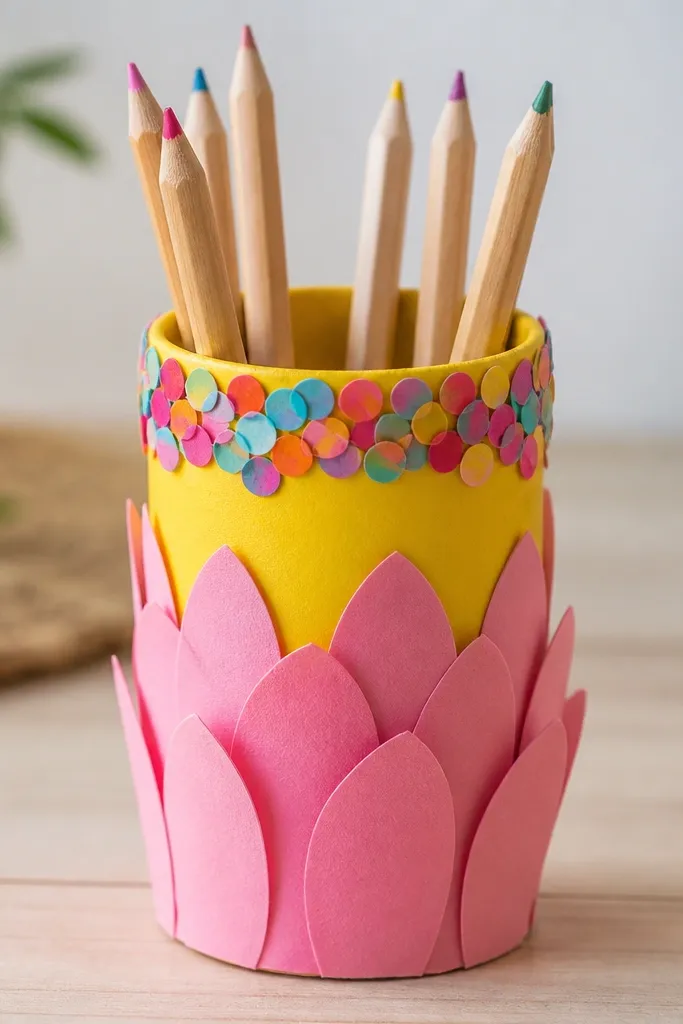
Cut a toilet paper or paper towel tube to height and wrap it with colored paper or paint it. Create a “bloom” top by cutting petal shapes from scrap cardstock and gluing them around the rim. Add confetti (paper punches or torn bits) for sparkle and texture. This is a practical gift that kids can actually use right away.
Good to knowSeal confetti with a thin glue-water mix so it doesn’t fall off when handled.