1. Cardstock Bouquet With Hidden Handwritten Notes
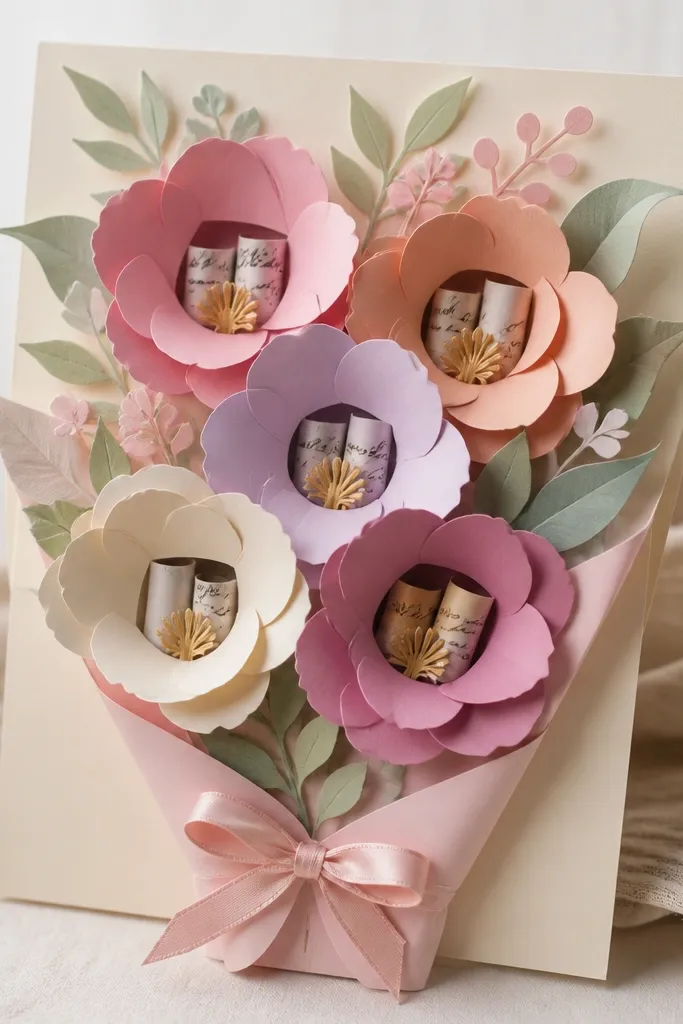
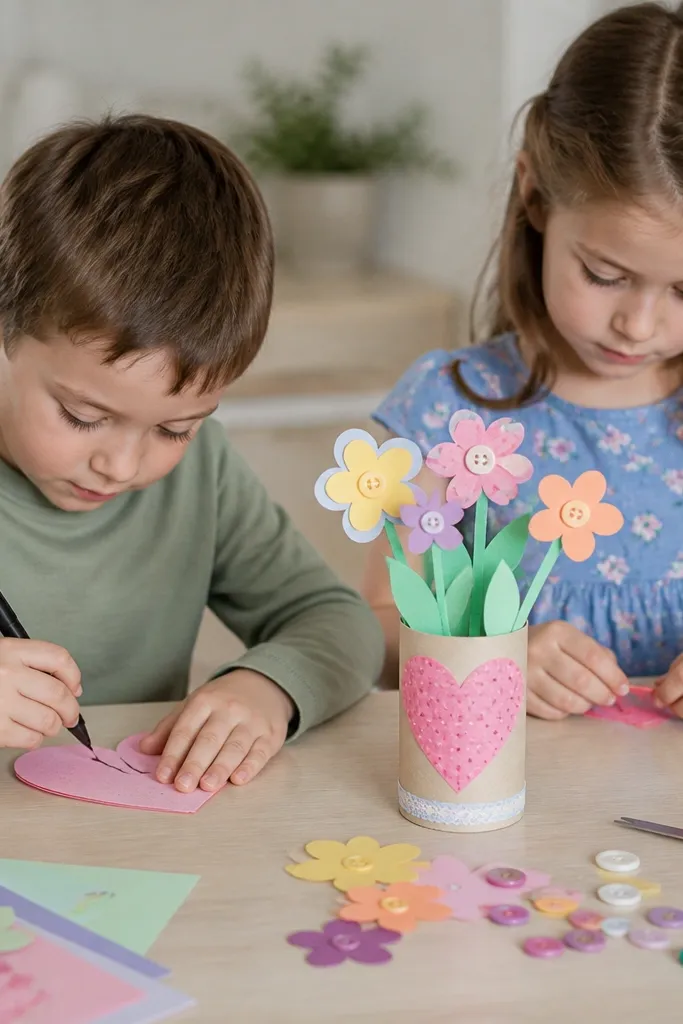
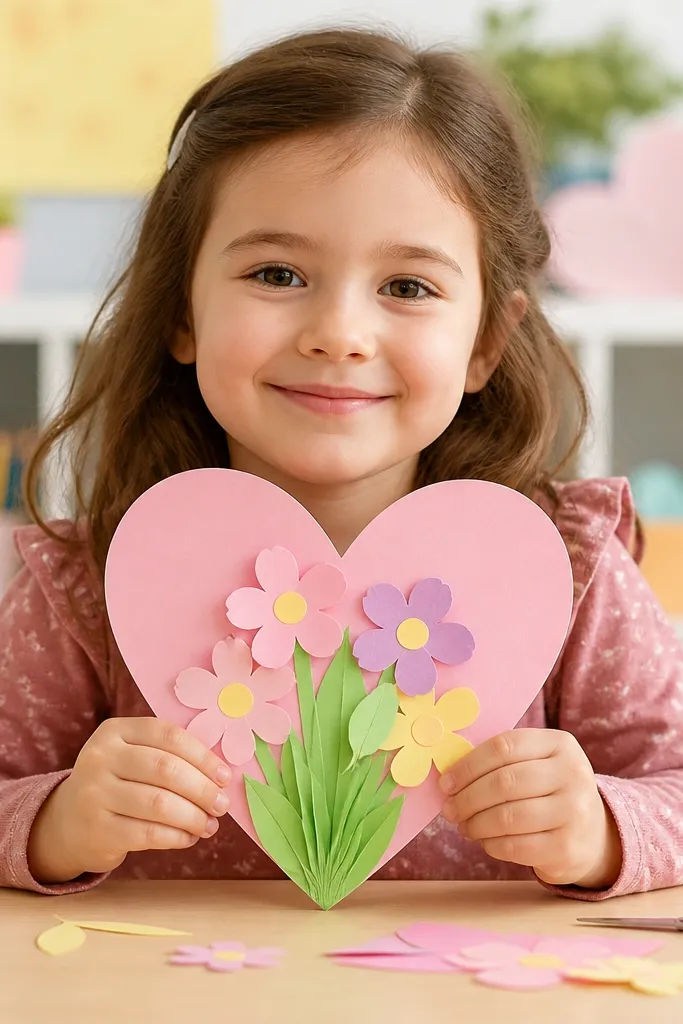
Use colored cardstock for the flower layers and a lighter backing card for the base. Cut 5-7 petal shapes per flower, then glue them so a small gap remains for the note strip. Kids can write a short message on thin paper, roll it, and slide it into the hidden pocket behind each petal for a sweet surprise.
Good to knowWrite the note strips first, then let kids place them into each petal window — it keeps glue time short.
2. Paper Plate “Mom, You Bloom” Flower Wreath
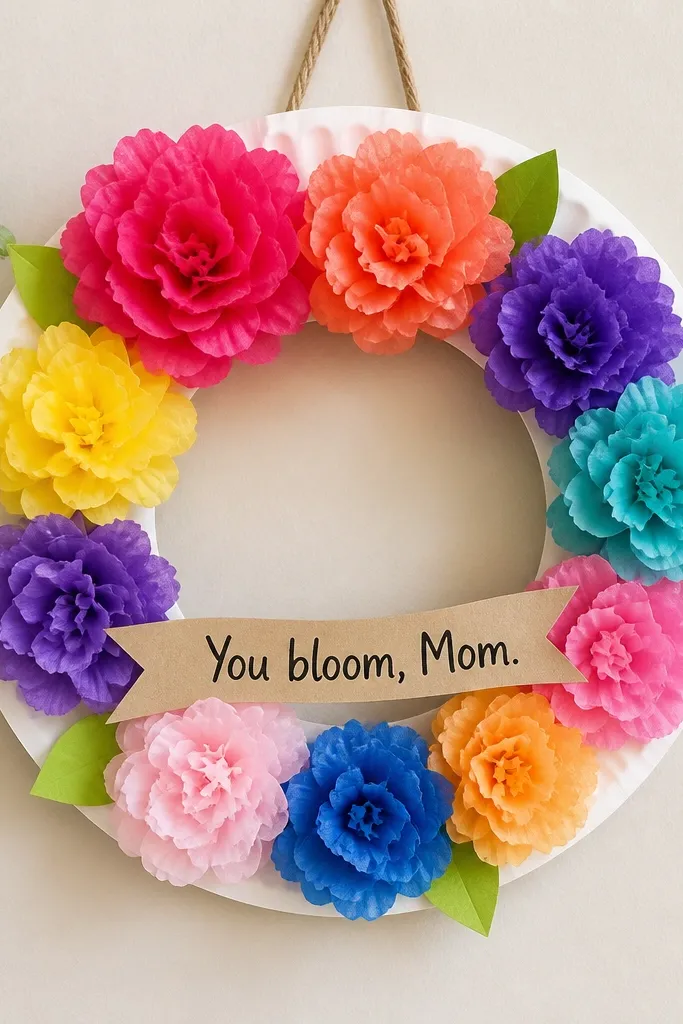
Cut the center out of a paper plate to make a ring. Punch or cut simple petal shapes from construction paper, then glue them in a circle. Add tissue paper flower puffs in between for texture. Finish with a tiny banner (cut from cardstock) to make it look like a finished store craft.
Good to knowLet kids crumple tissue paper for the puff texture — it looks fuller with less effort.
3. Thumbprint Heart Keychain With “Best Mom Ever” Charm
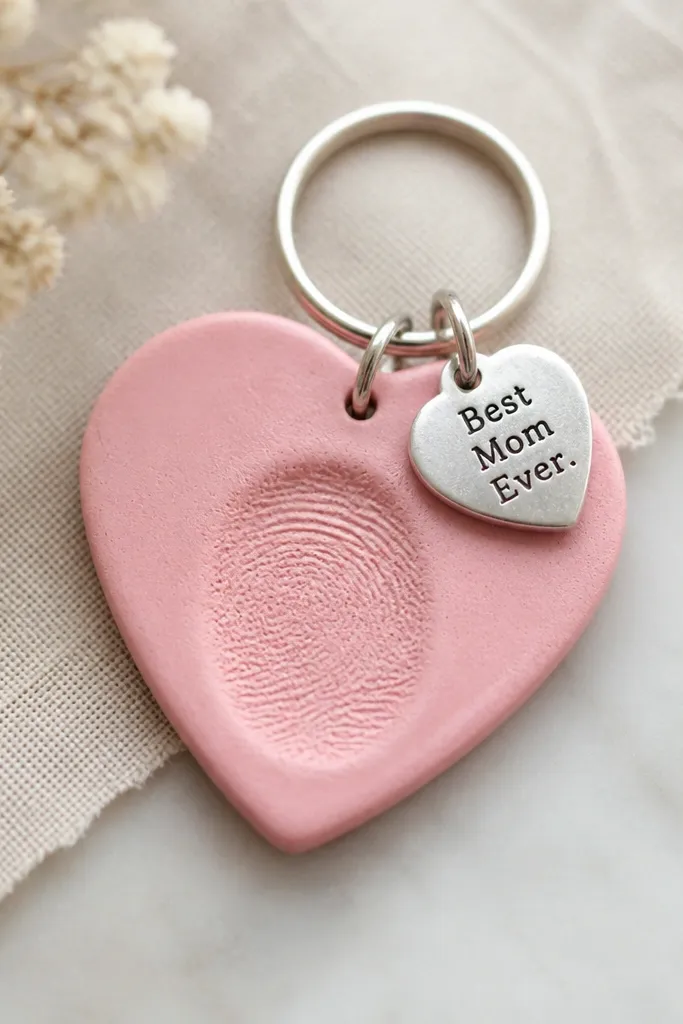
Use craft foam or air-dry clay shaped into a heart (foam works faster). Press a thumbprint into the center using gentle pressure so it forms a clear pattern. Let it dry or set, then seal with a thin clear craft glue layer for a smooth finish. Add a metal jump ring and charm for a polished look.
Use a butter knife or plastic spoon to define the heart edges if kids press too hard.
4. Shaker “Thank You, Mom” Card With Confetti Window
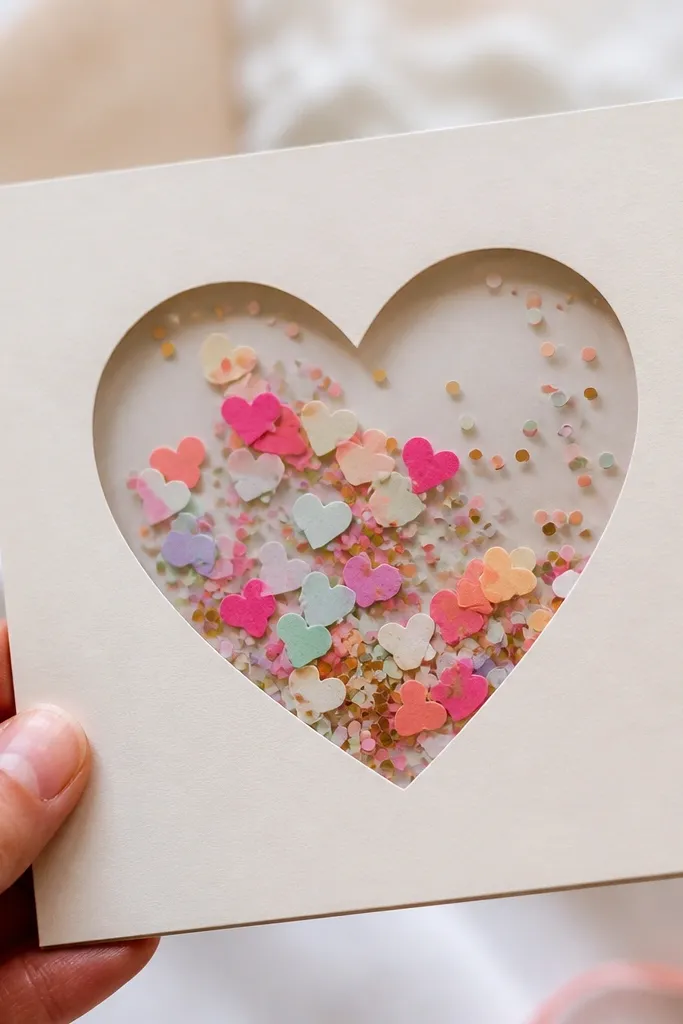
Cut a rectangle window in the front of a folded card. Glue a frame of foam tape around the opening, then place clear plastic (from a packaging sleeve) over it. Add confetti hearts and tiny paper stars, then seal with more foam tape. The moving confetti makes it feel special even though it’s super quick.
Good to knowUse foam tape, not regular glue, so the shaker has space to move.
5. Scrapbook Frame “Mom’s Favorite Things” Mini Collage
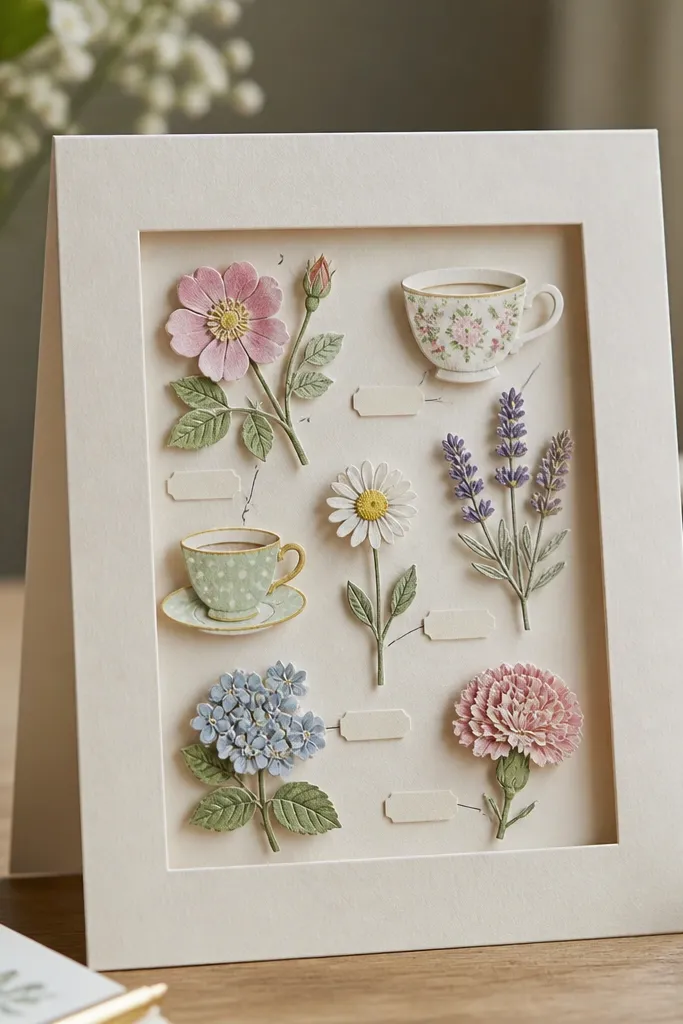
Fold cardstock into a simple frame and cut an inner rectangle. Kids glue small magazine cutouts or print tiny icons (like a teacup, flower, or book). Add labels with a marker: “Favorite color,” “Favorite snack,” “Our thing together.” This creates an aesthetic, personalized collage without needing painting skills.
Good to knowPrint labels in a consistent font style to make the collage look extra intentional.
6. Cupcake Liner “Bloom Pop” Bouquet (No-Fuss Tissue Look)
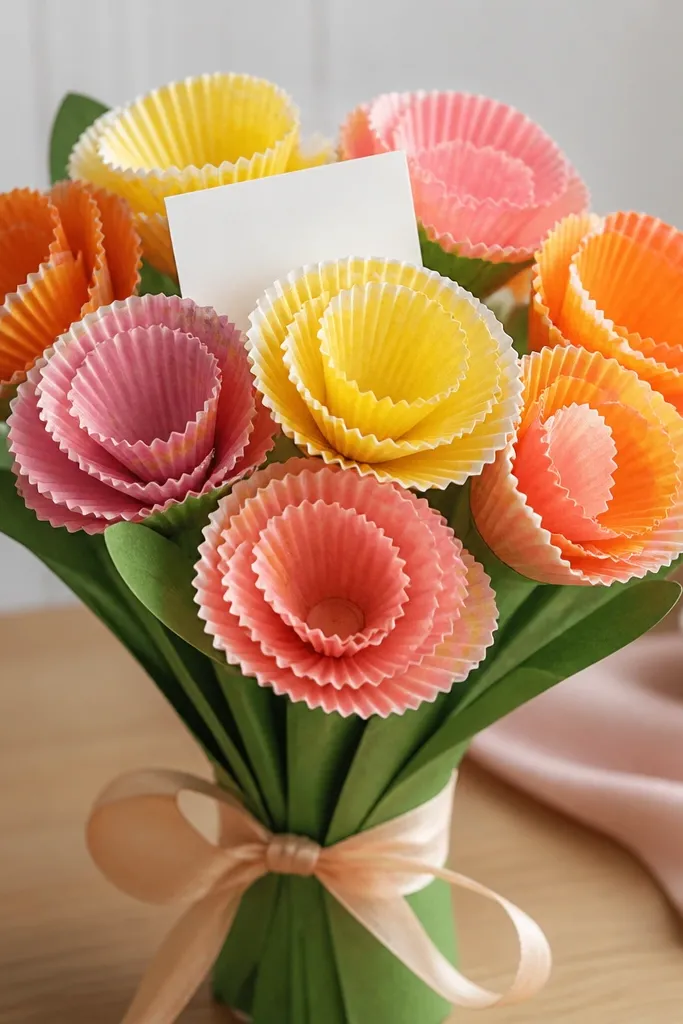
Stack and slightly crinkle cupcake liners to create instant petals. Glue the layers around a small paper circle center. Add green paper strips as stems and assemble into a small cone or folded card base. Kids can tuck a short note into the center circle using a slit cut at the top.
Good to knowUse a glue dot or small dab in the center only — it keeps the petals airy.
7. Hand-Drawn “Mom You’re My Sunshine” Sun Catcher
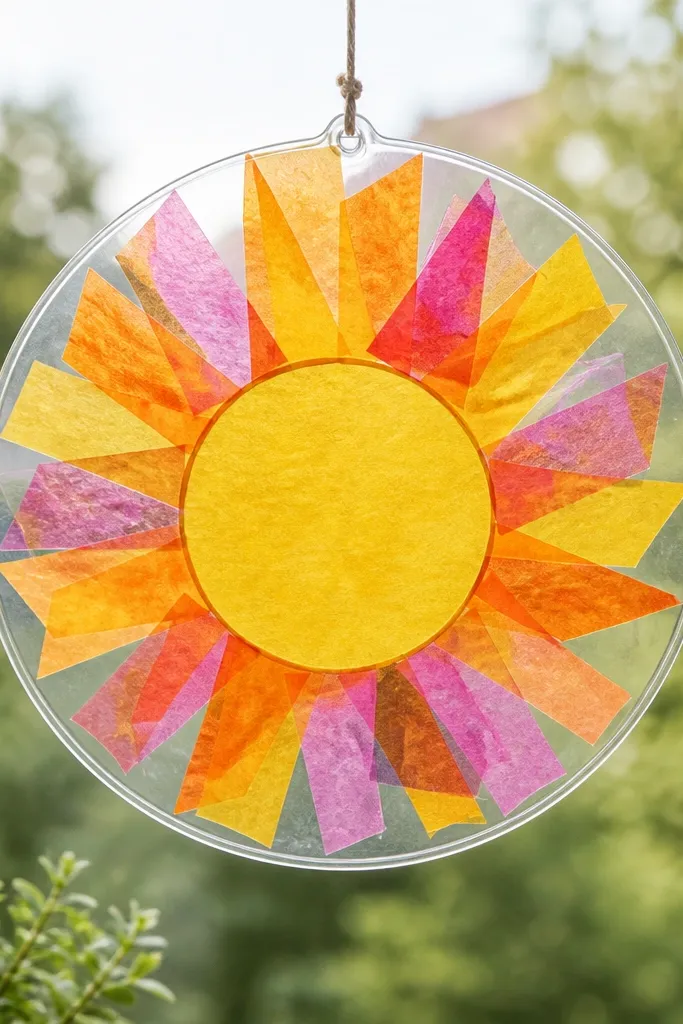
Trace a simple sun shape onto clear plastic (from a folder sleeve) and cut a matching paper sun. Cut thin strips of yellow and orange tissue paper for rays and glue them behind the sun outline. Write “Mom, you’re my sunshine” in thick marker so it reads clearly through the light. This looks bright in daylight and feels extra “aesthetic” for spring.
Good to knowPress tissue strips flat with the back of a spoon so the rays look neat, not wrinkled.
8. Mini “Mom’s Garden” Plant Pot With Seed Message
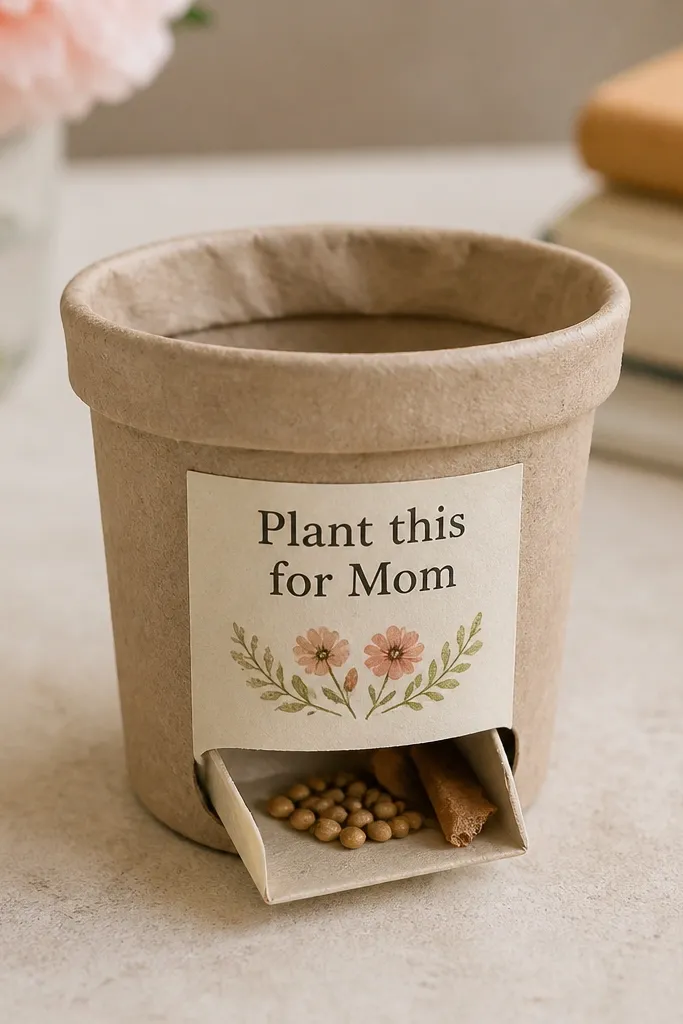
Make a small pot from folded cardstock and add a front label with a sweet message. For a quick “planting” vibe, fill the pot with soil-colored craft paper or cocoa-colored tissue. Kids can tuck a small seed packet or a paper strip that says what to plant. It’s a keepsake that also points to a future moment.
Use a tiny paper envelope glued inside the pot so seeds stay protected and easy to pull out.
9. Crepe Paper “May Flowers” Banner Bookmark
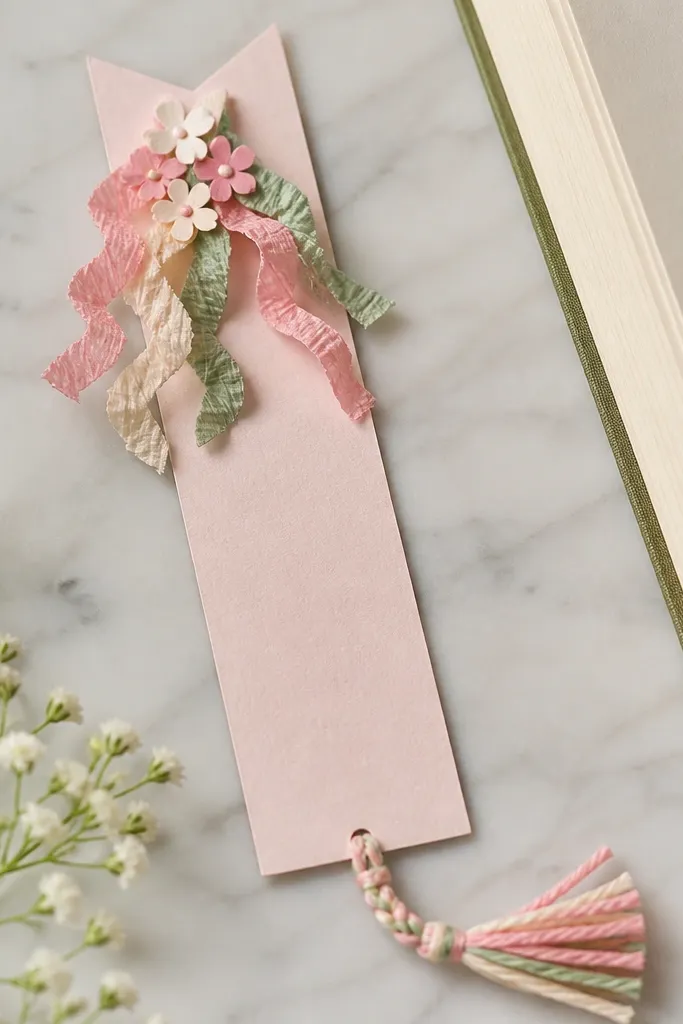
Cut a bookmark rectangle from cardstock and round the top corners. Add a small crepe paper bow or streamer bundle for movement. Glue tiny paper flowers along the banner edge, then finish with a braided tassel (yarn or embroidery floss). This is perfect for kids who want something that’s both pretty and usable.
Good to knowSeal glue with a light dusting of glitter only on the flowers for a clean, not-sparkly-everywhere look.
10. I Love You More Than... Washi Tape Message Art Card
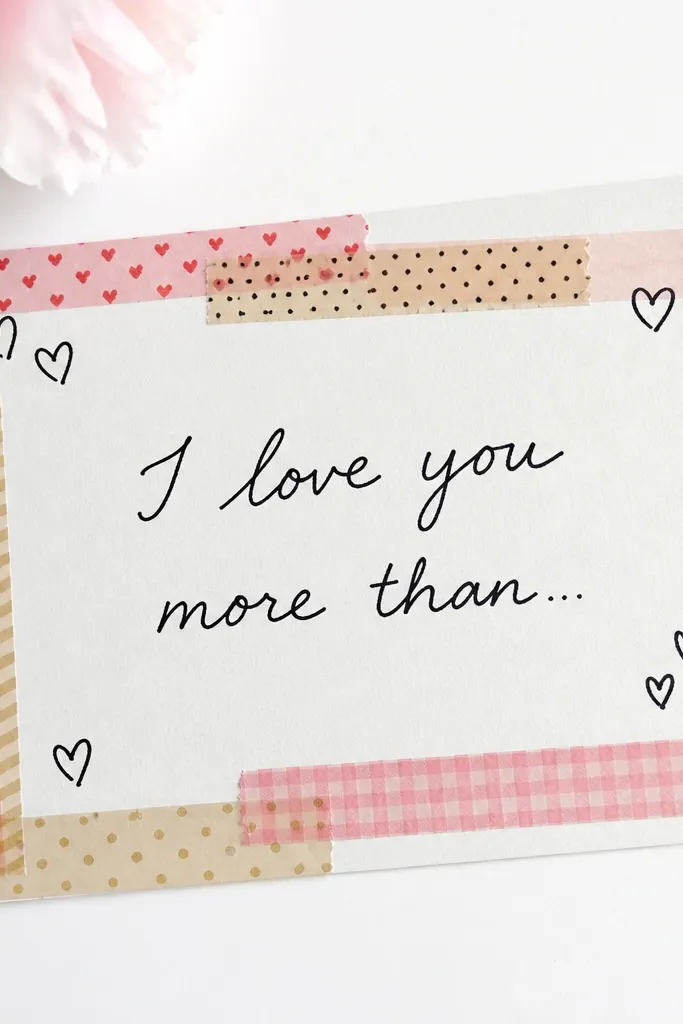
Start with a blank folded card in white or kraft for a modern aesthetic. Kids create a tape frame using washi tape (thin stripes or soft florals look best). Add the message in thick marker and let kids add simple doodles like hearts, tiny flowers, or a sun. The tape makes it look designed without complicated steps.
Choose 2 washi tapes max so the card stays crisp and not visually busy.