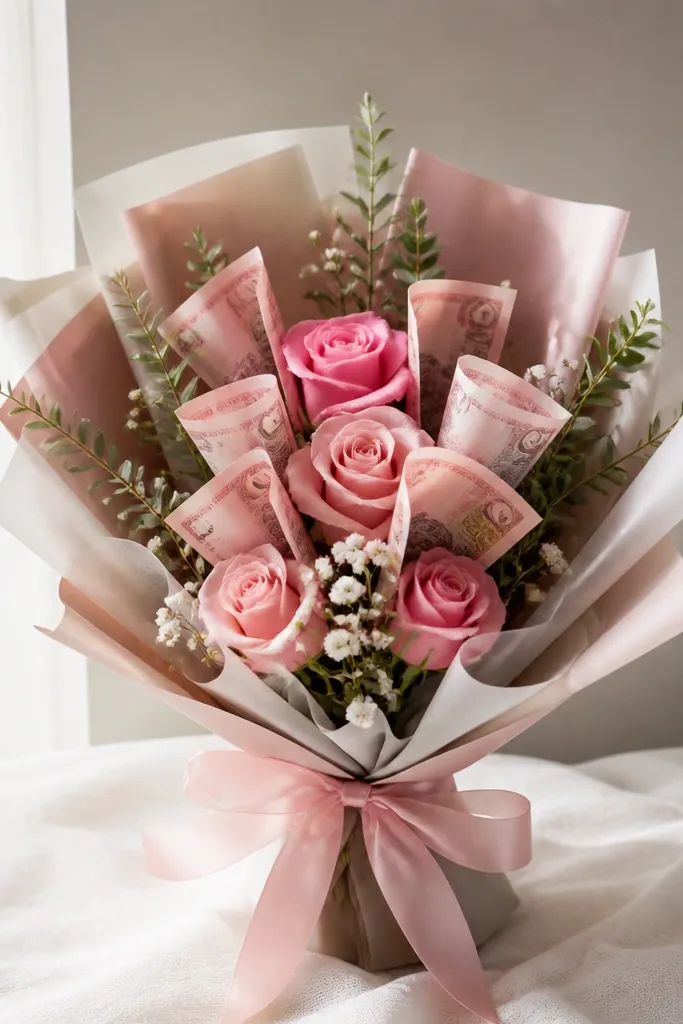
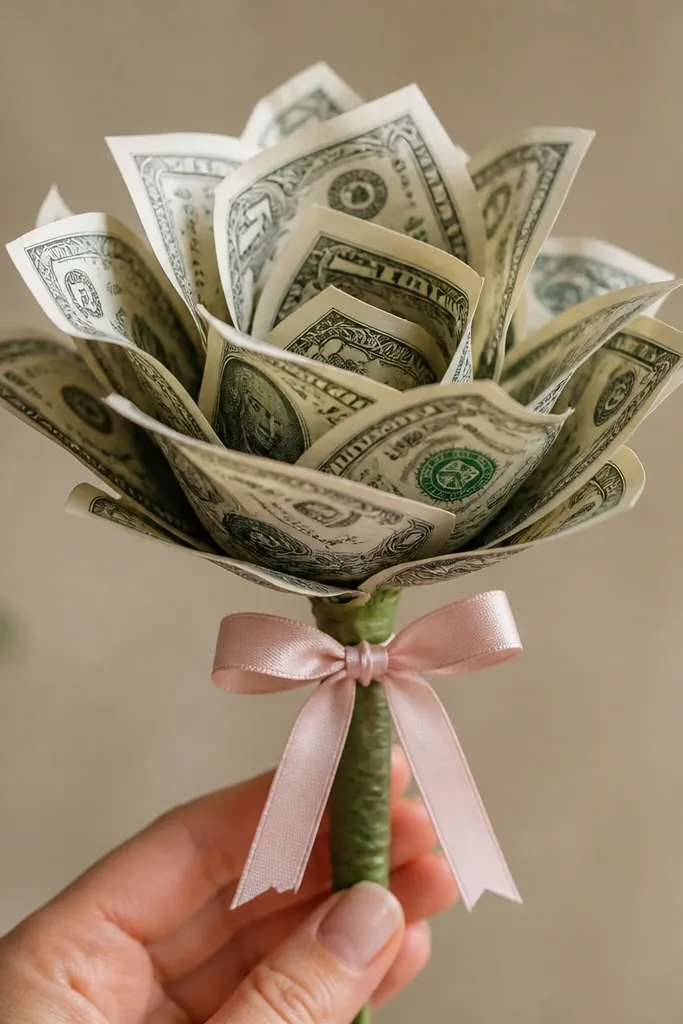
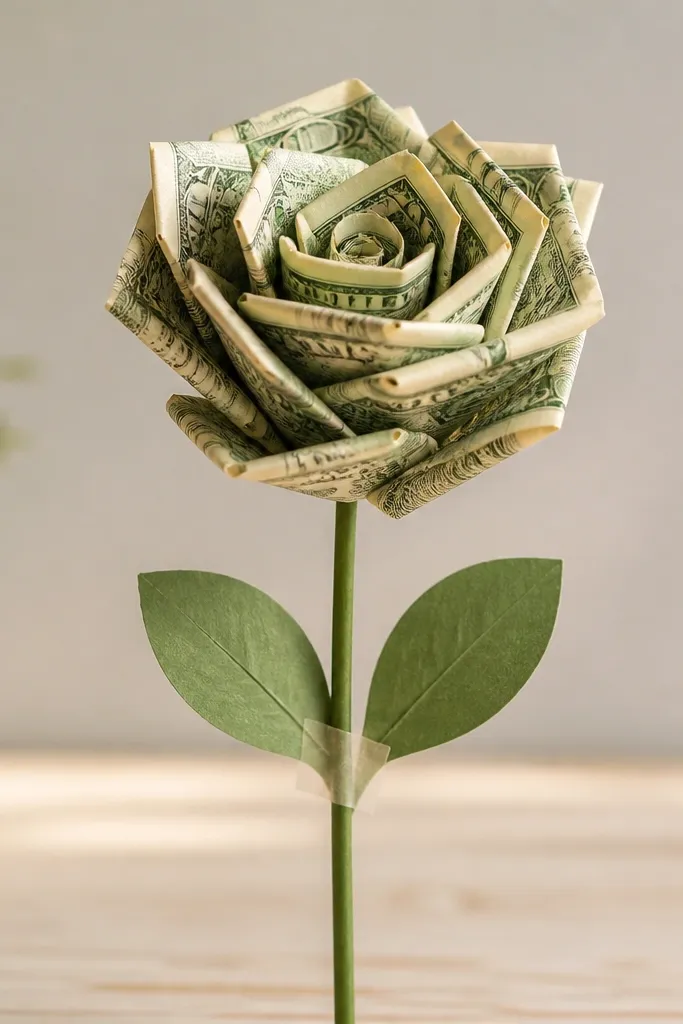
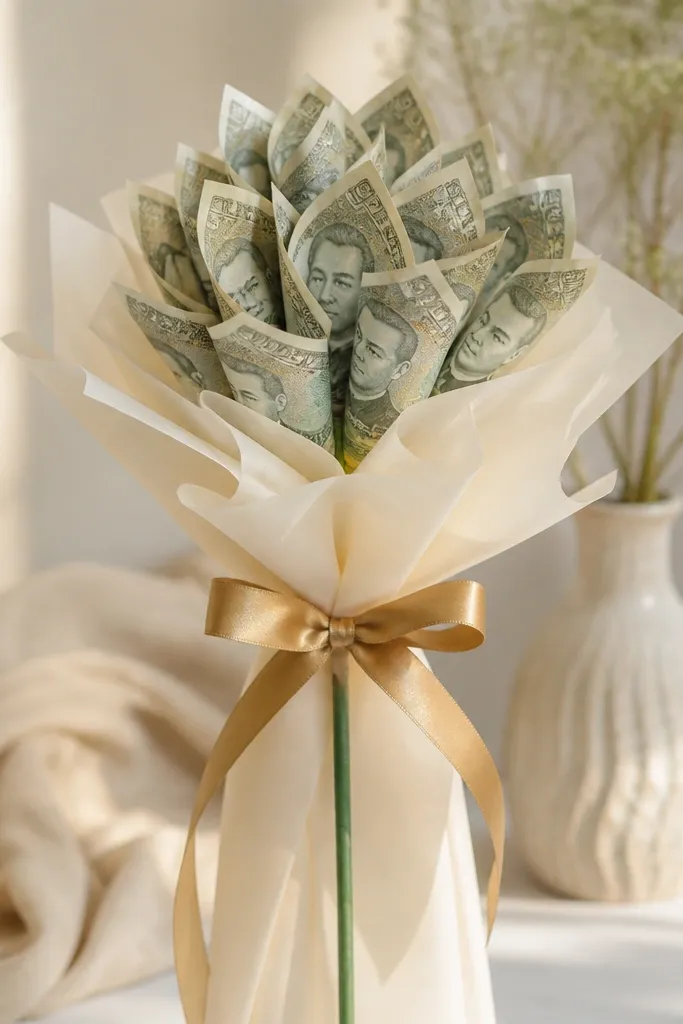
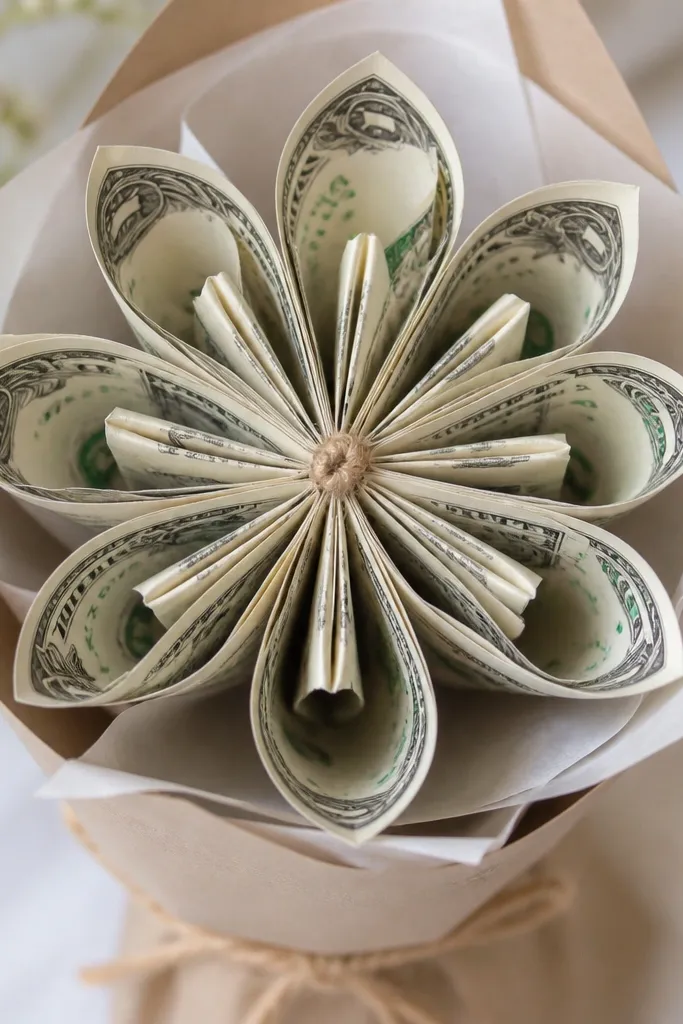
Weekend Money Bouquet in 5 Minutes sounds too fast until you realize you can turn a single $10 bill into a bouquet-style “flower” using just tape and a twist. In this quick Craftlyra DIY, you’ll make one mini money bloom (plus a tiny stem) in under 5 minutes — no glue gun, no cutting skills. You’ll end with a cute, gift-ready look you can hand over immediately.
Step by step
Fold the bill into a petal strip. Fold the banknote lengthwise into a thin strip, then accordion-fold it back and forth so it holds a “petal” shape. Keep the folds tight so the flower looks full even with one bill.
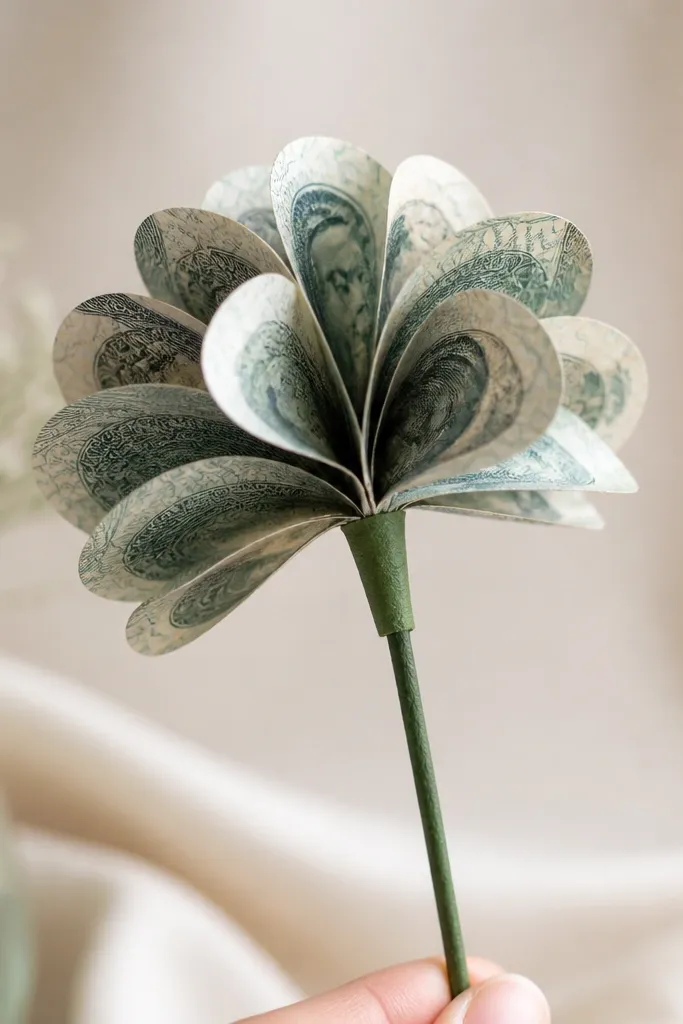
Pinch and tape the petal center. Pinch the accordion folds in the middle to create a rounded top. Wrap a small strip of tape around the pinch point to lock the shape.
Form the flower with layered twists. Gently fan the folded bill outward so it looks like petals. If it springs open, add one tiny dab of tape on the underside to keep the fan shape.
Make the stem that won’t flop. Tape the taped center of the money flower to the top of your skewer or craft stick. Wrap floral tape down the stem in overlapping spirals to secure everything and hide tape edges.
Add a quick bow and optional leaves. Tie a mini ribbon around the flower center or just below it, then trim the ends to stagger lengths. For leaves, cut two small leaf shapes from green tissue/crepe and tape them to the stem at a slight angle.
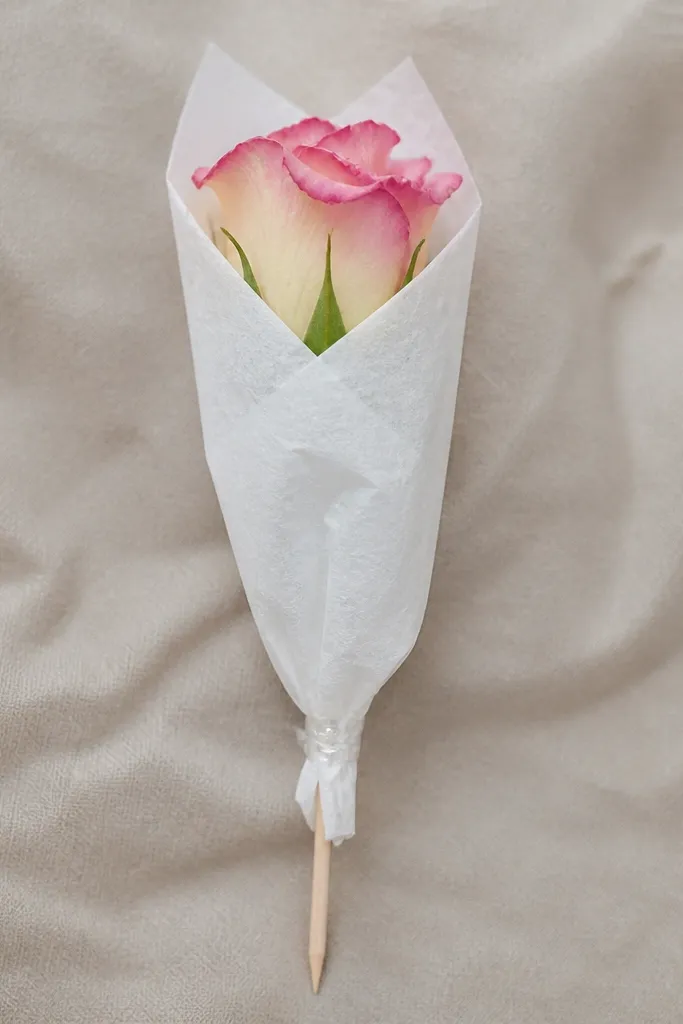
Wrap for instant bouquet vibes. Wrap a small square of tissue paper around the base and around the stem, then twist the bottom and secure with tape. This makes the bouquet look gift-ready without extra flowers.
This look uses tight accordion folds so the bill naturally creates petal texture. The center pinch with a small tape wrap keeps the bloom from collapsing, even if you’re moving it around while gifting.
Good to knowPress your folds with a fingernail so the petals hold their shape longer.
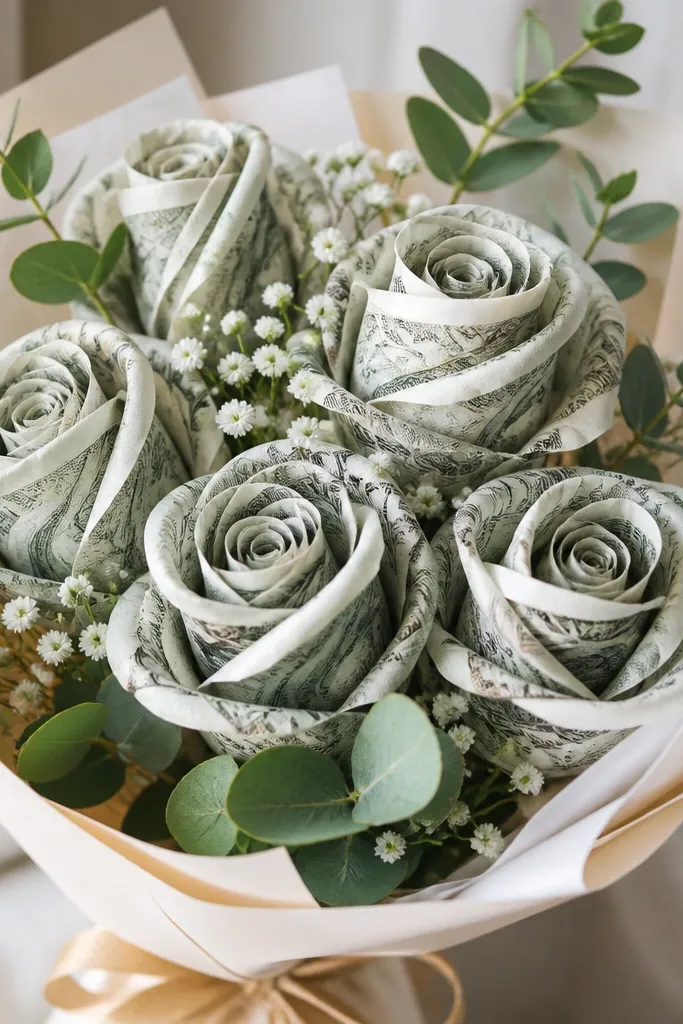
Twist the folded bill gently before taping the center so the edges look like soft rose petals. This is extra forgiving because small uneven curls still read as “handmade rose.”
Twist in one direction only, then stop — over-twisting can crease the bill too sharply.
The tissue sleeve instantly makes a one-flower bouquet look like a real gift. Choose a tissue color that matches the bill tone (cream/white looks classic; bright colors look playful).
Twist the bottom tightly and tape once — loose wrapping can make the bouquet sag.
A ribbon cinch hides the tape pinch and makes the center look intentional. It also gives the bouquet a focal point so the money petals look “designed,” not improvised.
Good to knowUse a ribbon that’s thin enough to cinch without flattening the petals.
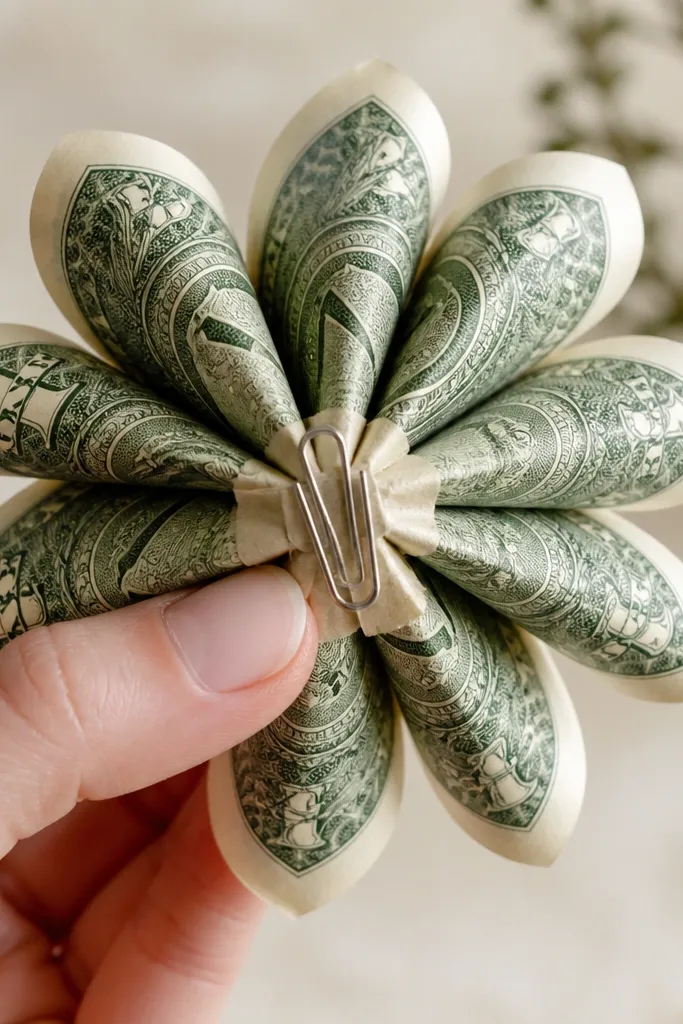
If your bill is too flexible, a paper clip can help hold the petal fan while you tape the center. The clip sits underneath so it doesn’t ruin the front look.
Good to knowBend the paper clip ends flat so they don’t poke through the bill.
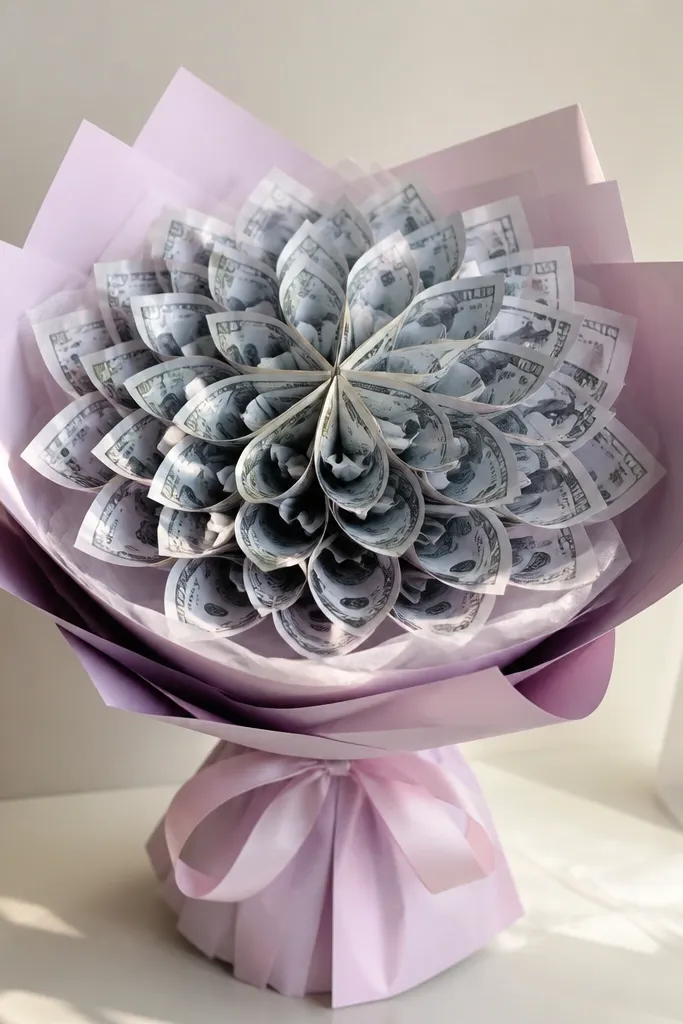
Pastel wraps make the money look like a themed gift, not just cash. Soft colors also photograph better because the bill doesn’t blend into plain white wrapping.
Good to knowPick one pastel wrap and keep the ribbon color simple (white or matching pastel).
If you want a slightly fuller bouquet, attach a second money flower just next to the first. This makes it look like a “set” without adding much time.
Good to knowOffset the two flowers by a few millimeters so they don’t look stacked.
Your questions, answered
How long does a Weekend Money Bouquet in 5 Minutes last before it loosens?
With crisp bills and tight tape at the center, it can hold its shape for several days to a week. Avoid squeezing the petals and store it upright so the fan doesn’t flatten.
Is this beginner-friendly if I’ve never done DIY crafts?
Yes — it’s basically folding, pinching, and taping. You only need small, controlled folds, and even imperfect petals still look handmade.
How much does it cost to make one?
The cost is usually under a few dollars because you’re using supplies you likely already have (tape, ribbon, tissue). Your main “expense” is the banknote you’re gifting.
Where can I get the materials like floral tape and tissue wraps?
Floral tape and ribbon are available at craft stores and many dollar stores. Tissue or crepe paper is usually in the party or craft aisle, and wooden skewers are in the kitchen section.
Can I use any denomination or does the bill need to be a certain size?
Any standard banknote works as long as it’s not overly worn or soft. Newer, crisp bills hold accordion petals better and look fuller.
How should I care for it during gifting and travel?
Carry it upright, and keep the tissue sleeve loosely twisted so it doesn’t crease the petals. If it gets wrinkled, gently reshape the petal fan by pressing from the center outward.